


Empty egg cartons become seed-starting containers with minimal effort. Children ages 5–12 can complete this project safely. Total cost stays under $10.
Cardboard egg cartons hold soil, retain moisture, and biodegrade when planted directly in the ground. This activity teaches basic plant biology, recycling principles, and patience.
The entire setup takes 15–20 minutes.
What Materials Are Needed for This Project?
The supply list is short.
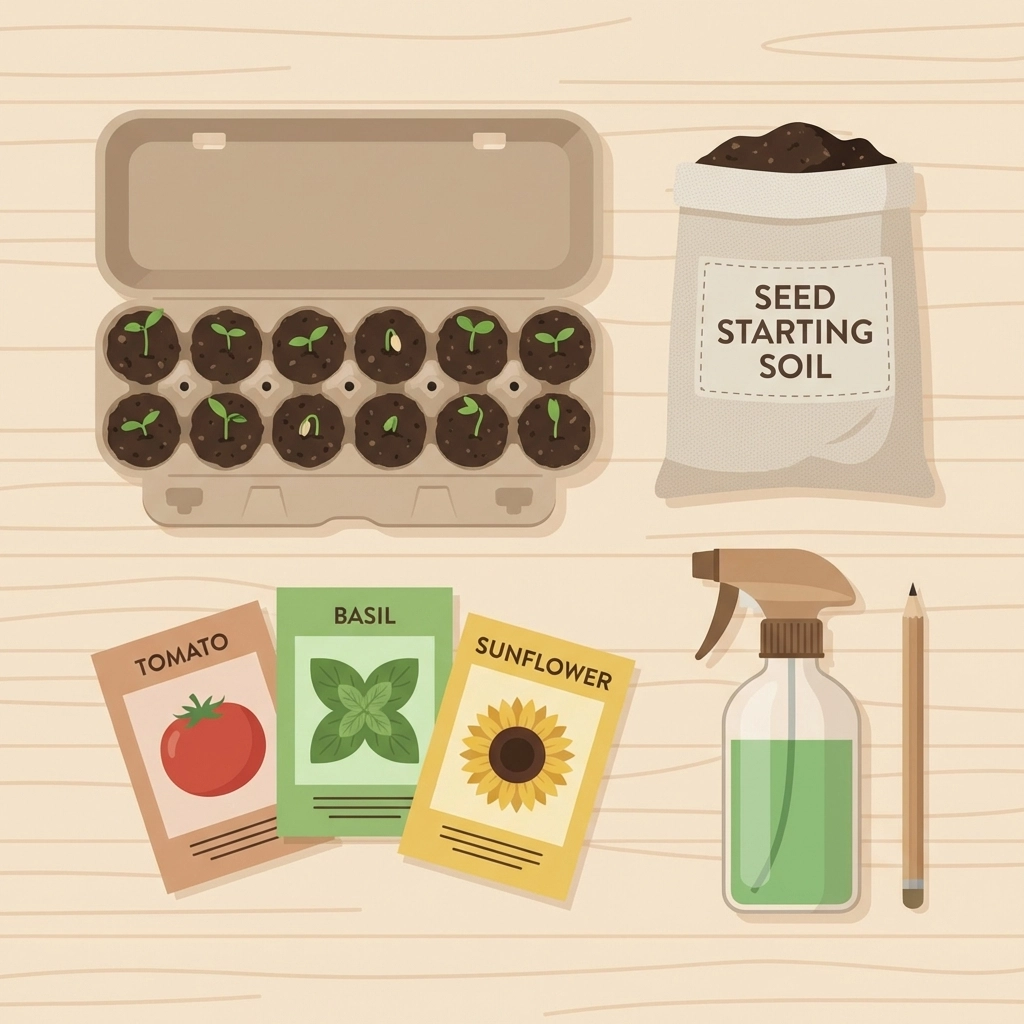
Required items:
- One cardboard or styrofoam egg carton (12-count)
- Seed-starting soil mix
- Seeds (vegetable or herb)
- Water spray bottle
- Shallow tray or pan
- Pencil or screwdriver
Optional items:
- Plastic wrap
- Plant markers or popsicle sticks
- Grow light
Most households already have egg cartons. Seed-starting soil costs $3–$5 at garden centers. Seed packets run $1–$3 each.
Total investment: under $10.
How Should the Egg Carton Be Prepared?
Preparation prevents root rot and water damage.
Step 1: Remove the lid
Cut or tear off the top section of the egg carton. Set it aside. The lid serves as a drip tray later.
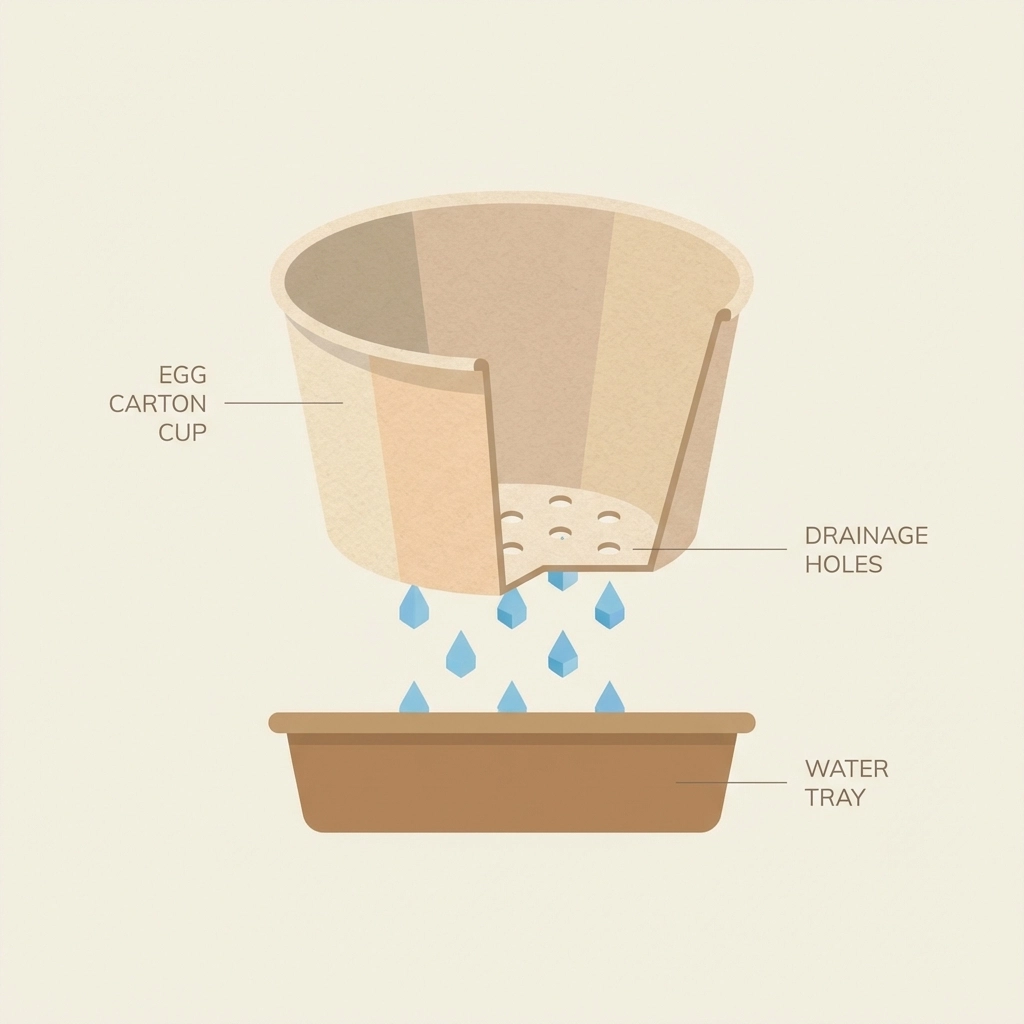
Step 2: Create drainage holes
Poke 2–3 small holes in the bottom of each egg cup. A pencil or screwdriver works well. Adult supervision recommended for children under 8.
Drainage holes allow excess water to escape. Standing water kills seeds before they sprout.
Step 3: Position the carton
Place the prepared carton on a shallow tray, pan, or the removed lid. This catches water runoff and protects surfaces.
The carton is now ready for soil.
What Type of Soil Works Best for Seed Starting?
Seed-starting mix outperforms garden soil for this purpose.
Characteristics of seed-starting mix:
- Lightweight texture
- Soil-less composition
- Fine particle size
- Low nutrient content
- Sterile and disease-free
Garden soil compacts easily. Heavy soil suffocates delicate sprouts. Seed-starting mix stays loose and airy.
The mix contains peat moss, perlite, and vermiculite. These ingredients retain moisture without becoming waterlogged.
Fill each egg cup halfway with the mix. Leave room for seed placement and covering.
How Deep Should Seeds Be Planted?
Planting depth varies by seed type. A general rule applies.
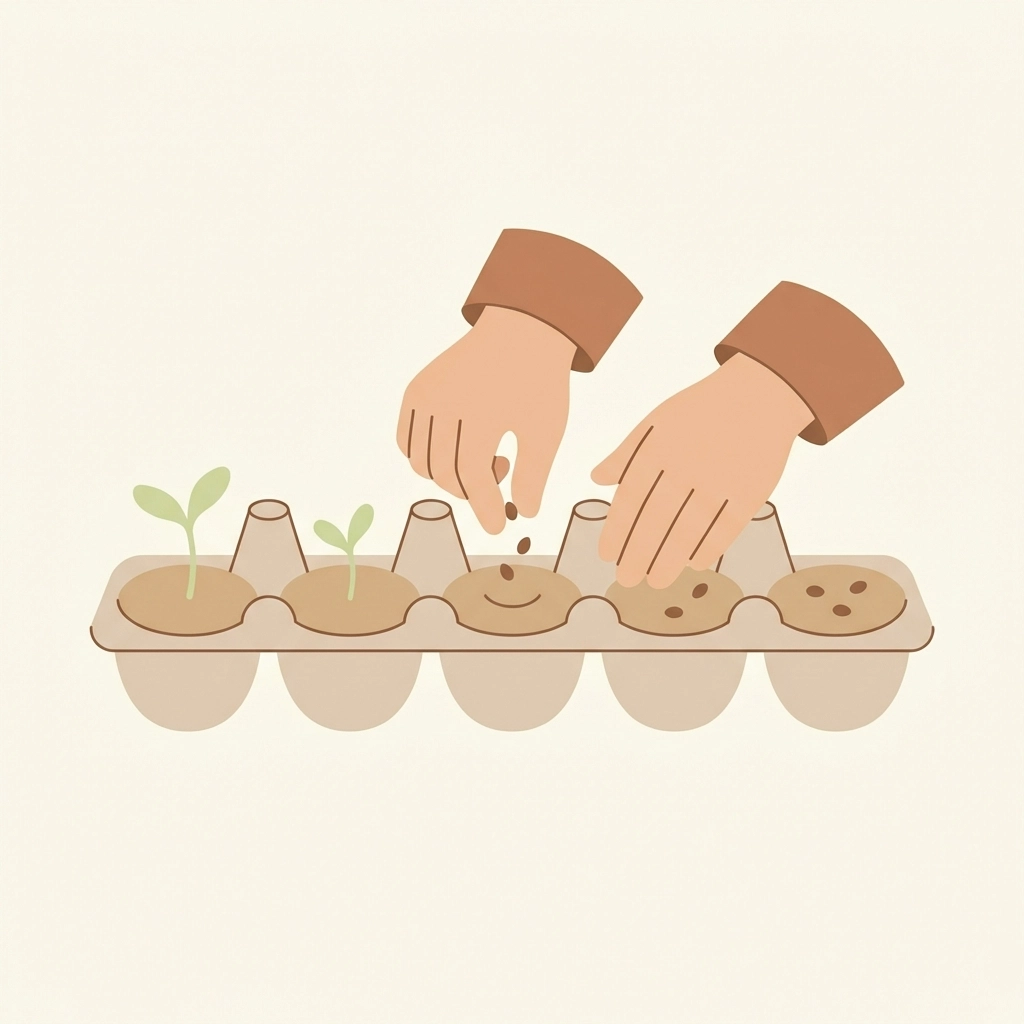
Standard planting method:
- Make a small hole in the soil using a finger or pencil tip
- Drop 2–3 seeds into each hole
- Cover loosely with soil
- Press gently to secure
Seed packets include specific depth instructions. Most vegetable and herb seeds require ¼ inch to ½ inch depth.
Planting multiple seeds per cup accounts for germination failure. Not every seed sprouts. Thinning happens later if needed.
Small seeds (basil, lettuce) need shallow placement. Larger seeds (beans, squash) go deeper.
Why Plant Multiple Seeds Per Cup?
Germination rates vary.
Some seeds fail to sprout due to:
- Age of the seed
- Storage conditions
- Planting depth errors
- Moisture inconsistency
Planting 2–3 seeds per cup increases success probability. At least one seed typically germinates per cup.
After sprouting, remove weaker seedlings. Keep the strongest plant in each cup. This process is called thinning.
Thinning prevents competition for nutrients and light.
How Much Water Do Seed Starters Need?
Consistent moisture matters more than quantity.
Watering guidelines:
- Use a spray bottle for gentle application
- Mist the soil until evenly damp
- Avoid creating puddles
- Check moisture daily
Overwatering causes mold growth and seed rot. Underwatering prevents germination entirely.
The soil surface should feel damp but not soggy. Squeeze a small amount between fingers. Water should not drip out.
Mold appears as white fuzzy patches. Scoop out affected areas immediately. Reduce watering frequency if mold develops.
Where Should the Egg Carton Be Placed for Light?
Seeds need warmth and light to germinate.
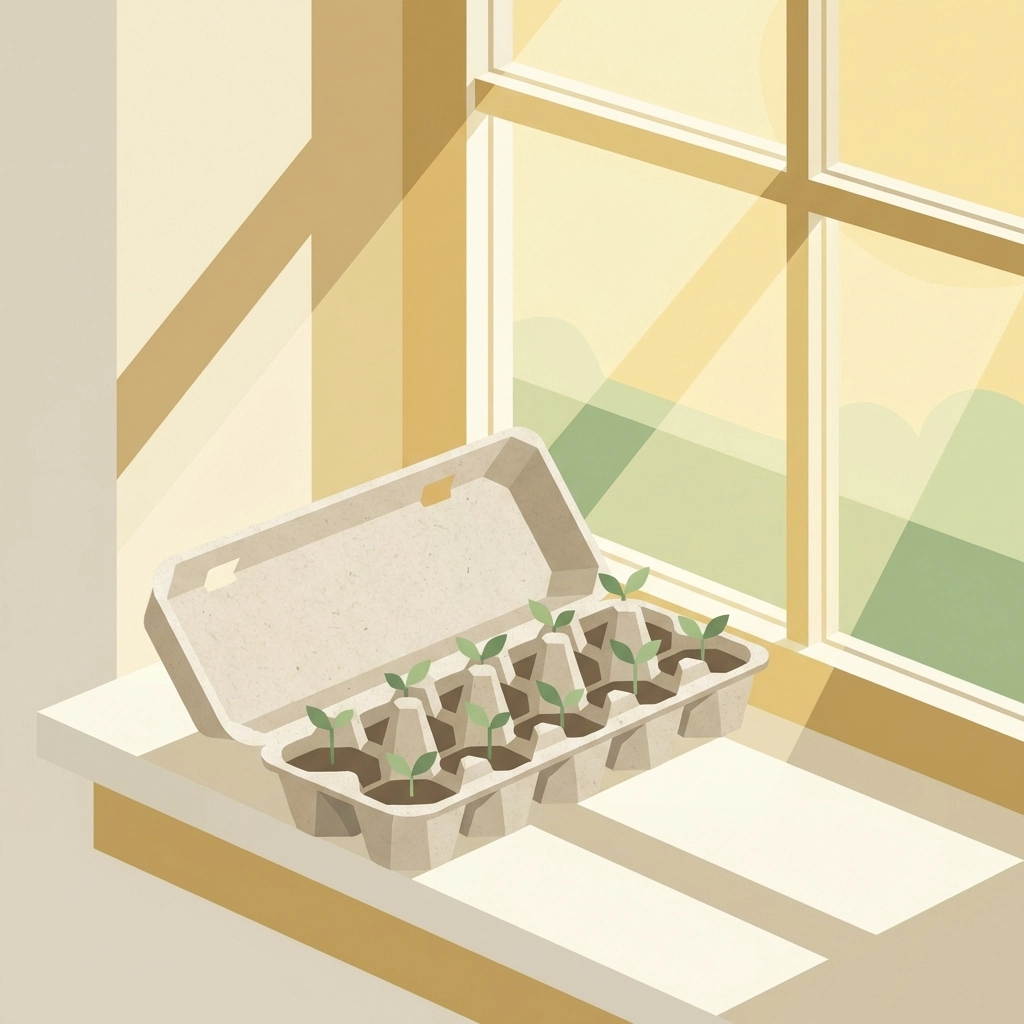
Ideal placement options:
- South-facing windowsill
- Under a grow light
- Near a bright, indirect light source
Direct sunlight provides the best results. Six to eight hours of light daily supports healthy growth.
Plastic wrap over the carton creates a greenhouse effect. This traps warmth and humidity. Remove the wrap once sprouts appear.
Grow lights substitute for natural sunlight in darker spaces. Position lights 2–4 inches above the carton.
Rotate the carton every few days. This prevents seedlings from leaning toward the light source.
How Long Until Seeds Sprout?
Germination time depends on seed variety.
Typical germination periods:
- Basil: 5–10 days
- Tomatoes: 5–10 days
- Lettuce: 7–10 days
- Kale: 5–8 days
- Peppers: 10–14 days
- Beans: 7–10 days
Temperature affects speed. Warmer environments accelerate germination. Cooler spaces slow the process.
Patience is essential. Some seeds take two weeks to show visible growth.
Green shoots emerging from the soil indicate success.
When Are Seedlings Ready for Transplanting?
Seedlings need strength before moving outdoors.
Signs of transplant readiness:
- Two sets of true leaves (not the initial seed leaves)
- Stem thickness of at least 2–3 millimeters
- Root visibility at drainage holes
- Height of 2–4 inches
Timing also depends on outdoor conditions. Frost-free weather is required for most vegetables.
Transplanting cardboard cartons:
Cardboard biodegrades in soil. Cut individual cups apart. Plant each cup directly in the ground or a larger container. The cardboard breaks down over 2–4 weeks.
Transplanting from styrofoam cartons:
Styrofoam does not decompose. Gently squeeze the cup to loosen the soil. Slide the seedling and root ball out carefully. Plant in the ground without the container.
Cardboard cartons simplify the transplanting process for children.
What Seeds Work Best for Kids Ages 5–12?
Fast-growing, resilient plants build confidence.
Recommended starter seeds:
- Basil – Sprouts quickly, fragrant, edible
- Cherry tomatoes – Visible growth, rewarding harvest
- Lettuce – Germinates in days, ready to eat in weeks
- Kale – Hardy, tolerates mistakes
- Sunflowers – Large seeds, dramatic growth
- Beans – Fast sprouters, easy handling
Avoid slow-germinating or delicate varieties for first-time growers. Carrots and peppers require more patience.
Herbs provide immediate sensory feedback. Children enjoy touching and smelling basil leaves.

What Safety Considerations Apply?
Adult supervision ensures a safe experience.
Safety tips:
- Supervise hole-poking with sharp tools (ages 5–7)
- Wash hands after handling soil
- Keep seeds away from mouths
- Use food-safe containers only
- Avoid pesticide-treated seeds
Seed-starting mix is non-toxic but not edible. Ingestion causes stomach discomfort.
Some seeds have chemical coatings. Check packaging for treatment warnings. Organic seeds eliminate this concern.
Work on protected surfaces. Soil spills happen frequently with young children.
What Learning Opportunities Does This Project Offer?
Egg carton seed starting teaches multiple concepts simultaneously.
Educational outcomes:
- Plant life cycle observation
- Recycling and repurposing materials
- Responsibility through daily care
- Patience and delayed gratification
- Scientific observation and documentation
Children track progress with drawings or photographs. Journaling reinforces learning.
The project connects kitchen waste to garden production. This demonstrates circular resource use.
Disclaimer:
Tierney Family Farms publishes this content for educational purposes. The information provided does not constitute professional, medical, or safety advice. Results vary based on growing conditions, seed quality, and care consistency. Some projects may involve sharp tools, small parts, or chemicals. Adult supervision is required for all children’s activities, and you must ensure each project is safe and age-appropriate for your situation. Attempt projects only if you are confident they are safe for your skill level and environment. Portions of this content may be generated with AI; information may contain errors or become outdated—always verify details independently. No guarantee of accuracy is made. Affiliate links may appear and commissions may be earned. By viewing or using these ideas, you assume all risks, and Tierney Family Farms is not responsible for any harm, injury, or loss.


