


Seed bombs combine clay, compost, and wildflower seeds into small balls that can be tossed into garden beds. The process takes about 30 minutes. Children as young as three can participate with supervision. The result: a hands-on nature project that produces blooms months later.
This activity teaches basic botany. It builds fine motor skills. It creates anticipation and follow-through as kids watch their seed bombs sprout.
What ingredients are needed for seed bombs?
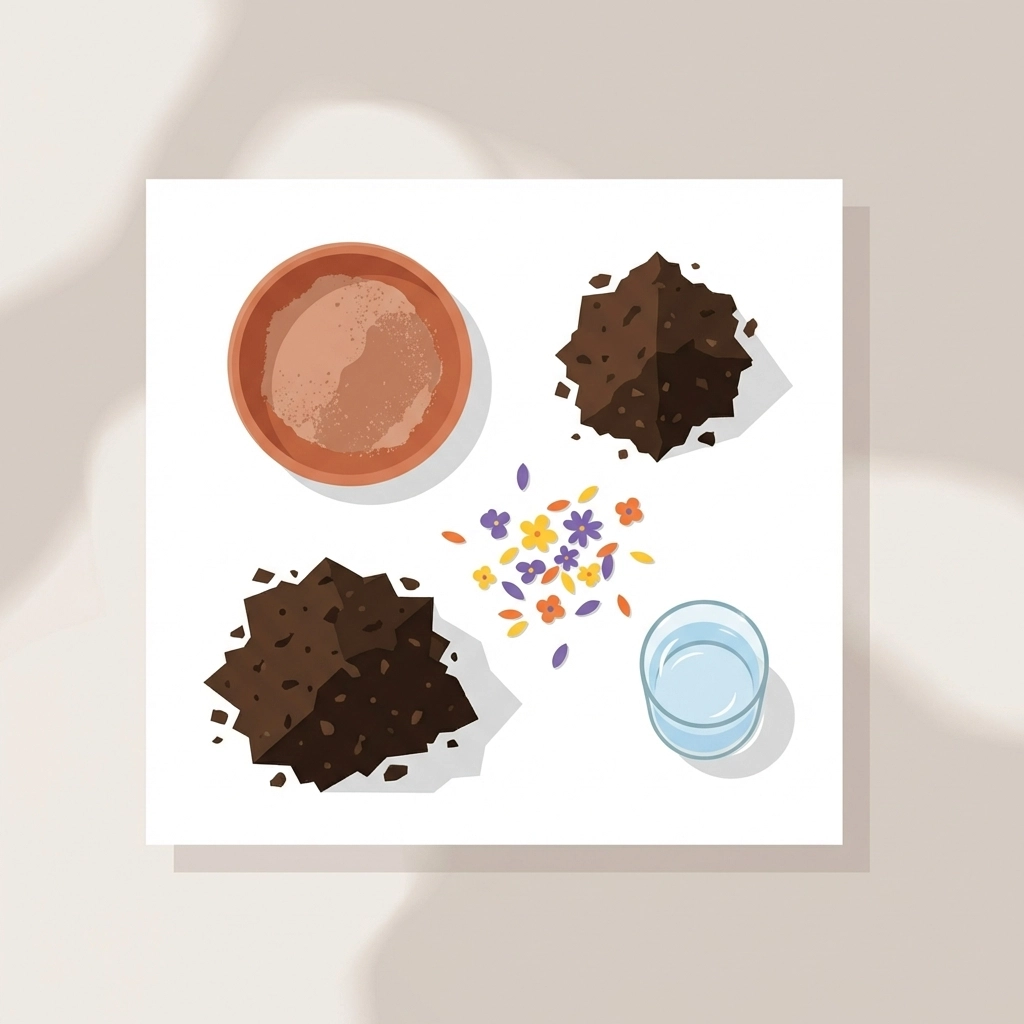
Three core materials make up every seed bomb.
Clay holds the bomb together. Air-dry clay or powdered pottery clay works best. Avoid polymer clay: it contains chemicals and does not break down in soil.
Compost or potting soil provides nutrients. One part compost to four parts clay creates the right consistency.
Wildflower seeds bring the color. Native seed mixes attract pollinators. Regional blends grow best in local conditions.
Shopping list:
- 1 cup powdered clay or air-dry clay
- ¼ cup compost or organic potting soil
- 1–2 tablespoons wildflower seed mix
- Water (small amounts)
- Mixing bowl
- Baking sheet or tray
- Parchment paper
All materials are non-toxic. Safe for young children who may touch their faces during the project.
What is the step-by-step process?
Step 1: Combine dry ingredients
Pour clay and compost into a mixing bowl.
Stir until blended. No lumps.
Step 2: Add seeds
Sprinkle wildflower seeds into the dry mixture.
For large seeds like milkweed, use about 3 seeds per bomb.
For small seeds like poppy or black-eyed Susan, use a pinch per bomb.
Mix gently. Seeds should distribute evenly throughout.
Step 3: Add water slowly
Drizzle water into the bowl.
Add small amounts at a time. Too much water creates mud.
The goal: dough-like consistency. Moldable but not sticky.
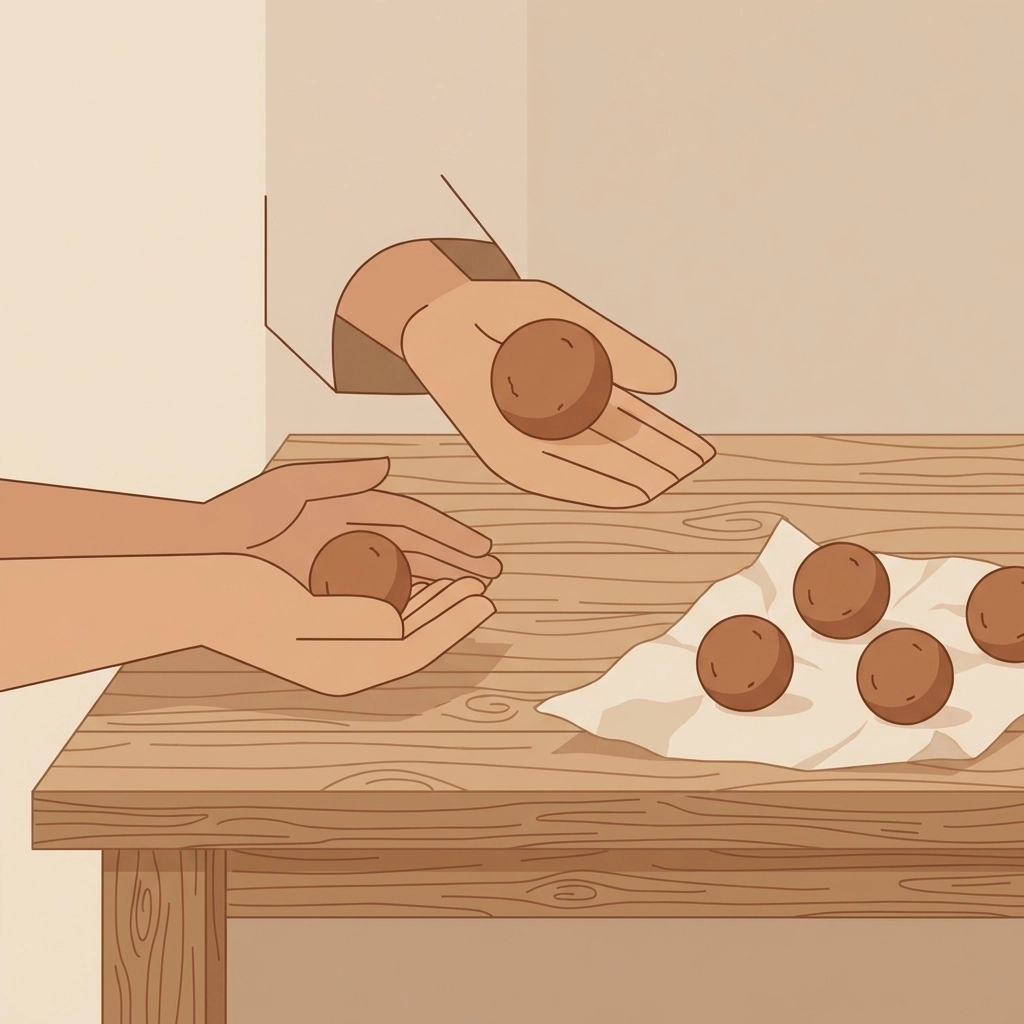
Step 4: Roll into balls
Pinch off small amounts of the mixture.
Roll between palms into balls about 1 inch in diameter.
Marble-sized works for younger children. Golf-ball-sized holds more seeds.
Press firmly while rolling. Compaction keeps the bomb intact during drying.
Step 5: Dry completely
Place finished seed bombs on parchment-lined trays.
Let dry for 24–48 hours in a cool, dry location.
Flip once halfway through for even drying.
Seed bombs are ready when hard to the touch. No soft spots.
What wildflower seeds work best?
Native species produce the strongest results.
Regional seed mixes adapt to local soil and climate. They require less water once established.
Recommended varieties for beginners:
- Black-eyed Susan – yellow blooms, drought-tolerant
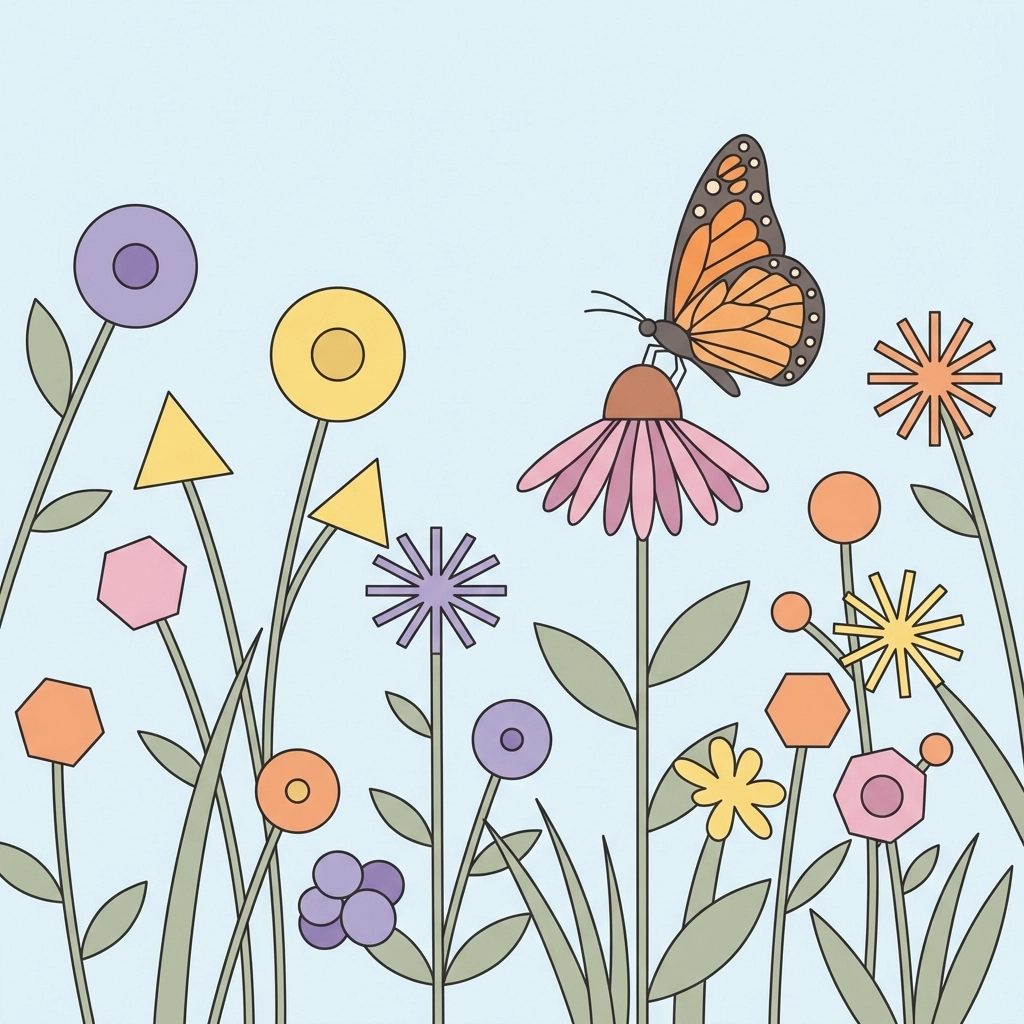
- Coneflower – purple or pink, attracts butterflies
- Cosmos – fast-growing, multiple colors
- Zinnia – bright colors, easy germination
- Milkweed – essential for monarch butterflies
- Clover – nitrogen-fixing, good for soil health
Avoid invasive species. Check local extension office lists before purchasing seed mixes.
Wildflower blends labeled “pollinator-friendly” support bees, butterflies, and hummingbirds.
How do children of different ages participate?
This project scales across age groups.
Ages 3–5:
- Mixing dry ingredients with hands or spoons
- Rolling balls with assistance
- Placing finished bombs on trays
Adult supervision required throughout. Keep water container out of reach to prevent spills.
Ages 6–10:
- Measuring ingredients independently
- Controlling water amounts
- Rolling uniform-sized bombs
- Labeling storage containers
Ages 11–15:
- Leading the project for younger siblings
- Researching native seed varieties
- Planning garden placement
- Tracking germination timelines
Every age contributes meaningfully. The project builds teamwork across sibling groups.
How should seed bombs be stored?
Proper storage extends viability for months.
Place fully dried seed bombs in paper bags or cardboard boxes. Avoid plastic: trapped moisture causes mold.
Store in a cool, dark location. A pantry shelf or closet works well.
Label containers with seed type and date made.
Seed bombs remain viable for 6–12 months when stored correctly.
Gift-worthy: place several bombs in a small jar with a ribbon. Include planting instructions on a tag.
When and where should seed bombs be planted?
Timing matters.
Spring planting works best in most climates. After the last frost date for the region.
Fall planting suits some perennial wildflowers. Seeds overwinter and germinate in spring.
Site selection:
- Bare soil with no existing grass coverage
- Full sun: minimum 6 hours daily
- Good drainage
- Away from areas treated with herbicides
Planting method:
Toss seed bombs onto prepared soil.
Press gently into the ground. Soil contact improves germination.
Water lightly after placement.
Keep the area moist for 7–15 days until seedlings emerge.
No need to bury. The clay shell protects seeds from birds and wind until rain breaks it down.
What learning opportunities does this project create?
Seed bombs teach multiple concepts simultaneously.
Botany basics. Seeds need soil, water, and sunlight to grow. Children observe this firsthand.
Ecology. Native plants support local wildlife. Pollinators depend on wildflowers for survival.
Patience. Results take weeks to appear. Delayed gratification builds character.
Responsibility. Watering and monitoring require follow-through.
Math skills. Measuring ingredients reinforces ratios and fractions.
Fine motor development. Rolling and shaping strengthens hand muscles in younger children.
Document the process with photos. Create a simple journal tracking germination dates and bloom times.

What mistakes should be avoided?
Common errors reduce success rates.
Too much water. Creates sticky, unrollable mud. Add water in tiny increments.
Skipping dry time. Wet bombs fall apart when thrown. Full drying is essential.
Using treated seeds. Some commercial seeds contain fungicides. Choose organic or untreated varieties.
Planting in grass. Wildflowers cannot compete with established lawns. Clear the area first.
Forgetting to water after planting. Seeds need consistent moisture during germination.
Storing in plastic. Moisture buildup destroys seeds. Use breathable containers only.
Why do seed bombs benefit wildflower gardens?
Traditional planting scatters seeds across soil surfaces.
Wind and birds often carry seeds away before germination.
Seed bombs solve this problem.
The clay shell anchors seeds in place. Rain slowly dissolves the outer layer. Seeds germinate protected within the soil pocket.
Survival rates increase. Coverage becomes more predictable.
Children see direct results from their effort. Connection to nature deepens.
Tierney Family Farms Disclaimer
- Content for educational and entertainment purposes.
- Portions of this content are AI-generated and human-reviewed.
- No guarantee of results.
- Outcomes vary by climate, soil conditions, seed quality, and care.
- Adult supervision required for children under 10.
- Not professional horticultural, legal, safety, or medical advice.
- Verify species legality and non-invasive status in the local region before planting.
- Use native or regionally appropriate seeds.
- No deployment on public lands, protected areas, or private property without permission.
- Avoid waterways and sensitive habitats.
- Use non-toxic materials. Keep small parts away from young children. No ingestion.
- No liability for injury, property damage, ecological harm, or legal consequences arising from use.
References
- General Public Knowledge
- Regional seed selection guidance: Local agricultural extension services


1 Comment
Top 10 Seed Starting Experiments Your Kids Will Actually Want to Try – Tierney Family Farms
January 19, 2026, at 9:51 pm[…] When rain comes, the clay dissolves and the seeds germinate. Kids love the idea of "planting" by throwing things. For more seed bomb ideas, check out our guide on how to make seed bombs for a wildflower garden with kids. […]