


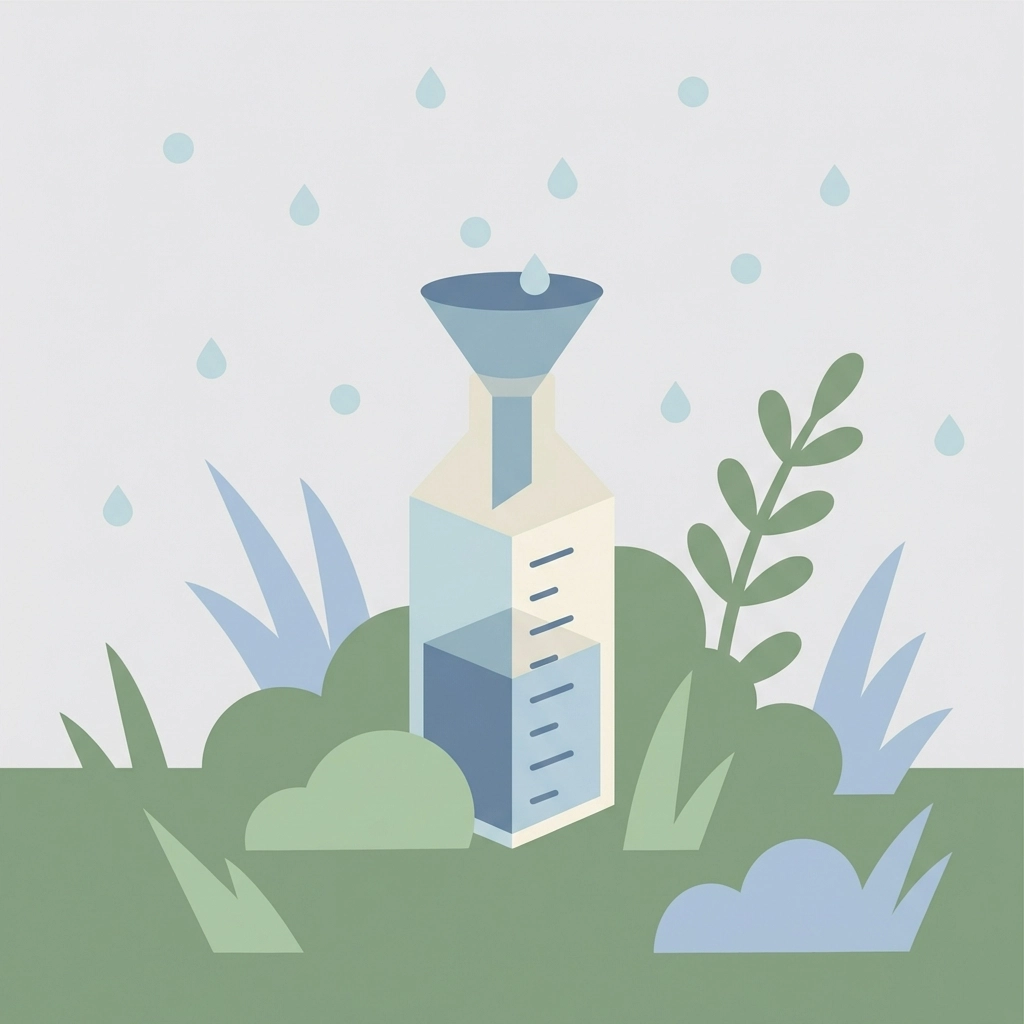
A DIY rain gauge made from a recycled plastic bottle.
This project takes 30 minutes or less. Total cost: $0 to $5. Suitable for children ages 4 to 12.
Rain gauges teach measurement, observation, and data collection. Kids learn how weather scientists track rainfall patterns. The activity requires no special skills or expensive materials.
One recycled bottle. One ruler. One afternoon of learning.
What Materials Are Needed for a DIY Rain Gauge?
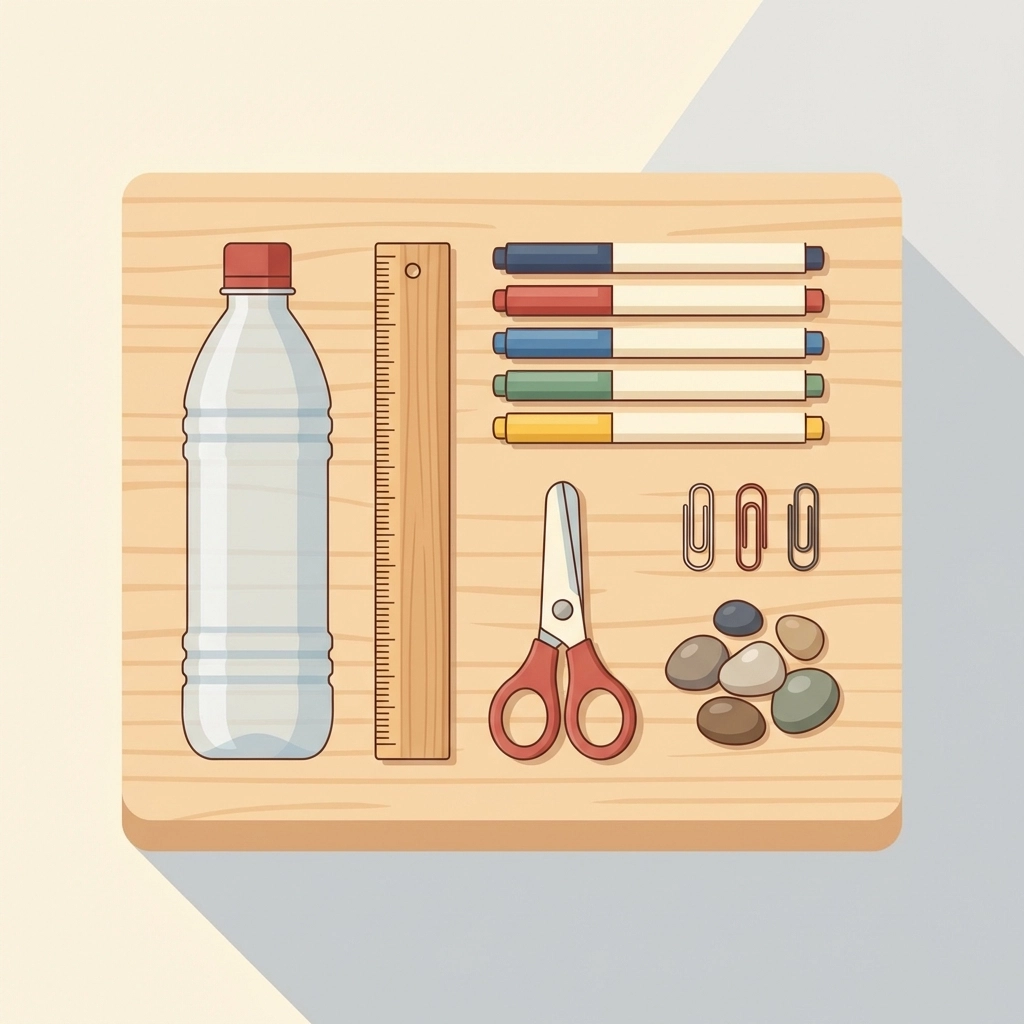
Eight items. Most already exist in the average household.
Required materials:
- Empty 2-liter plastic bottle or large water bottle
- Ruler (standard or metric)
- Permanent marker (fine tip works best)
- Scissors or craft knife
- Paper clips (4) or waterproof tape
- Pebbles, sand, or small rocks
Optional materials:
- Colored permanent markers for decoration
- Rain journal or notebook
- Clear packing tape for weatherproofing
Total estimated cost: under $10. Often $0 when using household items.
The 2-liter bottle size works best for younger children. Larger surface area makes reading measurements easier. Smaller water bottles suit older children who want precision.
How Is the Rain Gauge Assembled?
Six steps. Adult supervision required for cutting.
Step 1: Prepare the Bottle
Remove all labels from the plastic bottle.
Clean the inside thoroughly. Residue affects measurement accuracy.
An adult cuts the top off the bottle approximately 10 centimeters (4 inches) from the opening. Smooth edges prevent injury.
Step 2: Add Weight to the Base
Fill the bottom 2 inches with pebbles, sand, or small rocks.
This weight serves two purposes:
- Prevents tipping in wind
- Creates a stable measurement baseline
The weight material should sit flat and level.
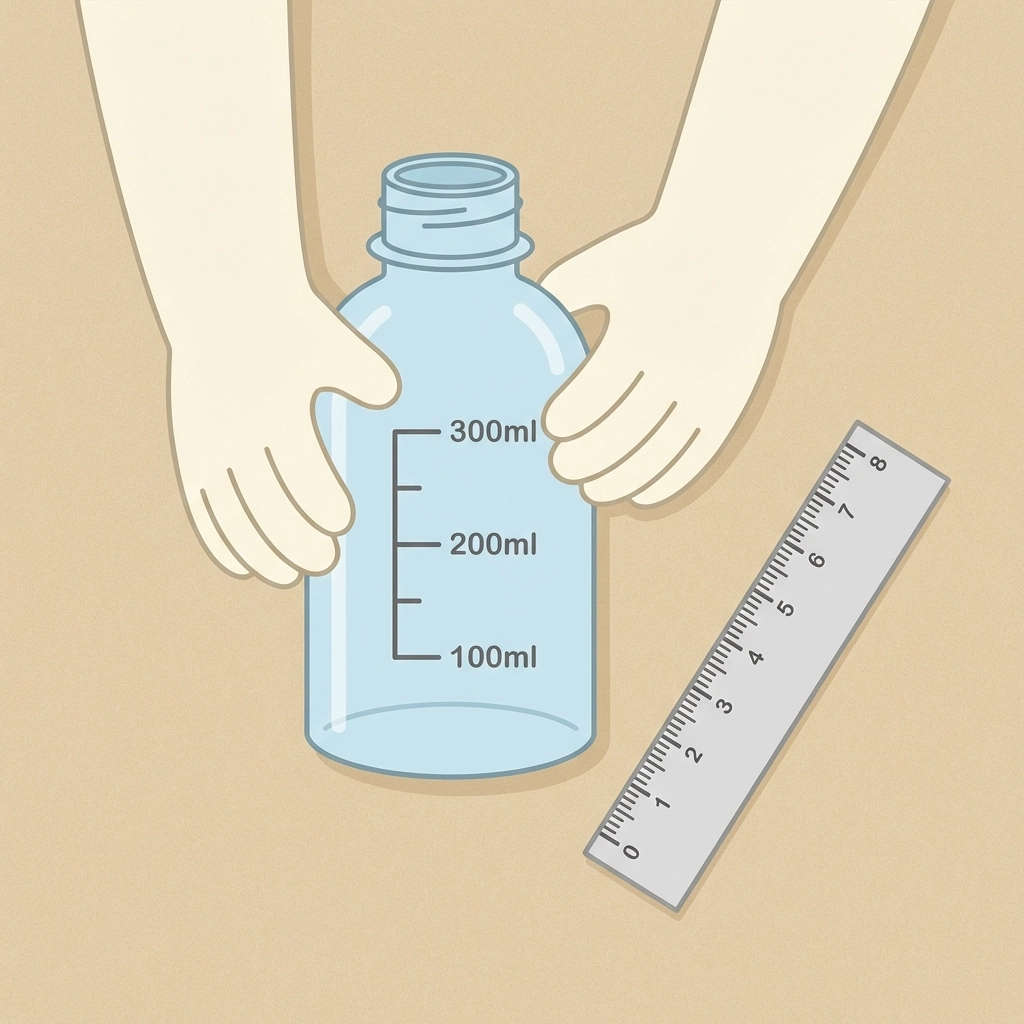
Step 3: Create the Measurement Scale
Use a ruler to mark increments on the bottle's exterior.
Start marking 1 to 2 inches above the pebble line. This becomes the zero line.
Mark every half-inch or centimeter, depending on desired precision. Label numbers clearly with permanent marker.
Vertical lines help young readers identify exact water levels.
Step 4: Build the Funnel
Take the cut-off bottle top.
Turn it upside down. Insert it into the bottle opening, creating a funnel shape.
The funnel serves critical functions:
- Directs rainwater into the gauge
- Reduces evaporation
- Prevents debris from entering
Step 5: Secure the Funnel
Attach the inverted top using 4 paper clips spaced evenly around the rim.
Alternative: waterproof tape wrapped around the seam.
The funnel must stay firmly in place during storms. Test stability by shaking gently.
Step 6: Position the Rain Gauge
Placement determines accuracy.
Ideal location criteria:
- Open area with clear sky view
- Away from buildings, fences, and overhangs
- Distance from trees (at least 10 feet)
- Level ground or secured to a stake
- Protected from foot traffic and pets
The gauge should stand upright without assistance once weighted properly.
What Age Groups Benefit Most From This Project?
All children ages 4 to 12 gain developmental benefits. The learning outcomes vary by age.
Ages 4 to 6:
- Practice counting and number recognition
- Develop fine motor skills during decoration
- Learn basic weather vocabulary
- Understand cause and effect (rain fills gauge)
Ages 7 to 9:
- Apply measurement skills from school
- Record data in a rain journal
- Compare daily and weekly totals
- Predict weather based on patterns
Ages 10 to 12:
- Calculate averages and totals
- Research local climate data for comparison
- Understand meteorology basics
- Design experiments with multiple gauges

The project scales naturally. Younger children focus on building. Older children focus on data analysis.
How Should Rainfall Data Be Recorded?
Consistent observation produces meaningful results.
Daily recording process:
- Check the gauge at the same time each day
- Read the water level at eye level
- Record the measurement in a journal
- Empty the gauge completely
- Return the gauge to position
Data journal format:
| Date | Time Checked | Rainfall (inches) | Weather Notes |
|---|---|---|---|
| Example | 8:00 AM | 0.5 | Thunderstorm overnight |
Recording at the same time prevents confusion. Morning checks work well before school.
Empty the gauge before each new rain event. Old water skews new measurements.
What Common Mistakes Should Be Avoided?
Five errors reduce accuracy. All are preventable.
Mistake 1: Poor placement
Gauges near buildings collect splashback. Gauges under trees miss direct rainfall. Open sky exposure is essential.
Mistake 2: Forgetting to empty
Accumulated water from multiple storms creates false readings. Empty after each recording session.
Mistake 3: Ignoring evaporation
Warm sunny days evaporate collected water quickly. Check gauges promptly after rainfall ends.
Mistake 4: Unclear markings
Faded or smudged measurement lines cause reading errors. Use permanent marker. Refresh markings as needed.
Mistake 5: Unstable positioning
Tipped gauges spill water. Adequate base weight and level ground prevent loss.
What Learning Extensions Exist?
The rain gauge project connects to broader educational topics.
Science connections:
- Water cycle studies
- Climate and weather patterns
- Evaporation experiments
- Plant growth and irrigation needs
Math connections:
- Addition and subtraction of daily totals
- Averaging weekly rainfall
- Graphing data over time
- Comparing measurements across months
Geography connections:
- Local vs. regional rainfall differences
- Seasonal patterns in different climates
- Agricultural water needs
Teachers and homeschool families use rain gauges as long-term projects. Data collected over months demonstrates seasonal change.
How Does This Project Support Farm Education?
Farms depend on rainfall data.
Farmers track precipitation to make decisions about:
- Irrigation timing
- Planting schedules
- Harvest planning
- Crop selection
Children who build rain gauges understand this connection. Weather affects food production directly.
A rain gauge transforms abstract weather reports into tangible, personal data. Children see the relationship between sky and soil.
This hands-on learning builds agricultural literacy from an early age.
What Safety Considerations Apply?
Adult supervision required for one step only: cutting the bottle.
Safety guidelines:
- Adults handle all scissors and craft knives
- Smooth cut edges before assembly
- Wash hands after handling permanent markers
- Supervise young children during outdoor placement
- Check gauge placement for tripping hazards
The project uses no toxic materials. All components are child-safe once assembled.
Summary
A DIY rain gauge costs under $10 and takes 30 minutes to build.
Children ages 4 to 12 learn measurement, observation, and data recording. The project connects to science, math, and agricultural education.
One recycled bottle becomes a weather station.
References
- Weather measurement teaching resources, elementary education standards
- Grade 3-6 science curriculum alignment for weather observation projects
- Best practices for student-built measurement tools
- Rain gauge construction guidelines for educational settings
- Data collection methods for young learners
- Meteorological instrument calibration basics for classroom use
Disclaimer: This content was developed with AI assistance and reviewed for accuracy. Tierney Family Farms publishes educational resources to support hands-on learning for children and families.


