


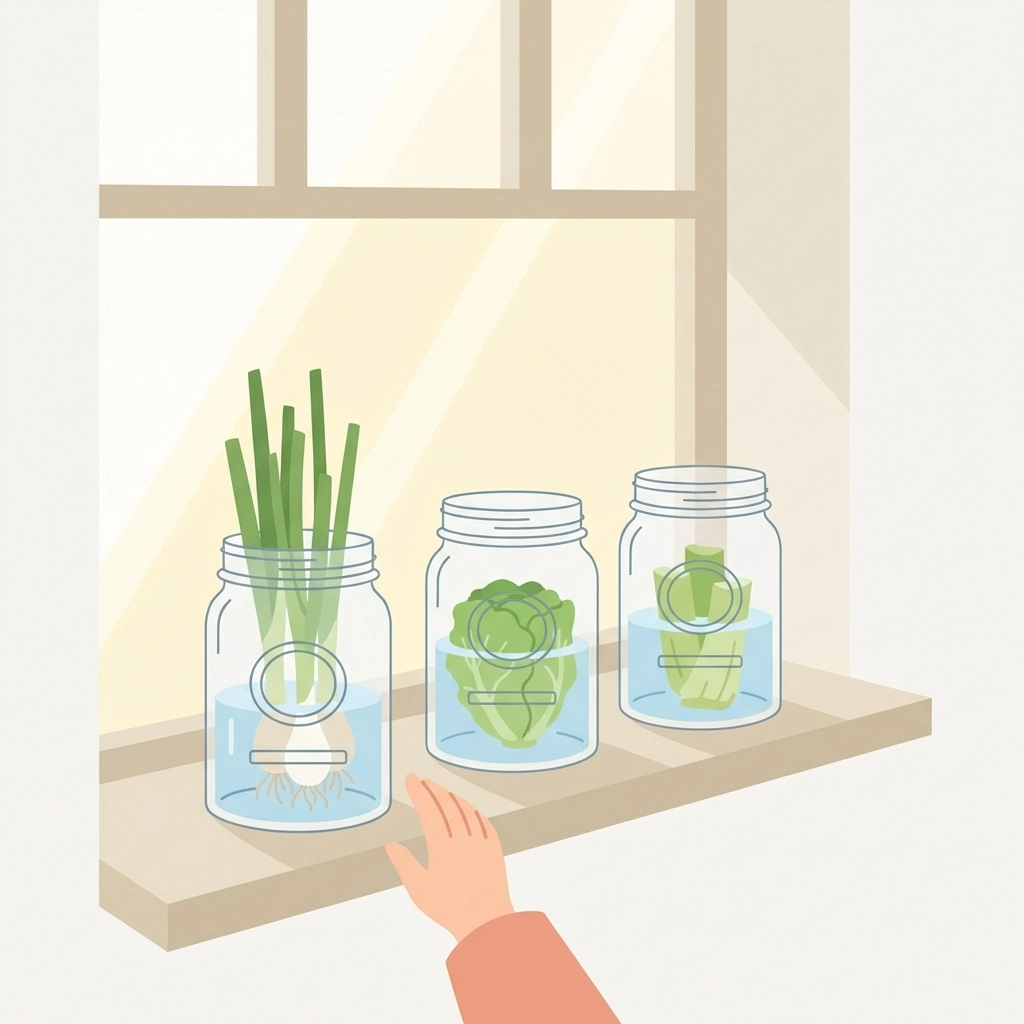
You grab kitchen scraps you'd normally toss, place them in water using containers already in your cabinet, and watch them regrow on a sunny windowsill. Total cost: basically nothing. Time to set up: maybe ten minutes with the kids.
That's it. That's the whole thing.
No special planters. No expensive soil. No garden center trip. Just scraps, water, jars, and a little patience from the whole crew.
This is hands-down one of the easiest family projects out there. It works. Kids see results in days, actual green growth sprouting from stuff that was headed for the trash. And honestly? It's kind of magical every single time.
What supplies do you need for a DIY kitchen scrap garden?
Here's the beautiful part. You probably have everything already.
The essentials:
- Glass jars, cups, or small containers (mason jars work great, so do old pasta sauce jars)
- Fresh water
- Kitchen scraps with roots or a base still attached
- A sunny windowsill or spot with decent light
Optional but helpful:
- A small bag of potting soil ($3-5 at most stores)
- Shallow dishes or trays to catch drips
- Toothpicks (for avocado pits or sweet potatoes)
The water-only method costs literally zero dollars if you're using scraps and containers from your kitchen. Even if you grab a bag of soil for transplanting later, you're still way under $10.
Which kitchen scraps regrow the fastest for kids?
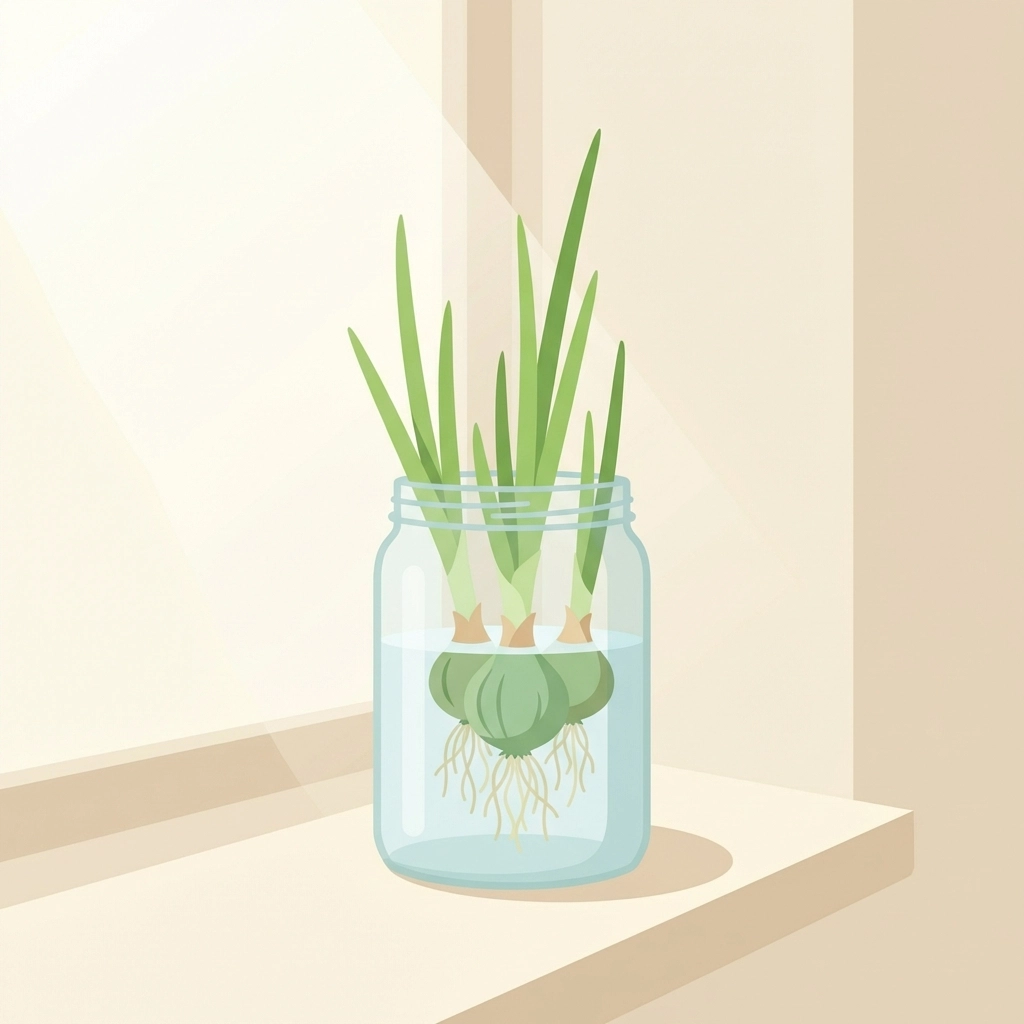
Start with green onions. Seriously. They're the gateway scrap.
Green onions show visible growth within 2-3 days. Kids can actually see something happening, which keeps them interested instead of asking "is it working yet?" fourteen times a day.
Best beginner scraps for fast results:
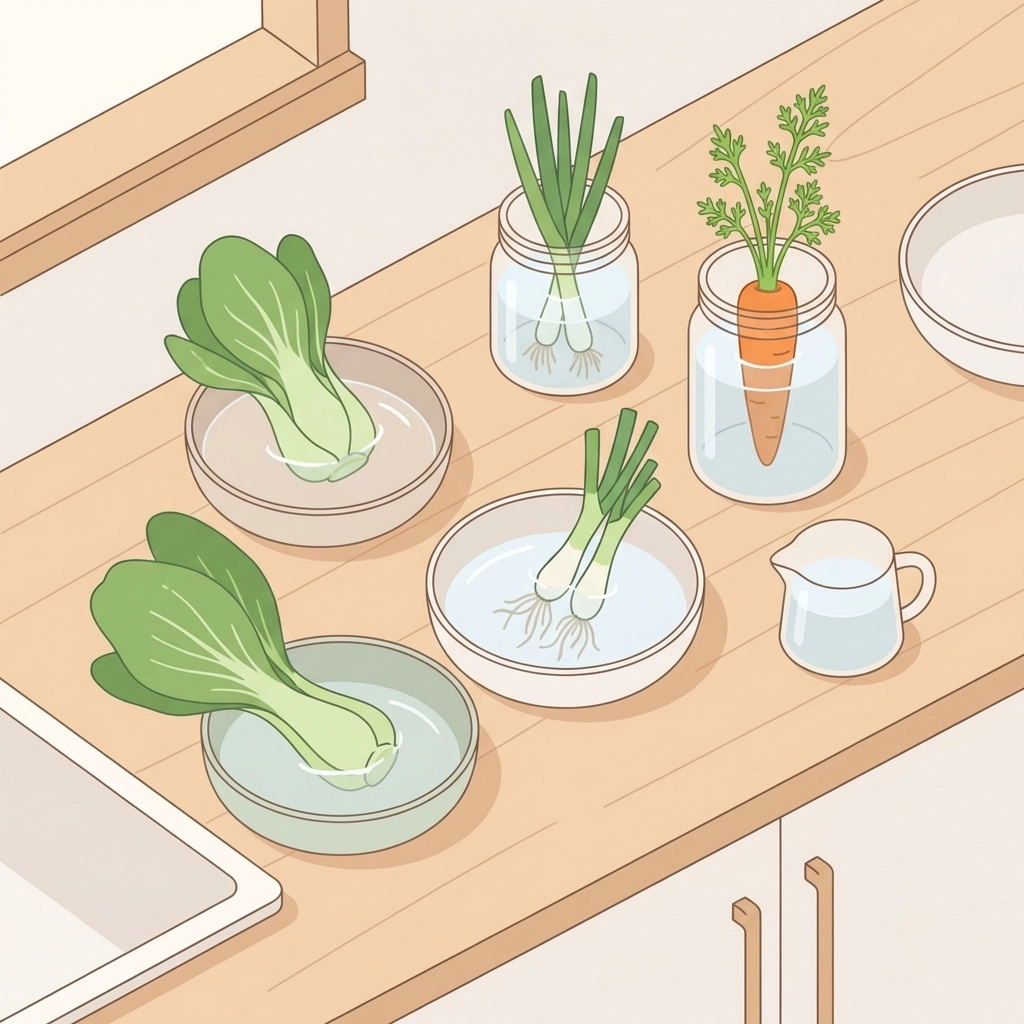
- Green onions – Cut about 3 inches from the white root end, place in water, watch it go
- Romaine lettuce – Keep the bottom 2 inches, set in shallow water
- Celery – Same deal, keep the base, add water
- Bok choy – The base regrows leaves surprisingly fast
- Garlic – Sprouted cloves grow green shoots quickly
Medium-patience scraps:
- Carrot tops – Won't regrow carrots, but the ferny greens are fun
- Beet tops – Same concept, pretty red-veined leaves
- Leeks – Similar to green onions but bigger
Long-game scraps (for older or more patient kids):
- Avocado pits – Takes weeks, but the payoff is exciting
- Sweet potatoes – Grows beautiful vines eventually
- Ginger root – Slow starter but really cool once it takes off
Start with the quick wins. Build confidence. Then level up to the longer projects.
How do you set up the water regrow method step by step?
This is the part where everyone gathers around the kitchen counter. It takes about ten minutes, and even the littlest helpers can participate.
Step 1: Gather your scraps
Next time you're cooking, set aside the parts you'd normally throw away. The root ends. The bases. The bottoms. Put them in a bowl instead of the compost.
Step 2: Prep your containers
Wash out a few jars or glasses. Nothing fancy. Yogurt cups work. Old candle jars work. Whatever you've got.
Step 3: Add water
Fill containers with about 1-2 inches of fresh water. Not too much, you don't want the whole scrap submerged, just the roots or base.
Step 4: Place your scraps
Set each scrap in its container, root-end down. Green onions stand up nicely in narrow jars. Lettuce and celery bases do better in shallow dishes.
Step 5: Find a sunny spot
Windowsills are perfect. Anywhere with decent natural light works. A kitchen window is ideal because everyone walks by it constantly.
Step 6: Change the water
This is the daily chore. Fresh water every day, or at least every other day. Stale water gets slimy and smelly. Nobody wants that.
How do you keep kids engaged with this project?
The secret is making it theirs.
Let each kid pick their own scrap to grow. Write their name on the jar with a dry-erase marker. Give them ownership of that specific plant.
Ideas that work:
- Create a simple chart to track daily growth
- Take photos every few days to compare progress
- Let kids do the daily water change (with supervision for the little ones)
- Have them predict which scrap will grow fastest
- Name the plants (yes, really: kids love this)
The visual progress is the hook. When a green onion shoots up an inch overnight, that's exciting. When tiny roots start forming on a lettuce base, that's a win worth celebrating.
Make it part of the morning routine. Check the plants. Change the water. See what happened overnight. It becomes a habit that sticks.
What if nothing seems to be growing?
Don't panic. A few common issues have easy fixes.
Problem: Scraps are getting slimy
Solution: Change water more frequently. Daily is best. Rinse the scrap and container too.
Problem: No root growth after a week
Solution: Make sure enough of the root base was kept. Green onions need that little hairy root section intact.
Problem: Leaves are yellowing
Solution: Might be too much direct sun or not enough water. Adjust placement.
Problem: Kids are losing interest
Solution: Switch to faster-growing scraps. Green onions and bok choy show progress quickly.
Some scraps just don't take. That's okay. It's part of learning. Toss the duds and try again with fresh ones.
Should you transplant scraps to soil?
Optional, but fun for round two.
The water method works perfectly for quick harvests and kitchen windowsill gardening. Green onions can be snipped and regrown multiple times in water alone.
For longer-term growth, transplanting to soil helps.
When to transplant:
- Once roots are about 2 inches long
- When the plant looks healthy and established
- Before the water-grown plant starts looking tired
Simple transplant process:
- Fill a small pot or container with potting soil
- Make a hole deep enough for the roots
- Gently place the scrap in the hole
- Cover roots with soil, water lightly
- Keep in a sunny spot
A small bag of potting soil costs $3-5 and lasts through tons of projects. Still way under that $10 mark.
What can you actually harvest from kitchen scrap gardens?
Expectations matter here.
Green onions regrow fully. Snip the green tops, use them in cooking, and they keep coming back. Multiple harvests from one scrap.
Lettuce and celery regrow leaves, but smaller ones. Great for garnishes, sandwiches, salads.
Carrot and beet tops grow pretty greens that are edible (carrot tops make good pesto, actually).
Garlic shoots are mild and tasty in eggs or stir-fry.
This isn't going to replace grocery shopping. That's not the point. The point is showing kids where food comes from, reducing waste, and doing something fun together that costs almost nothing.
Why does this project work so well for families?
No barriers. No excuses. No spending required.
Everyone has kitchen scraps. Everyone has a jar. Everyone has a window.
The project fits into real life. It doesn't require a trip to the store or a Pinterest-perfect setup. It works with what's already there.
Kids see results fast. They participate in something real. They learn without it feeling like a lesson.
And honestly? Watching a sad little celery butt sprout new leaves on a Tuesday morning is pretty satisfying for adults too.
Gather the scraps. Fill the jars. Put them on the windowsill. Check them together every day.
That's the whole project. Under $10. Under ten minutes. One hundred percent worth it.


13 Comments
How to grow a "Pizza Topping" pot with kids? – Tierney Family Farms
January 21, 2026, at 3:38 am[…] onions , You can even regrow these from kitchen scraps! (Check out our kitchen scrap regrow guide for more on […]
Can you grow a "Popcorn" garden in a simple bucket? – Tierney Family Farms
January 21, 2026, at 3:58 am[…] looking for other fun kitchen projects to pair with your popcorn garden, check out our guide on how to make a DIY kitchen scrap regrow garden, another great under-$10 […]
How to make "Seed Bombs" for a backyard butterfly garden? – Tierney Family Farms
January 21, 2026, at 3:59 am[…] If you're looking for more budget-friendly gardening projects, check out our guide on how to make a DIY kitchen scrap regrow garden for under $10. […]
How to grow a "Pizza Garden" in a single pot? – Tierney Family Farms
January 21, 2026, at 4:00 am[…] out our DIY Kitchen Scrap Regrow Garden for another ultra-budget-friendly growing […]
How to grow a "Bean Teepee" for an outdoor play space? – Tierney Family Farms
January 21, 2026, at 4:01 am[…] more budget-friendly garden projects the whole family can enjoy, check out our guide on how to make a DIY kitchen scrap regrow garden for under $10 or explore our Kids Crafts category for more hands-on […]
How to Grow Spinach in a Vertical Aeroponics System – Tierney Family Farms
January 21, 2026, at 4:03 am[…] Can I grow spinach from kitchen scraps in aeroponics?Unfortunately, no. Spinach doesn't regrow from scraps like lettuce or green onions. You'll need to start from seeds. For scrap gardening ideas, check out our kitchen scrap regrow guide. […]
How to Make Veggie Scrap Stamping Art with Kids – Tierney Family Farms
January 21, 2026, at 4:04 am[…] your family enjoys kitchen-garden projects, you might also like our guide to making a DIY kitchen scrap regrow garden, another great way to teach kids about food and reduce […]
How to Teach Color Mixing to Preschoolers with Zip Bags – Tierney Family Farms
January 21, 2026, at 4:09 am[…] How Do You Make a DIY Kitchen Scrap Regrow Garden for Under $10 with Your Kids […]
Teaching Kindness in the Garden: 5 Simple Activities for Character Building – Tierney Family Farms
January 21, 2026, at 4:11 am[…] Looking for more hands-on family garden projects? Check out our guide on how to create a DIY worm composting bin with children or learn how to make a kitchen scrap regrow garden for under $10. […]
Making a DIY Sundial: How to Tell Time with Nature and Your Kids – Tierney Family Farms
January 21, 2026, at 4:12 am[…] this project, you might also like building a DIY mini greenhouse from plastic bottles or creating a kitchen scrap regrow garden: both are great follow-up activities that keep kids connected to nature and hands-on […]
The History of Vertical Farming: From Ancient Gardens to Future Cities – Tierney Family Farms
January 21, 2026, at 5:48 am[…] tip: This project connects beautifully with our kitchen scrap regrow garden guide for even more hands-on growing […]
How do you grow basil in a recycled pasta jar? – Tierney Family Farms
January 21, 2026, at 5:50 am[…] project pairs wonderfully with our DIY Kitchen Scrap Regrow Garden if you want to expand your windowsill garden even […]
How to build a DIY self-watering planter from a milk jug? – Tierney Family Farms
January 21, 2026, at 5:52 am[…] you enjoyed our kitchen scrap regrow garden, this project pairs perfectly with […]