


Collect smooth rocks.
Wash them.
Paint them.
Seal them.
Place them in the garden.
Total cost: under $10.
Total time: one afternoon.
Total memories: priceless.
This project works for every age.
No artistic talent required.
No expensive supplies needed.
Just rocks, paint, and a willingness to get messy.
What supplies are needed for painted rock garden decorations?
The materials list is short.
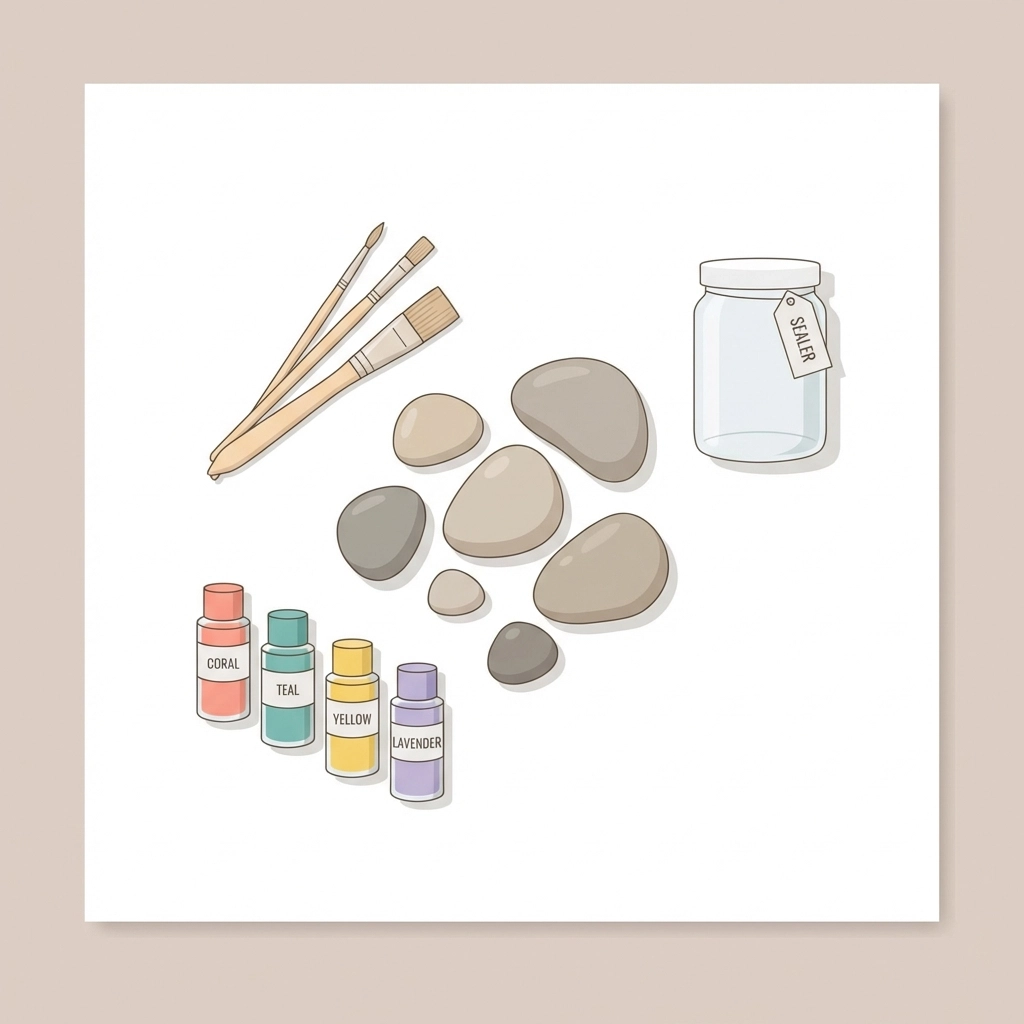
Essential supplies:
- Smooth rocks (free from the yard, garden, or local park)
- Acrylic craft paints ($2–$5 for a basic set)
- Paintbrushes ($3–$5 for a variety pack)
- Clear sealer or polyurethane varnish ($4–$5)
- Water cup for rinsing brushes
- Paper plates or cardboard (as paint palettes)
- Newspaper or plastic sheet (to protect the work surface)
Most households already have half of these items.
The rocks cost nothing.
The paint palette is a paper plate.
The workspace cover is yesterday's newspaper.
How does the budget break down?
Here is a realistic cost breakdown for a family starting from scratch:
| Item | Cost |
|---|---|
| Rocks | Free |
| Acrylic paint set (6–12 colors) | $3–$4 |
| Paintbrush set | $3–$5 |
| Clear outdoor sealer | $4–$5 |
| Total | $10 or less |
Families with leftover craft supplies from previous projects spend even less.
One bottle of acrylic paint covers dozens of rocks.
One sealer bottle lasts for multiple craft sessions.
The investment pays off across several projects.
Dollar stores carry all of these supplies.
Craft stores run frequent sales on acrylic paints.
Bulk brush packs offer the best value.
Where do families find the best rocks for painting?
The backyard is the first place to look.
Good rock sources:
- Garden beds and flower borders
- Driveways and walkways
- Riverbanks and creek beds
- Beaches (where collection is permitted)
- Landscaping supply stores (for bulk river rocks)
Ideal rock characteristics:
- Smooth surface
- Flat or slightly rounded shape
- Palm-sized or smaller
- Light-colored (shows paint better)
- No cracks or porous texture
Dark rocks work too.
A base coat of white acrylic paint creates a bright canvas.
Collecting rocks together is part of the activity.
Kids enjoy the treasure hunt aspect.
Each family member picks their favorites.
What is the step-by-step process for painting rocks?
Step 1: Wash the rocks
Dirt and dust prevent paint from sticking.
Fill a bucket or sink with warm water.
Add a drop of dish soap.
Scrub each rock with a brush or cloth.
Rinse thoroughly.
Let dry completely.
Drying takes 30 minutes to an hour.
Speed up the process with a towel or hair dryer.
Patience here prevents frustration later.
Paint peels off dirty rocks.
Step 2: Set up the workspace
Cover the table with newspaper or a plastic sheet.
Set out paper plates with small paint dollops.
Fill a cup with water for brush rinsing.
Have paper towels nearby for spills.
Each family member gets their own rock pile and brush set.
Sharing paint colors encourages interaction.

Step 3: Apply a base coat (optional)
White or light-colored base coats make designs pop.
Apply one thin layer of white acrylic paint.
Let dry for 10–15 minutes.
A hair dryer speeds this up.
Dark rocks benefit most from this step.
Light-colored rocks can skip it.
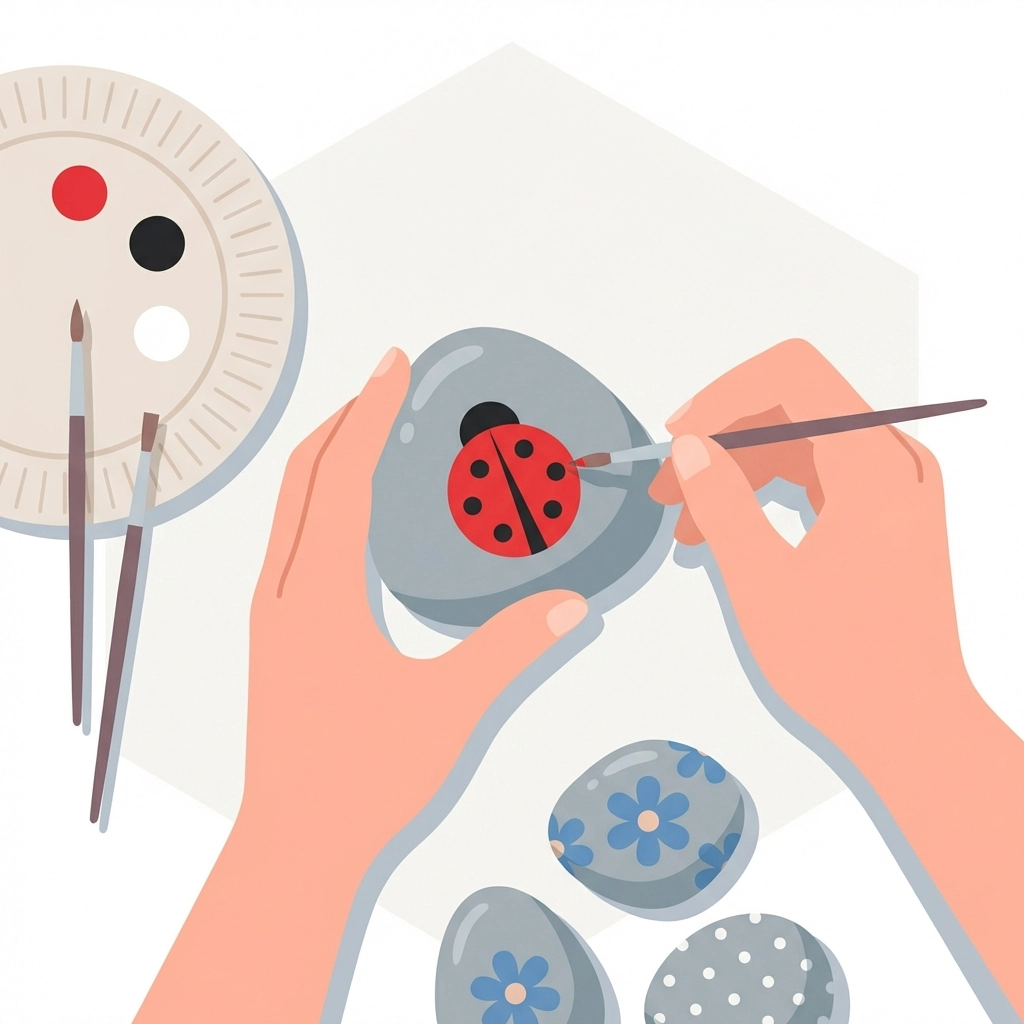
Step 4: Paint the design
This is where creativity takes over.
Simple design ideas for beginners:
- Solid colors with polka dots
- Stripes and geometric patterns
- Ladybugs, bees, or butterflies
- Flowers and leaves
- Faces with googly expressions
- Words like "joy," "grow," or "welcome"
- Garden markers for herbs and vegetables
- Pet rocks with animal features
Start with the background color.
Let it dry.
Add details on top.
Thin layers work better than thick globs.
Two thin coats beat one thick coat.
The handle end of a paintbrush creates perfect dots.
Toothpicks make fine lines.
Cotton swabs create soft edges.
Step 5: Let the paint dry completely
Acrylic paint dries fast.
15–20 minutes between layers is enough.
Final designs need at least one hour before sealing.
Rushing this step smears the artwork.
Set a timer.
Work on multiple rocks in rotation.
Step 6: Apply the protective sealer
Outdoor placement requires weather protection.
Use clear polyurethane varnish, Mod Podge Outdoor, or acrylic sealer spray.
Apply one thin coat.
Let dry for 30 minutes.
Apply a second coat.
Let dry.
Apply a third coat for maximum protection.
Three coats prevent fading, chipping, and water damage.
Spray sealers work faster.
Brush-on sealers offer more control.
Both deliver good results.
Sealing is not optional for outdoor rocks.
Unsealed painted rocks deteriorate within weeks.
Step 7: Place rocks in the garden
The final step is the most rewarding.
Tuck rocks among flowers and shrubs.
Line garden borders and pathways.
Create clusters near trees or garden statues.
Mark vegetable rows with labeled rocks.
Hide some for visitors to discover.

What design ideas work best for families?
Different ages enjoy different approaches.
For toddlers and preschoolers:
- Finger painting
- Sponge stamping
- Handprint designs
- Simple faces
- Bright solid colors
For elementary-age kids:
- Animals and insects
- Emoji faces
- Sports themes
- Favorite characters (simplified)
- Garden labels
For tweens and teens:
- Mandala patterns
- Gradient color blends
- Inspirational quotes
- Realistic nature scenes
- Galaxy or abstract designs
For adults:
- Coordinated color schemes
- House number displays
- Memorial stones
- Address markers
- Seasonal themes
Mixed-age families paint together.
Everyone works at their own level.
The garden benefits from variety.
What mistakes should families avoid?
Common errors are easy to prevent.
Painting on wet rocks.
Result: paint peels off.
Solution: dry rocks completely before starting.
Using too much paint at once.
Result: drips, smears, and long drying times.
Solution: apply thin layers.
Skipping the sealer.
Result: faded, chipped designs within weeks.
Solution: always seal outdoor rocks.
Rushing between steps.
Result: smudged artwork and frustration.
Solution: let each layer dry fully.
Choosing porous rocks.
Result: paint soaks in unevenly.
Solution: select smooth, non-porous stones.
How long do painted rocks last outdoors?
Properly sealed rocks last for years.
Three coats of quality sealer protect against:
- Rain and moisture
- UV sun damage
- Temperature changes
- General wear
Annual touch-ups extend lifespan further.
A fresh sealer coat each spring keeps colors vibrant.
Unsealed rocks fade within one season.
The sealing step determines longevity.
Why is this project perfect for families?
Painted rocks offer something rare.
No screens.
No competition.
No right or wrong answers.
Every family member contributes.
The youngest and oldest participate equally.
The finished product decorates shared outdoor space.
The cost barrier is nearly nonexistent.
The skill requirement is zero.
The time commitment fits a single afternoon.
Rocks collected on vacation become souvenirs.
Rocks painted on birthdays become traditions.
Rocks made with grandparents become keepsakes.
One $10 supply run produces dozens of decorations.
The garden gains color.
The family gains a memory.
That is the real return on investment.


