


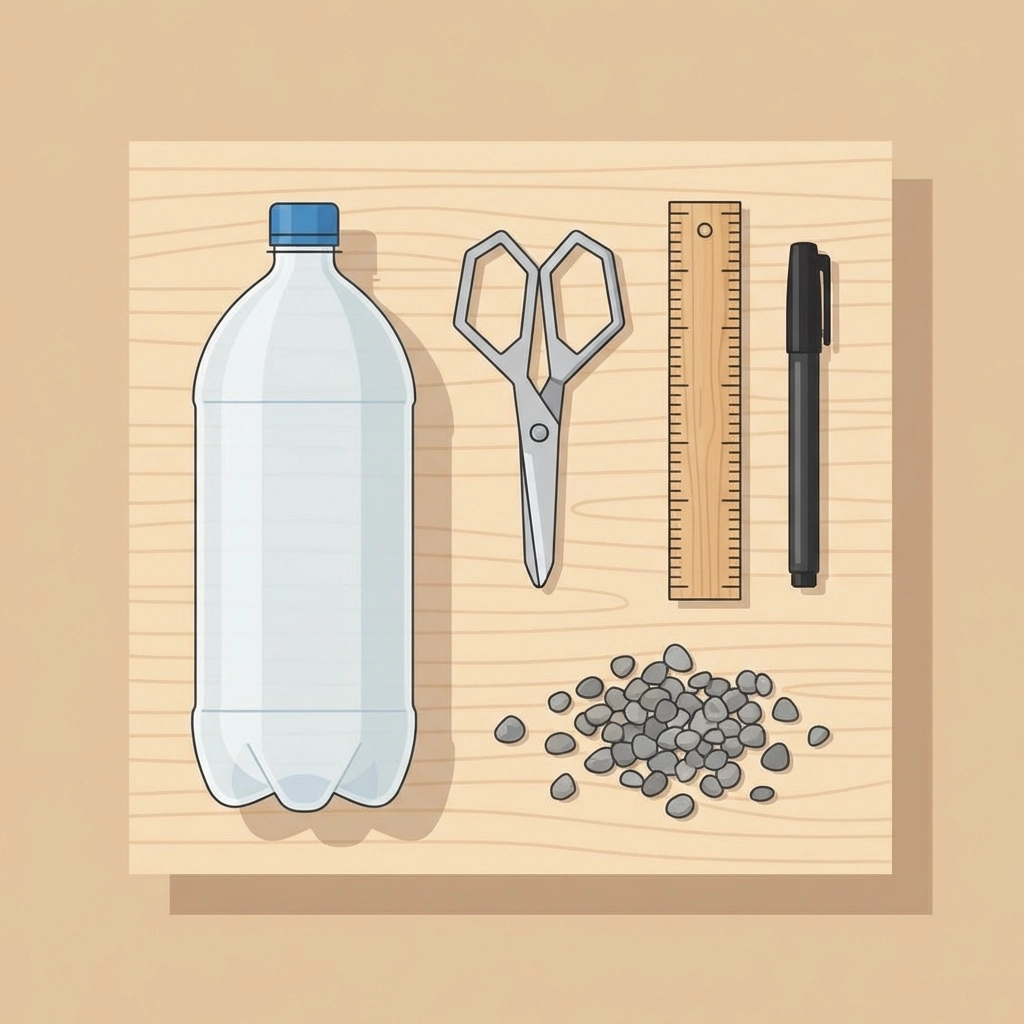
A functional rain gauge requires one recycled plastic bottle, a ruler, a marker, and small rocks for weight. Total cost: under $5. Most families already own everything needed.
This project takes 15-20 minutes to build. The learning lasts all season.
Rain gauges measure precipitation in inches or centimeters. Professional meteorologists use them. Now the whole family can too.
What materials are needed for a DIY rain gauge?
Gather these items before starting:
Essential supplies:
- One empty 2-liter plastic bottle (recycled)
- Sharp scissors or craft knife
- Ruler (at least 6 inches)
- Permanent marker
- Small rocks, pebbles, or sand
Optional additions:
- Paper clips or tape
- Clear packing tape
- Notebook for recording data
- Colored markers for decoration
The 2-liter bottle shape works best. The straight sides make measurement accurate. The wide opening catches rain efficiently.
How do families build a rain gauge step by step?
Step 1: Prepare the bottle
Remove the label completely. Soak the bottle in warm water if the label resists.
Clean the inside thoroughly. Dry it completely.
Cut the top section off the bottle. Make the cut approximately 2 inches below where the bottle starts to curve inward. This creates the funnel piece.
Remove the bottle cap and set it aside. The cap stays off permanently.
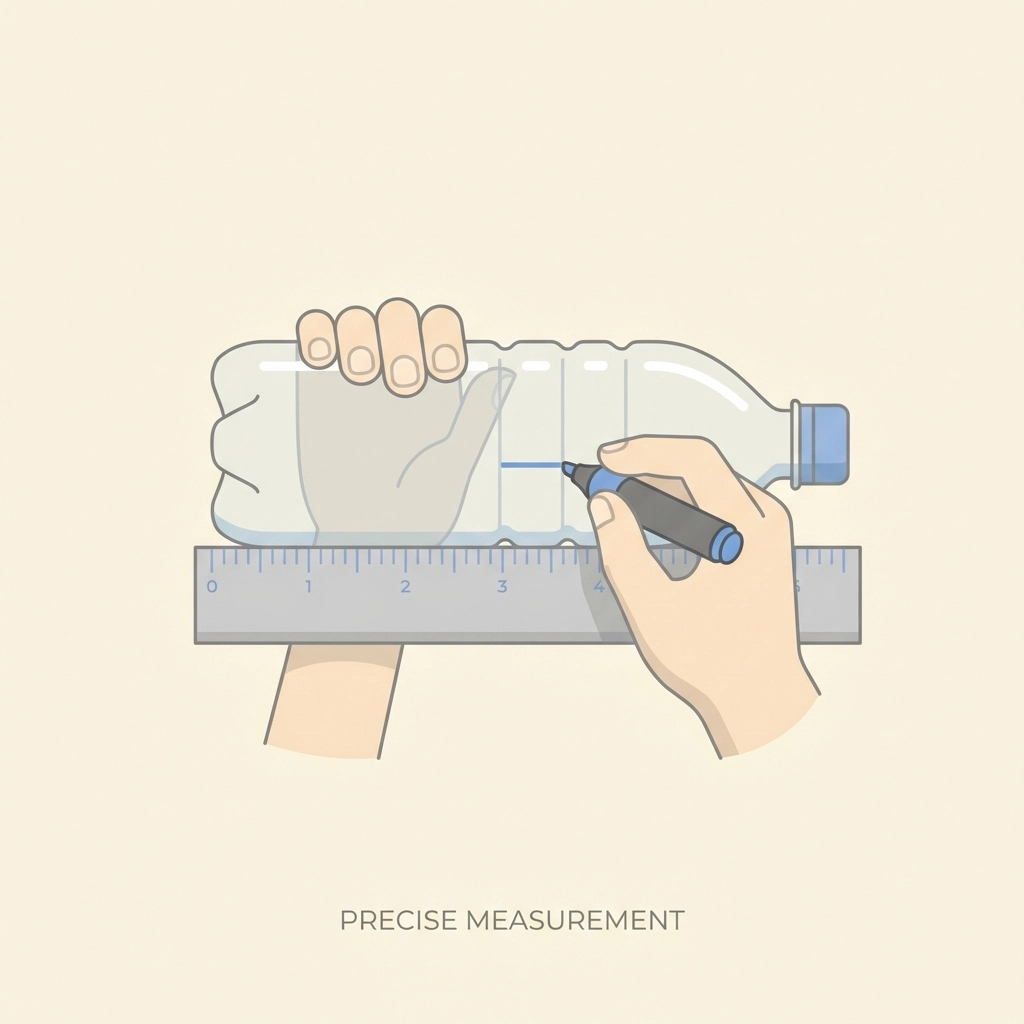
Step 2: Create the measurement scale
This step teaches precision. Take time here.
Place the ruler vertically against the bottle's straight side. Position the zero mark about 1 inch from the bottom.
Use the permanent marker to draw horizontal lines at each inch mark. Draw shorter lines at half-inch intervals.
Label each inch clearly: 1, 2, 3, 4, 5.
For metric learning, create a second scale on the opposite side in centimeters.
Step 3: Add weight to the base
Small rocks work perfectly. Add enough to cover the bottom inch of the bottle.
The weight serves two purposes:
- Prevents tipping in wind
- Creates a baseline water level
Alternative weighting options include sand, marbles, or gravel.
The rocks should sit below the first measurement line. This ensures accurate readings.
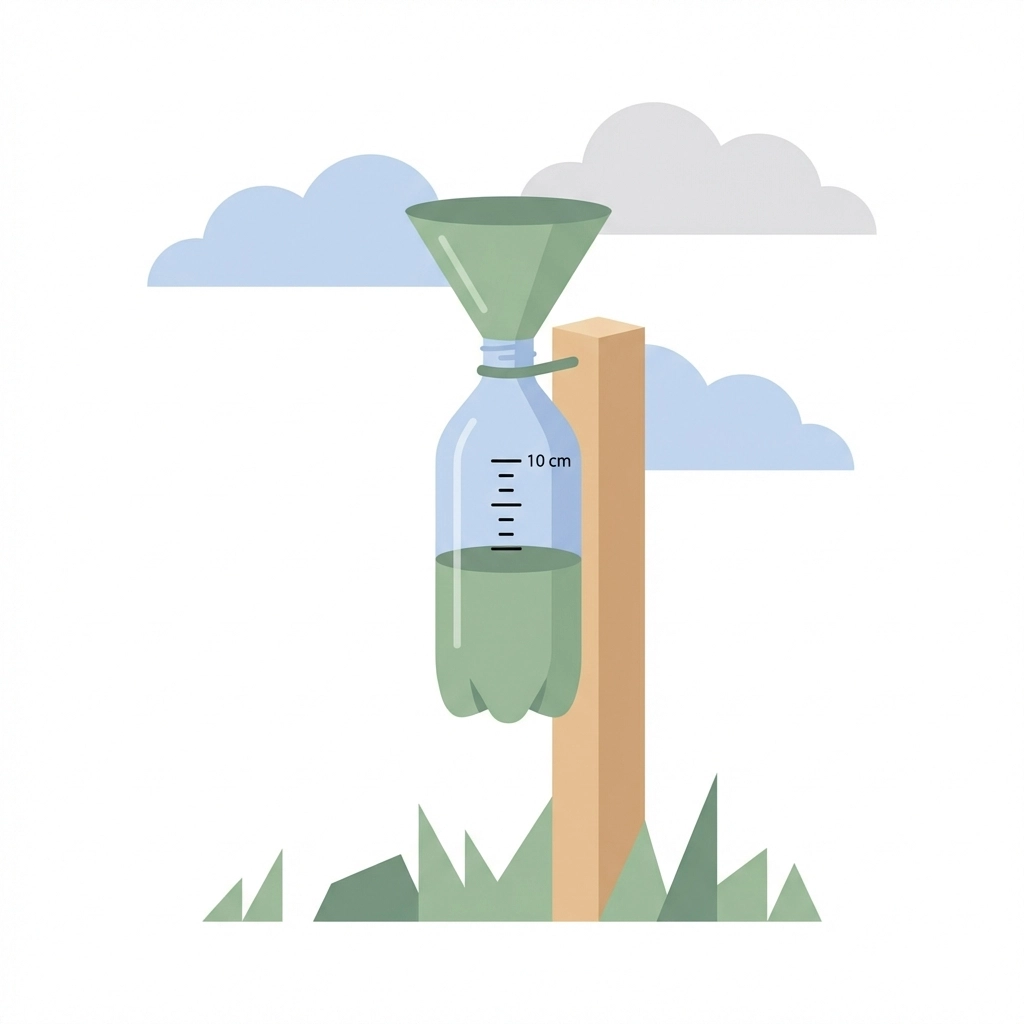
Step 4: Attach the funnel
Take the cut-off top section. Turn it upside down.
Insert it into the bottle opening. The curved part now points downward like a funnel.
This funnel design:
- Directs rainwater into the gauge
- Reduces evaporation between readings
- Prevents debris from entering
Secure the funnel with paper clips if it wobbles. Clear tape also works.
Step 5: Position the rain gauge outdoors
Location matters significantly.
Choose a spot that meets these criteria:
- Flat, stable surface
- Open to the sky
- Away from trees and overhangs
- Clear of building edges
- Protected from lawn sprinklers
Rooftops redirect water. Trees drip extra drops. Building edges create wind tunnels. All of these skew measurements.
A fence post, deck railing, or open lawn area works well.
What science concepts does this project teach?
Rain gauges introduce multiple scientific principles through hands-on experience.
Measurement and precision
Reading water levels develops mathematical skills. Fractions become tangible. Metric conversion becomes practical.
The water cycle
Precipitation connects to evaporation, condensation, and collection. The gauge demonstrates one phase of a continuous process.
Data collection
Recording daily measurements introduces the scientific method. Patterns emerge over time. Predictions become possible.
Weather observation
Rainfall amounts correlate with cloud types, seasons, and temperature. The gauge provides concrete data for weather discussions.
Environmental awareness
Tracking precipitation reveals local climate patterns. Drought and flood conditions become measurable realities.
How should families record and use rain gauge data?
Consistent measurement builds scientific habits.
Daily recording practice:
- Check the gauge at the same time each day
- Record the water level in a notebook
- Note the date, time, and any weather observations
- Empty the gauge completely after recording
- Return it to the same position
Data tracking ideas:
Create a simple chart with these columns:
- Date
- Rainfall amount (inches)
- Weather conditions
- Temperature
- Notes
Weekly totals reveal patterns. Monthly comparisons show seasonal changes. Yearly records build climate understanding.

What alternative designs work for rain gauges?
Several variations suit different household supplies.
The jar method
A tall, clear jar replaces the plastic bottle. Spaghetti sauce jars or olive jars work well.
Place a small funnel in the jar opening. Mark measurements on clear tape applied to the jar's side.
This design offers easier reading. The flat jar bottom eliminates the need for rocks.
The straight-sided container method
Any clear, cylindrical container functions as a gauge. Consistency in diameter matters.
Wide containers require conversion calculations. Narrow containers provide more precise readings.
The buried gauge method
Dig a small hole. Place the gauge inside so the top sits at ground level.
This design:
- Eliminates wind concerns
- Reduces evaporation
- Mimics professional ground-level gauges
What common mistakes should families avoid?
Several errors affect measurement accuracy.
Placement errors:
- Positioning under trees or eaves
- Placing on uneven surfaces
- Choosing windy, exposed locations
- Setting near heat sources
Measurement errors:
- Reading at inconsistent times
- Forgetting to empty after recording
- Allowing water to evaporate before reading
- Misreading the water line angle
Construction errors:
- Using bottles with curved sides for measurement
- Placing rocks above the first measurement line
- Creating unclear or smudged markings
How can families extend this learning experience?
The rain gauge opens doors to broader exploration.
Compare with official data
Local weather stations publish daily precipitation totals. Compare homemade gauge readings with official measurements.
Differences teach about measurement variation and data accuracy.
Track multiple locations
Build several gauges. Place them in different yard locations.
Compare readings. Discuss why variations occur.
Connect to gardening
Plants need specific water amounts. Use gauge data to determine watering needs.
One inch of rainfall equals approximately 0.6 gallons per square foot of garden space.
Predict weather patterns
After collecting several weeks of data, attempt predictions.
Notice correlations between cloud types and rainfall amounts. Observe pressure changes before storms.
Why does hands-on science matter for families?
Building and using a rain gauge creates shared learning moments.
The project costs almost nothing. The materials already exist in most homes. The construction takes minutes.
The learning continues for months. Every rainy day becomes a data point. Every measurement reinforces scientific thinking.
Children who build scientific instruments develop confidence in STEM subjects. Abstract concepts become concrete experiences.
A $5 rain gauge delivers more educational value than many expensive science kits.
The weather happens daily. The learning opportunities never stop.


