


Gather some rocks, popsicle sticks, or old plastic containers from around your house, grab a few paints or markers, and you've got everything you need to make adorable plant markers with your family for way under $10.
Seriously. That's it.
No fancy supplies. No craft store spending spree. Just stuff you probably already have sitting in a junk drawer or recycling bin.
The best part? Kids absolutely love this project. Little hands get to paint. Everyone picks their favorite colors. And at the end, you've got something useful that goes right into the garden.
Let's walk through exactly how to make this happen.
What supplies do you need for DIY plant markers?
Here's the beautiful thing. Most of these items cost nothing because they're already in your home.
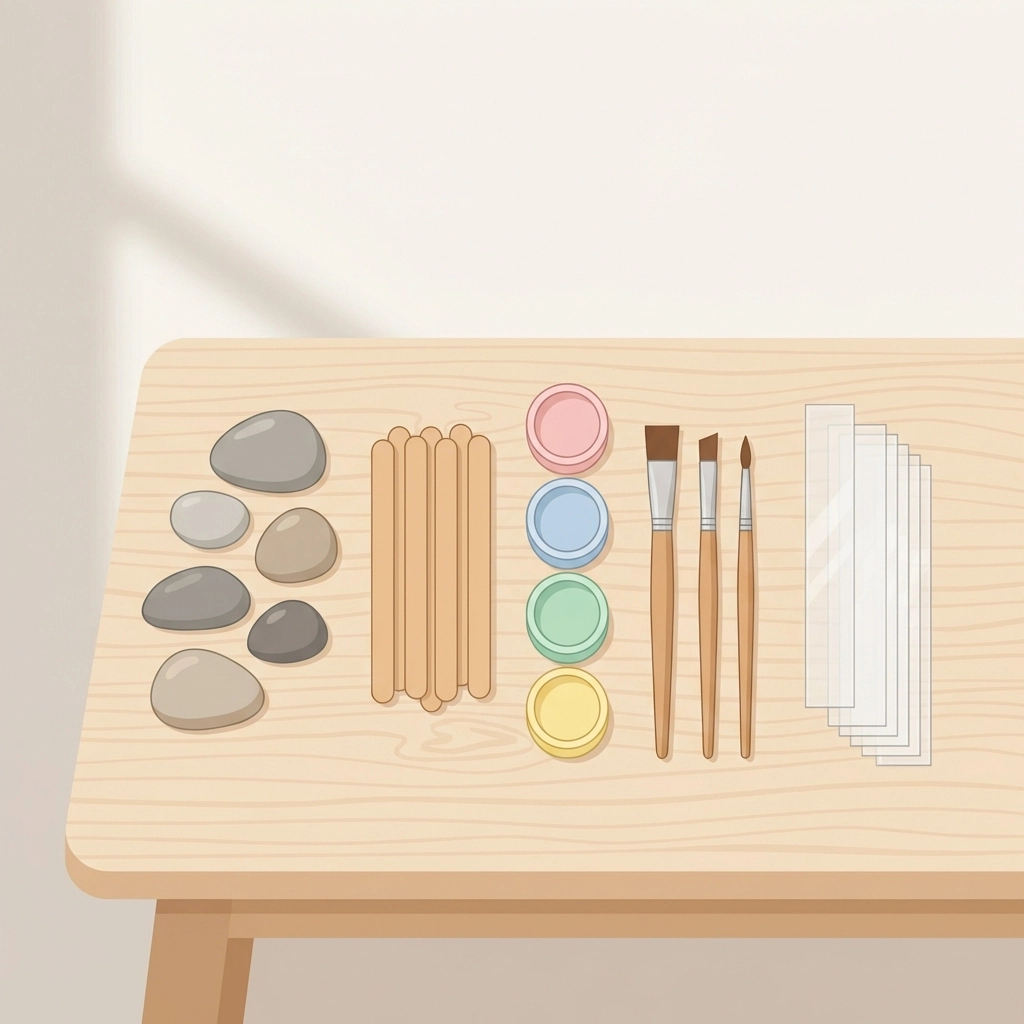
Free or nearly free materials:
- Smooth rocks from outside
- Popsicle sticks (save them from summer treats)
- Plastic containers (milk jugs, yogurt cups, juice bottles)
- Broken terracotta pot pieces
- Wooden spoons
- Paint stir sticks (free at hardware stores)
Budget supplies (under $10 total):
- Acrylic craft paint ($1-3 at dollar stores)
- Paint pens or permanent markers ($2-4)
- Clear nail polish or contact paper for sealing ($1-2)
- Wax pencils or grease pencils ($2 at art supply stores)
That's the whole list.
One trip to the dollar store. Maybe not even that if you've got craft supplies hanging around.
How do you make painted rock plant markers?
This one's a family favorite. Kids can do almost all of it themselves.
Step 1: Hunt for rocks together.
Head outside as a family. Look for smooth, flat rocks about the size of a palm. River rocks work great. So do landscaping stones. Check the driveway, garden beds, or take a quick walk around the neighborhood.
Make it a game. See who can find the smoothest one. The flattest one. The most interesting shape.
Step 2: Wash and dry the rocks.
Rinse off any dirt. Let them dry completely. This helps the paint stick better.
Tiny hands love this part. Set up a little washing station with a bowl of water and an old towel.
Step 3: Paint base colors.
Use acrylic craft paint. It's non-toxic and affordable.
Let each family member pick their favorite colors. Paint the whole rock or just one side. Set them on newspaper or cardboard to dry.
This takes about 20-30 minutes to dry fully.
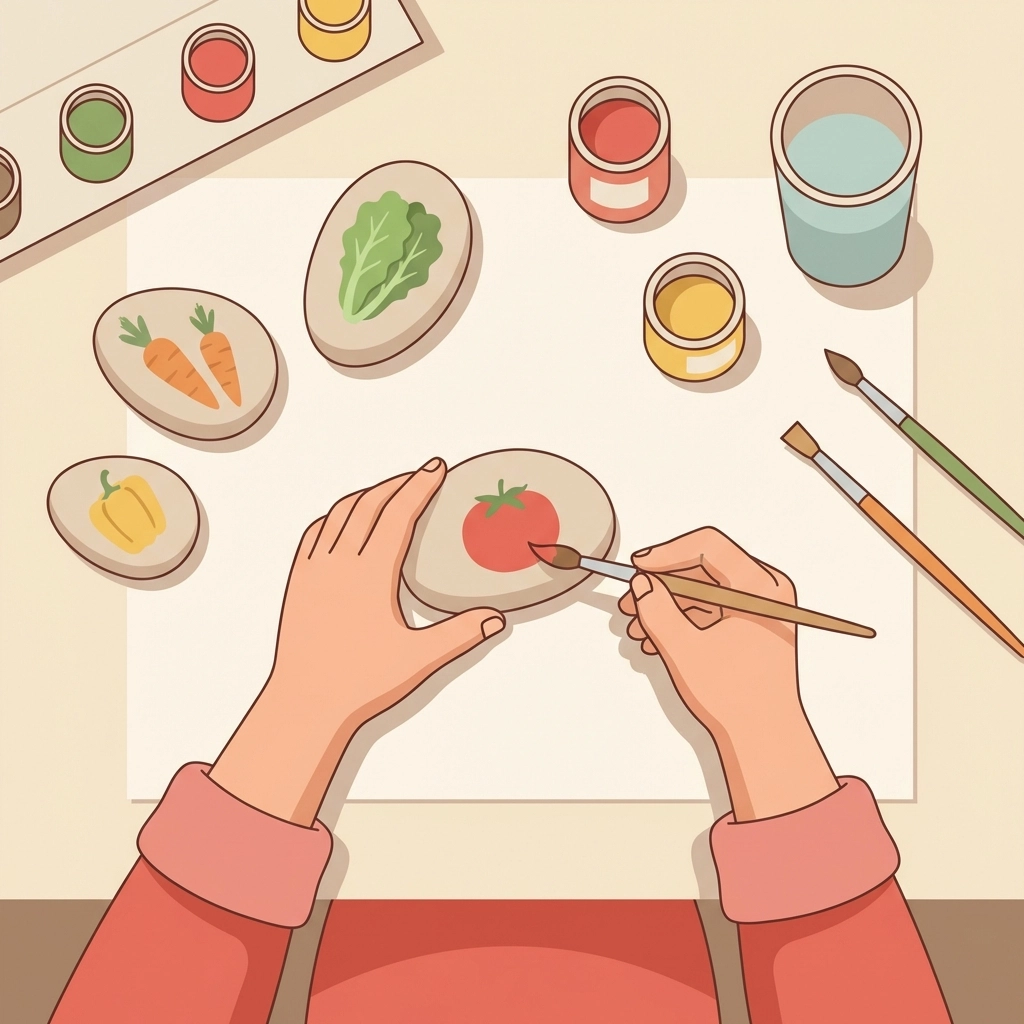
Step 4: Add plant names.
Once dry, write the plant names. Use paint pens, permanent markers, or a thin brush with contrasting paint.
Younger kids can draw pictures of the vegetables instead. A little orange blob for carrots. Green squiggles for lettuce. They'll remember what's what.
Step 5: Seal them.
This step makes them last through rain and watering.
Brush on clear nail polish. Or spray with a clear acrylic sealer. Or skip this step entirely: the markers still work, they just might fade faster.
Done. Place them at the base of each plant.
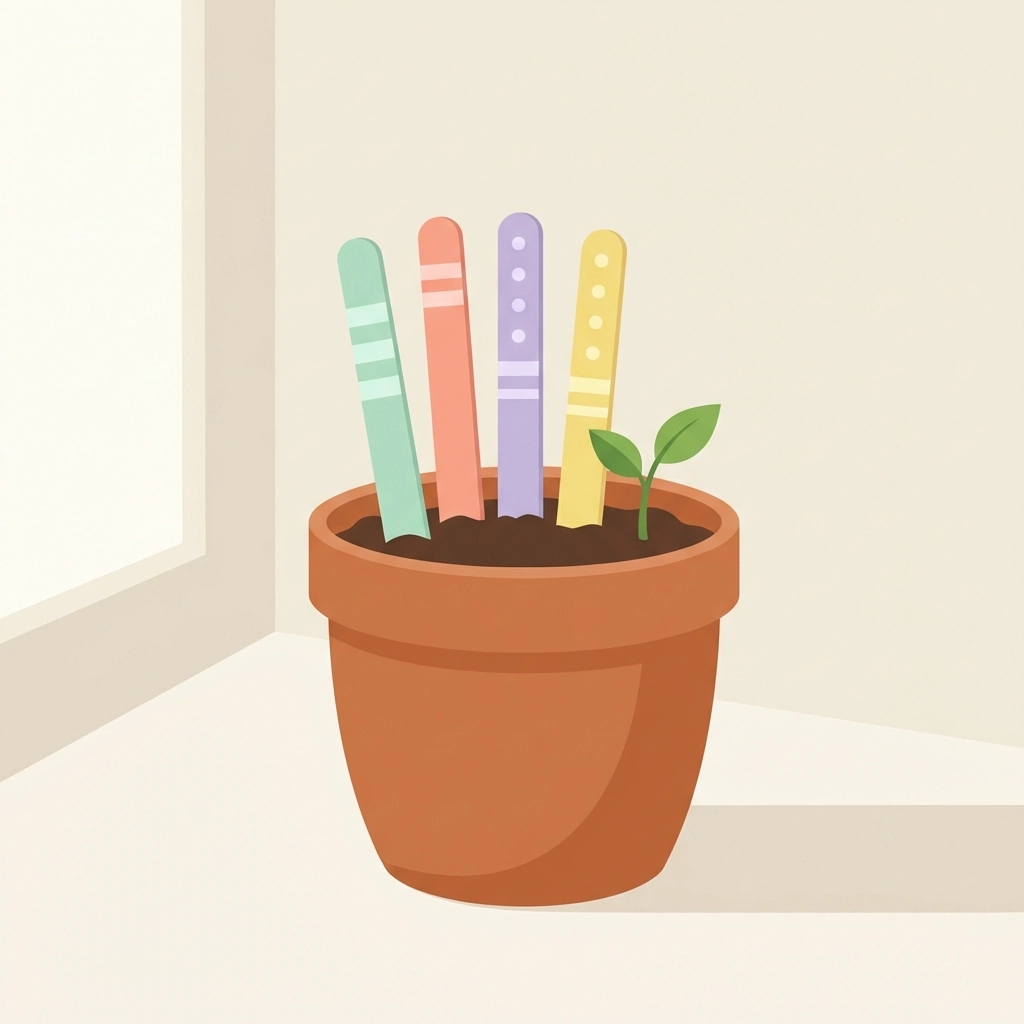
How do you make popsicle stick plant markers?
Classic. Simple. Perfect for little ones.
What you need:
- Wooden popsicle sticks (or craft sticks from the dollar store)
- Markers, paint pens, or acrylic paint
- Optional: stickers, washi tape, glitter glue
The process:
Write plant names on the sticks. Decorate however you want. Stick them in the soil.
That's genuinely it.
For extra durability, wrap the bottom half in clear packing tape before putting them in dirt. This prevents the wood from rotting as quickly.
Kids can make these assembly-line style. Set up stations: one for writing names, one for decorating, one for sealing. Everyone rotates through.
A pack of 100 craft sticks costs about $1. Enough markers for a whole garden season.
How do you make recycled plastic plant markers?
Free materials. Waterproof results. Win-win.
Best containers to use:
- Milk jugs
- Laundry detergent bottles
- Plastic food containers
- Old blinds (the slats work perfectly)
Step 1: Cut into strips.
Use scissors to cut plastic containers into strips about 1 inch wide and 6 inches long. Round the corners so little fingers don't get scratched.
Adults handle the cutting. Kids handle everything else.
Step 2: Write or paint.
Permanent markers work directly on plastic. So do paint pens.
For a fancier look, paint the strips with acrylic paint first. Let dry. Then write names on top.
Step 3: Poke into soil.
The pointed end goes down. The labeled end sticks up.
These last forever. Rain doesn't bother them. Sun doesn't fade permanent marker quickly.
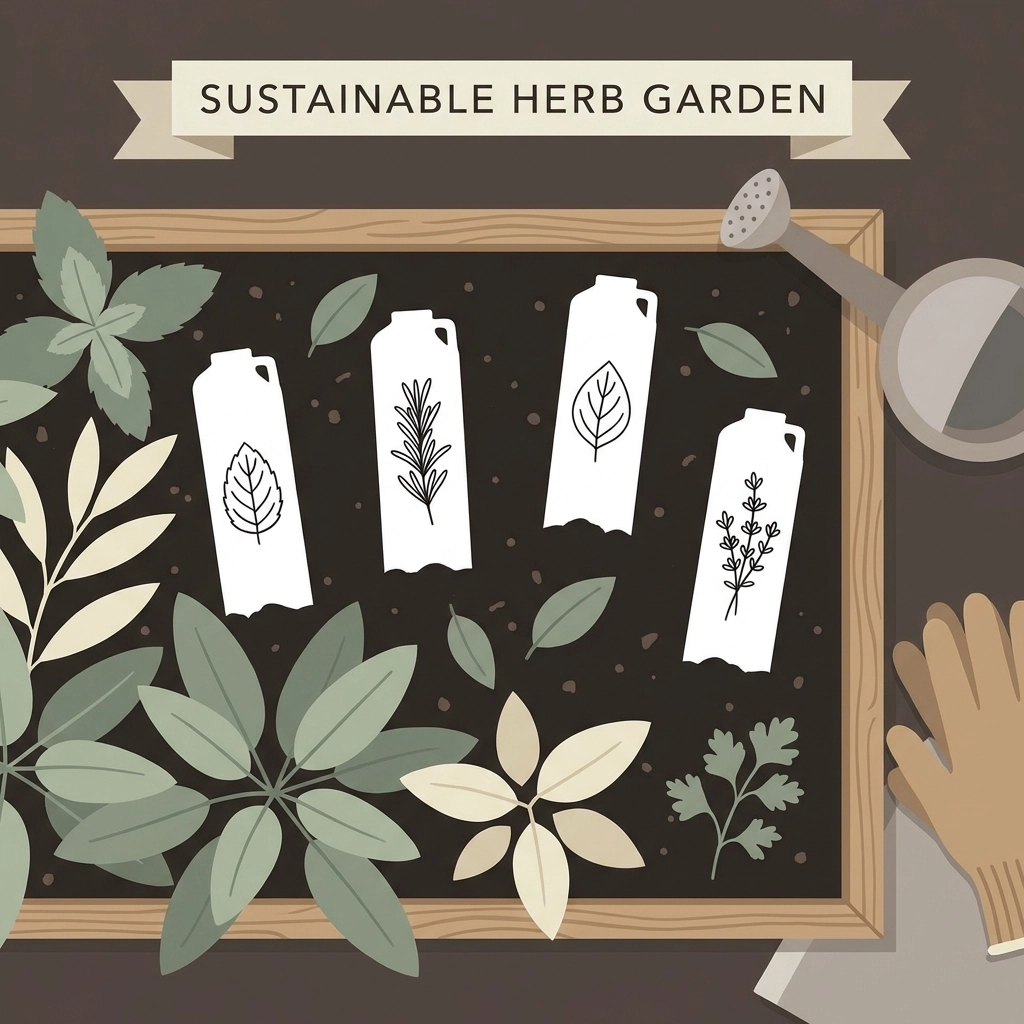
What about wooden spoon plant markers?
These look adorable in herb gardens especially.
Grab wooden spoons from the dollar store. Paint the spoon part. Write the herb name on the handle or the spoon face.
Stick the handle into the soil.
Three wooden spoons cost about $1. Paint the spoon heads to look like little vegetables: red for tomatoes, orange for carrots, purple for eggplant. Kids think this is hilarious.
How do you make plant markers that last longer?
A few tricks extend the life of any DIY marker.
Seal everything.
Clear nail polish. Mod Podge. Clear acrylic spray. Contact paper wrapped around paper labels.
Any of these add a waterproof barrier.
Use the right writing tools.
Wax pencils and grease pencils work on almost any surface. They resist water naturally. Cost about $2 and last multiple seasons.
Oil-based paint pens outlast water-based ones.
Protect paper labels.
Print labels on a computer. Cut them out. Sandwich between two pieces of clear packing tape. Or use self-laminating sheets from the dollar store.
Seal all edges completely. Water sneaks in through gaps.
What makes this a great family activity?
Everyone has a job.
Toddlers can wash rocks and sort sticks. Elementary kids can paint and decorate. Older kids can write names and do detail work. Adults supervise cutting and sealing.
Nobody sits out.
The project scales to any attention span. Make five markers in 20 minutes. Make fifty over a whole afternoon. Stop whenever energy runs out.
Everything dries while snacks happen.
And here's the real magic. Every time the garden gets watered, every time vegetables get picked, those handmade markers are right there. Reminders of the afternoon everyone spent together making them.
Kids point them out to visitors. "I painted that one." Pride builds with every glance.
Quick shopping list for under $10
Heading to the dollar store? Here's what to grab:
- Acrylic craft paint (multi-pack): $2-3
- Paint pens or permanent markers: $2-3
- Wooden craft sticks (100 count): $1
- Wooden spoons (3 pack): $1
- Clear nail polish or contact paper: $1-2
Total: $7-10
Rocks, plastic containers, and broken pots come from home. Free.
That's a whole season of plant markers for less than the cost of lunch.
The bottom line on DIY plant markers
This project delivers. Low cost. High fun. Useful results.
No special skills required. No expensive supplies. No stress.
Just an hour or two with the family, some paint, and whatever materials happen to be lying around.
The garden ends up labeled. The kids end up proud. The budget stays intact.
Start with rocks if you've never done this before. They're forgiving and kids love painting them.
Then try popsicle sticks next time. Then recycled plastic.
By midsummer, the whole garden will be filled with handmade markers and good memories.
That's the real harvest.


