


Cut a clean 2-liter plastic bottle in half horizontally. Fill the bottom with soil. Plant seeds. Cover with plastic wrap or the top half of the bottle. Place on a sunny windowsill. Done.
Total cost: under $5.
This project takes about 15 minutes. The materials are already in the recycling bin. Kids get to watch seeds sprout in their own little growing dome. Everyone wins.
Here's exactly how to make it happen.
What materials do you need for a DIY plastic bottle greenhouse?
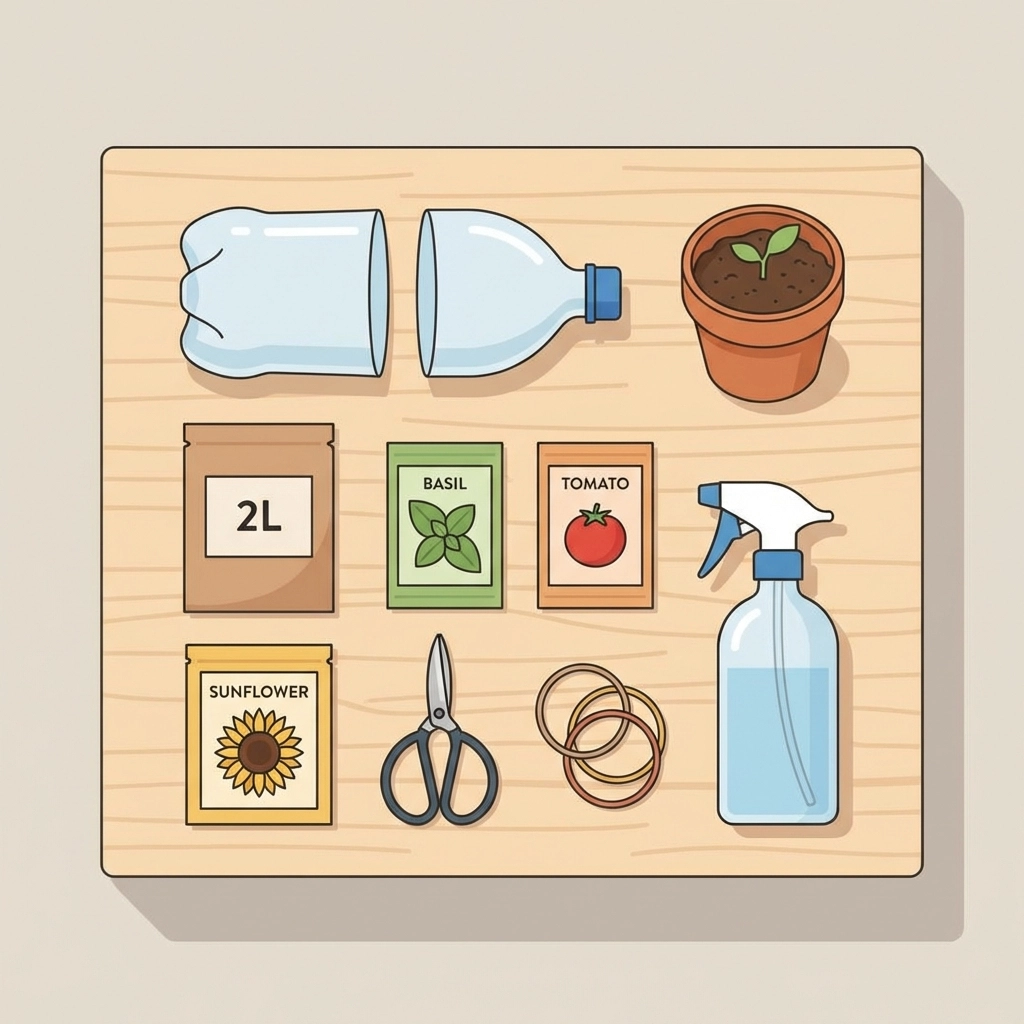
Gather these items before starting:
From the recycling bin:
- 1-2 clear plastic bottles (2-liter soda bottles work best)
- The bottle caps
From around the house:
- Scissors or a craft knife (adult use only)
- Plastic wrap
- Rubber bands
- A spray bottle with water
From the store (if needed):
- Potting soil: $2-3
- Seed packets: $1-2
That's it.
Most families already have everything except maybe the seeds. Fast-germinating options like beans, peas, sunflowers, or marigolds work great. Kids see results in days, not weeks.
How do you prepare the plastic bottle?
Start with a clean, clear bottle.
Remove all labels. Soak the bottle in warm soapy water if the label is stubborn. Rinse thoroughly. Any residue blocks sunlight.
Dry the bottle completely.
Clear bottles work better than colored ones. Light needs to reach the seeds. Green or blue tinted bottles slow things down.
This is a great task for little hands. Peeling labels off feels productive. Kids love it.
How do you cut the bottle safely?
This part is for adults only.
Use scissors or a craft knife. Cut the bottle in half horizontally, right around the middle. Two pieces now: a bottom cup and a top dome.
Poke 3-4 small drainage holes in the bottom piece. A knife tip or scissors work fine. Water needs somewhere to go or seeds drown.
Set both pieces aside.
If working with multiple kids, prepare several bottles ahead of time. Assembly line style. Everyone gets their own greenhouse.
How do you set up the growing chamber?
Here's where kids take over.
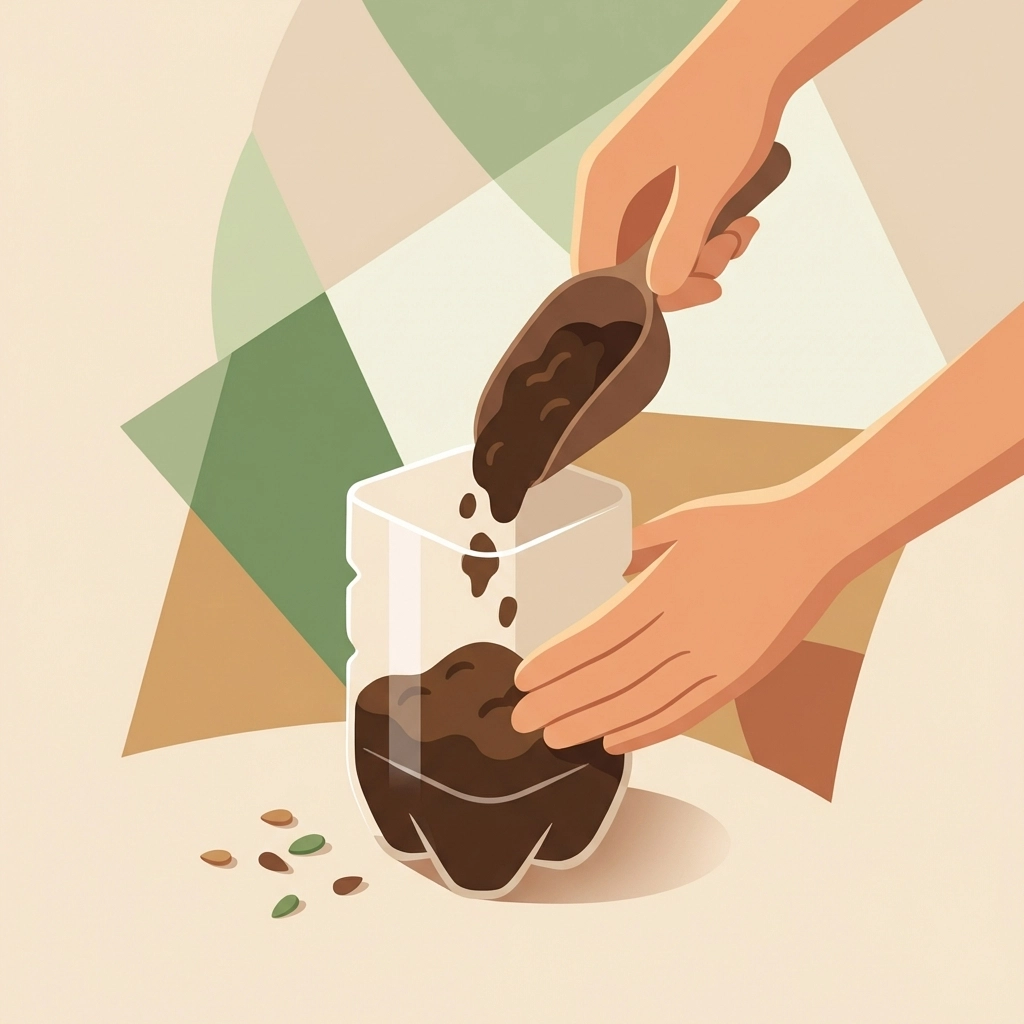
Step 1: Fill the bottom piece about two-thirds full with potting soil. Not packed tight. Loose and fluffy.
Step 2: Poke 2-3 small holes in the soil with a finger. About half an inch deep.
Step 3: Drop one seed into each hole.
Step 4: Gently cover the seeds with soil. A light sprinkle, not a heavy burial.
Step 5: Spray the soil with water until damp. Not soaking wet. Just moist.
The spray bottle is key here. Pouring water floods small containers. Misting keeps things controlled.
How do you create the greenhouse effect?
Two options work equally well.
Option 1: Plastic wrap cover
Stretch plastic wrap over the top of the bottom piece. Secure with a rubber band around the edge. Poke a few tiny holes with a toothpick for airflow.
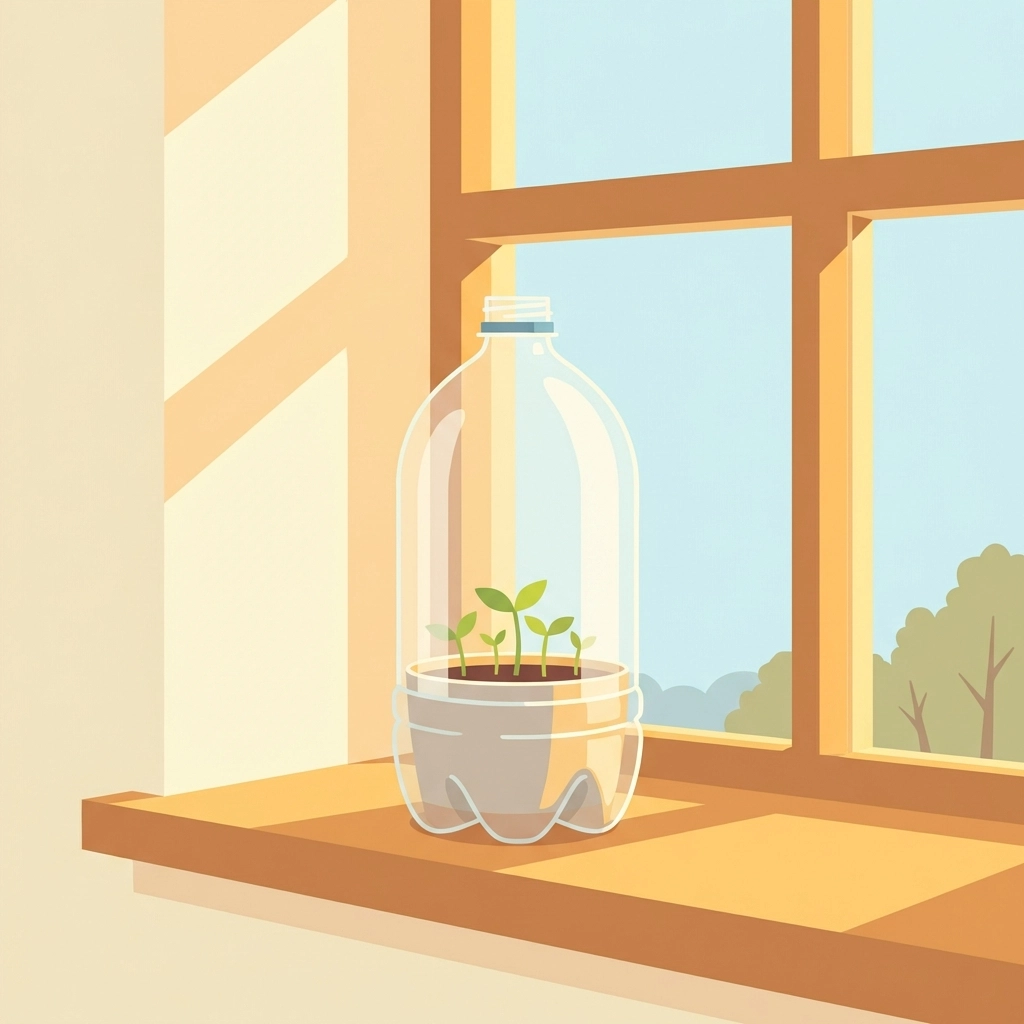
Option 2: Bottle top dome
Place the top half of the bottle over the bottom piece. Leave the cap off for ventilation. The bottle halves nestle together naturally.
Both methods trap warmth and moisture inside. The temperature rises 10+ degrees compared to open air. Seeds love this.
The dome method looks cooler. Kids can see everything happening inside their personal greenhouse. Highly recommended for the wow factor.
Where should you put the mini greenhouse?
Sunny windowsill. South-facing is ideal.
Seeds need light to germinate. At least 6 hours of direct or indirect sunlight daily. More is better.
Check the soil every day or two. If the top looks dry, mist it again. The greenhouse effect retains moisture well, so daily watering usually isn't necessary.
Rotate the greenhouse every few days. Seedlings grow toward light. Rotating keeps them straight instead of leaning dramatically.
Kitchen windowsills work great. Kids walk past multiple times a day. They notice every tiny change.
What seeds work best for kids?
Fast results keep kids engaged.
Best choices for beginners:
- Beans: Sprout in 5-7 days. Big seeds, easy to handle.
- Peas: Similar to beans. Visible growth quickly.
- Sunflowers: Dramatic sprouts. Kids recognize them immediately.
- Marigolds: Bright flowers eventually. Forgiving plants.
- Lettuce: Sprouts fast. Edible results in weeks.
Avoid slow germinators like peppers or herbs for first-time greenhouse builders. Patience runs thin after two weeks of staring at dirt.
One seed packet costs $1-2. Plenty of seeds inside for multiple greenhouses or retry attempts.
How do you turn this into a learning activity?
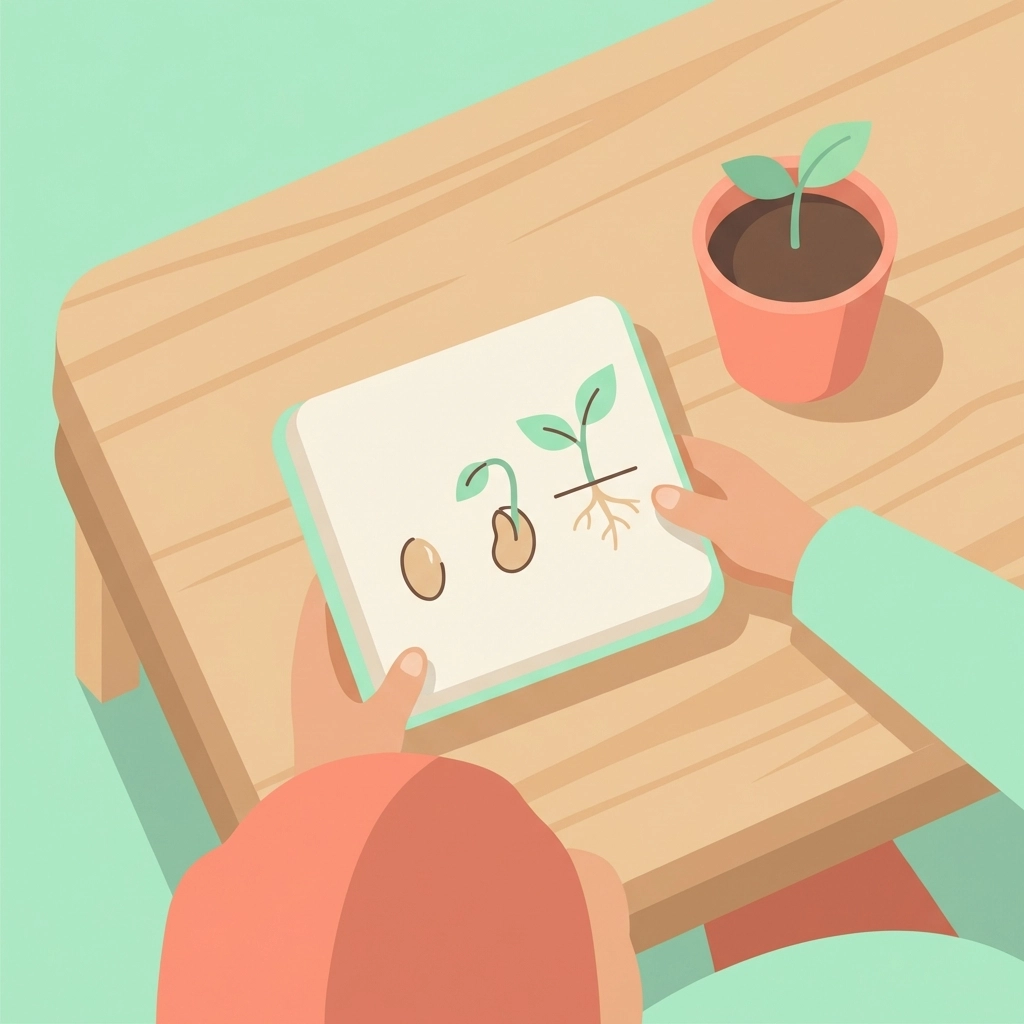
Add a seed journal.
Grab any notebook or staple some paper together. Each day, kids draw what they see. Or write a sentence or two.
Day 1: "Planted seeds. Dirt looks brown."
Day 4: "Something green is poking up!"
Day 7: "Two leaves now. They're reaching for the window."
This builds observation skills. Also creates a keepsake. Looking back at seed journals months later brings genuine joy.
Measure the seedlings with a ruler once they sprout. Record the height. Graph it if kids are into that. Math sneaks in without anyone noticing.
What happens when seedlings outgrow the greenhouse?
Transplant time.
Once seedlings have 2-4 true leaves (the second set that appears after the initial sprout leaves), they're ready to move.
Transfer to a larger pot or directly into a garden bed. Handle gently. Roots are delicate at this stage.
The mini greenhouse served its purpose. It created the warm, moist environment seeds needed to get started. Now the plants need room to grow.
Save the bottle pieces. Rinse them out. Use them again next season. Infinite greenhouses from one soda bottle.
What if the seeds don't sprout?
It happens. No big deal.
Common reasons:
- Too wet: Seeds rotted. Use less water next time.
- Too dry: Seeds never activated. Check moisture more often.
- Not enough light: Move to a sunnier spot.
- Old seeds: Some packets sit on store shelves too long. Try fresh ones.
Gardening teaches resilience. Not everything works the first time. Try again. Adjust one variable. See what happens.
This is actually a valuable lesson for kids. Failure isn't final. It's information.
Can you make multiple greenhouses at once?
Absolutely.
Set up an assembly line. Each kid gets their own bottle. Everyone plants different seeds. Compare results over the following weeks.
Whose seeds sprouted first? Whose plants grew tallest? Friendly competition makes daily check-ins more exciting.
Label each greenhouse with a permanent marker. Names, seed types, planting dates. Keeps everything organized when multiple projects crowd the windowsill.
Final cost breakdown
Here's the math:
| Item | Cost |
|---|---|
| Plastic bottles | Free (recycled) |
| Potting soil | $2-3 |
| Seed packets | $1-2 |
| Plastic wrap | Already at home |
| Rubber bands | Already at home |
| Spray bottle | Already at home |
Total: $3-5
Well under the $10 budget. Enough leftover for a second round of seeds if needed.
Why this project works for families
Fifteen minutes of setup. Days of excitement watching for sprouts. Weeks of growth and learning.
No special skills required. No expensive supplies. No complicated instructions.
Just a plastic bottle, some dirt, seeds, and sunlight.
Kids remember making things with their hands. They remember watching something grow because they planted it. They remember the windowsill greenhouse that started from a soda bottle headed for the recycling bin.
This is the kind of project that sticks.
Grab a bottle. Get the kids. Start growing.


11 Comments
How Does the Paper Towel Color Walk Experiment Work? – Tierney Family Farms
January 19, 2026, at 9:15 pm[…] for more hands-on science activities? Check out our guide on how to make a DIY mini greenhouse out of plastic bottles or explore worm composting with children for another budget-friendly project the whole family can […]
DIY Rain Barrels for Kids: A Step-by-Step Guide to Saving Water at Home – Tierney Family Farms
January 19, 2026, at 9:18 pm[…] enjoyed this project, you might also like our guides on building a DIY worm composting bin or creating a mini greenhouse from plastic bottles. Same spirit: hands-on learning that actually does something […]
How to Start a Neighborhood Seed Library with Your Kids This Spring – Tierney Family Farms
January 19, 2026, at 10:10 pm[…] more family garden projects, check out our guide on how to make a DIY mini greenhouse out of plastic bottles or learn how to create a worm composting bin with your […]
10 Big Life Lessons Kids Learn from Growing a Tiny Seed – Tierney Family Farms
January 20, 2026, at 3:01 am[…] you're looking for more hands-on family projects, check out our guide on how to make a DIY mini greenhouse out of plastic bottles for under $10 or learn how to create a worm composting bin with your […]
How to Build an Herb Garden in a Shoebox: A Simple Weekend Project for Kids – Tierney Family Farms
January 20, 2026, at 3:31 am[…] your shoebox herb garden is thriving, you might want to level up. Check out our guide on how to make a DIY mini greenhouse out of plastic bottles or explore building a kitchen scrap regrow garden for another budget-friendly family […]
The Magic of Pollinators: Why Every Garden Needs Bees and Butterflies – Tierney Family Farms
January 20, 2026, at 3:52 am[…] more family-friendly nature projects, explore our guides on building a DIY mini greenhouse with plastic bottles or creating a worm composting bin with your […]
How to build a "Bee Waterer" from pebbles? – Tierney Family Farms
January 21, 2026, at 3:58 am[…] for more simple garden projects the whole family can tackle? Check out our guide on making a DIY mini greenhouse from plastic bottles or learn how to regrow kitchen scraps with your kids. Small projects, big impact: that's what […]
How to make DIY "Nature Paint" from berries and dirt? – Tierney Family Farms
January 21, 2026, at 3:58 am[…] might also enjoy our guide on making a DIY mini greenhouse from plastic bottles, another great upcycling project that pairs perfectly with growing your own dye […]
How to make "Living Jewelry" with tiny succulents and moss? – Tierney Family Farms
January 21, 2026, at 3:59 am[…] your family loves miniature garden projects, you might also enjoy our guide on how to make a DIY mini greenhouse from plastic bottles, another budget-friendly project that brings the magic of growing things to […]
Gardening on a Budget: 10 Easy Family Projects for Under $10 – Tierney Family Farms
January 21, 2026, at 4:10 am[…] more budget-friendly ideas, explore our posts on building a DIY mini greenhouse from plastic bottles or creating a worm composting bin with […]
Indoor Herb Gardens: 3 Easy Ways to Grow Fresh Flavors All Winter – Tierney Family Farms
January 21, 2026, at 4:11 am[…] check out our guide on how much space you need for a productive hydroponic garden or try building a DIY mini greenhouse from plastic bottles for even more indoor growing […]