


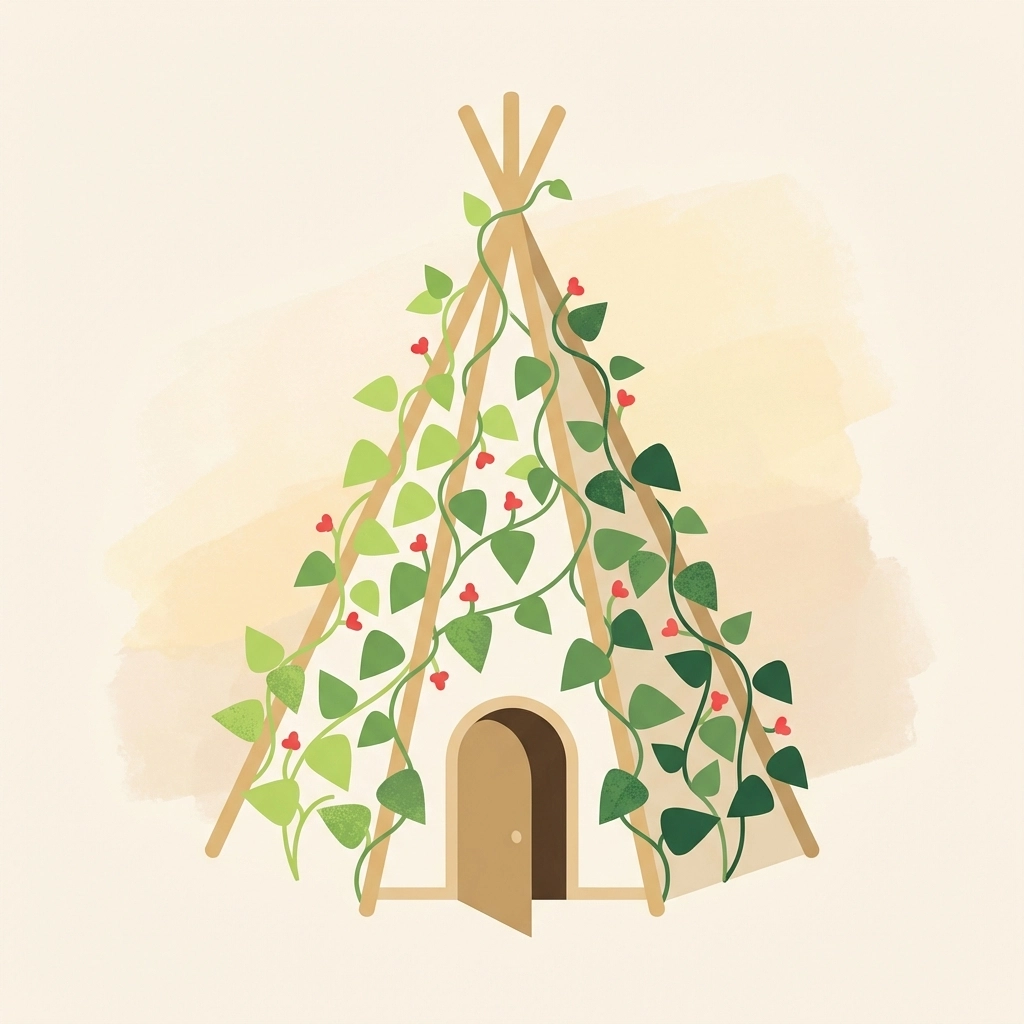
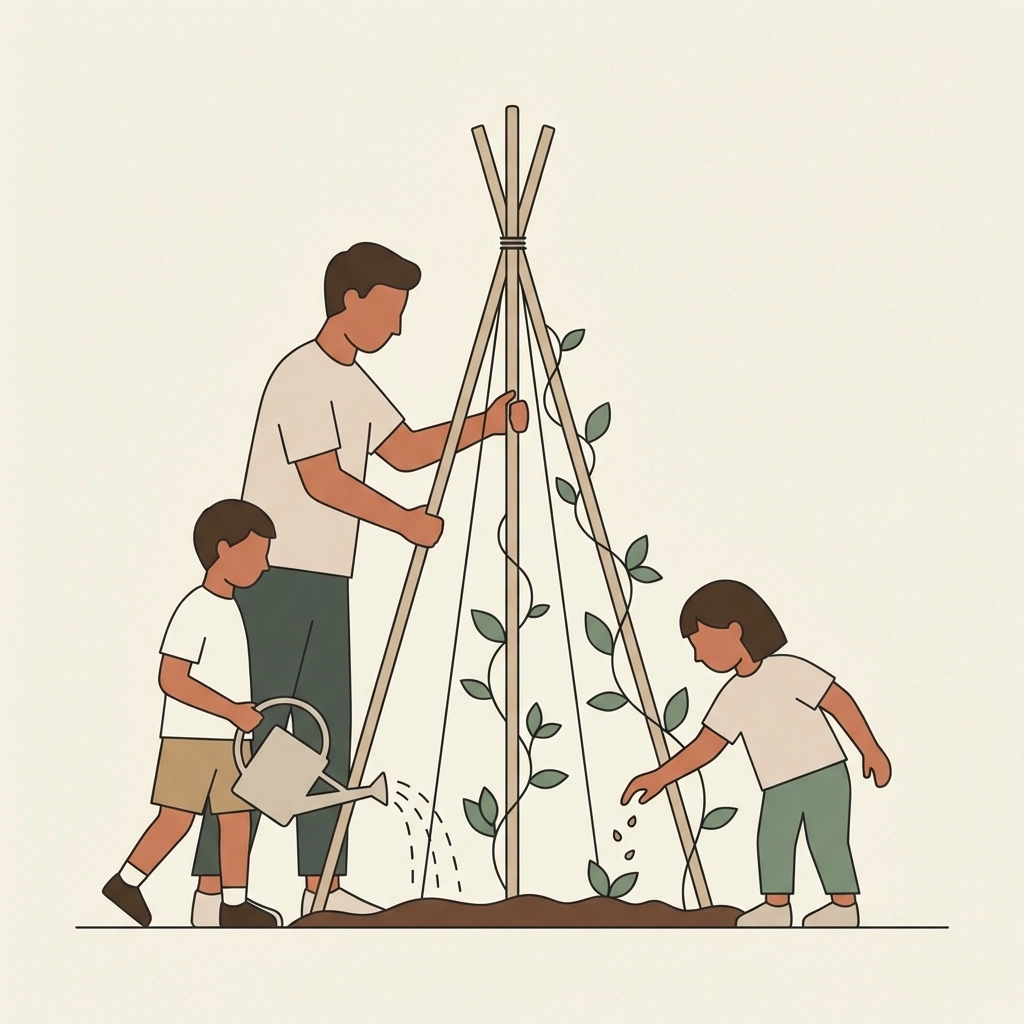
Gather 6–8 sticks or bamboo poles, tie them together at the top with twine, and push the bottoms into the ground in a circle. Total cost: under $10. Total time: about 30 minutes. The result: a living playhouse that grows beans, flowers, or vines all summer long.
This project works with materials already in most backyards. Dollar store finds cover the rest. Children of all ages participate safely. The teepee becomes both a garden feature and an outdoor hideaway.
What materials are needed for a budget teepee trellis?
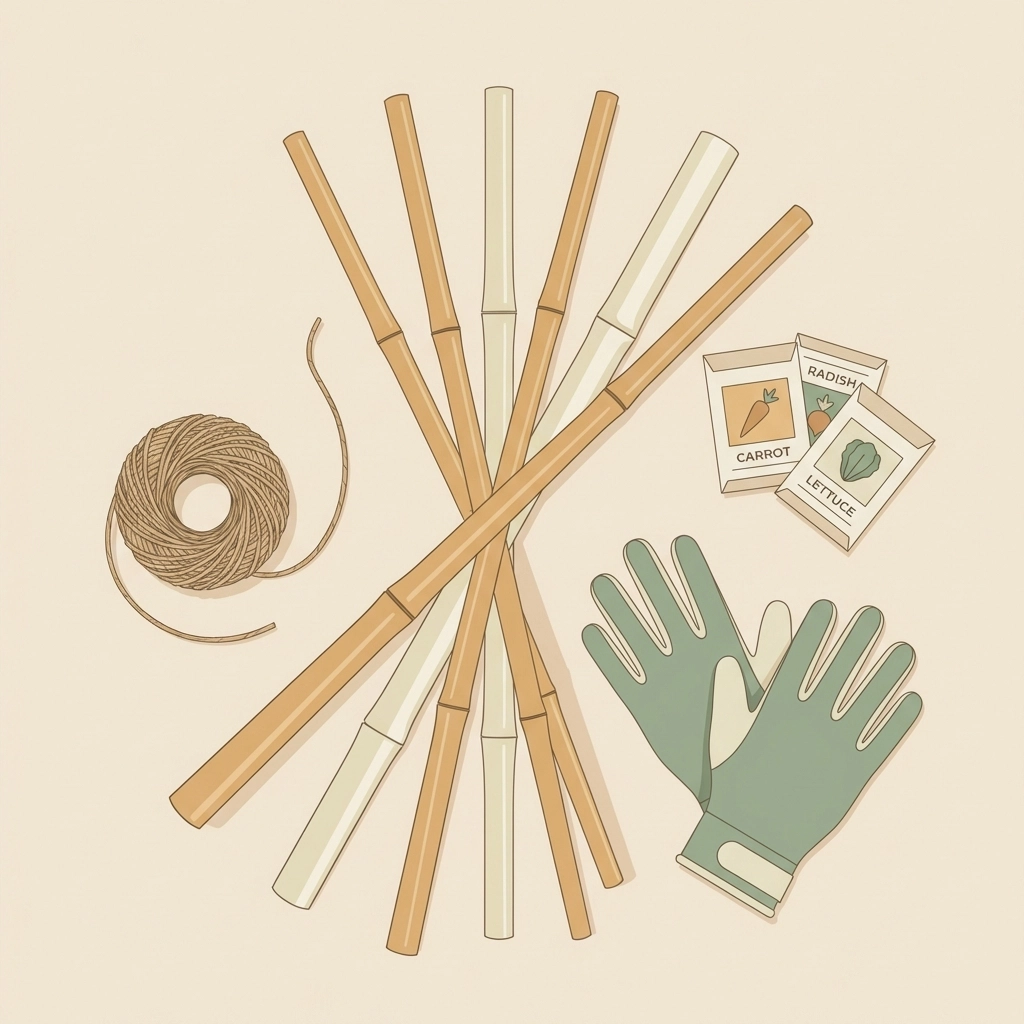
The material list stays short.
Free or already owned:
- 6–8 straight poles, 6–8 feet long
- Garden sticks, bamboo, thin branches, or dowel rods
- A patch of garden space or a large container
Purchased (under $10 total):
- Natural jute twine or garden rope ($2–4)
- Pole bean seeds or morning glory seeds ($1–3)
- Optional: small stakes or landscape pins ($2)
Branches from yard cleanup work perfectly. Bamboo from a garden center costs a few dollars per bundle. Dollar store wooden dowels offer another lightweight option.
Avoid heavy materials. Solid metal poles or thick lumber create tip-over hazards. Light materials keep the structure safe and easy to adjust.
How are the poles arranged?
Step one: Select the location.
Choose a spot with 6+ hours of sunlight. The teepee footprint needs a 3–4 foot diameter circle. Mark the center point with a small stake or flag.
Step two: Space the poles evenly.
Lay the poles on the ground first. Arrange them like spokes on a wheel, radiating from the center. Leave at least 18–24 inches between each pole at ground level.
This spacing creates room for:
- A doorway opening
- Climbing plants to fill the gaps
- Small bodies to crawl inside
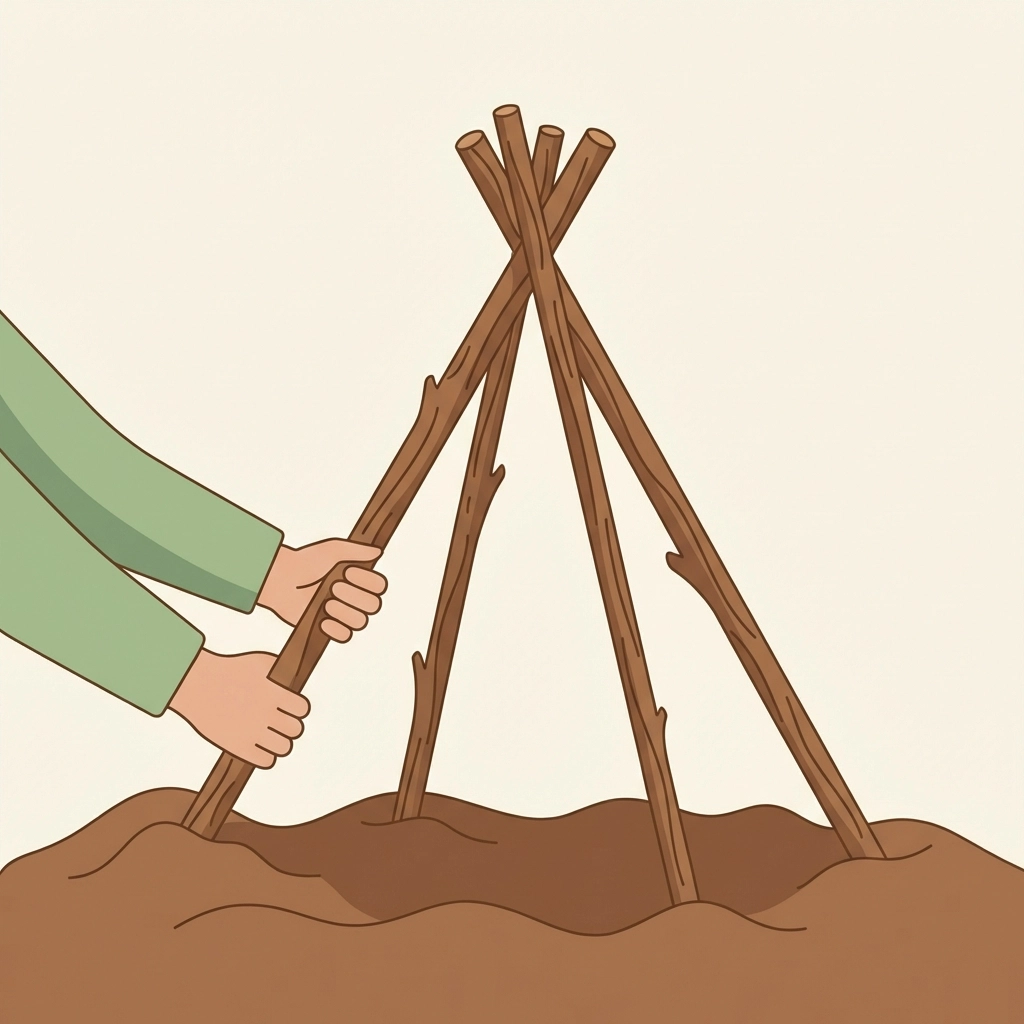
Step three: Push poles into the soil.
Insert each pole 4–6 inches into the ground. Angle them toward the center point. The tops lean inward, creating the classic teepee shape.
Soft soil makes this easier. Water the area beforehand if the ground feels hard.
How is the top tied together?
This step determines stability.
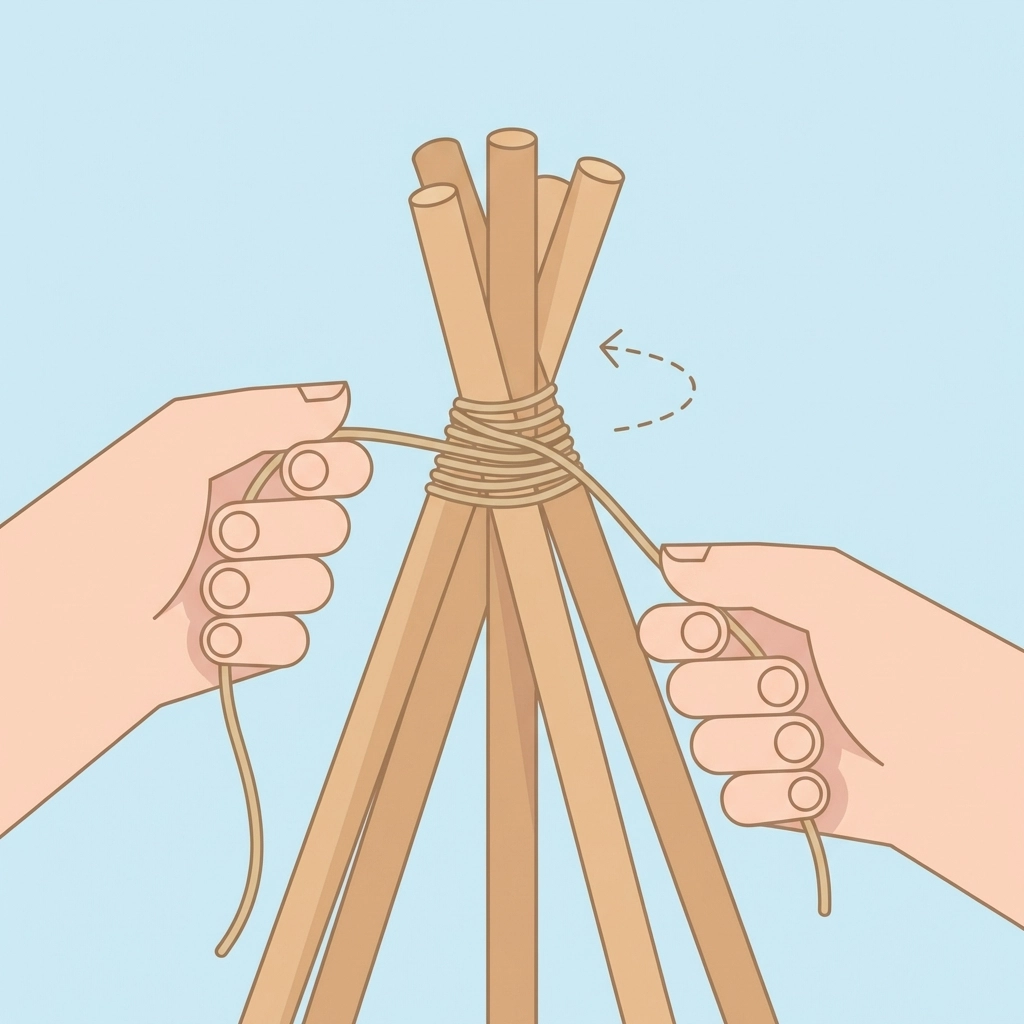
The wrapping method:
- Gather all pole tops in one hand
- Start wrapping twine around the bundle
- Circle the twine 8–10 times
- Pull tight after each wrap
- Tie off with a secure double knot
The clove hitch method (more advanced):
- Loop twine around one pole
- Cross over and loop again
- Pull tight to create a self-tightening knot
- Move to the next pole and repeat
- Connect all poles individually to the binding
Both methods work. The wrapping method suits younger helpers. The clove hitch offers extra security in windy areas.
Leave 12–18 inches of extra twine hanging. This anchors additional cross-supports later if needed.
What makes this project safe for children?
Safety comes from material choices and supervision.
Structural safety:
- Lightweight poles prevent injury if the structure tips
- Rounded tops eliminate sharp points
- Ground stakes add stability in loose soil
Assembly safety:
- Adult supervision during pole placement
- No tools required beyond hands and scissors
- Soft twine instead of wire or zip ties
Ongoing safety:
- Check pole stability weekly
- Retie loose bindings immediately
- Keep the doorway opening clear
Children as young as 3 help with soil patting and seed dropping. Ages 6+ assist with pole holding during assembly. The project scales to any family configuration.
How does the team approach work?
Assign roles based on age and ability.
Toddlers and preschoolers:
- Collect sticks from the yard
- Drop seeds into holes
- Water the base with a small can
- Pat soil around planted seeds
Elementary-age children:
- Hold poles in position during tying
- Measure spacing between poles
- Count wraps of twine
- Create the doorway design
Tweens and teens:
- Tie the top knot
- Dig planting holes
- Research which plants climb best
- Document the project with photos
Adults:
- Select the location
- Supervise all steps
- Handle any cutting tools
- Ensure structural stability
Every person has a job. The teepee becomes a shared accomplishment.
What plants grow best on a kid's teepee trellis?
Pole beans remain the classic choice.
- Scarlet runner beans: Red flowers attract hummingbirds
- Kentucky Wonder beans: Fast climbers, edible harvest
- Purple podded beans: Visual interest for children
Bean vines cover the structure in 60–70 days. The interior stays shaded and cool. Harvesting beans becomes a regular summer activity.
Other climbing options:
- Morning glories (flowers only, not edible)
- Sugar snap peas (spring planting)
- Small-fruited gourds (fall harvest)
- Nasturtiums (edible flowers)
Avoid heavy fruits like large squash or melons. The weight collapses lightweight structures.
Plant seeds 4–6 inches from each pole base. Two seeds per pole ensures coverage even if some fail to germinate.
What is the planting process?
Timing matters.
Plant pole beans after the last frost date. Soil temperature needs to reach 60°F. Morning glories tolerate slightly cooler soil.
Planting steps:
- Rake soil smooth around the teepee base
- Create a shallow trench circling the structure
- Drop seeds every 4–6 inches
- Cover with 1 inch of soil
- Water gently but thoroughly
- Mark planting date on a calendar
Germination takes 7–14 days. Vines reach the top in 4–6 weeks. Full coverage arrives by midsummer.
How is the teepee maintained through the season?
Maintenance stays minimal.
Weekly tasks:
- Check twine tightness at the top
- Guide wandering vines back toward poles
- Water during dry spells
- Harvest beans to encourage more growth
Monthly tasks:
- Add horizontal twine rings if vines need support
- Remove dead or yellowed leaves
- Inspect poles for rot or damage
The structure lasts one full growing season. Many families rebuild each spring as an annual tradition.
What happens at season's end?
Cleanup process:
- Cut vines at soil level (leave roots to decompose)
- Compost all plant material
- Untie twine from poles
- Store poles in a dry location for next year
- Amend soil with compost for future planting
Bamboo and wooden poles last 2–3 seasons with proper storage. Branches return to the yard waste pile.
The teepee footprint becomes excellent planting ground. Bean roots fix nitrogen in the soil. Next year's vegetables benefit from this natural fertilization.
Why does this project matter beyond gardening?
A teepee trellis teaches multiple skills simultaneously.
For children:
- Following multi-step instructions
- Patience while waiting for growth
- Responsibility through regular care
- Connection between effort and reward
For families:
- Shared outdoor time without screens
- Collaborative problem-solving
- Seasonal traditions and rituals
- Appreciation for natural processes
The cost stays under $10. The value extends far beyond the price.
Quick reference checklist
Materials:
- 6–8 poles (6–8 feet long)
- Jute twine or garden rope
- Climbing plant seeds
- Small stakes (optional)
Assembly:
- Choose sunny location
- Space poles 18–24 inches apart
- Push poles 4–6 inches into soil
- Tie top with 8–10 wraps
- Leave doorway opening
Planting:
- Wait until after last frost
- Plant seeds 4–6 inches from poles
- Water thoroughly
- Mark calendar for expected coverage
Maintenance:
- Weekly vine training
- Regular watering
- Harvest to encourage growth
The teepee trellis stands ready for a summer of play, learning, and fresh-picked beans.


