


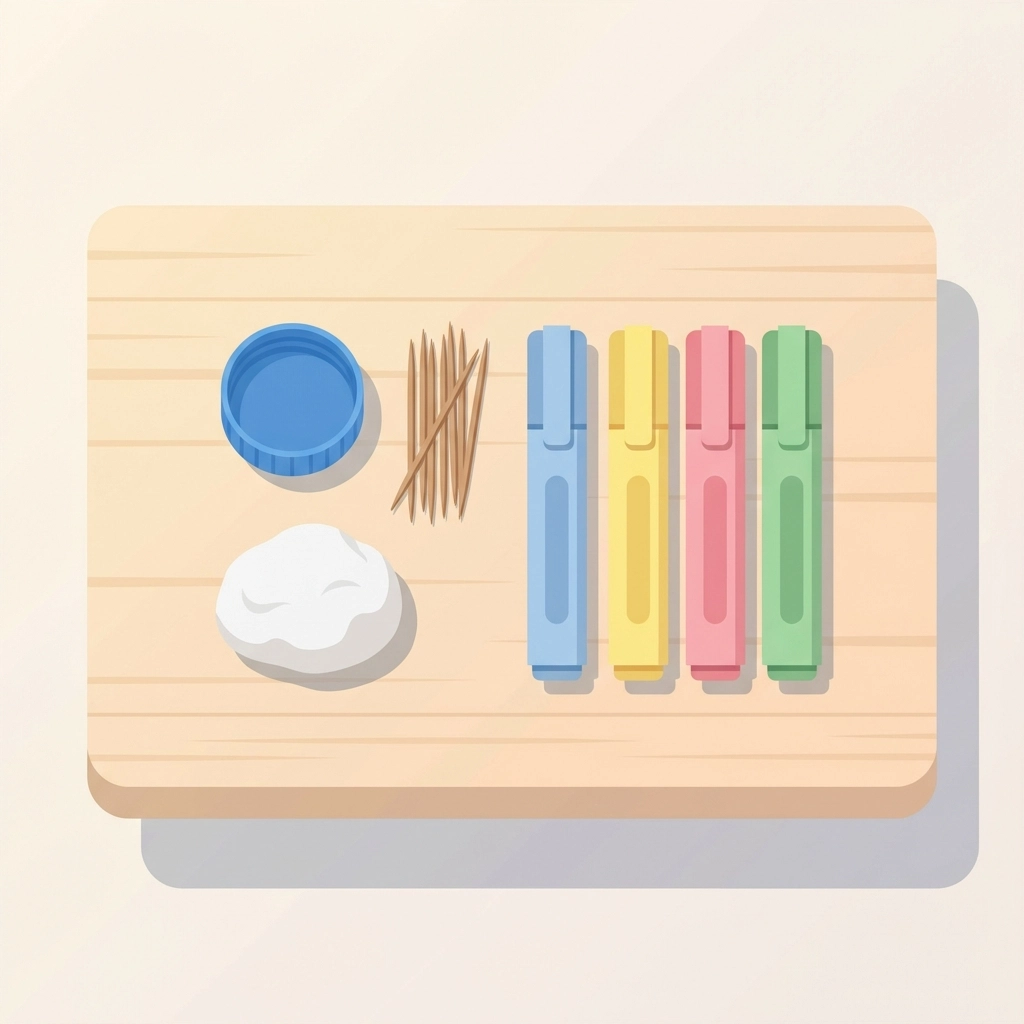
A bottle cap, a toothpick, and a small ball of clay.
That's all it takes.
DIY spinning tops rank among the simplest crafts for children ages 4 and up. Total cost sits under $5. Build time runs about 15 minutes.
The result: a working toy that spins, wobbles, and entertains.
What Supplies Are Needed for a DIY Spinning Top?
Minimal materials. Maximum fun.
Essential supplies:
- 1 plastic bottle cap (water bottle or soda cap works best)
- 1 wooden toothpick or small bamboo skewer
- A small ball of air-dry clay or modeling clay
- Markers or paint for decoration (optional)
Tools:
- Scissors or a small nail for making holes
- Adult supervision for hole-making step
Most households already have these items. A trip to the dollar store covers any gaps.
Why Do Bottle Cap Spinning Tops Work?
Physics explains it.
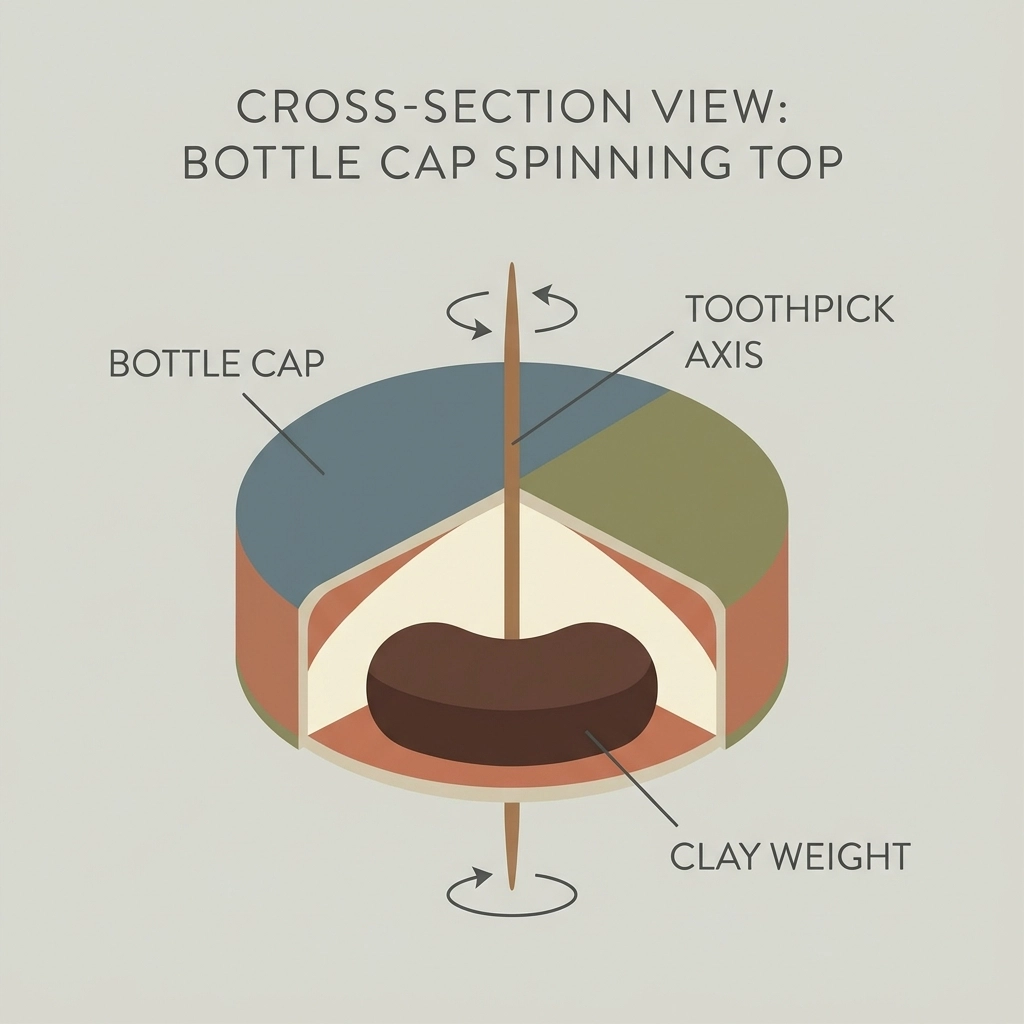
Weight distribution determines spin time. A spinning top needs:
- Low center of gravity : weight stays close to the ground
- Balance : even distribution around the center point
- A pointed tip : reduces friction with the spinning surface
The bottle cap provides the body. The toothpick creates the spin axis. Clay adds weight and stability.
Heavier caps spin longer. Centered toothpicks spin straighter.
Simple cause and effect.
How Do You Make the Spinning Top Step by Step?
Follow this sequence exactly.
Step 1: Prepare the Bottle Cap
Select a plastic bottle cap. Flat caps work better than ridged ones.
Clean and dry the cap completely. Residue affects balance.
Step 2: Create the Center Hole
Find the exact center of the cap's top surface.
Mark it with a pen or marker.
Use a small nail, needle, or scissors tip to pierce a hole. An adult handles this step for children under 8.
The hole needs to fit the toothpick snugly. Too loose creates wobble. Too tight risks cracking the plastic.
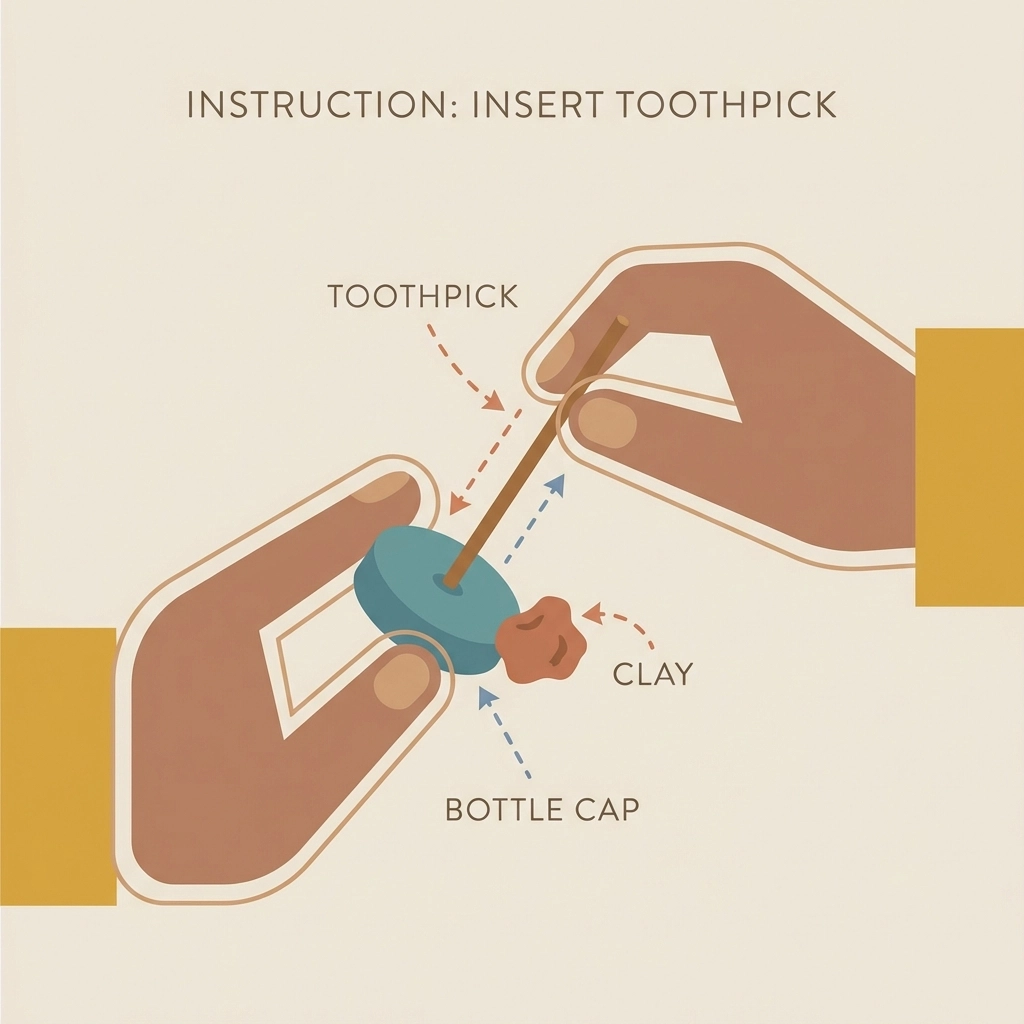
Step 3: Insert the Toothpick
Push the toothpick through the hole from the top.
About one-third of the toothpick extends below the cap. Two-thirds remain above.
The pointed end faces down. This becomes the spinning tip.
Step 4: Add Clay for Stability
Roll a small ball of clay. Marble-sized works well.
Press the clay inside the bottle cap, around the toothpick base.
The clay serves three purposes:
- Secures the toothpick in place
- Adds weight for longer spins
- Lowers the center of gravity
Distribute the clay evenly. Uneven clay creates lopsided spins.
Step 5: Decorate (Optional)
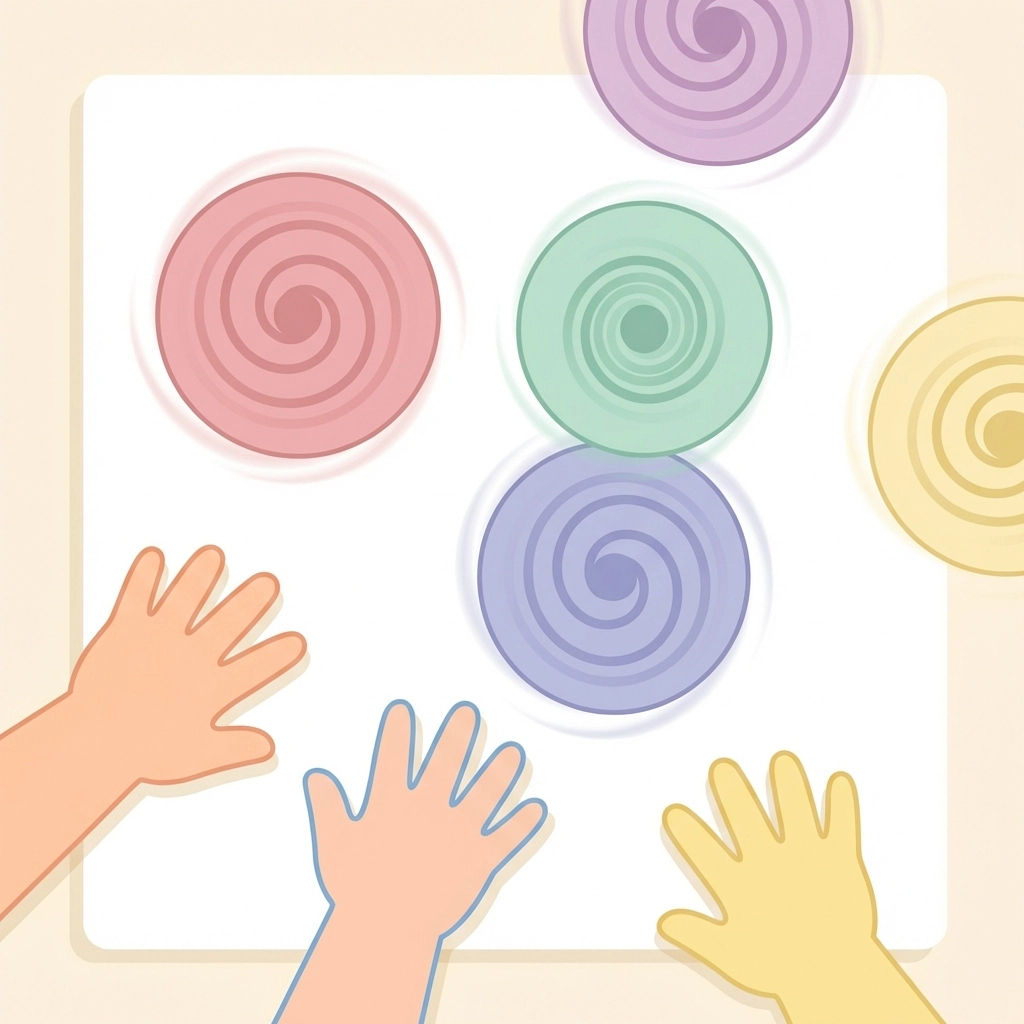
Markers, stickers, or paint transform the top.
Spiral patterns create visual effects during spinning. Contrasting colors show motion clearly.
Let decorations dry completely before spinning.
Step 6: Test and Adjust
Hold the toothpick between thumb and forefinger.
Twist quickly and release.
Observe the spin. Wobbling indicates imbalance. Adjust clay placement until the top spins smoothly.
A well-made bottle cap top spins for 5-15 seconds.
What Are Common Mistakes to Avoid?
Small errors cause big problems.
Off-center holes create immediate wobble. Measure twice.
Too much clay makes the top heavy and sluggish. Start small and add gradually.
Dull toothpick tips increase friction. A sharp point spins longer.
Uneven decoration throws off balance. Keep paint and stickers symmetrical.
Rushing the clay step leads to loose toothpicks. Press firmly and let clay set.
How Can the Basic Design Be Improved?
Several modifications extend spin time.
Add Pennies or Washers
Glue two to four pennies around the inside edge of the cap.
Weight around the perimeter increases rotational inertia. The top resists slowing down.
This addition can double or triple spin duration.
Use a Wider Cap
Larger caps spin longer than smaller ones.
Jar lids, yogurt container tops, or sports drink caps provide more surface area.
Same principles apply. Center hole, centered toothpick, weighted base.
Switch to a Bamboo Skewer
Longer shafts give better grip for spinning.
Cut the skewer to about 3 inches total length.
The extra height makes the twisting motion easier for small hands.
What Games Can Kids Play with Spinning Tops?
The craft continues beyond construction.
Spin Time Challenge
Each player spins their top.
Time each spin with a stopwatch or phone timer.
Longest spin wins.
This game encourages design improvements. Losing players naturally ask: "How do I make mine spin longer?"
Battle Arena
Create a circular arena from a shallow box lid or plate.
Two players spin their tops inside the arena simultaneously.
Last top spinning wins. Collisions are allowed.
Target Spin
Draw concentric circles on paper. Assign point values to each ring.
Players spin their tops in the center.
Scoring happens where the top finally falls.
Color Mixing Experiment
Paint the top with two primary colors in sections.
Spin the top.
Observe the color that appears during motion. Red and yellow sections create orange. Blue and yellow create green.
A physics lesson disguised as play.
What Other DIY Spinning Top Designs Work for Kids?
The bottle cap version serves as a starting point.
Cardboard and Marble Top
Cut a circle from corrugated cardboard.
Glue a marble to the underside center. The marble becomes the spinning point.
Insert a bamboo skewer through the top.
Add pennies around the edges for weight.
This design spins significantly longer than the bottle cap version.
Paper Spiral Top
Cut a circle from cardstock.
Draw a spiral from the edge to the center.
Cut along the spiral line.
Twist the paper into a cone shape.
Insert a toothpick through the center point.
Lightweight and fast to make.
CD Top
Old CDs and DVDs work perfectly.
Push a ballpoint pen through the center hole.
The pen cap points down as the spinning tip.
Large diameter creates impressive spin times.
Why Does This Craft Work for Ages 4 and Up?
Developmental appropriateness matters.
Children ages 4-6 handle:
- Decorating the cap
- Pressing clay into place
- Spinning the finished top
- Playing games
Adults assist with:
- Hole creation
- Toothpick insertion
- Quality control
Children ages 7+ manage most steps independently.
The craft scales with ability. Simple for beginners. Customizable for advanced makers.
What Learning Happens During This Project?
Educational value exists throughout.
Fine motor skills develop through spinning motion and clay manipulation.
Physics concepts emerge naturally. Weight, balance, friction, momentum.
Problem-solving occurs when tops wobble or fail. Children diagnose and fix issues.
Patience builds during the adjustment phase.
Creativity expresses through decoration choices.
Play-based learning at its most effective.
Quick Reference: DIY Spinning Top Summary
Time required: 15-20 minutes
Cost: Under $5
Age range: 4 years and up
Difficulty: Beginner
Materials: Bottle cap, toothpick, clay
Key principle: Low center of gravity plus balanced weight equals longer spins
A simple craft with lasting entertainment value.


