


To make collage animals from junk mail, draw or trace an animal outline on cardboard, cut colorful strips or shapes from junk mail, and glue them inside the silhouette until it's filled in. It's a simple, zero-cost craft that turns your recycling pile into art, and kids tend to love the freedom of picking their own colors and patterns.
Quick Project Overview
| Detail | Info |
|---|---|
| Skill Age Range | 5–7 years (for cutting) |
| Enjoyment Age Range | 3–8 years |
| Time to Complete | 20–40 minutes |
| Budget | $0 (uses items you likely have) |
This is one of those activities where the supplies are probably sitting in your kitchen right now. If you've got a stack of junk mail waiting to hit the recycling bin, some cardboard, scissors, and glue, you're ready to go.
Materials List
Here's what you'll need, along with estimated costs if you happened to buy everything new (though you probably won't need to):
| Material | Likely Have It? | Cost If Purchased |
|---|---|---|
| Cardboard (cereal box, shipping box, etc.) | Yes | $0 |
| Junk mail (catalogs, flyers, colorful envelopes) | Yes | $0 |
| Scissors (child-safe for younger kids) | Yes | $1–$3 |
| Glue stick or white school glue | Yes | $1–$2 |
| Pencil or marker | Yes | $0 |
| Optional: Googly eyes | Maybe | $1–$2 |
Realistic budget: $0 if you're pulling from household supplies. Even if you needed to grab a glue stick and scissors, you'd likely spend under $5.
Step-by-Step Instructions
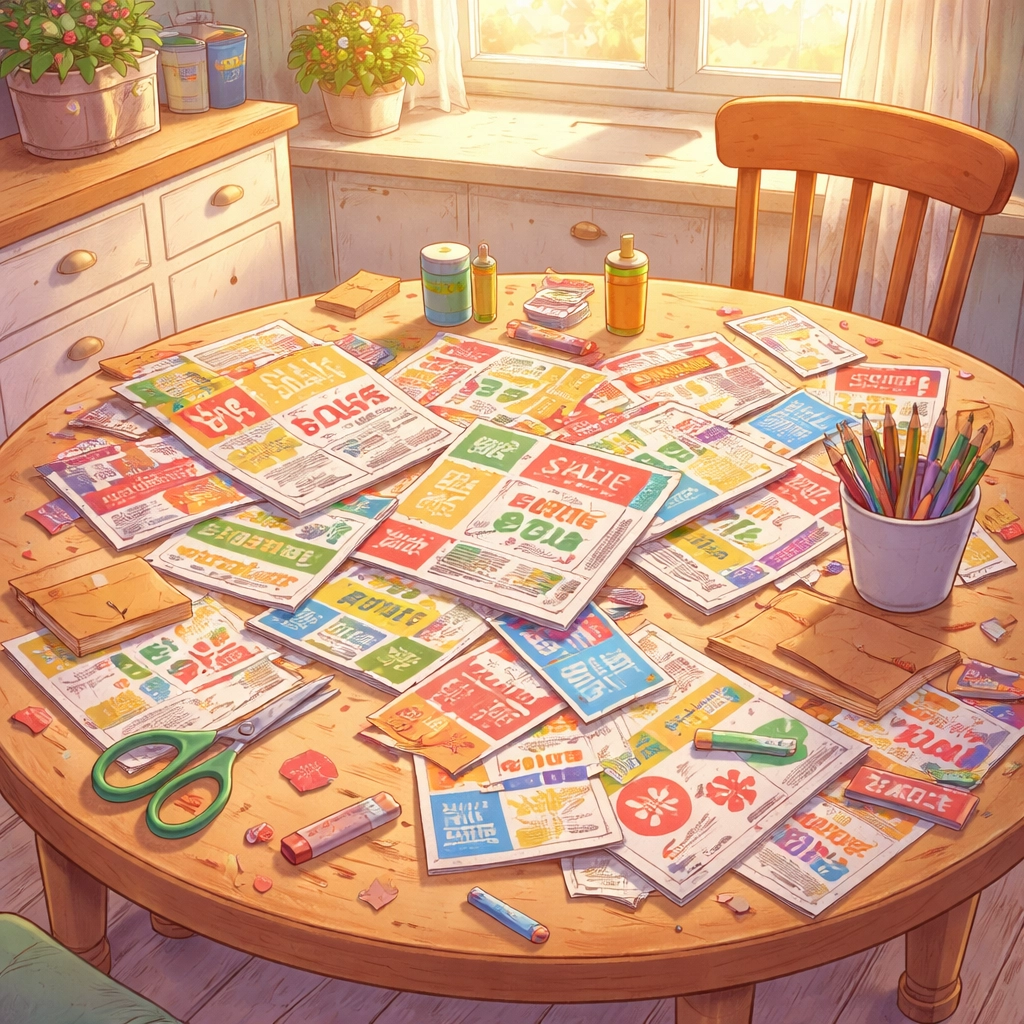
Step 1: Gather Your Junk Mail
Flip through your recycling stack and pull out anything with interesting colors, patterns, or textures. Catalogs work well because they tend to have lots of variety: bright product photos, solid color blocks, and interesting fonts. Glossy flyers, colorful envelopes, and even the patterned insides of security envelopes can add visual interest.
Don't worry about finding "perfect" pieces. Part of the fun is working with whatever happens to be in the pile.
Step 2: Choose Your Animal
Decide what animal you want to create. For younger children or first-timers, simpler shapes tend to work better:
- Fish (basically an oval with a triangle tail)
- Snakes (a curvy line)
- Caterpillars (connected circles)
- Turtles (circle body with a smaller head)
- Birds (simple silhouette)
For kids who want more of a challenge, try:
- Bears
- Elephants
- Horses
- Dinosaurs
- Octopuses
If your child has a favorite animal, start there. Enthusiasm goes a long way in keeping little hands engaged.
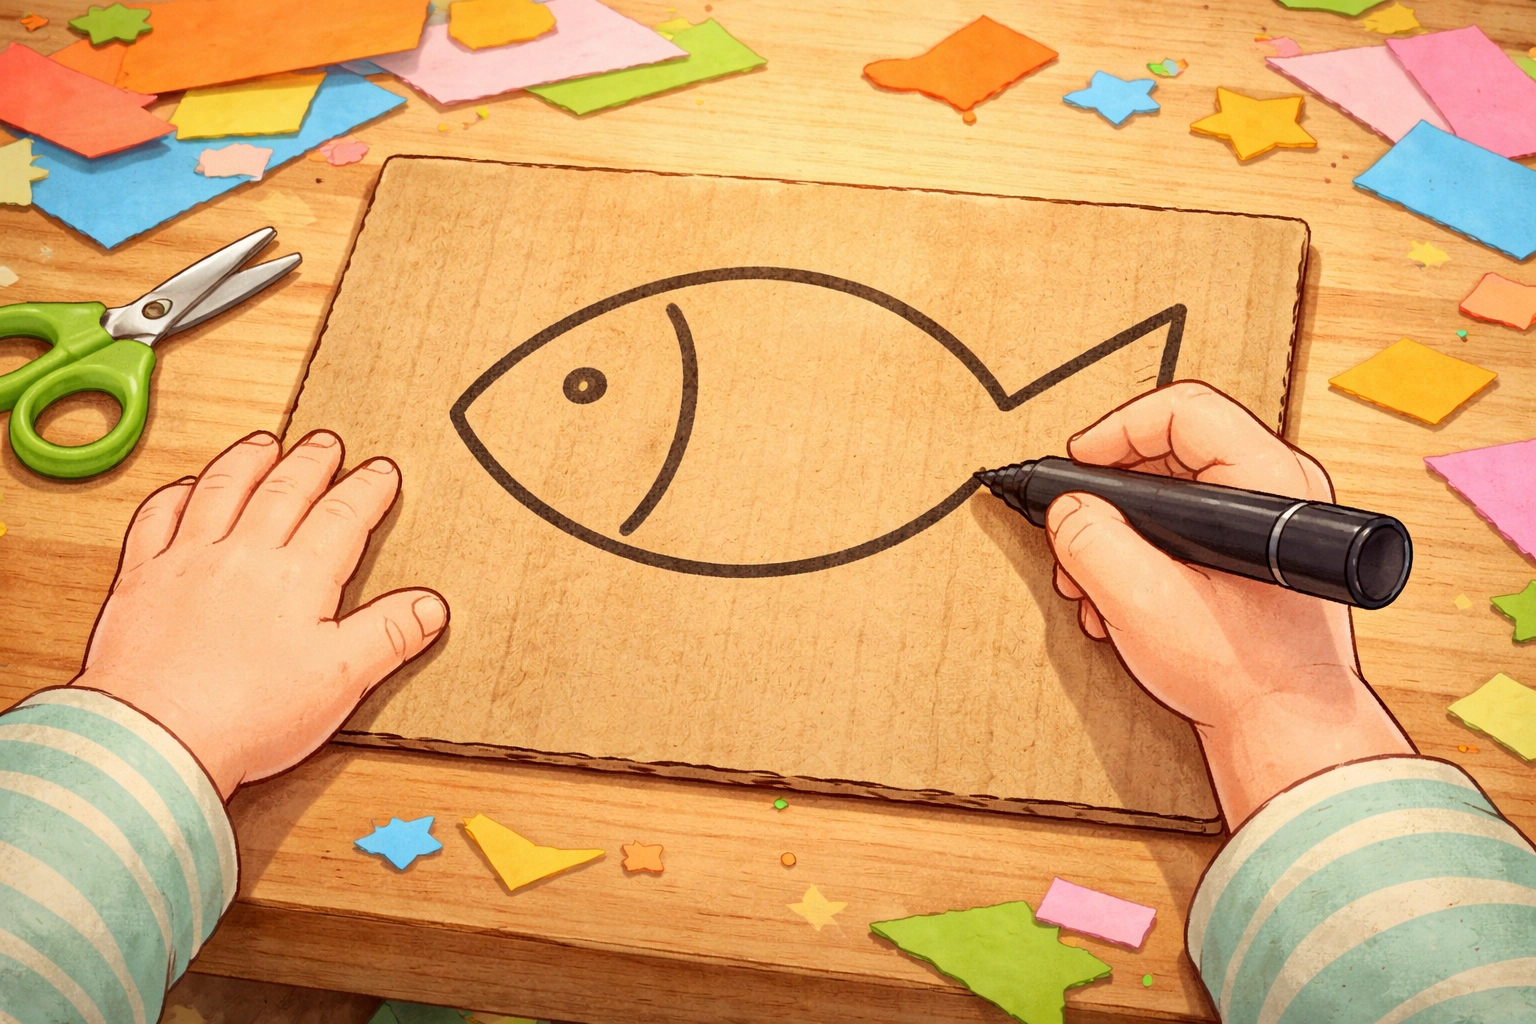
Step 3: Draw Your Outline
Using a pencil or marker, draw your animal shape on a piece of cardboard. Cereal boxes work well for this: the cardboard is sturdy enough to hold glue without warping, but thin enough for kids to handle easily.
Tip for adults: If you're working with a 3- or 4-year-old, consider drawing the outline yourself or printing a simple template. Kids in the 5–7 range can often draw their own shapes, though they may want a little guidance.
Don't stress about making the outline look professional. Wobbly lines add character, and the junk mail strips will cover most of the pencil marks anyway.
Step 4: Cut Your Junk Mail into Strips or Shapes
This is where the fine motor practice comes in. Have your child cut the junk mail into strips, squares, triangles, or freeform shapes. There's no single "right" way to do this.
Some ideas:
- Strips: Cut long, narrow pieces and layer them like feathers or fur
- Squares: Create a mosaic effect by filling the animal with small squares
- Torn pieces: Skip the scissors entirely and tear the paper for a softer, textured look
- Mixed shapes: Combine different cuts for variety
For younger children who aren't confident with scissors yet, pre-cutting some shapes or letting them tear paper works fine. The goal is participation, not perfection.
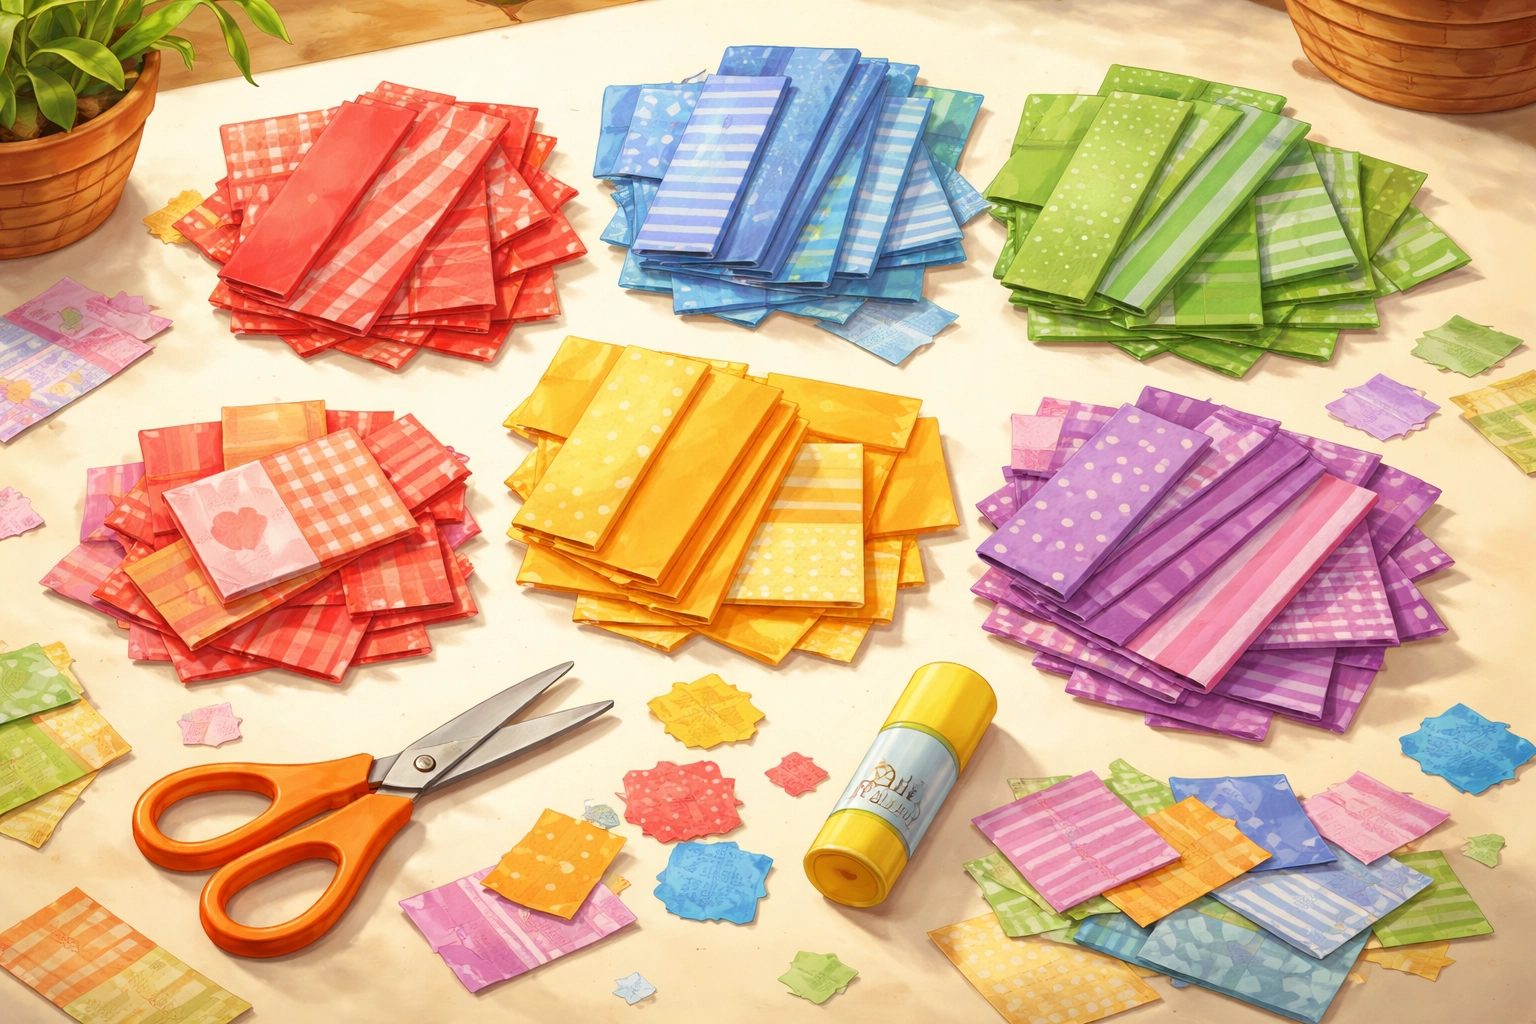
Step 5: Sort by Color (Optional but Fun)
Before gluing, some kids enjoy sorting their cut pieces by color. This can help them plan out their design: maybe they want a rainbow fish, a spotted leopard, or a blue elephant.
Sorting also sneaks in a little learning. Younger kids can practice color recognition, while older children might think about patterns, gradients, or color combinations.
That said, plenty of kids prefer to skip this step and dive straight into gluing. Both approaches are valid.
Step 6: Glue the Pieces Inside the Outline
Apply glue to the back of each piece and press it onto the cardboard inside your animal outline. Work from one section to another: filling in the body first, then moving to the head, legs, and tail.
Glue stick vs. white glue: Glue sticks tend to be less messy and dry faster, which can be helpful for younger children. White school glue creates a stronger bond but takes longer to dry and can get a bit goopy. Either works.
Encourage your child to overlap pieces slightly so no cardboard shows through. This creates a fuller, more finished look.
Step 7: Add Details
Once the main body is filled in, add finishing touches:
- Draw or glue on eyes (googly eyes are a hit if you have them)
- Cut a small triangle for a beak or nose
- Add whiskers, spots, stripes, or patterns
- Create a background scene on a larger piece of paper
Step 8: Let It Dry
If you used white glue, give the collage 15–30 minutes to dry before handling it too much. Glue stick projects can usually be picked up right away.
Tips for Different Ages
Ages 3–4 (with help):
- Adults can draw the outline and pre-cut some shapes
- Focus on the gluing part: that's where the fun is for little ones
- Use larger pieces so there's less fine motor demand
- Keep sessions short (10–15 minutes is often enough)
Ages 5–7:
- Let them draw their own animal shapes
- Encourage experimenting with different strip widths and patterns
- Try more detailed animals with multiple body parts
- This age group often enjoys the sorting and planning process
Ages 7–8:
- Challenge them to create animals with realistic coloring
- Introduce the idea of shading (using darker pieces on one side, lighter on the other)
- Suggest making a whole scene with multiple animals or a background
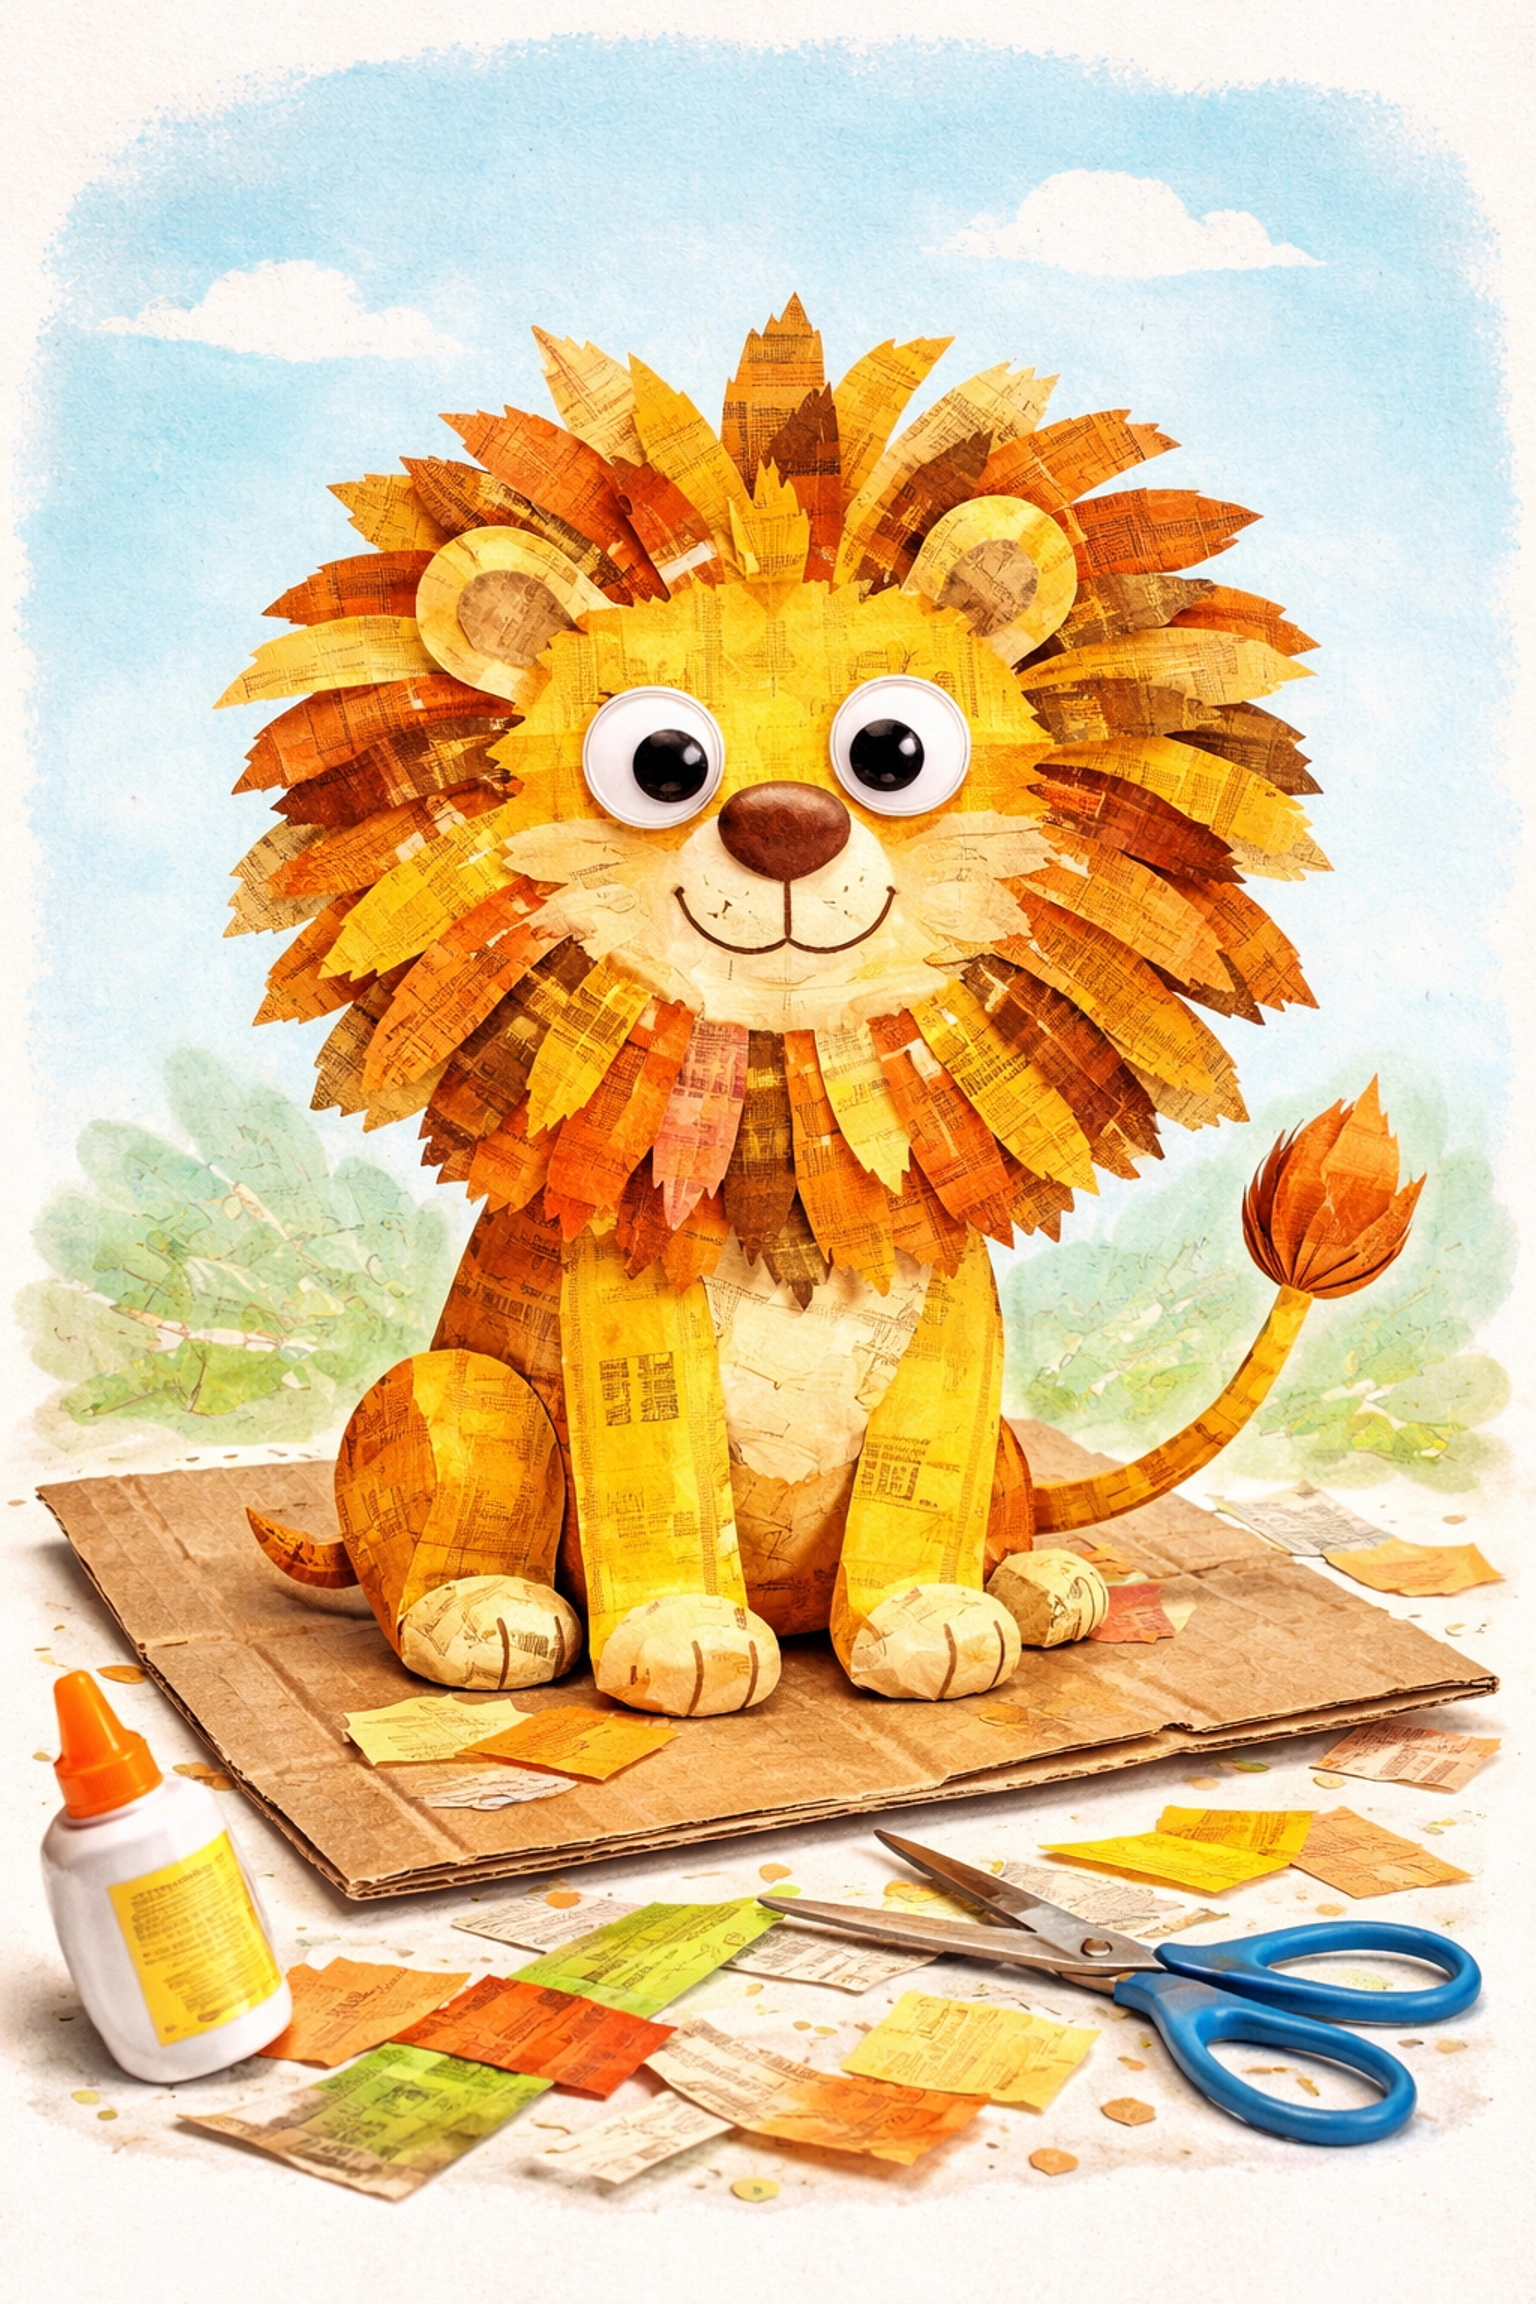
Why This Activity Works
There's something satisfying about turning "trash" into art. Kids often get excited when they realize that boring junk mail can become a colorful lion or a sparkly fish.
Beyond the fun factor, this project offers some solid developmental benefits:
- Fine motor skills: Cutting and gluing strengthen hand muscles used for writing
- Color recognition: Sorting and selecting colors reinforces early learning concepts
- Decision making: Choosing shapes, colors, and placement encourages creative thinking
- Sustainability awareness: Using recycled materials introduces the concept of reusing what we have
Variations to Try
Once you've made a basic collage animal, here are some ways to mix it up:
- Texture collage: Include fabric scraps, tissue paper, or aluminum foil for variety
- Magazine animals: Use old magazines instead of junk mail for photographic images
- Alphabet animals: Make an animal for each letter (A is for Alligator, B is for Bear)
- Collaborative mural: Create a whole zoo or farm scene on a large piece of butcher paper
Cleanup Tips
Collage projects can get a little messy. A few things that help:
- Work on a plastic placemat or old newspaper for easy cleanup
- Keep a damp paper towel nearby for sticky fingers
- Have a designated "scrap pile" for leftover pieces (you can save these for future projects)
If you're looking for more zero-cost craft ideas that use materials you already have at home, check out our post on how to create a DIY worm composting bin with children: another project that turns everyday items into something educational and fun.
FAQ
- What kind of glue works best for junk mail collages? A simple glue stick is usually the least messy and easiest for kids to handle. White school glue also works well but takes a bit longer to dry.
- Can I use magazines instead of junk mail? Yes! Magazines often have even brighter colors and higher-quality photos than junk mail, which can make for a very vibrant and detailed collage.
- How do I keep the cardboard from warping when gluing? Use a sturdy piece of cardboard (like from a shipping box) and try not to use too much wet glue. If you're using white glue, thin it out slightly or apply it sparingly to prevent the cardboard from curving as it dries.
Happy crafting!


