


What's the Easiest Way to Create an Indoor Road City for Toy Cars?
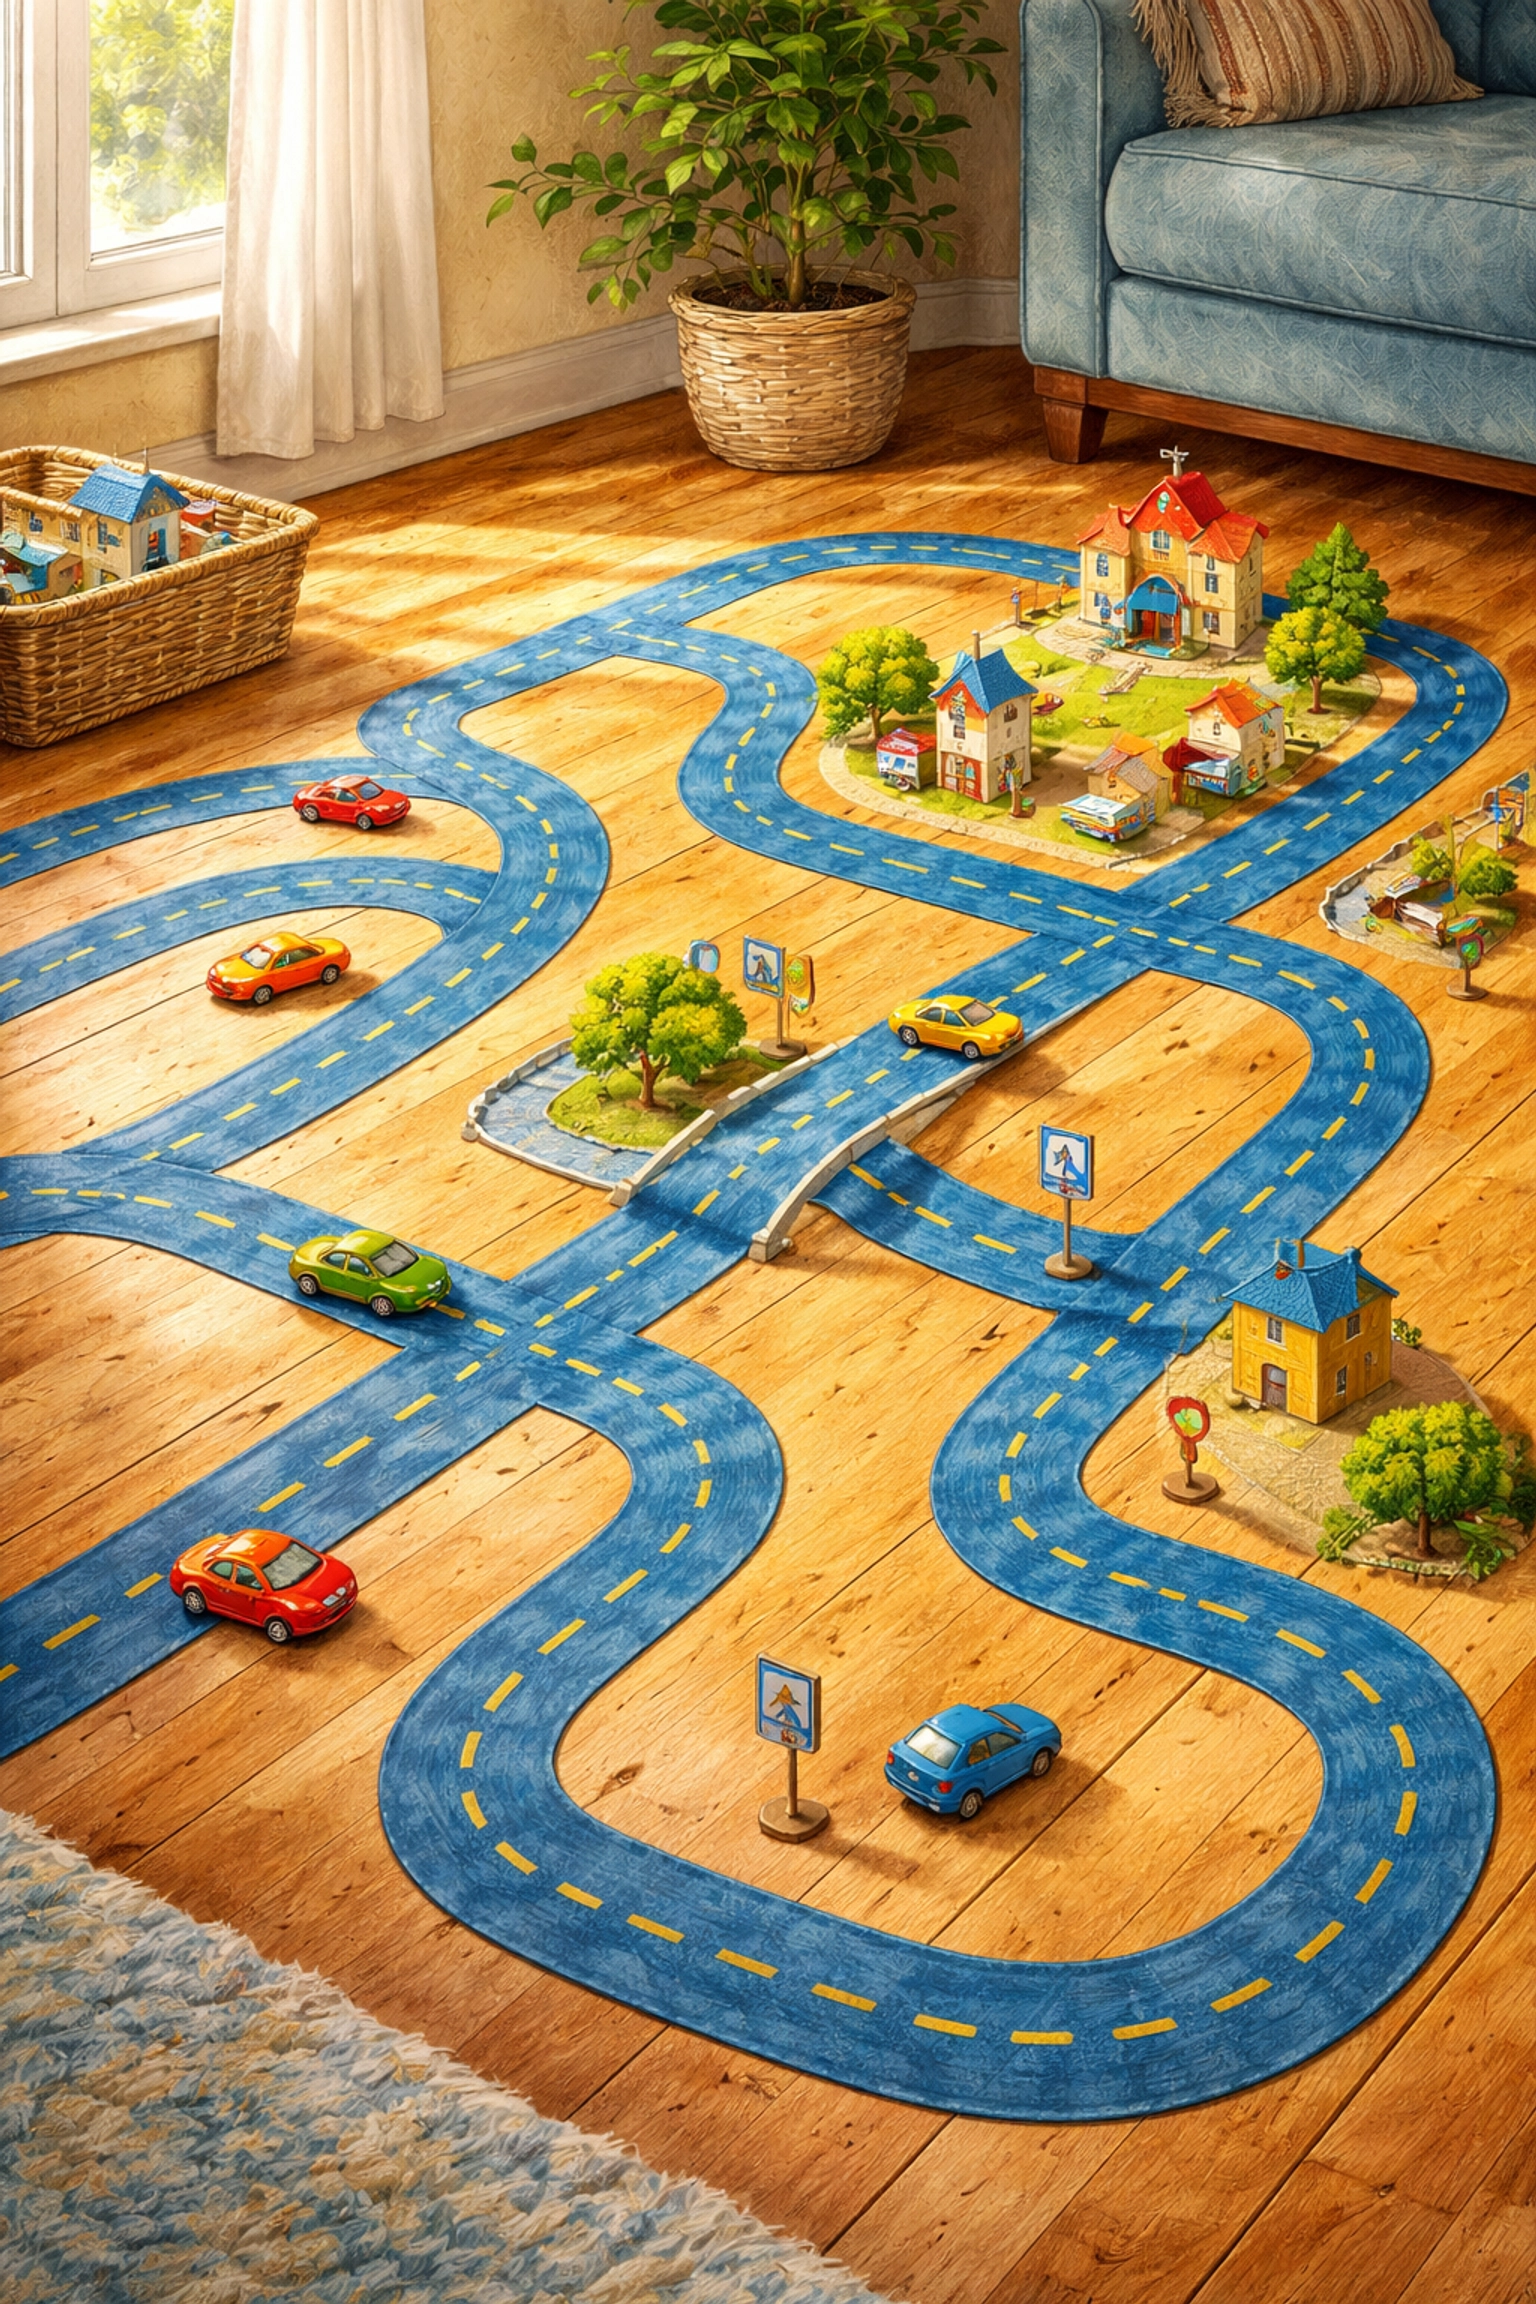
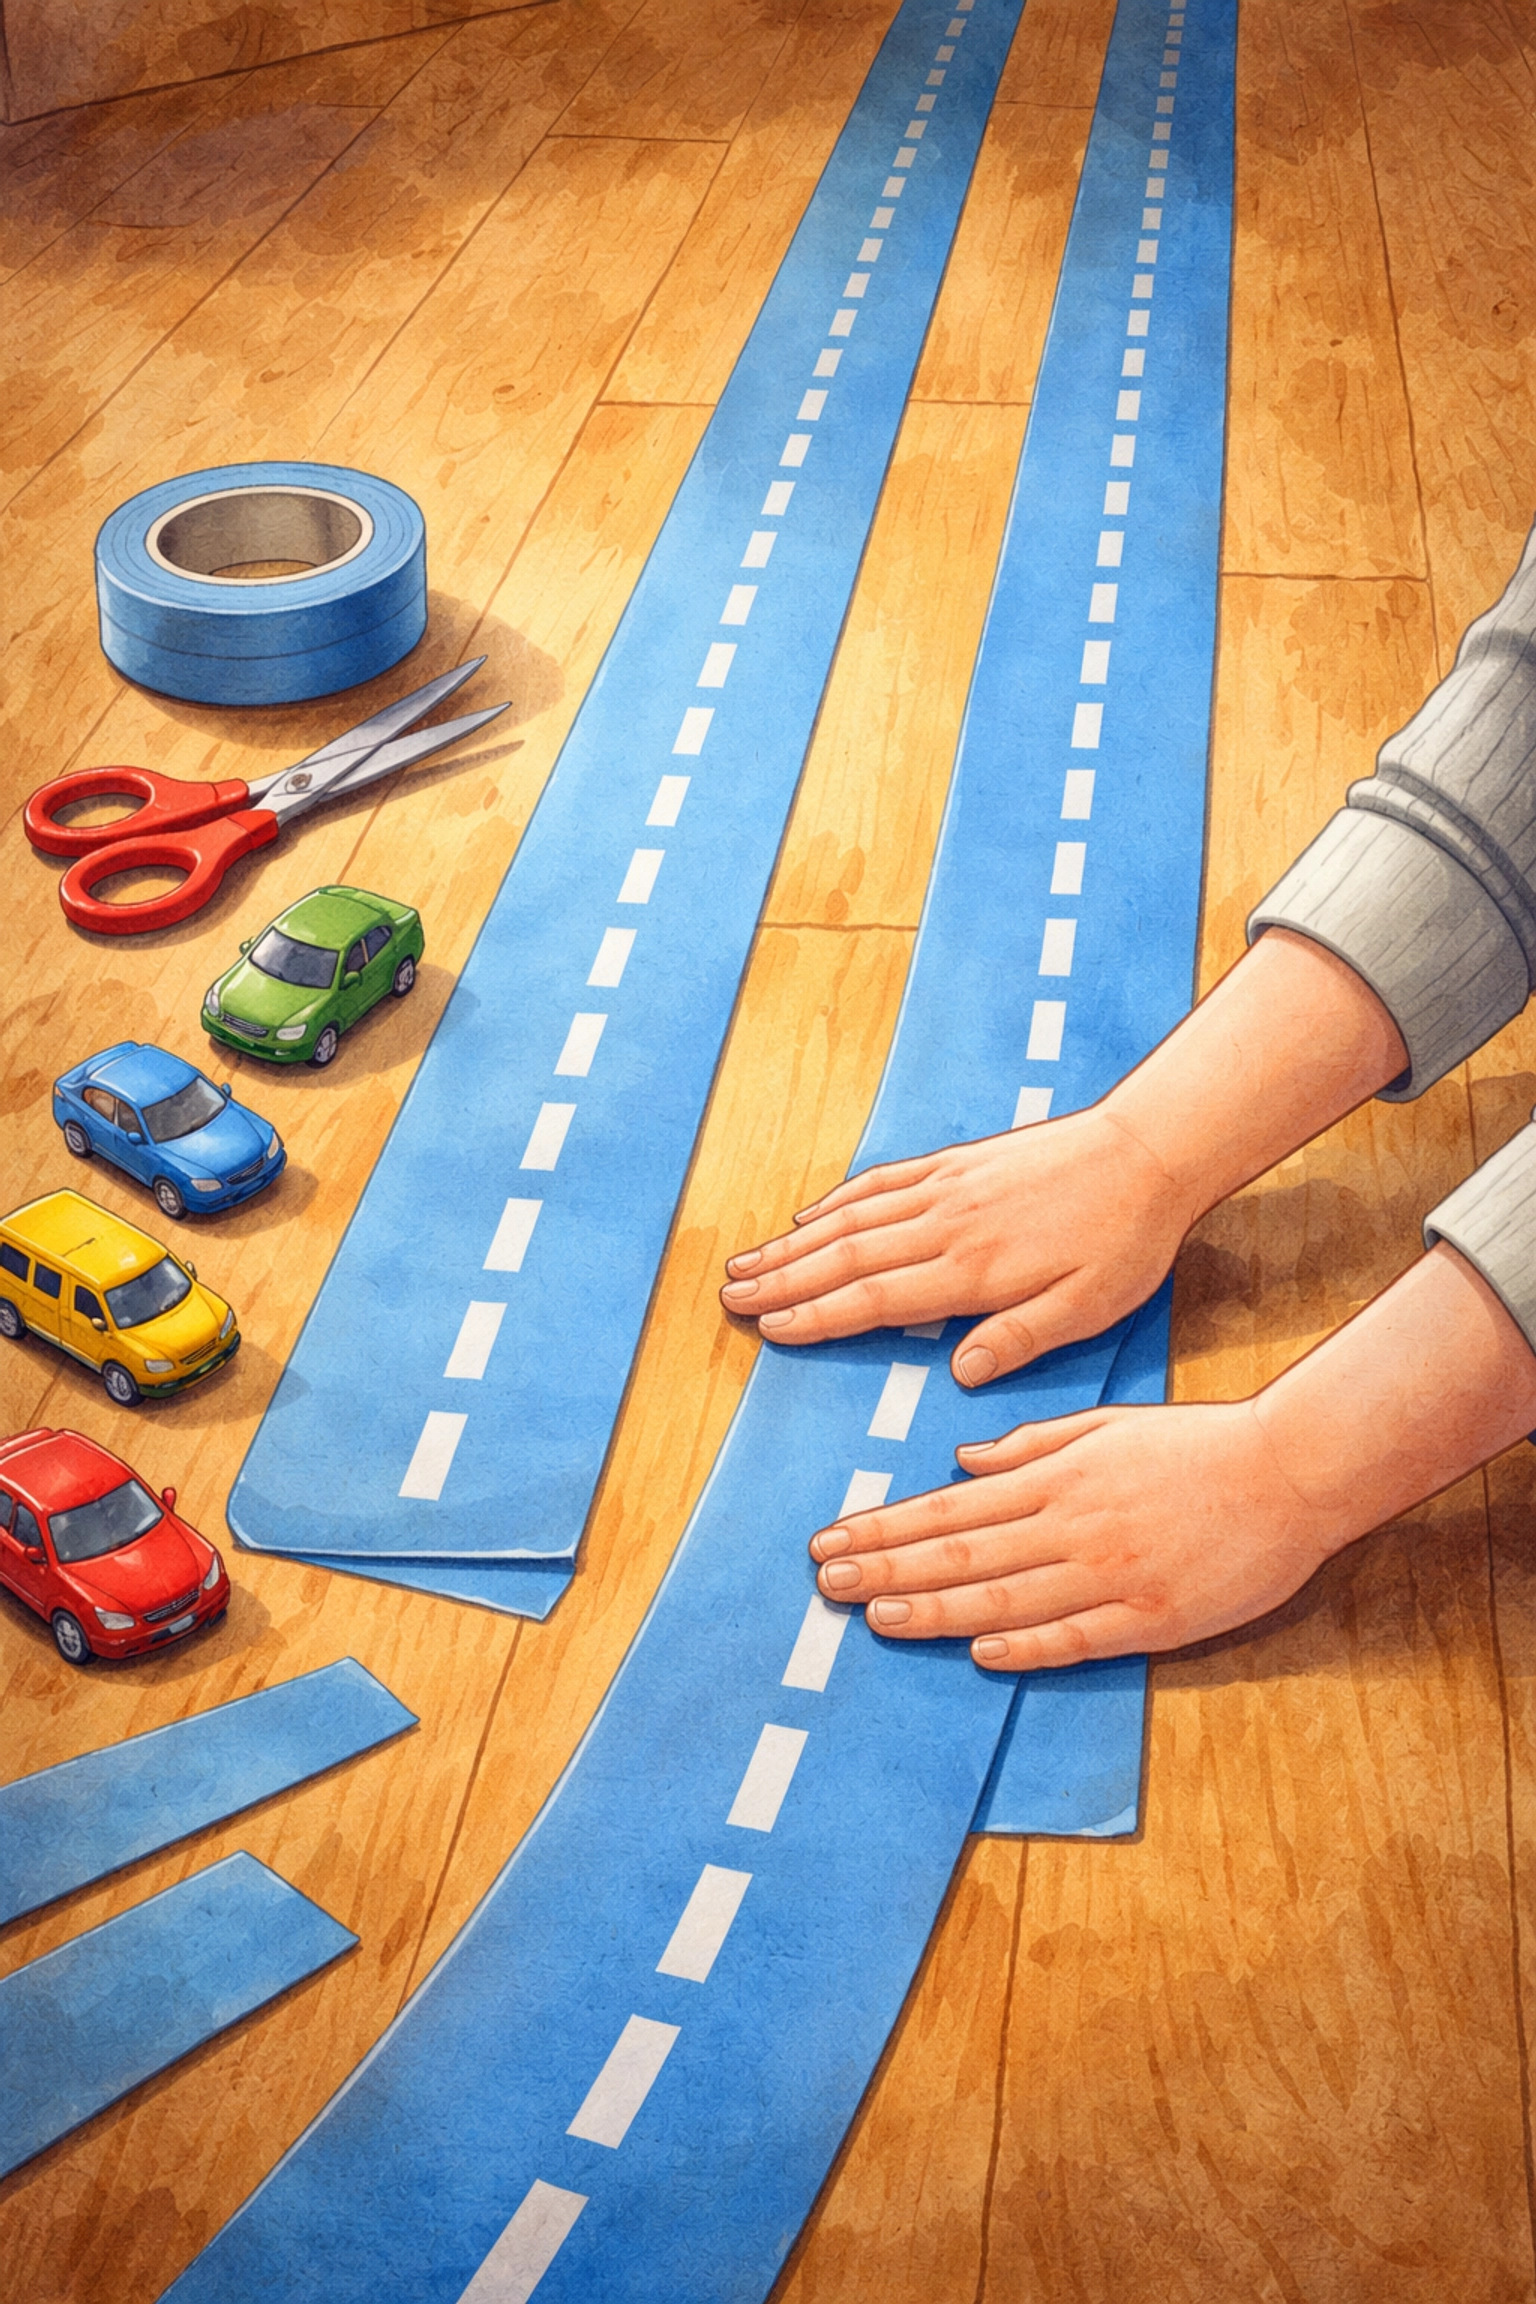
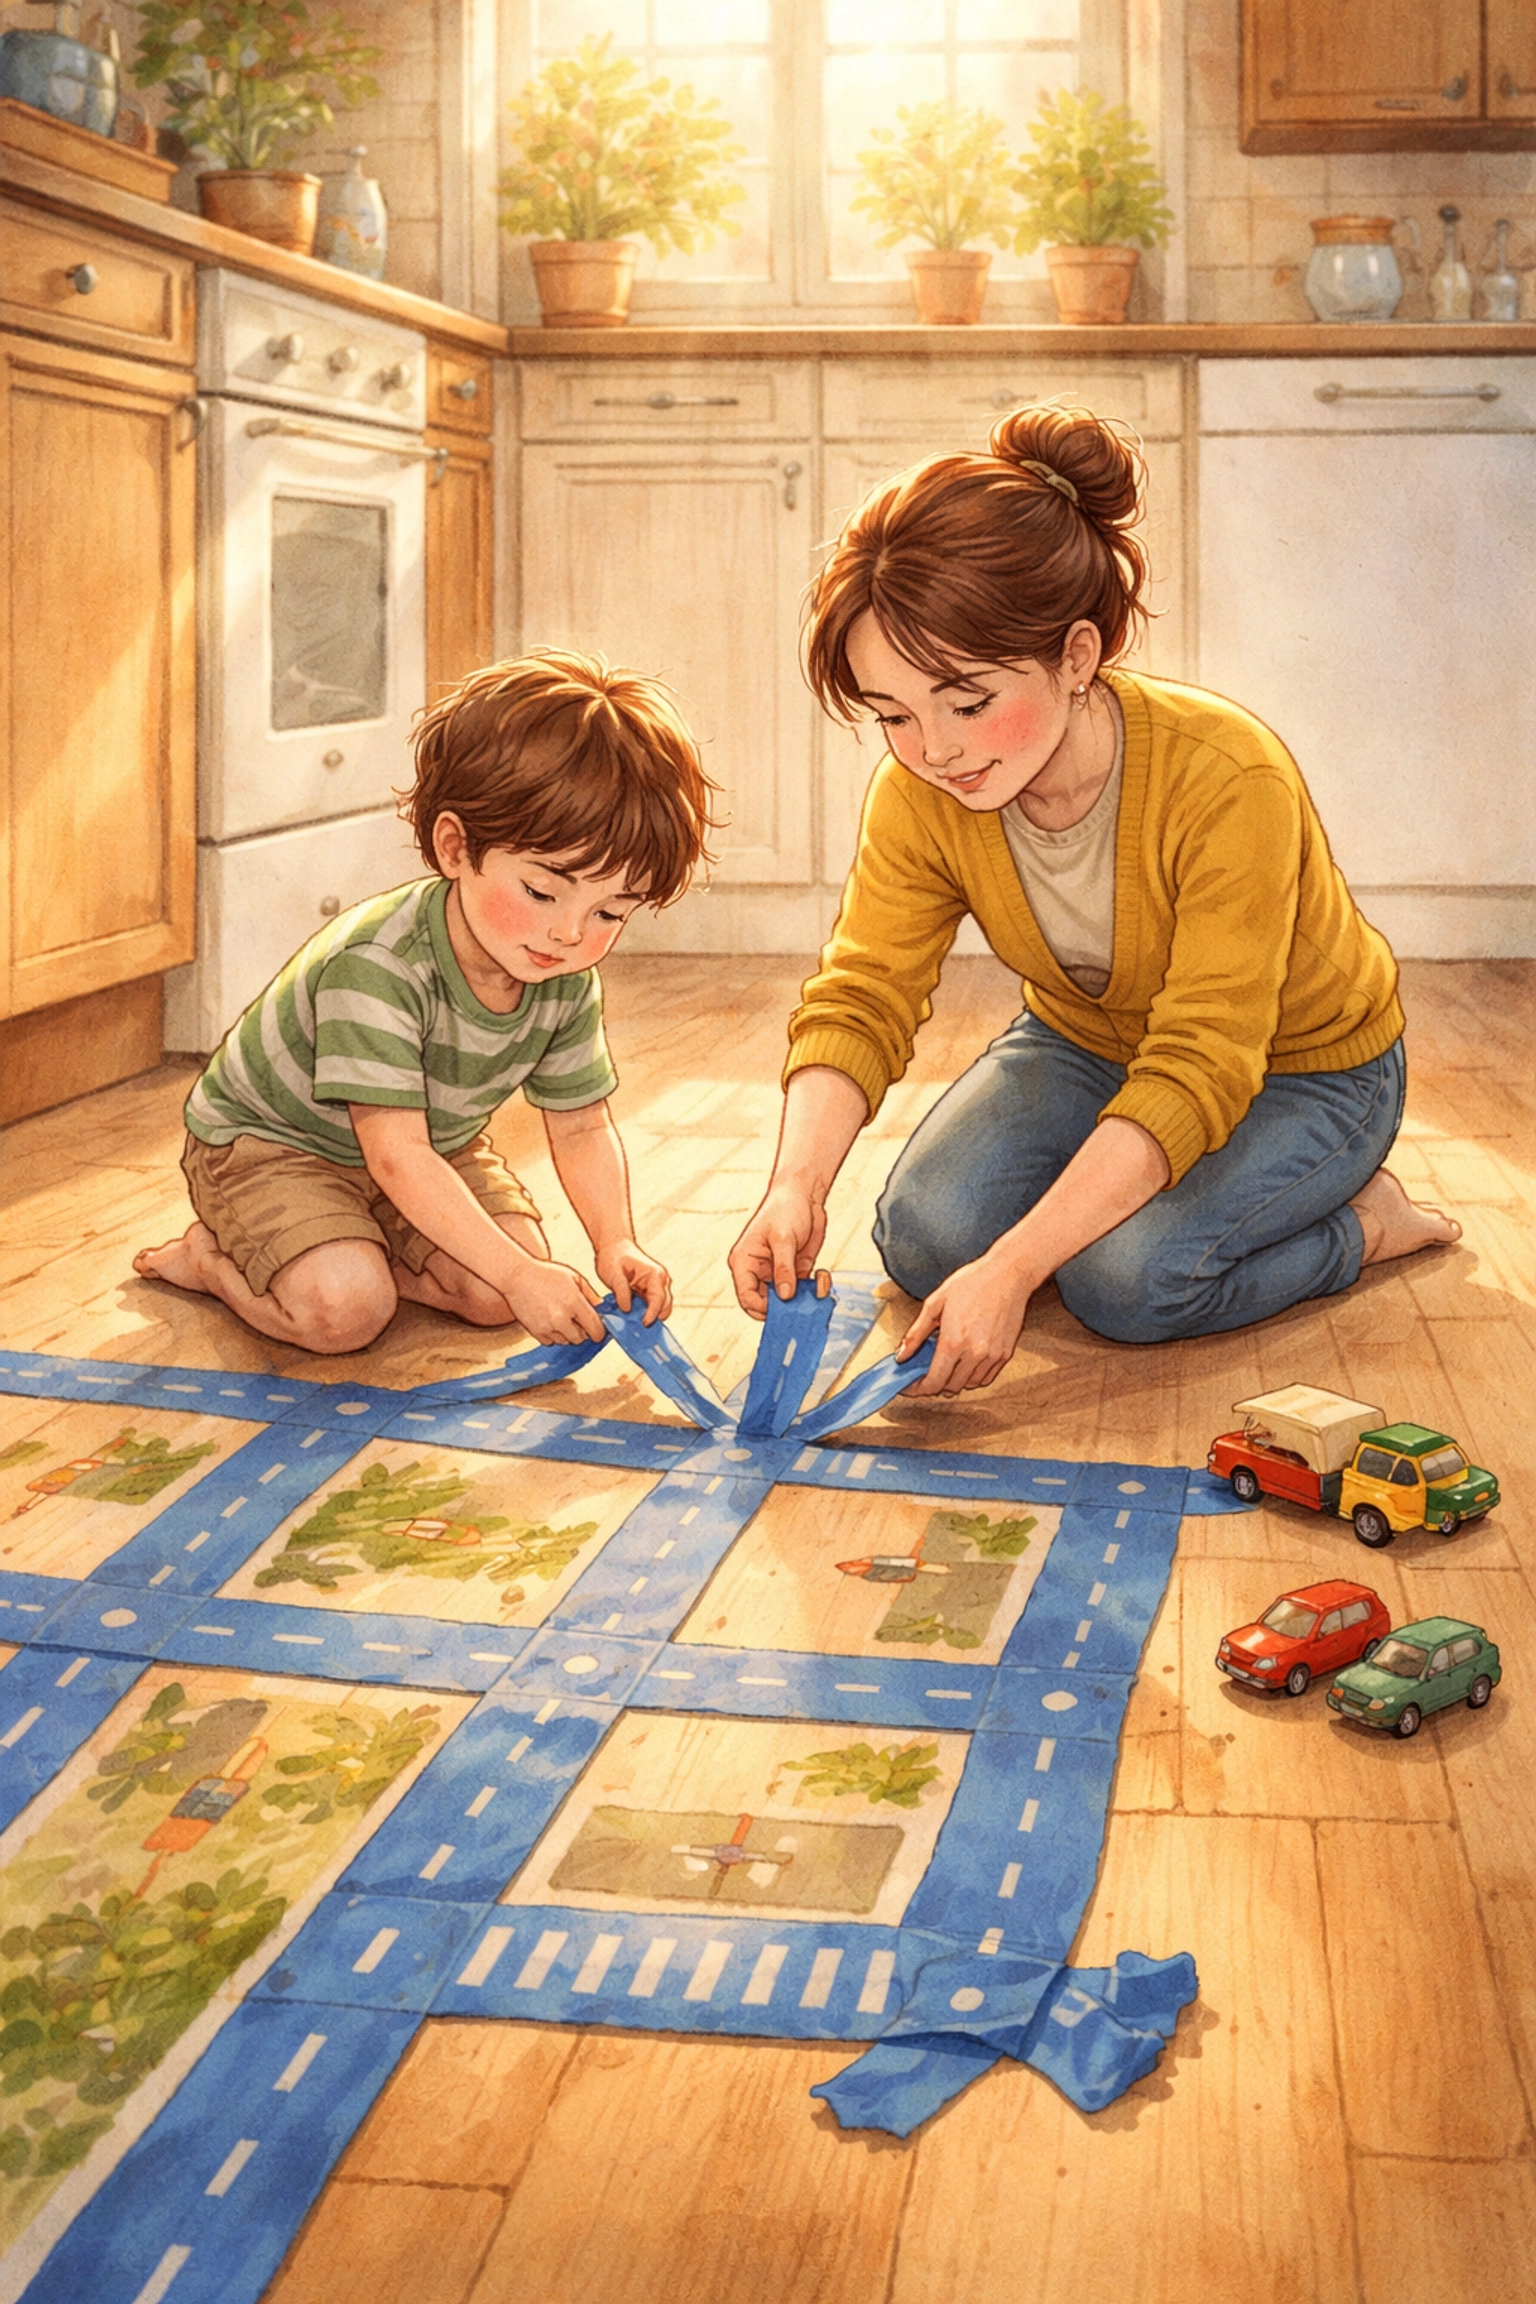
The simplest way to build an indoor road city is with masking tape or painter's tape laid directly on your floor. You create roads, intersections, and parking lots by pressing strips of tape onto hard flooring or low-pile carpet, and your kids drive their toy cars along the routes. When playtime ends, you peel up the tape: and that's it. No mess, no permanent changes, and cleanup takes just a few minutes.
This activity works well for children who can follow simple road patterns and enjoy imaginative play with vehicles. It's flexible enough that a three-year-old can zoom cars around while older kids design elaborate highway systems with traffic rules.
Quick Project Specs
Before you gather supplies, here's what to expect:
| Detail | Information |
|---|---|
| Skill Age Range | 4–6 years (for building the roads) |
| Enjoyment Age Range | 3–8 years |
| Time to Complete | 20–40 minutes |
| Budget | $0–$5 |
| Difficulty | Easy |
| Mess Level | Very low |
A note on ages: Younger children (around 3) may need help laying the tape straight but can participate in pressing it down and, of course, playing on the finished roads. Kids 5 and older often enjoy designing their own layouts with less assistance. Some sources suggest this activity works better for ages 5–7, while others include children as young as 3: so adjust based on your child's interest and attention span.
Materials List
Here's what you'll need. Many families have these items around the house, so your cost could be zero.
| Material | Purpose | Estimated Cost |
|---|---|---|
| Masking tape or painter's tape (1 roll) | Creates the road lines | $3–$5 if purchased new |
| Toy cars, trucks, or vehicles | For playing on the roads | $0 (use what you have) |
| Scissors | Cutting tape to length | $0 (household item) |
| Marker or crayon (optional) | Adding lane lines or details | $0 (household item) |
| Colored paper scraps (optional) | Making signs or buildings | $0 (household item) |
| Small boxes or blocks (optional) | Creating buildings alongside roads | $0 (household item) |
Total estimated budget: $0 if you have tape on hand, up to $5 if you need to buy a roll.
Tip on tape choice: Painter's tape (the blue or green kind) tends to peel off more cleanly than regular masking tape, especially on wood floors. If you're working on a delicate floor finish, test a small piece in a hidden spot first and avoid leaving tape down for more than a day or two.
Step-by-Step Instructions
Step 1: Choose Your Space
Find a hard floor area where you can lay tape without worrying about damage. Kitchens, hallways, and playrooms with tile, laminate, or sealed wood often work well. Carpet can work too, but the tape may not stick as firmly and could be trickier to remove from certain fibers.
Clear the space of furniture or toys that would block your road layout. You don't need a huge area: even a 4-foot by 4-foot section gives you room for several roads and turns.
Step 2: Plan a Simple Layout
Before you start taping, have a quick conversation with your child about what kind of city they want. A few questions to ask:
- Do you want one long road or lots of intersections?
- Should we have a parking lot?
- Do you want curves or straight roads?
For younger children, keep the design simple: maybe two or three roads that intersect once. Older kids might want a more complex grid with multiple turns.
You don't need to draw it out, but having a general idea helps avoid wasting tape.
Step 3: Lay Down the Main Roads
Start with your longest, most important road. Unroll a strip of tape along the floor, pressing it down firmly as you go. For a two-lane road, lay two parallel strips about 3–4 inches apart (roughly the width of a toy car with a little room to spare).
Keep the tape relatively taut as you apply it to get straighter lines, but don't stress about perfection. Wobbly roads add character, and kids rarely mind.
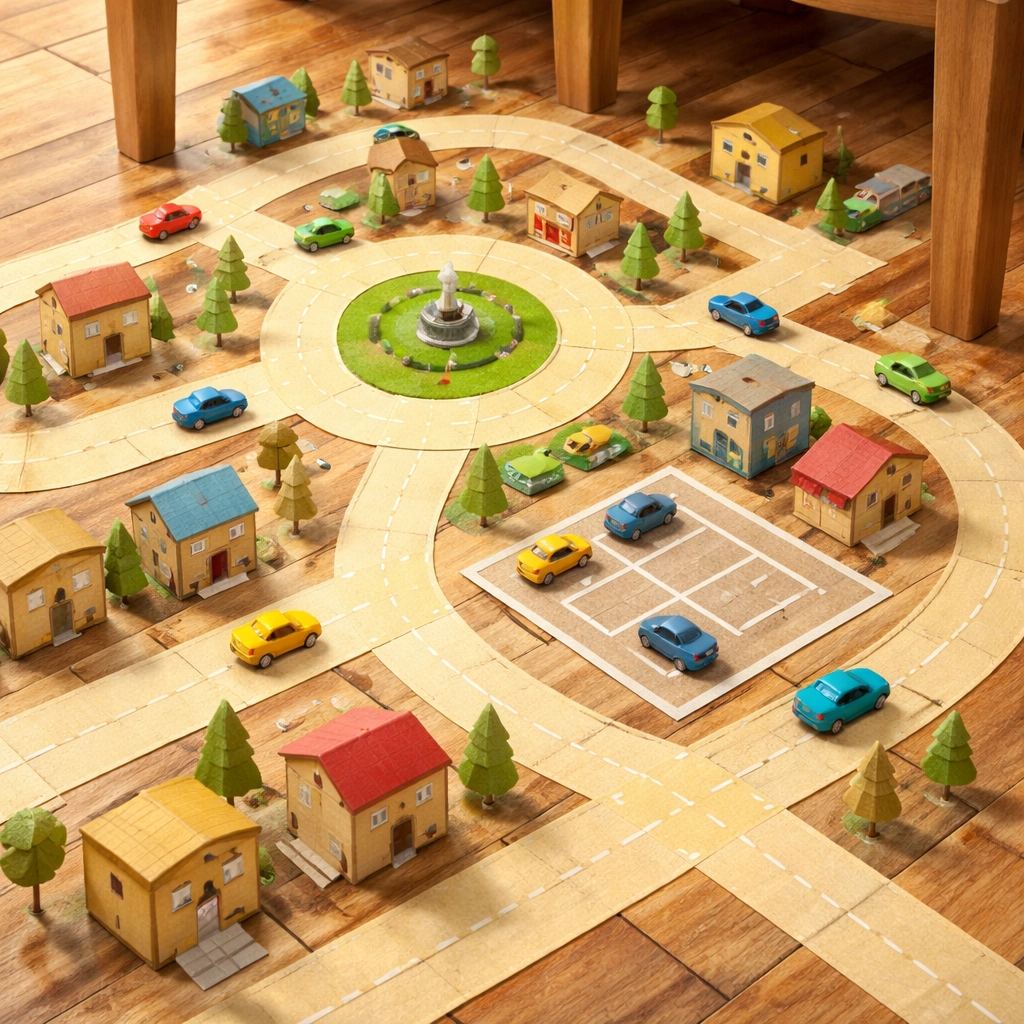
Step 4: Add Intersections and Turns
Once your main road is down, branch off with side streets. For a basic intersection, run a second road perpendicular to the first. You can tear or cut the tape at the corners.
For curves, tear shorter pieces of tape and angle them slightly as you apply each one. This creates a gradual turn rather than a sharp corner.
Intersection ideas:
- Four-way stops
- T-intersections
- Roundabouts (a circle in the middle where roads meet)
- Dead ends with turnaround loops
Step 5: Create Parking Lots and Special Zones
Parking lots give kids a destination for their vehicles. Make these by taping a rectangle shape, then adding short perpendicular lines inside to mark individual parking spaces.
You can also designate special areas:
- A "gas station" zone
- A "car wash" spot
- A "garage" where cars get repaired
Label these with small pieces of paper if your child enjoys that level of detail.
Step 6: Add Optional Details
If you have a marker, you can draw dashed center lines directly on the tape to simulate lane markings. Yellow works well for center lines, white for edge markings: but use whatever you have.
Small paper scraps can become stop signs, yield signs, or speed limit signs taped to blocks or small boxes positioned alongside the roads.
Cardboard boxes, building blocks, or even books stood on end can represent buildings, creating a true cityscape around your road network.
Tips for Success
Start smaller than you think you need. It's easier to expand a road system than to peel up and redo a massive layout that overwhelmed everyone.
Let your child lead the design when possible. Even if their road layout doesn't make "logical" sense, the creative process matters more than traffic engineering accuracy.
Use furniture as landmarks. Roads can wind around table legs, under chairs, or along the edge of a couch. This makes the city feel bigger without using more floor space.
Test your tape first. If you're using a new floor type or aren't sure how well the tape will come off, test a small piece in an inconspicuous spot before committing to a full city.
Keep extra tape handy. Roads get stepped on and sometimes need repairs during play. Having the roll nearby makes fixes quick.
Cleanup and Storage
One of the best parts of this activity is the cleanup. When you're done playing: whether that's after 30 minutes or a few days later: simply peel up the tape. Most tape pulls up cleanly from hard floors without leaving residue.
A few notes on timing:
- Painter's tape is generally designed to be removed within 14 days, but on wood floors, some parents recommend pulling it up within a day or two to avoid any chance of finish damage.
- If tape has been down for a while and feels stuck, pulling slowly at a low angle (close to the floor) often helps.
You can have your child help with tape removal: peeling up strips can be a satisfying fine motor activity on its own.
Ways to Extend the Play
Once you've built a basic road city, here are some ways to keep the activity fresh on future days:
- Add a construction zone: Block off part of the road with small toys or crumpled paper "barriers" and create a detour.
- Introduce traffic rules: Make simple paper traffic lights and practice stop-and-go.
- Build a drive-through: A shoebox with two openings becomes a tunnel or drive-through restaurant.
- Combine with other toys: Action figures, small animals, or dolls can become pedestrians crossing the street.
- Time trials: Use a timer and see how quickly cars can navigate from one end of the city to the other.
If you enjoyed this project, you might also like our other hands-on activities for young kids, like learning how to create a DIY worm composting bin with children or building a mini greenhouse from plastic bottles.
FAQ
- Will masking tape damage my floors? Generally, no. Masking tape and painter's tape are designed to be removed without leaving residue. However, it's always a good idea to test a small, hidden spot first, especially on finished wood or delicate surfaces.
- How long does a tape road city last? It can last for days! As long as the floor stays dry and the tape isn't pulled up, your kids can keep their city built as a semi-permanent play zone.
- What is the best way to clean up the tape? When play time is over, just peel it up slowly. If any sticky residue is left behind, a damp cloth with a little soap usually clears it right up.
References
- Various parenting activity resources confirm masking tape roads as a low-cost, mess-free indoor activity
- Painter's tape removal guidelines suggest testing on delicate surfaces and avoiding extended application on wood floors
- Fine motor development resources note that tape peeling can serve as a beneficial activity for young children


