


Direct Answer: To start a neighborhood seed library with your kids, find a visible public location (like a Little Free Library box, school lobby, or community center), collect donated seeds in labeled envelopes, organize them in a simple container or small shelf, and invite neighbors to "borrow" seeds with the understanding they'll save and return seeds from their harvest. The whole setup can cost under $25 and takes just one weekend to launch.
Spring is the perfect moment to get this project rolling, neighbors are already thinking about their gardens, and your kids get a front-row seat to community building, basic botany, and the magic of watching tiny seeds travel from home to home.
Let's dig into exactly how to make it happen.
What Is a Seed Library, Anyway?
A seed library works like a book library, but instead of novels, neighbors check out packets of seeds. They plant them, grow vegetables or flowers, and (ideally) save seeds from their best plants to return to the library at the end of the season.
It's a simple cycle: take seeds, grow food, save seeds, share again.
For kids, this is an incredible hands-on lesson in generosity, biology, and patience. Plus, there's something genuinely exciting about seeing your family's tomato seeds end up in a neighbor's salad three houses down.
Step 1: Pick Your Location
Your seed library needs to live somewhere people actually walk by. The more visible, the better.
Great spots to consider:
- A Little Free Library structure (if your neighborhood already has one, ask if you can add a seed section)
- Your front porch or yard with a weatherproof box
- A local school lobby or classroom
- The community center bulletin board area
- A church fellowship hall
- Your actual public library (many librarians love this idea)
Kid task: Walk your neighborhood together and scout locations. Let your kids vote on the best spot. This gets them invested from day one.
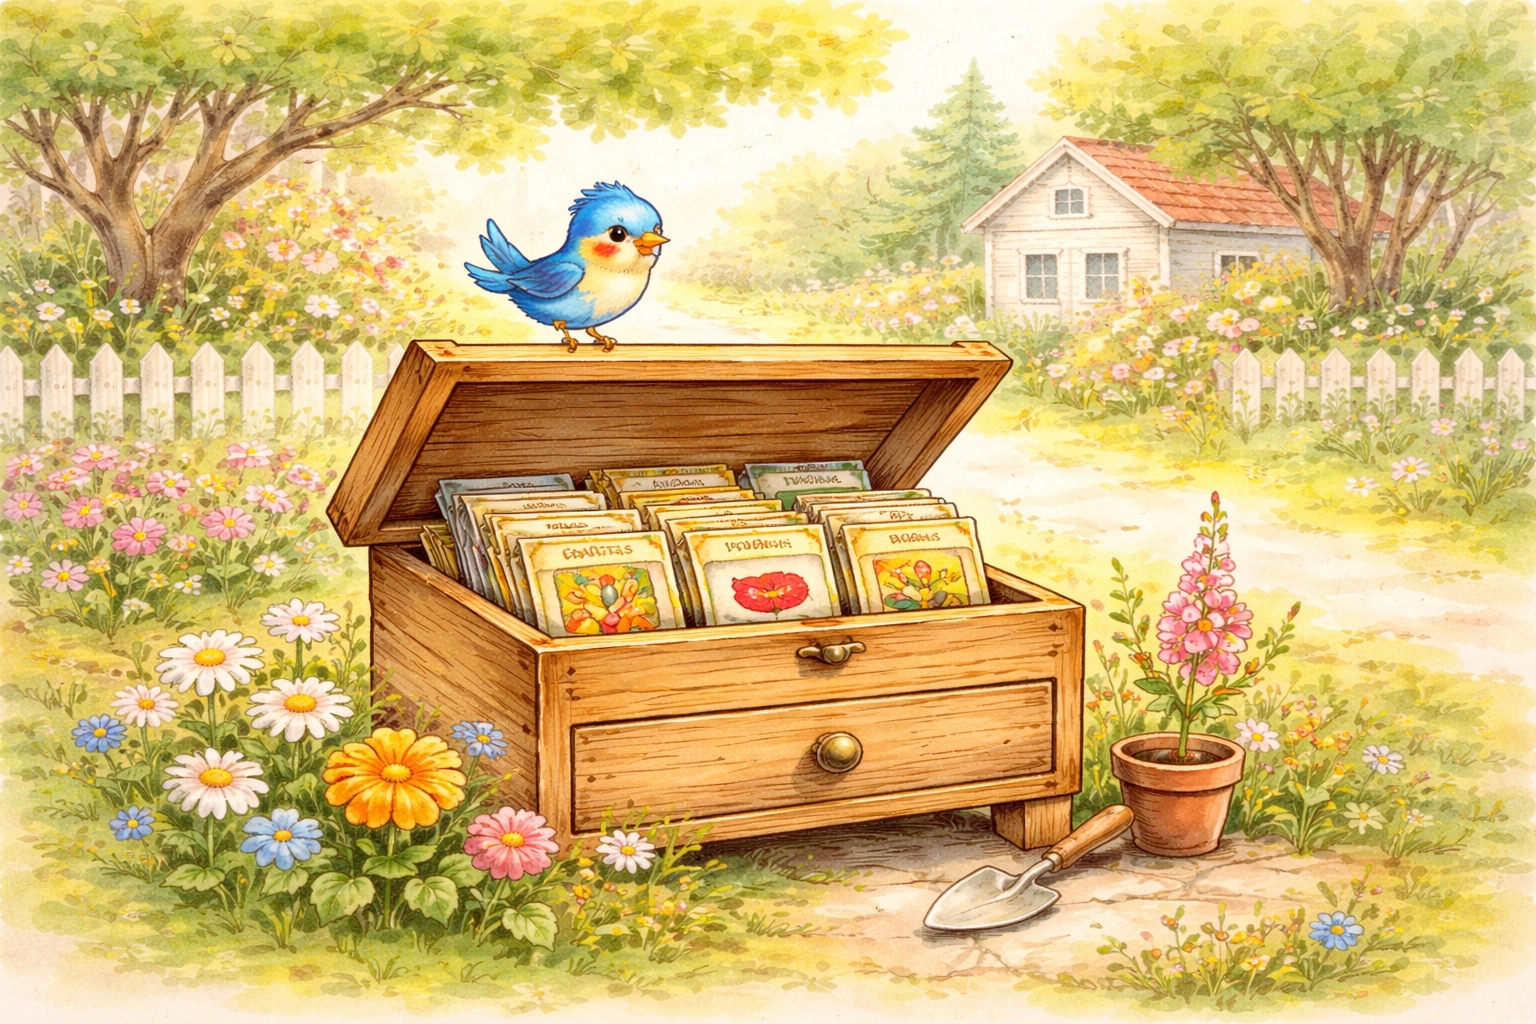
Keep it simple. You don't need a fancy structure: a repurposed mailbox, a wooden crate with a hinged lid, or even a large mason jar on a covered porch works fine for your first season.
Step 2: Gather Your Seed Collection
You need seeds to share before you can open for business. Here's where to find them:
Ask neighbors and friends. Put the word out on your street or in your community group. Gardeners almost always have extra seed packets sitting in drawers.
Check with local garden centers. Many stores have packets nearing their "sell by" date that they'll donate rather than toss. The seeds are still perfectly viable.
Save from your own garden. If you grew tomatoes, peppers, beans, or flowers last year, you likely have seeds you can contribute.
Buy a few packets. A $10 investment in easy-to-grow varieties (beans, sunflowers, zinnias, lettuce) gives you a solid starter collection.
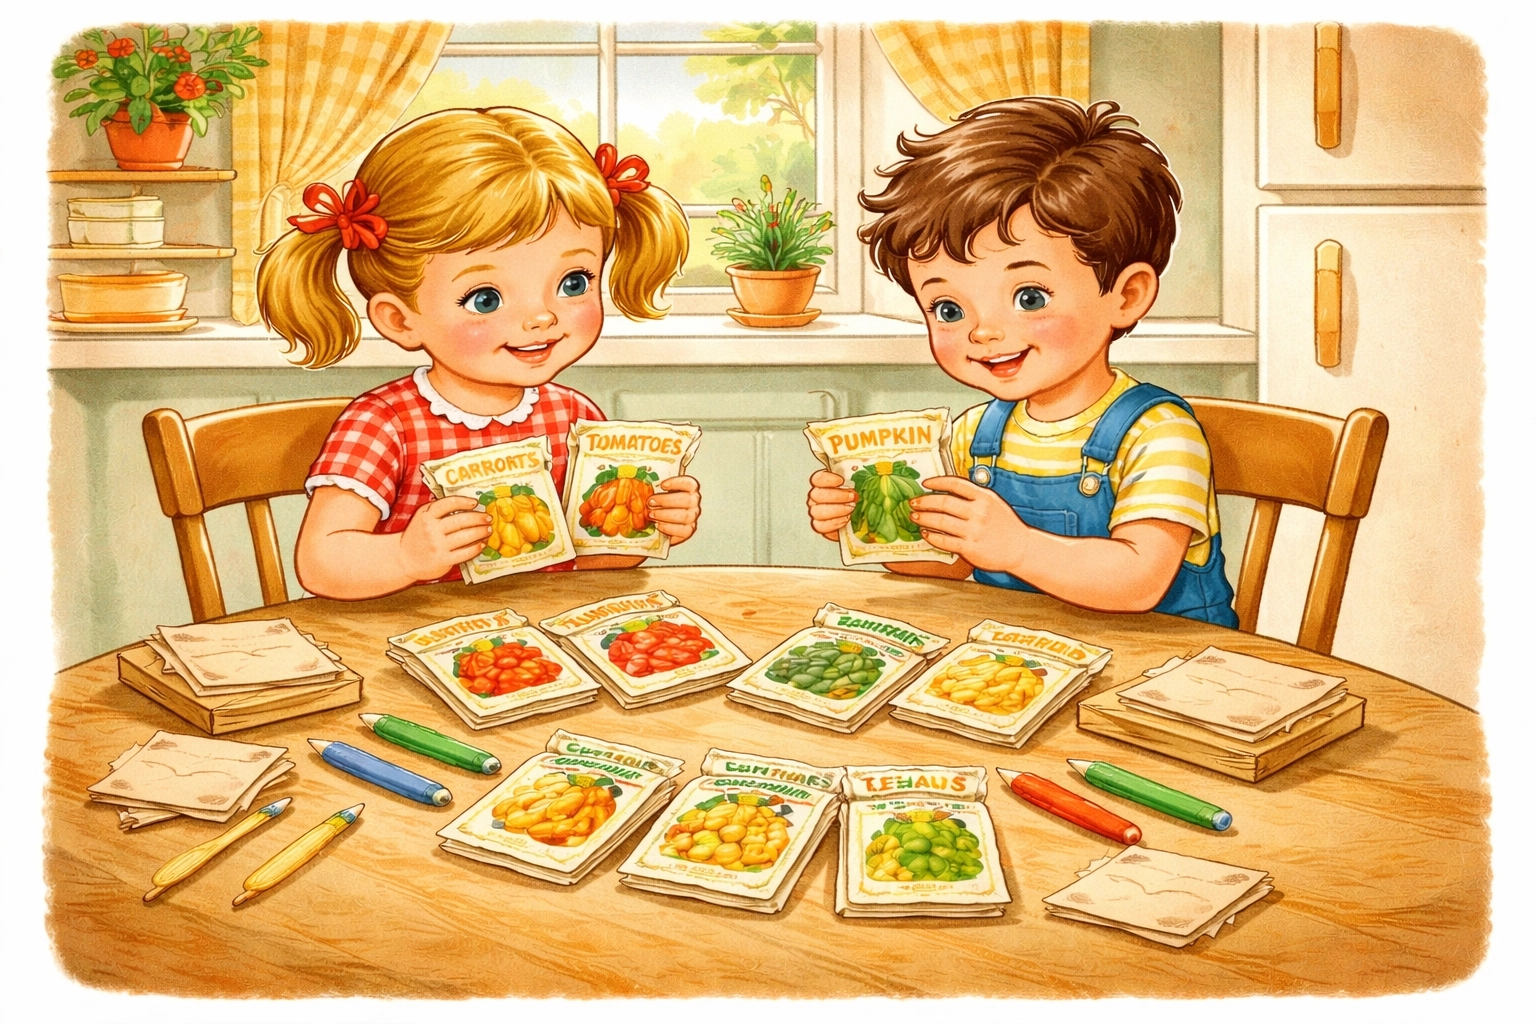
Kid task: Let your kids sort seeds into categories: vegetables, herbs, and flowers. They can decorate labels or draw pictures of each plant on the envelopes.
Pro tip: Focus on varieties that grow well in your specific region. A seed library full of plants that fail locally won't inspire repeat visitors.
Step 3: Set Up Your Organization System
This doesn't need to be complicated. The goal is making it easy for neighbors to find what they want and understand how the library works.
Basic supplies you'll need:
- Small envelopes or coin envelopes (about $3 for 100)
- A shoe box, small wooden crate, or index card box
- Index cards or dividers for categories
- A simple sign explaining how the library works
Organize seeds by type:
- Vegetables
- Herbs
- Flowers
- "Mystery seeds" (for packets without labels: kids love the surprise factor)
Create a simple sign that says:
Welcome to the [Your Street/Neighborhood] Seed Library!
- Take what you need (2-3 packets per visit)
- Plant and enjoy
- Save seeds from your healthiest plants
- Return seeds in fall so others can grow them next year
Kid task: Let your kids design and decorate the welcome sign. Hand-drawn vegetables and flowers make it feel personal and inviting.
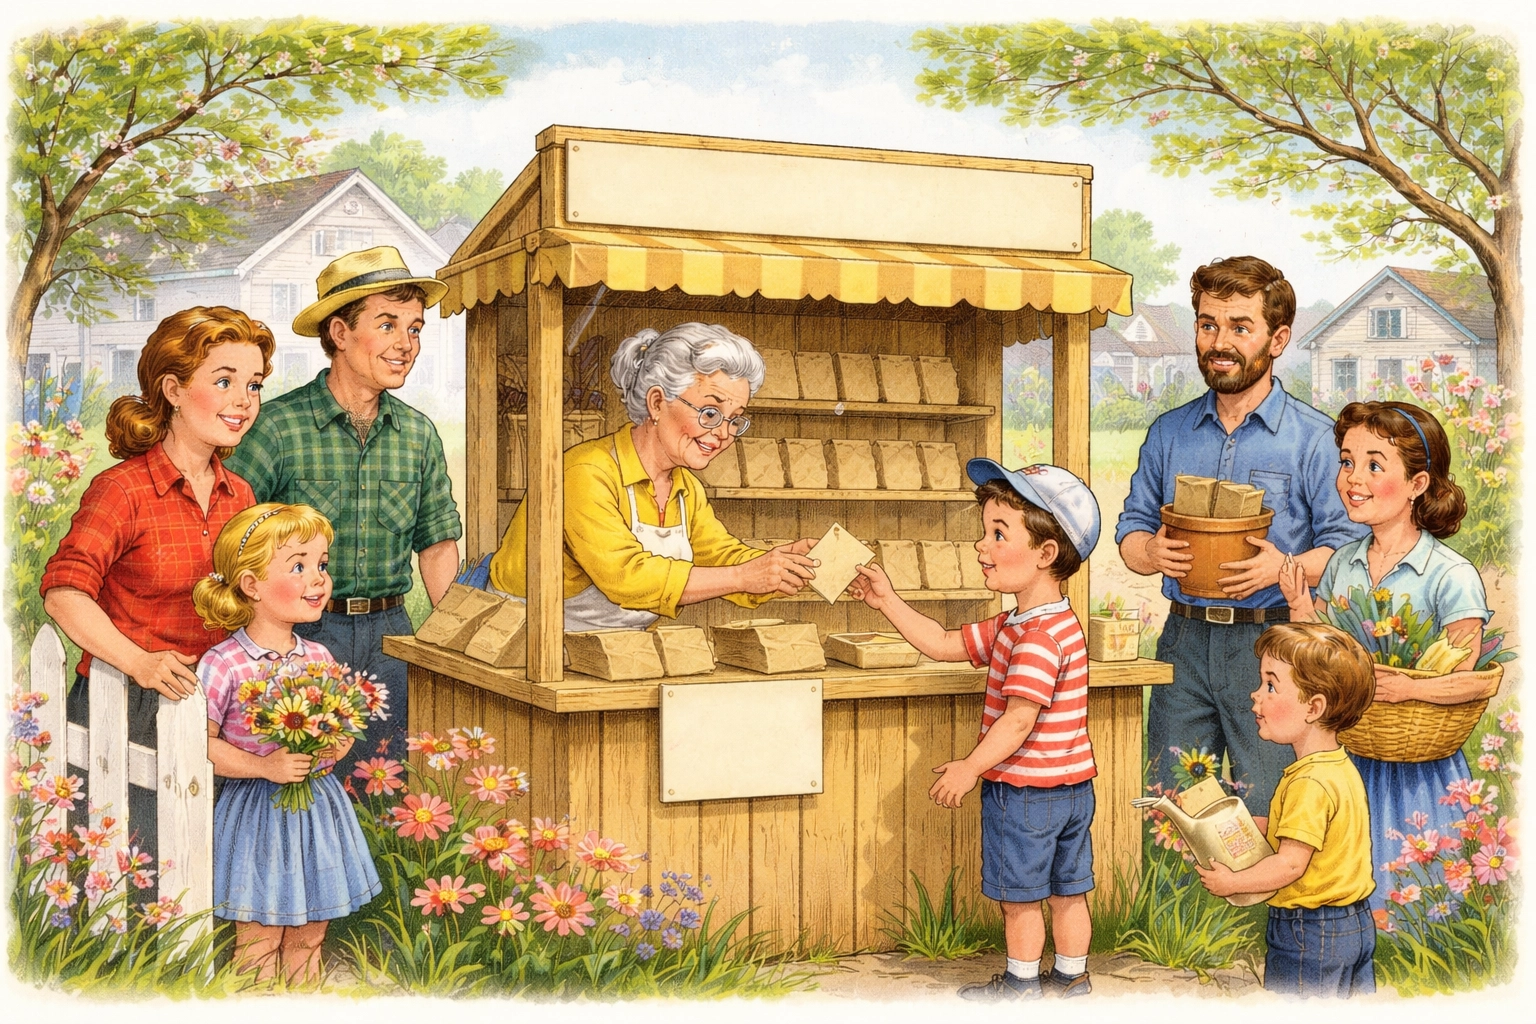
Step 4: Build Your Community Team
A seed library runs best when it's not all on one family's shoulders. Recruit a few helpers.
People to ask:
- Neighbors who already garden
- Local master gardeners (check your county extension office)
- A teacher at your kids' school who might want to tie it into science class
- Members of a local garden club
Even one or two other families sharing the responsibility makes this sustainable. Someone can restock in summer, someone else can collect returned seeds in fall.
Kid task: Have your children make "invitation cards" to hand out to gardening neighbors, inviting them to contribute seeds or help run the library.
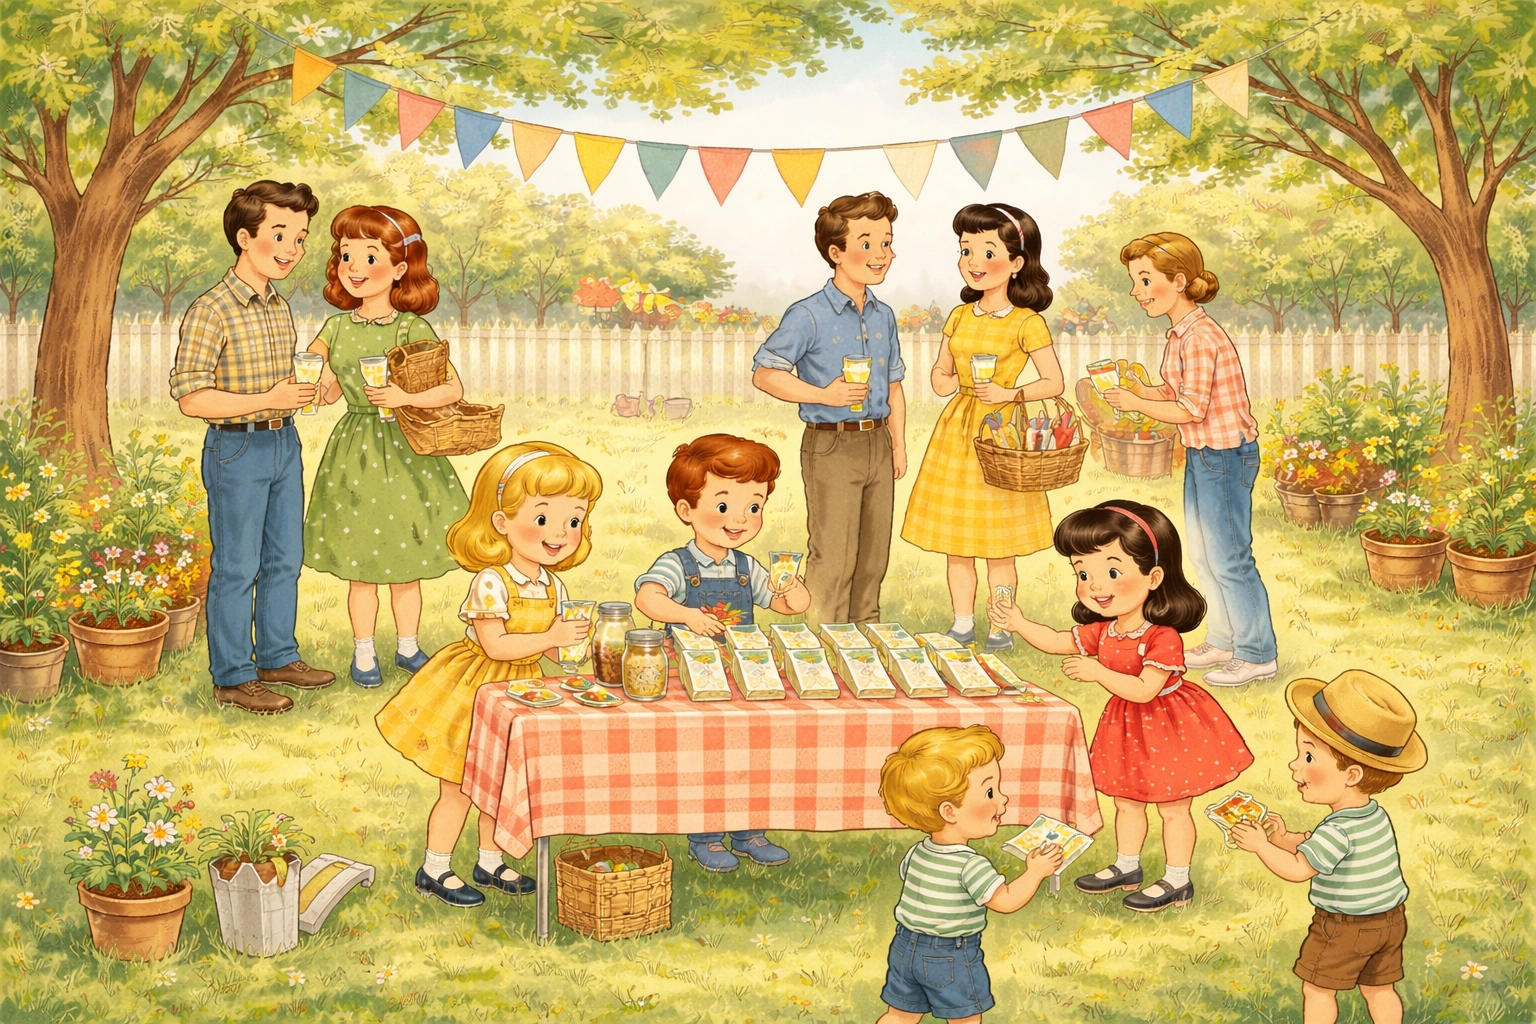
Step 5: Host a Launch Event
Nothing builds excitement like a party. Plan a simple seed swap to kick things off.
How to run a neighborhood seed swap:
- Pick a date (a Saturday morning in early spring works great)
- Invite neighbors to bring any seeds they want to share
- Set up a table where people can browse and take seeds home
- Provide envelopes and markers so people can package and label seeds on the spot
- Serve lemonade or coffee: it doesn't need to be fancy
This is also the perfect time to explain how the seed library will work going forward and sign up volunteers.
Kid task: Your kids can be the official "seed swap helpers," handing out envelopes, answering questions, and showing visitors where to find different seed types.
Step 6: Keep It Going Through the Season
Once your library is open, maintenance is minimal: but a little attention keeps it thriving.
Spring: Restock popular seeds. Add new donations as they come in.
Summer: Check that the container is weatherproof and seeds aren't getting damp. Share updates with neighbors about what's growing.
Fall: This is seed-saving season. Remind neighbors to return seeds from their best plants. Host a "seed return day" or second swap.
Winter: Store remaining seeds in a cool, dry place. Plan any improvements for next year.
Kid task: Create a simple "seed library log" where visitors can write what they took and what they're growing. Kids love reading these entries and seeing the library in action.
What Your Kids Will Learn
This project sneaks in a remarkable amount of education without feeling like school:
- Biology: How seeds grow, pollination basics, plant life cycles
- Math: Counting seeds, sorting categories, tracking donations
- Social skills: Talking to neighbors, explaining the project, collaboration
- Responsibility: Maintaining a community resource over time
- Delayed gratification: Planting now, harvesting later, saving for next year
And honestly? They'll learn that small actions can bring a neighborhood closer together. That's a lesson worth more than any worksheet.
Supplies Checklist
Here's everything you need to launch:
| Item | Estimated Cost |
|---|---|
| Small envelopes (100 pack) | $3 |
| Wooden crate or container | $5-10 (or free if repurposed) |
| Starter seed packets | $5-10 |
| Markers and labels | $3 |
| Weatherproofing (if outdoor) | $5 |
| Total | Under $25 |
Ready to Start?
Pick your location this weekend. Raid your junk drawer for old seed packets. Get your kids involved in decorating envelopes and making signs.
By the time the last frost passes, your neighborhood could have its very own seed library: built by your family, shared by everyone.
For more family garden projects, check out our guide on how to make a DIY mini greenhouse out of plastic bottles or learn how to create a worm composting bin with your children.
FAQ
- How do we start a seed library if we don't have many seeds? You can start small with just a few packets of easy-to-grow seeds like beans or zinnias. Ask neighbors to "swap" seeds they have extra of to build your collection.
- What is the best way to store seeds in a library? Keep them in a cool, dry place in paper envelopes. Labeling each envelope with the name of the plant and the date is very important for a successful library.
- Can kids manage a seed library? Yes! It’s a great way for them to practice organization and community service. They can help with labeling, sorting, and even giving "gardening advice" to neighbors who come to visit.
References:
- Seed Savers Exchange community library resources
- American Library Association seed library guidelines
- Local extension office seed saving recommendations


