


Quick Answer
The fastest way to start composting with kids is to build a simple bin using a lidded plastic storage container, drill holes for airflow, then set up an easy collection system for brown and green materials. You can have usable compost in as little as one month with the right approach.
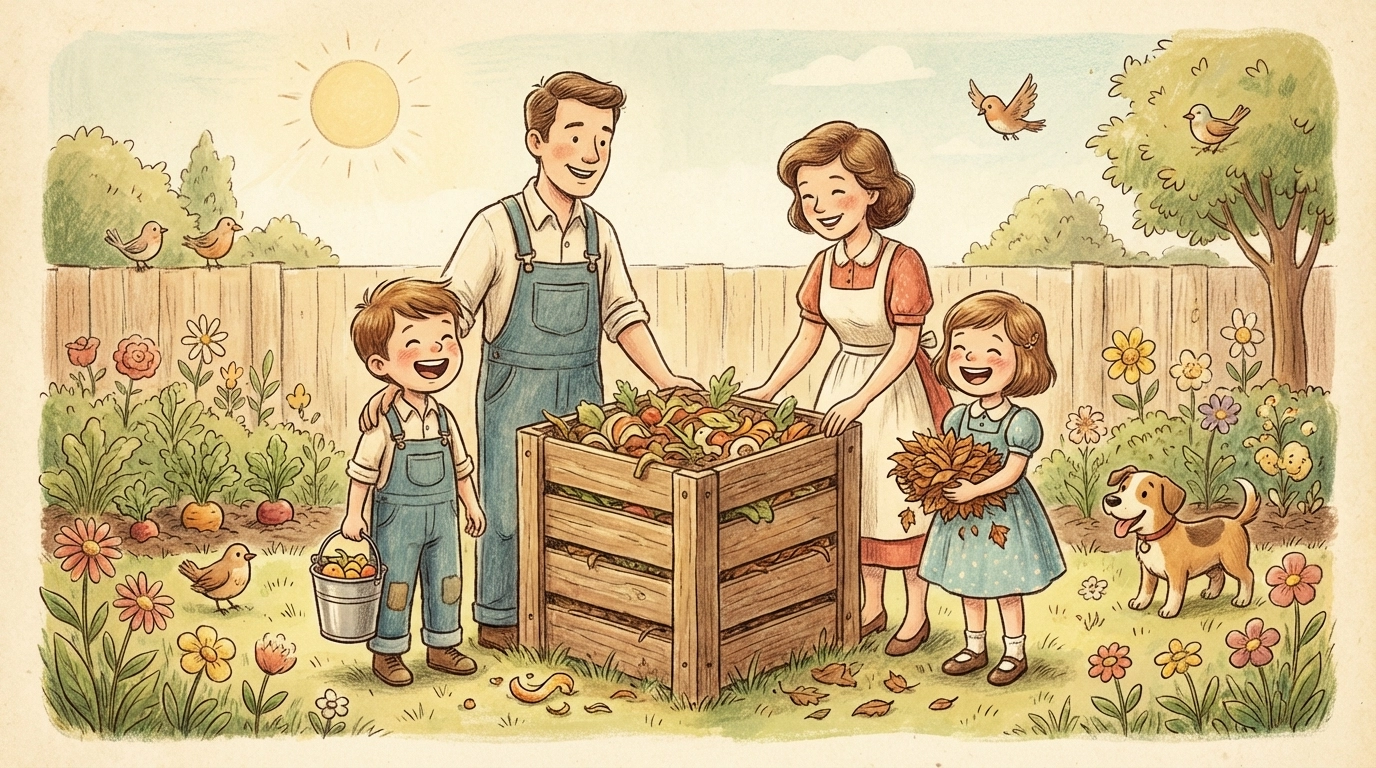
Composting with kids is one of those rare activities that checks every box. It's hands-on science. It teaches responsibility. It reduces household waste. And at the end, you get free fertilizer for your garden.
But here's the thing, most families overcomplicate it. They research for weeks, buy fancy tumblers, and then abandon the whole project when life gets busy.
Let's skip all that. This guide gives you the exact steps to start composting with your kids today, using supplies you probably already have at home.
What You'll Need to Get Started
Before you gather the kids, grab these supplies:
For the bin:
- One 80-liter lidded plastic storage container (a standard tote works great)
- A drill or sharp tool to punch holes
- A plastic tray with at least 5cm walls (to catch drainage)
For collection:
- A small bucket with a lid for kitchen scraps
- A second container for brown materials
- A stick or broom handle for stirring
That's it. No expensive equipment. No specialty items. Just practical stuff that gets the job done.
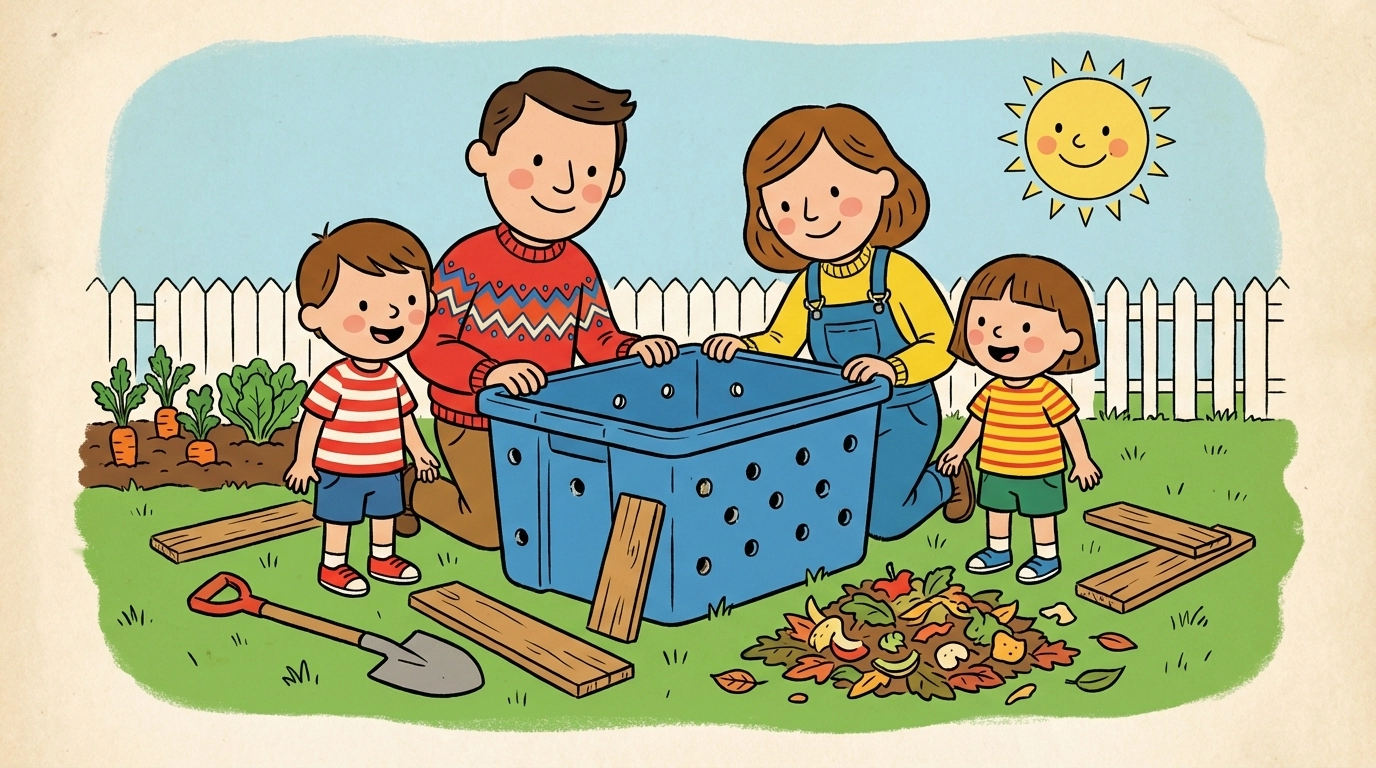
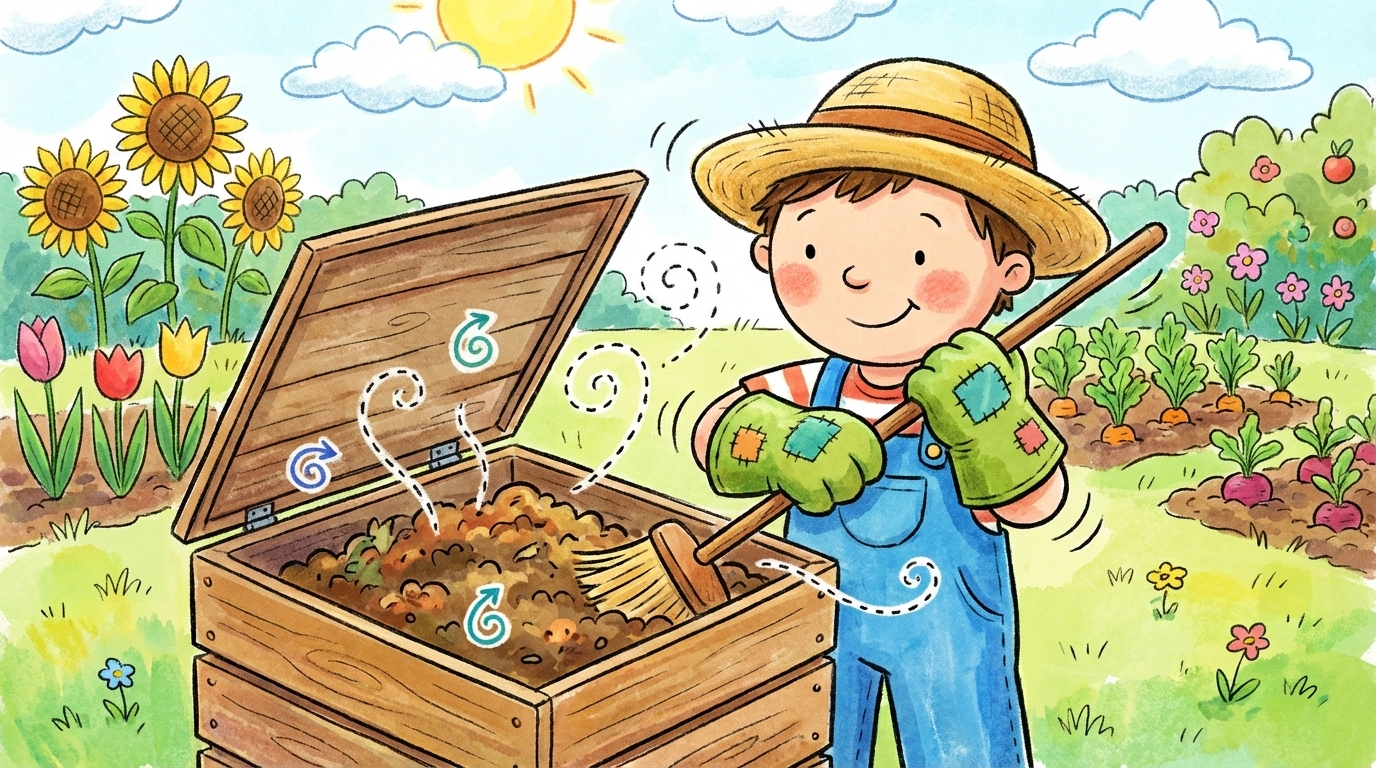
Step 1: Build Your Compost Bin Together
This is the fun part, and the perfect opportunity to hand over some tools to your kids.
Here's how to do it:
- Take your lidded plastic storage container and flip it over.
- Drill or punch holes all over the bottom. Space them about 3-4 inches apart.
- Flip it right-side up and punch holes all around the sides, about halfway up.
- Add holes to the lid as well.
These holes are essential. Composting is an aerobic process, which means the microorganisms breaking down your scraps need oxygen to work. No holes equals no airflow equals a smelly, slimy mess.
Pro tip for kids: Let them count the holes as you make them. Younger kids can mark the spots with a marker. Older kids can help with the drilling (with supervision, of course).
Once your bin has holes, place it on your plastic tray. This catches the "compost tea" that drains out, liquid gold for your plants, by the way.
Position your bin within easy carrying distance of your garden. You'll thank yourself later when it's time to spread the finished compost.
Step 2: Set Up Your Material Collection System
Here's where most families fail. They build the bin, toss in a few banana peels, and then forget about it for three months.
The secret to composting success? Make collection easy.
Create two collection points:
Brown Materials Bin:
Keep this somewhere accessible, a corner of the garage, laundry room, or mudroom works well. This is where you'll collect:
- Torn-up paper (not glossy)
- Cardboard ripped into small pieces
- Dried leaves
- Coffee grounds and filters
- Dryer lint
- Pet hair from brushing
Green Materials Bucket:
This stays near your kitchen sink. Use a small container with a lid to collect:
- Fruit and vegetable scraps
- Eggshells
- Tea bags
- Wilted lettuce and herbs
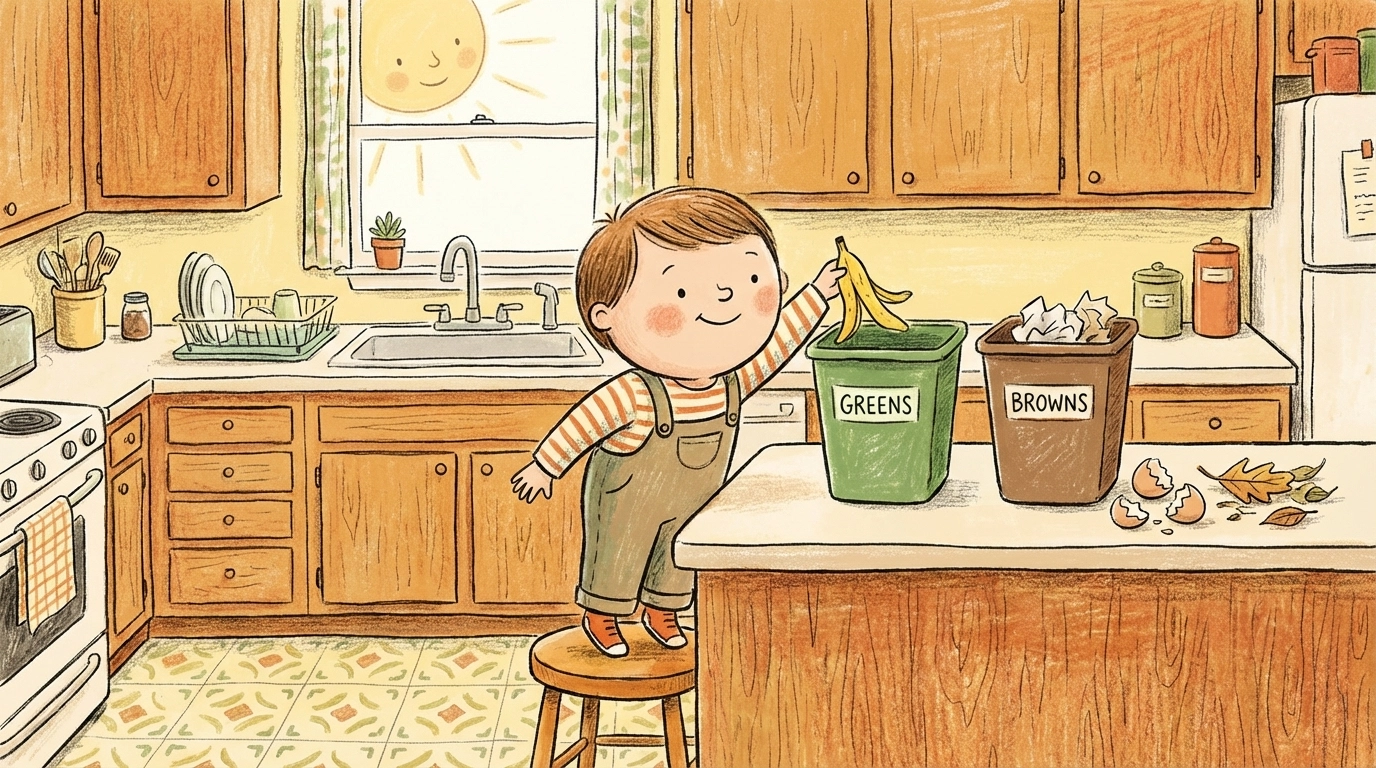
The golden ratio your kids need to remember: Two parts brown to one part green.
Write it on a sticky note. Put it on the fridge. Make it a family mantra. This ratio keeps your compost balanced, prevents odors, and speeds up decomposition.
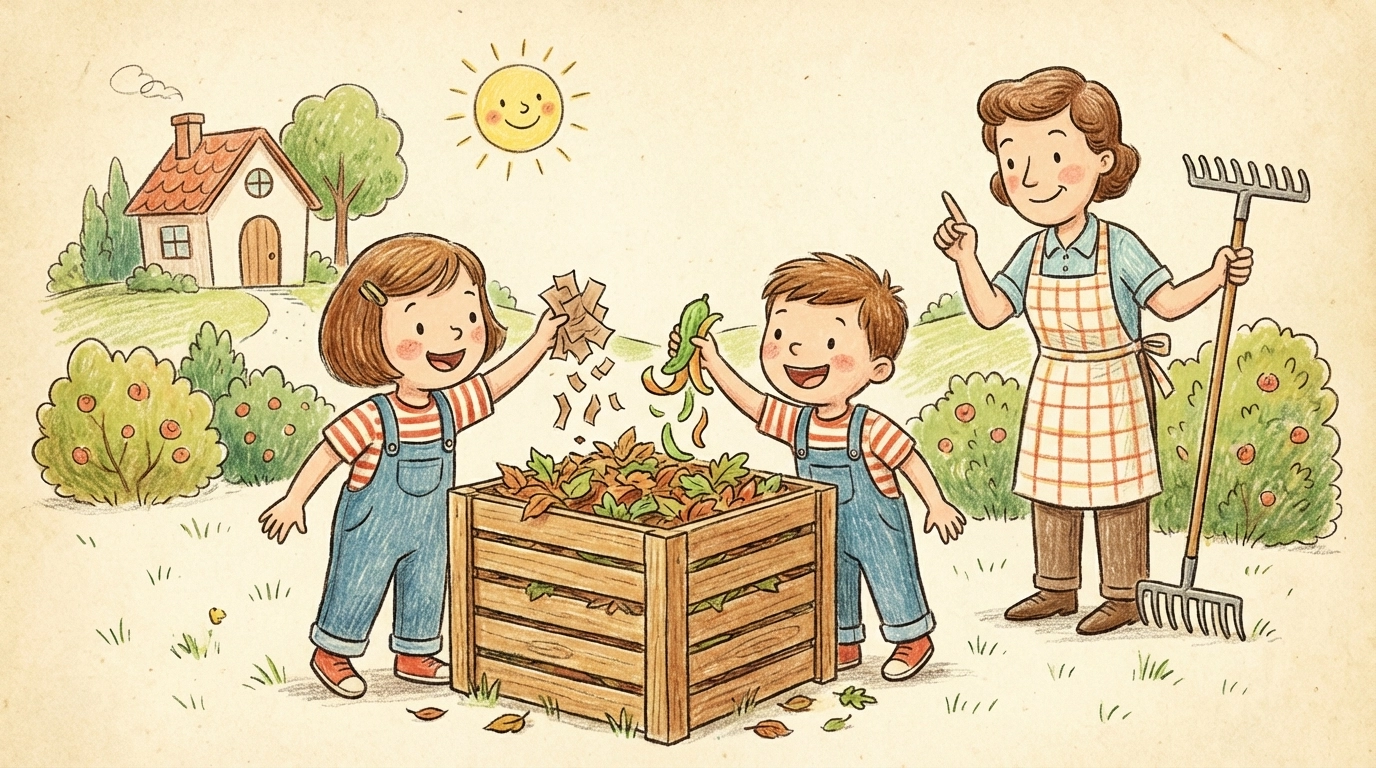
Step 3: Start Filling Your Bin the Right Way
Now comes the hands-on science lesson.
Gather your kids around the compost bin with your collected materials. Here's the layering method that works:
- Start with a layer of brown materials at the bottom (about 2-3 inches).
- Add a layer of green materials on top.
- Cover the green with more brown materials.
- Repeat as you add more scraps over time.
Why this matters: The brown layer on top prevents fruit flies, masks odors, and keeps critters away. Always, and I mean always, cover your food scraps with brown materials.
Get the kids involved:
- Let them tear up cardboard and paper into small pieces
- Have them dump the kitchen bucket into the bin
- Show them how to cover the scraps with brown materials
Smaller pieces break down faster. If your kids enjoy ripping and tearing things apart (and what kid doesn't?), put that energy to good use here.
Step 4: Maintain Your Compost Bin Regularly
Composting isn't a "set it and forget it" project. But the maintenance is simple enough that kids can own it.
Every day or two:
Turn and stir the contents. This adds oxygen and speeds up decomposition. A broomstick or mop handle works perfectly, especially as the bin gets heavier and harder to shake.
Once a week:
Check the moisture level. Your compost should feel like a wrung-out sponge. If it's too dry, sprinkle some water. If it's too wet, add more brown materials.
Make it a routine:
Assign "compost duty" to different kids on different days. It takes less than two minutes and teaches consistency.
What Can (and Can't) Go in Your Compost
Print this list and stick it near your kitchen collection bucket:
Yes, compost these:
- Fruit and vegetable scraps
- Eggshells (crushed)
- Coffee grounds and filters
- Tea bags (remove staples)
- Bread and grains
- Nut shells
- Houseplant trimmings
- Paper towels (unbleached)
- Cardboard and paper
- Dried leaves and grass clippings
No, skip these:
- Meat and fish
- Dairy products
- Oils and fats
- Pet waste (dogs and cats)
- Diseased plants
- Glossy or coated paper
- Charcoal ash
The "no" list exists because these items either attract pests, create odors, or introduce harmful bacteria. Keep it simple and stick to plant-based materials.
How Long Until You Have Usable Compost?
Here's what to expect:
Bucket or hot composting method: About one month with regular turning and the right balance of materials.
Traditional bin composting: Several months, typically 3-6 months depending on conditions.
How do you know it's ready?
Finished compost looks like dark, crumbly soil. It smells earthy: not rotten. You shouldn't be able to identify any of the original materials.
When it's ready, rake it directly into your garden beds or mix it into potting soil. Your plants will love it.
Troubleshooting Common Problems
It smells bad:
Too many green materials. Add more browns and turn it.
Nothing is breaking down:
Pieces are too big, or it's too dry. Chop materials smaller and add water.
Fruit flies everywhere:
Food scraps aren't covered. Bury them under brown materials.
It's attracting animals:
You're adding meat, dairy, or oils. Remove those items and cover scraps better.
Why This Matters for Your Kids
Composting teaches kids where their food comes from: and where it goes. It shows them that waste doesn't just disappear; it can become something useful again.
It's a real-world science experiment happening right in your backyard. Decomposition, nutrient cycles, ecosystems: all of it becomes tangible when kids watch banana peels turn into rich soil over a few weeks.
And honestly? It's just satisfying. There's something deeply rewarding about closing that loop between kitchen scraps and garden harvest.
Ready to take your composting to the next level? Check out our guide on how to create a DIY worm composting bin with children for an even faster breakdown process.
FAQ
- Does a compost bin smell bad? Not if it's done right! A healthy compost bin should smell like fresh earth. If it starts to stink, you usually just need to add more "browns" like shredded paper or dry leaves.
- Can we compost indoors? Yes! Small worm bins (vermicomposting) are perfect for indoor use. They are odorless and can fit right under the kitchen sink.
- What should we NEVER put in our compost? Avoid meat, dairy, or oily foods. These can attract pests and create bad smells. Stick to fruit and veggie scraps, coffee grounds, and eggshells!
References
- Research on bucket composting methods and material ratios for family composting systems
- Timeline expectations for various composting approaches


