


Quick Answer: You can build a simple DIY hydroponics system for kids using a 2-liter plastic bottle, some wicking material, growing media, and a basic nutrient solution. The whole project takes about 1-2 hours to build and costs between $5-$15 depending on what you already have at home. It's perfect for ages 5-12 (with adult supervision for younger kids) and teaches children how plants can grow without soil!
Hydroponics might sound like something out of a science fiction movie, but it's actually a straightforward and fascinating way to grow plants using water and nutrients instead of traditional soil. For kids, building their own hydroponic system is like creating a little science lab right on the kitchen counter, and the best part? They get to eat what they grow!
Let's walk through everything you need to know to make this happen with your family.
What Is Hydroponics and Why Is It Great for Kids?
Hydroponics is a method of growing plants in water enriched with nutrients. Instead of soil doing the work of delivering food to plant roots, a nutrient-rich water solution does the job directly.
This is fantastic for kids because:
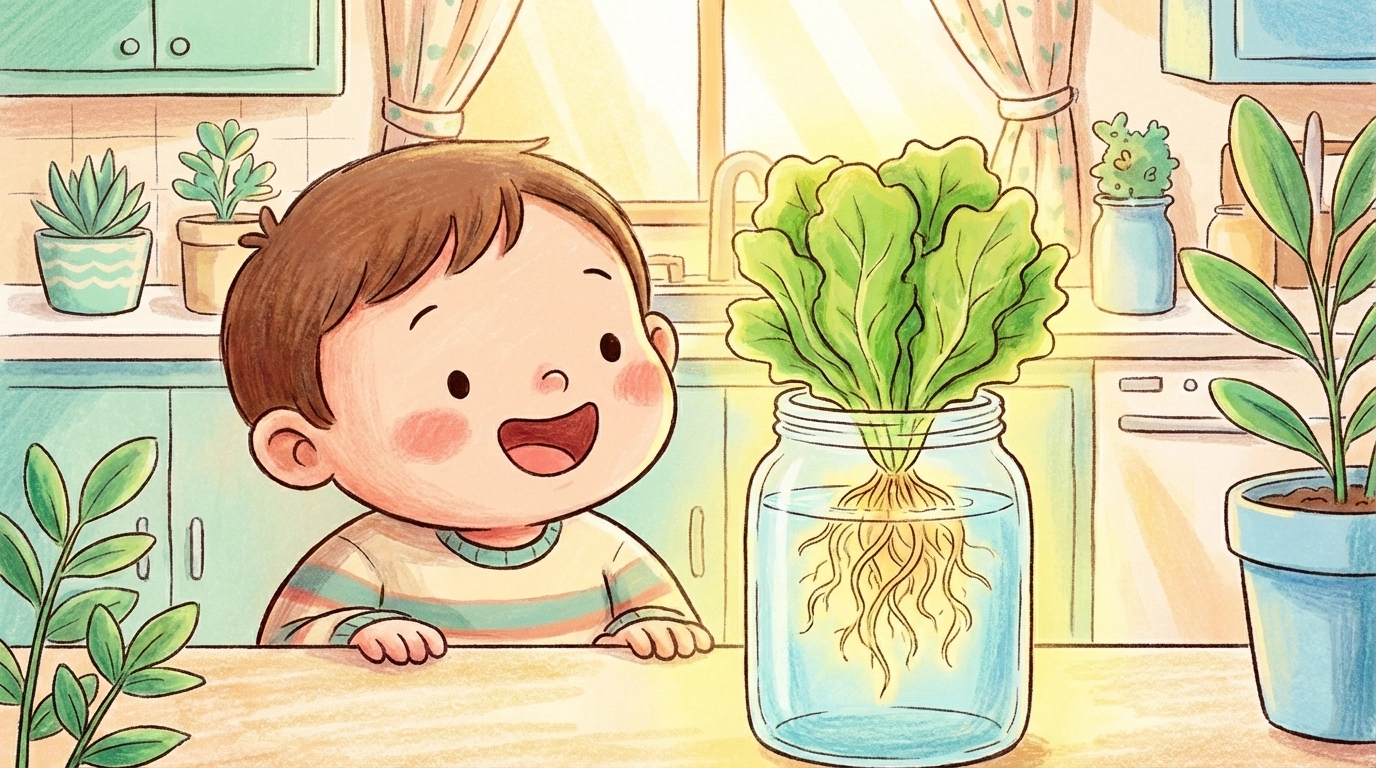
- It's visual. They can actually see roots growing and watch the water level change.
- It's fast. Leafy greens grow quickly, so impatient little gardeners stay engaged.
- It's contained. No muddy messes or outdoor space required.
- It teaches real science. Plant biology, chemistry, and problem-solving all wrapped into one project.
Project Overview
| Detail | Information |
|---|---|
| Age Range | 5-12 years (younger children need adult help with cutting) |
| Estimated Cost | $5-$15 (lower if upcycling household items) |
| Time to Build | 1-2 hours |
| Time to Harvest | 4-6 weeks |
| Difficulty | Beginner-friendly |
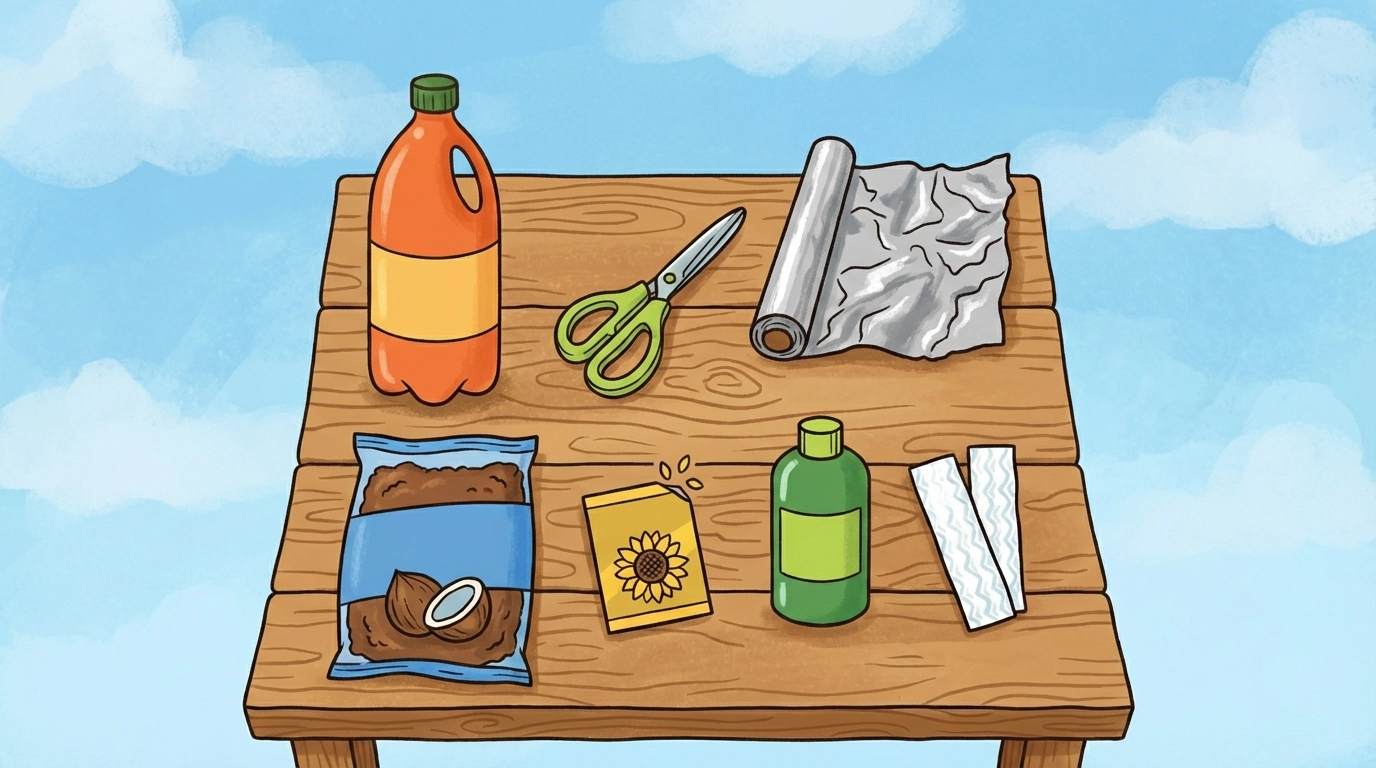
Complete Materials List
Here's everything you'll need. Check your recycling bin and kitchen first, you probably have more than you think!
Container & Structure:
- 1 clean 2-liter plastic bottle (upcycled from your recycling)
- Scissors or a craft knife (adult use only)
- Permanent marker
- Aluminum foil
Growing Supplies:
- Growing media: coconut coir brick OR rockwool cubes ($3-$6)
- Wicking material: cotton towel strips, felt strips, or pieces of an old washcloth (free if upcycling)
- Hydroponic nutrient solution ($5-$10 for a bottle that lasts months)
- Seeds: lettuce, spinach, or basil work best ($2-$4 per packet)
Optional But Helpful:
- pH test strips ($3-$5)
- Small aquarium pump for aeration (for advanced setups)
- Grow light if you don't have a sunny window
Estimated Total Cost: $5-$15 depending on what you already have at home
Step-by-Step Instructions
Step 1: Prepare Your Bottle
Grab your clean, empty 2-liter bottle and remove all labels. Use your permanent marker to draw a line around the bottle just below the curved shoulder area, this is where you'll cut.
Adult step: Using scissors or a craft knife, carefully cut straight across the marked line. You'll end up with two pieces: a funnel-shaped top and a cup-shaped bottom.
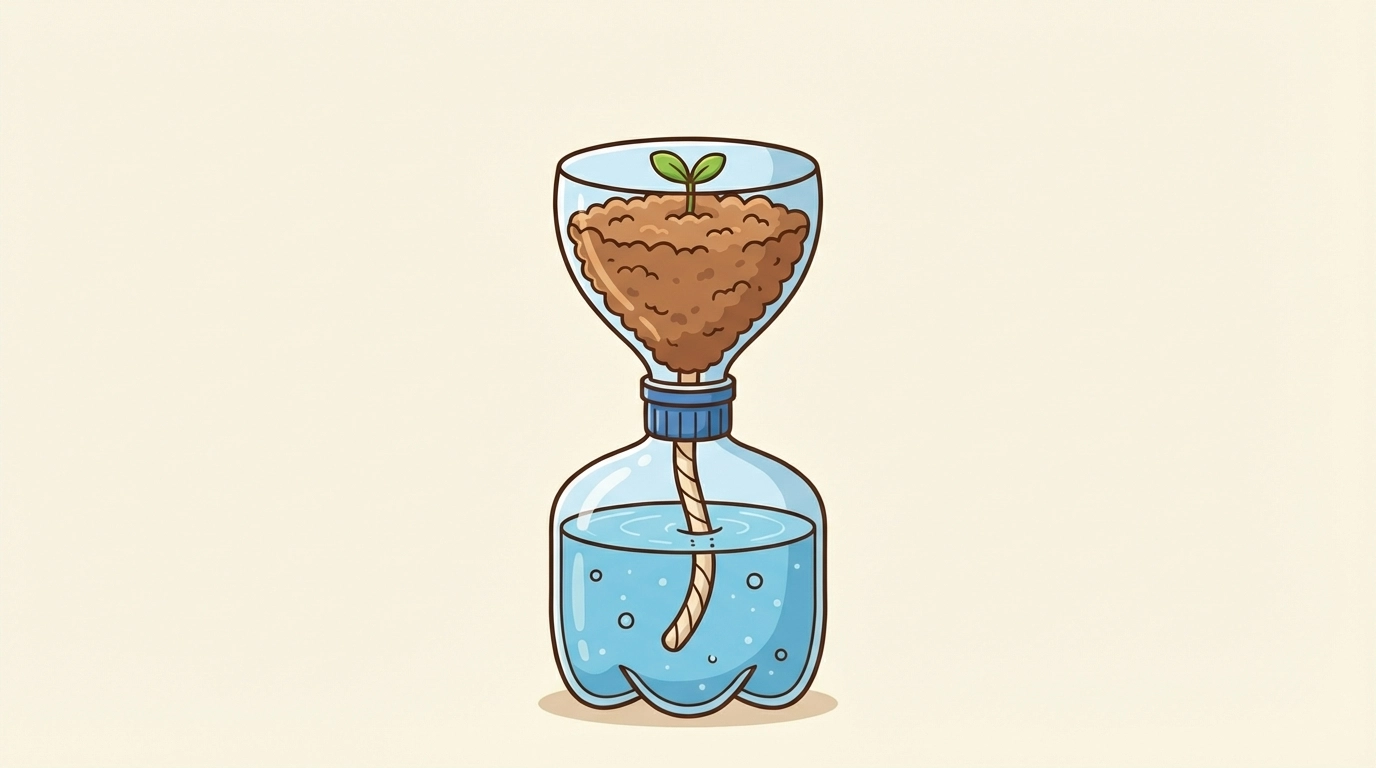
Now flip the top piece upside down (so the cap faces down) and nestle it into the bottom piece. The cap end should hang down into the reservoir area. This creates your two-chamber system: the top holds your plant and growing media, while the bottom holds your nutrient water.
Kid tip: Let your child decorate the outside of the bottom chamber with stickers or drawings before assembly!
Step 2: Set Up Your Wick
The wick is the magic bridge that carries water and nutrients up to your plant's roots. Take your cotton strip, felt piece, or washcloth strip (about 1 inch wide and 8-10 inches long) and thread it through the bottle cap hole.
Pull the wick through so that about 2/3 of it extends up into the growing chamber, with the remaining 1/3 dangling down into the reservoir below. This positioning means sprouted roots won't have to travel far to reach their food and water.
Why this matters: The wick works through capillary action: the same principle that lets paper towels soak up spills. Water naturally travels up the fibers to keep the growing media moist.
Step 3: Mix Your Nutrient Solution
Fill a measuring cup or pitcher with room-temperature water. Following the instructions on your hydroponic nutrient bottle, add the recommended amount of nutrients for seedlings (usually a diluted mixture for young plants).
Give it a good stir until fully mixed.
Optional science bonus: If you have pH test strips, now's the time to use them! Plants prefer slightly acidic water (around 5.5-6.5 pH). This is a great opportunity to teach kids about the pH scale.
Pour your nutrient solution into the bottom reservoir of your bottle system until it reaches where the bottle cap would touch when the top section is in place.
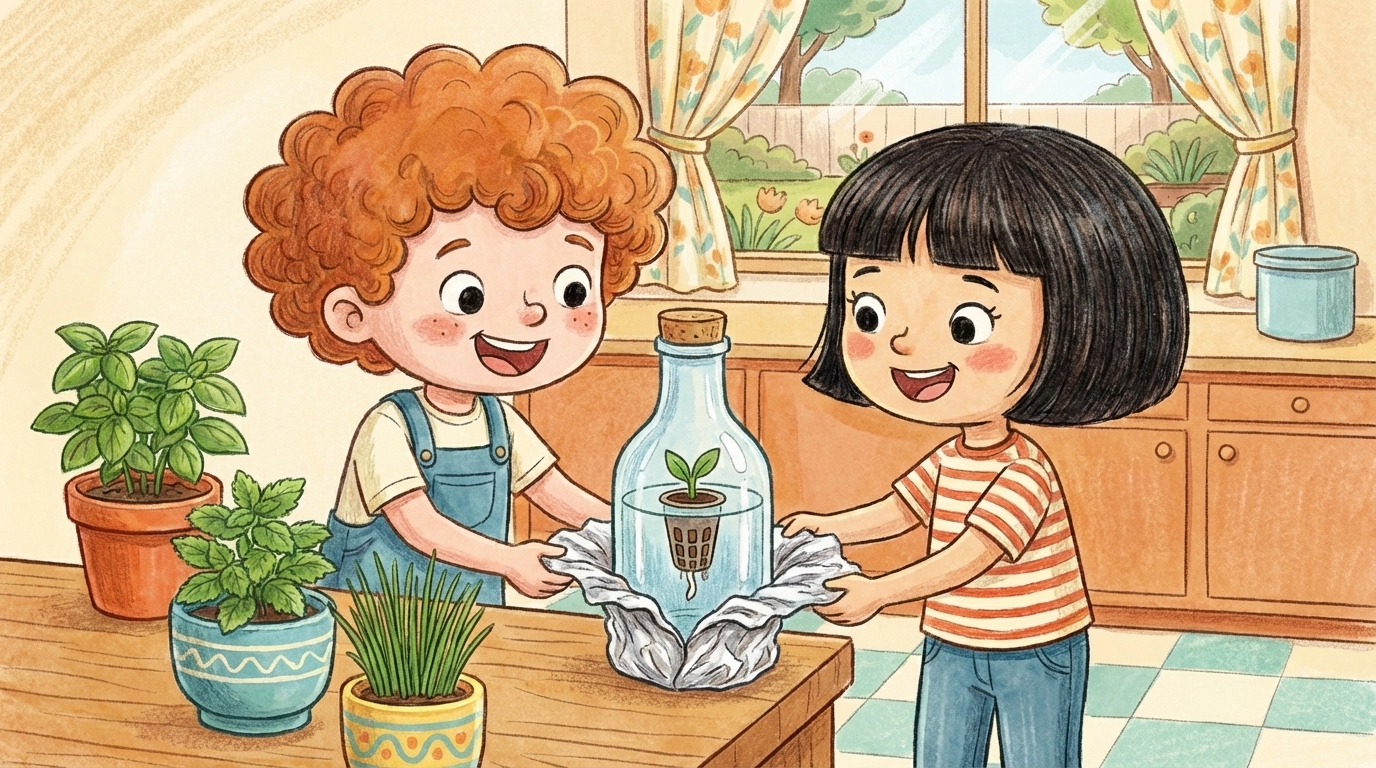
Step 4: Block the Light
Here's a step kids often find surprising: you need to keep light OUT of your water reservoir!
Wrap aluminum foil around the outside of the bottom chamber, covering it completely. This prevents algae from growing in your nutrient solution. Algae loves light and would compete with your plants for nutrients if given the chance.
Learning moment: Ask your kids why they think algae would be a problem. It's a great mini-lesson about competition for resources!
Step 5: Prepare Your Growing Media
If you're using a coconut coir brick, place it in a bowl and add warm water. Watch with your kids as it expands: it grows to about 5 times its original size! This never fails to get a "whoa!" reaction.
Once fully hydrated and fluffy, gently squeeze out excess water. You want it damp but not dripping.
Place handfuls of the prepared coconut coir into your upper bottle chamber, making sure the wick runs up through the center of the media.
Step 6: Plant Your Seeds
Now for the exciting part: planting!
Choose 3-4 seeds and press them gently into the top of your growing media, about ¼ inch deep. Planting a few seeds increases your chances of successful germination. If multiple seeds sprout, you can thin out the weaker seedlings later (or transplant them to another system!).
Best seed choices for beginners:
- Lettuce – Fast-growing and forgiving
- Spinach – Nutritious and quick
- Basil – Fragrant and fun for pizza night
Avoid plants that need to fruit before eating (like tomatoes or beans) for this simple setup: they take much longer and need more robust systems.
Step 7: Find the Perfect Spot
Place your completed hydroponic system in a location that gets plenty of light. A sunny windowsill that receives 6+ hours of light works well. If you don't have a bright window, a simple grow light positioned above the system will do the trick.
Temperature tip: Most leafy greens prefer temperatures between 60-75°F. Avoid placing your system near heating vents or drafty windows.
Caring for Your Hydroponic Garden
Once your system is set up, maintenance is simple:
- Check water levels daily. Top up the reservoir with nutrient solution as needed: the wick should always be able to reach the water.
- Watch for growth. Seeds typically germinate within 5-10 days.
- Refresh nutrients weekly. Every 7-10 days, dump the old solution and replace with fresh.
- Celebrate progress. Take photos with your kids to document growth!
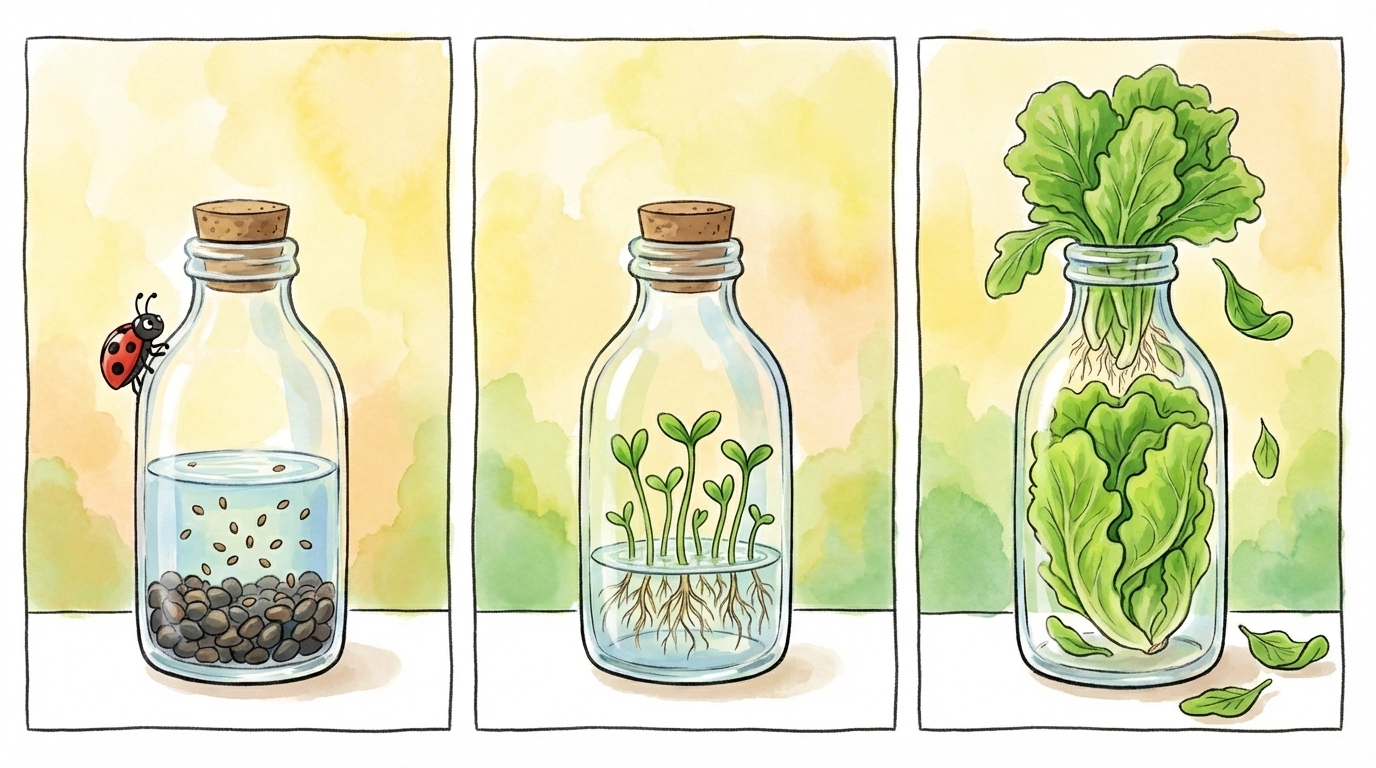
What to Expect: Your Growing Timeline
| Week | What's Happening |
|---|---|
| Week 1 | Seeds germinate, tiny sprouts appear |
| Week 2 | First true leaves develop |
| Week 3-4 | Leaves grow larger, roots visible in reservoir |
| Week 5-6 | Harvest time! Snip outer leaves and enjoy |
Troubleshooting Common Problems
Seeds didn't sprout? The growing media might be too dry or too wet. Ensure the wick is making good contact with both the media and the water.
Algae growing? Your foil wrap may have gaps letting light in. Add another layer and check that the growing chamber isn't letting light leak into the reservoir.
Plant looks droopy? Check your water level: the reservoir may have run dry.
Take It Further
Once your family masters this basic system, you can explore building larger setups, experimenting with different plants, or even connecting multiple bottles together. The skills learned here are the foundation for understanding vertical farming, aquaponics, and sustainable food production.
For more hands-on family projects, check out our guide on how to create a DIY worm composting bin with children or explore how much space you actually need for a productive hydroponic garden.
Happy growing!
FAQ
- Do I need an air pump for a DIY hydroponics system? For very simple systems (like the Kratky method), you don't need a pump. The plants are happy as long as their roots have some access to air and the nutrient water.
- Is the water in a hydroponics system safe for kids to touch? Yes, it's just water with added plant food (nutrients). However, it's a good habit for kids to wash their hands after working with any gardening project.
- How often do we need to change the water? You don't usually need to "change" it, just "top it off" as the plants drink it up. Every few weeks, you might want to refresh the system with new nutrient water to keep things growing strong.
References:
- Basic hydroponic wick system construction methods
- Recommended nutrient solutions for beginner hydroponic setups
- Optimal growing conditions for leafy greens in water culture systems


