


Nature sun prints are one of the easiest and most magical kids science experiments at home, simply arrange leaves, flowers, or feathers on special light-sensitive paper, expose it to sunlight for a few minutes, rinse with water, and watch beautiful blue-and-white silhouettes appear. This nature art for kids combines outdoor exploration, creativity, and a hands-on chemistry lesson all in one afternoon activity.
If you've been hunting for a screen-free project that gets little ones excited about both art and science, sun printing (also called cyanotype printing) is your new best friend. The process feels like actual magic to kids, and honestly, to grown-ups too.
Let's walk through everything you need to create stunning sun prints with your family.
What Are Sun Prints and Why Do Kids Love Them?
Sun prints use a special photosensitive paper that reacts to ultraviolet light. When you place objects on the paper and leave it in the sun, the exposed areas change color while the covered spots stay light. After a quick rinse in water, you're left with a crisp silhouette of whatever you placed on the paper.
Kids love this craft because:
- It feels like a science experiment and an art project rolled into one
- They get to explore outdoors collecting materials
- The "reveal" after rinsing is genuinely exciting
- Every single print turns out unique
This is nature art for kids at its finest, low-mess, high-reward, and genuinely educational.
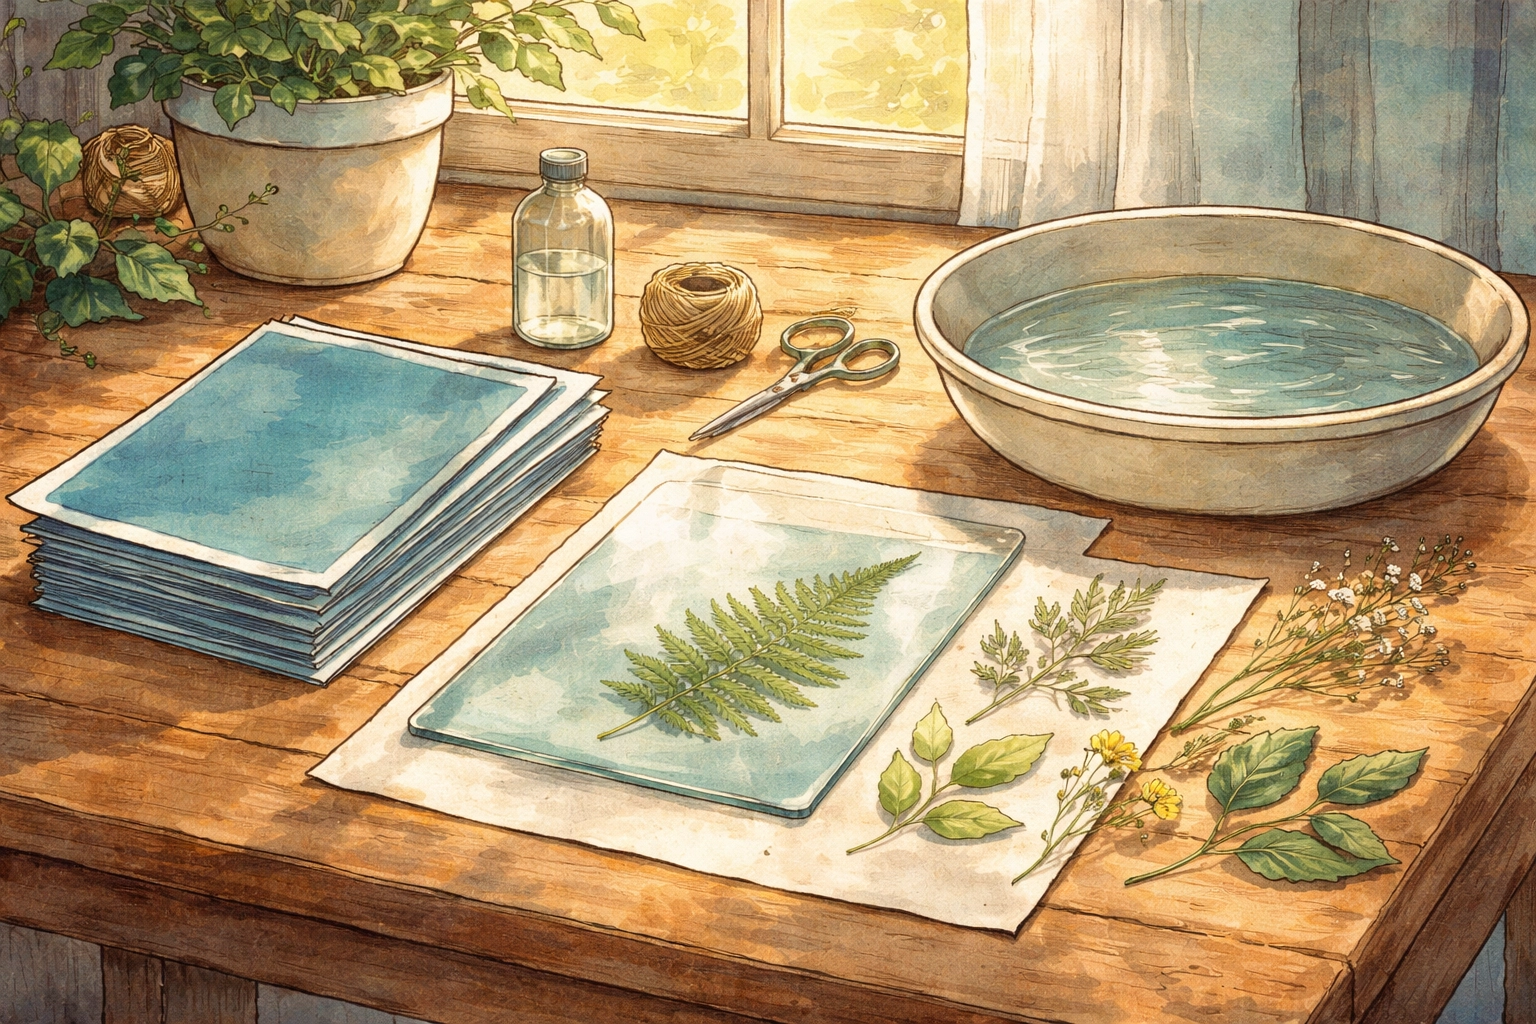
Materials You'll Need
Here's everything you'll want to gather before you start. Most of these items you probably already have at home (minus the sun print paper, which is inexpensive and easy to find online or at craft stores).
| Material | Purpose | Notes |
|---|---|---|
| Sun print paper (cyanotype paper) | Light-sensitive surface for printing | Keep in dark packaging until ready to use |
| Nature items | Objects to create silhouettes | Leaves, flowers, ferns, feathers, seedpods |
| Clear acrylic sheet or glass | Flattens objects for crisp edges | A picture frame glass works great |
| Heavy cardboard or thick book | Base to carry your setup | Makes transport to sunlight easier |
| Shallow tub or sink with water | Rinsing the print | Cool water works best |
| Paper towels or absorbent cloth | Drying surface | Prevents curling and water spots |
| Small rocks or weights (optional) | Extra weight for windy days | Keeps everything in place |
Step-by-Step Instructions for Perfect Sun Prints
Step 1: Go on a Nature Hunt
Before you even think about paper, head outside with your kids for a nature collection walk. This is half the fun! Look for items with interesting shapes and patterns:
- Ferns and delicate leaves with visible veins
- Flower petals (individual ones work better than whole blooms)
- Feathers
- Flat seedpods
- Small sprigs of herbs from the garden
- Interesting grass shapes
Pro tip: Flatter items work best. Thick, bulky objects won't press against the paper well and will create fuzzy edges instead of crisp silhouettes.
Give each kid a small basket or bag and let them curate their own collection. This turns the prep work into its own adventure.
Step 2: Set Up Your Workspace (In the Dark!)
Here's where it gets a little mysterious, and kids absolutely eat this up.
Sun print paper is sensitive to UV light, which means you need to set up your design in a darkened room. Close the blinds, turn off the lights, and work quickly once you remove the paper from its dark packaging.
Place your heavy cardboard or thick book on the table as a base. Lay one sheet of sun print paper on top, blue side facing up.
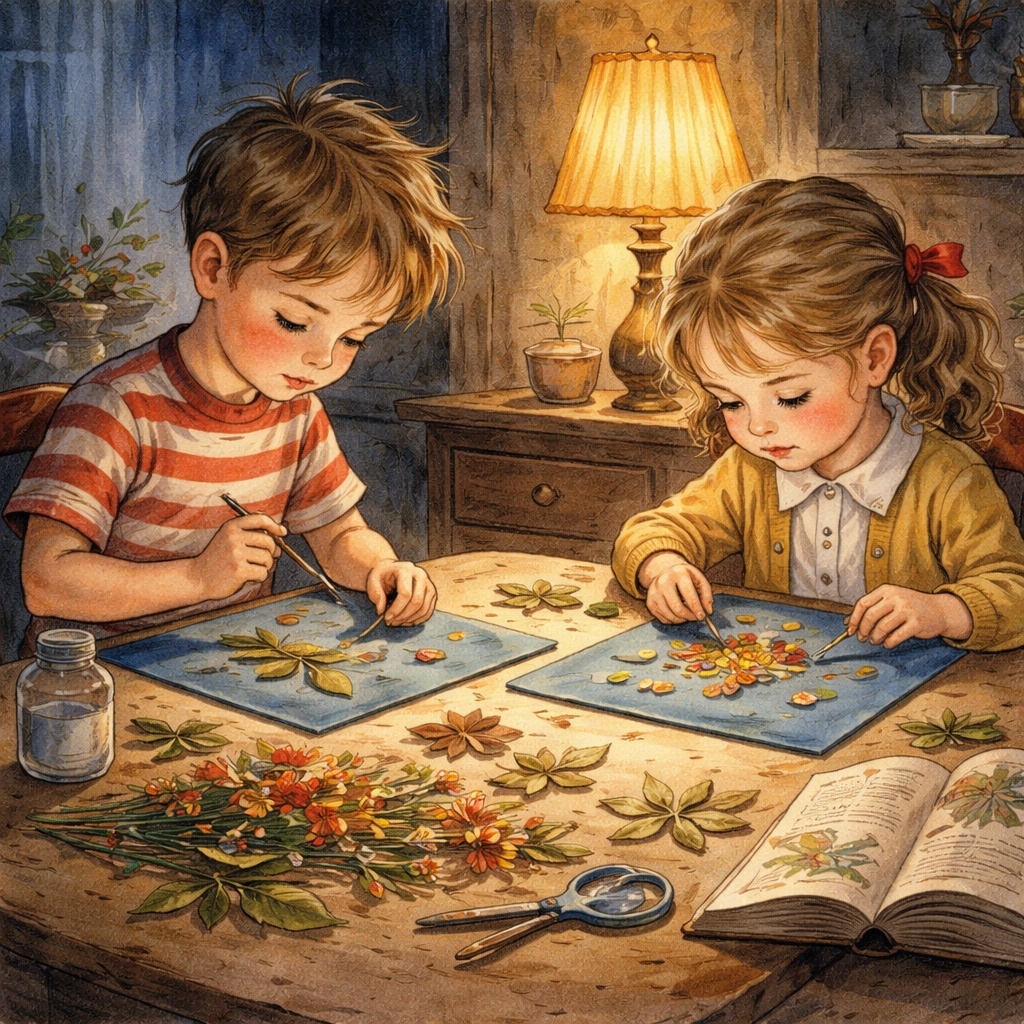
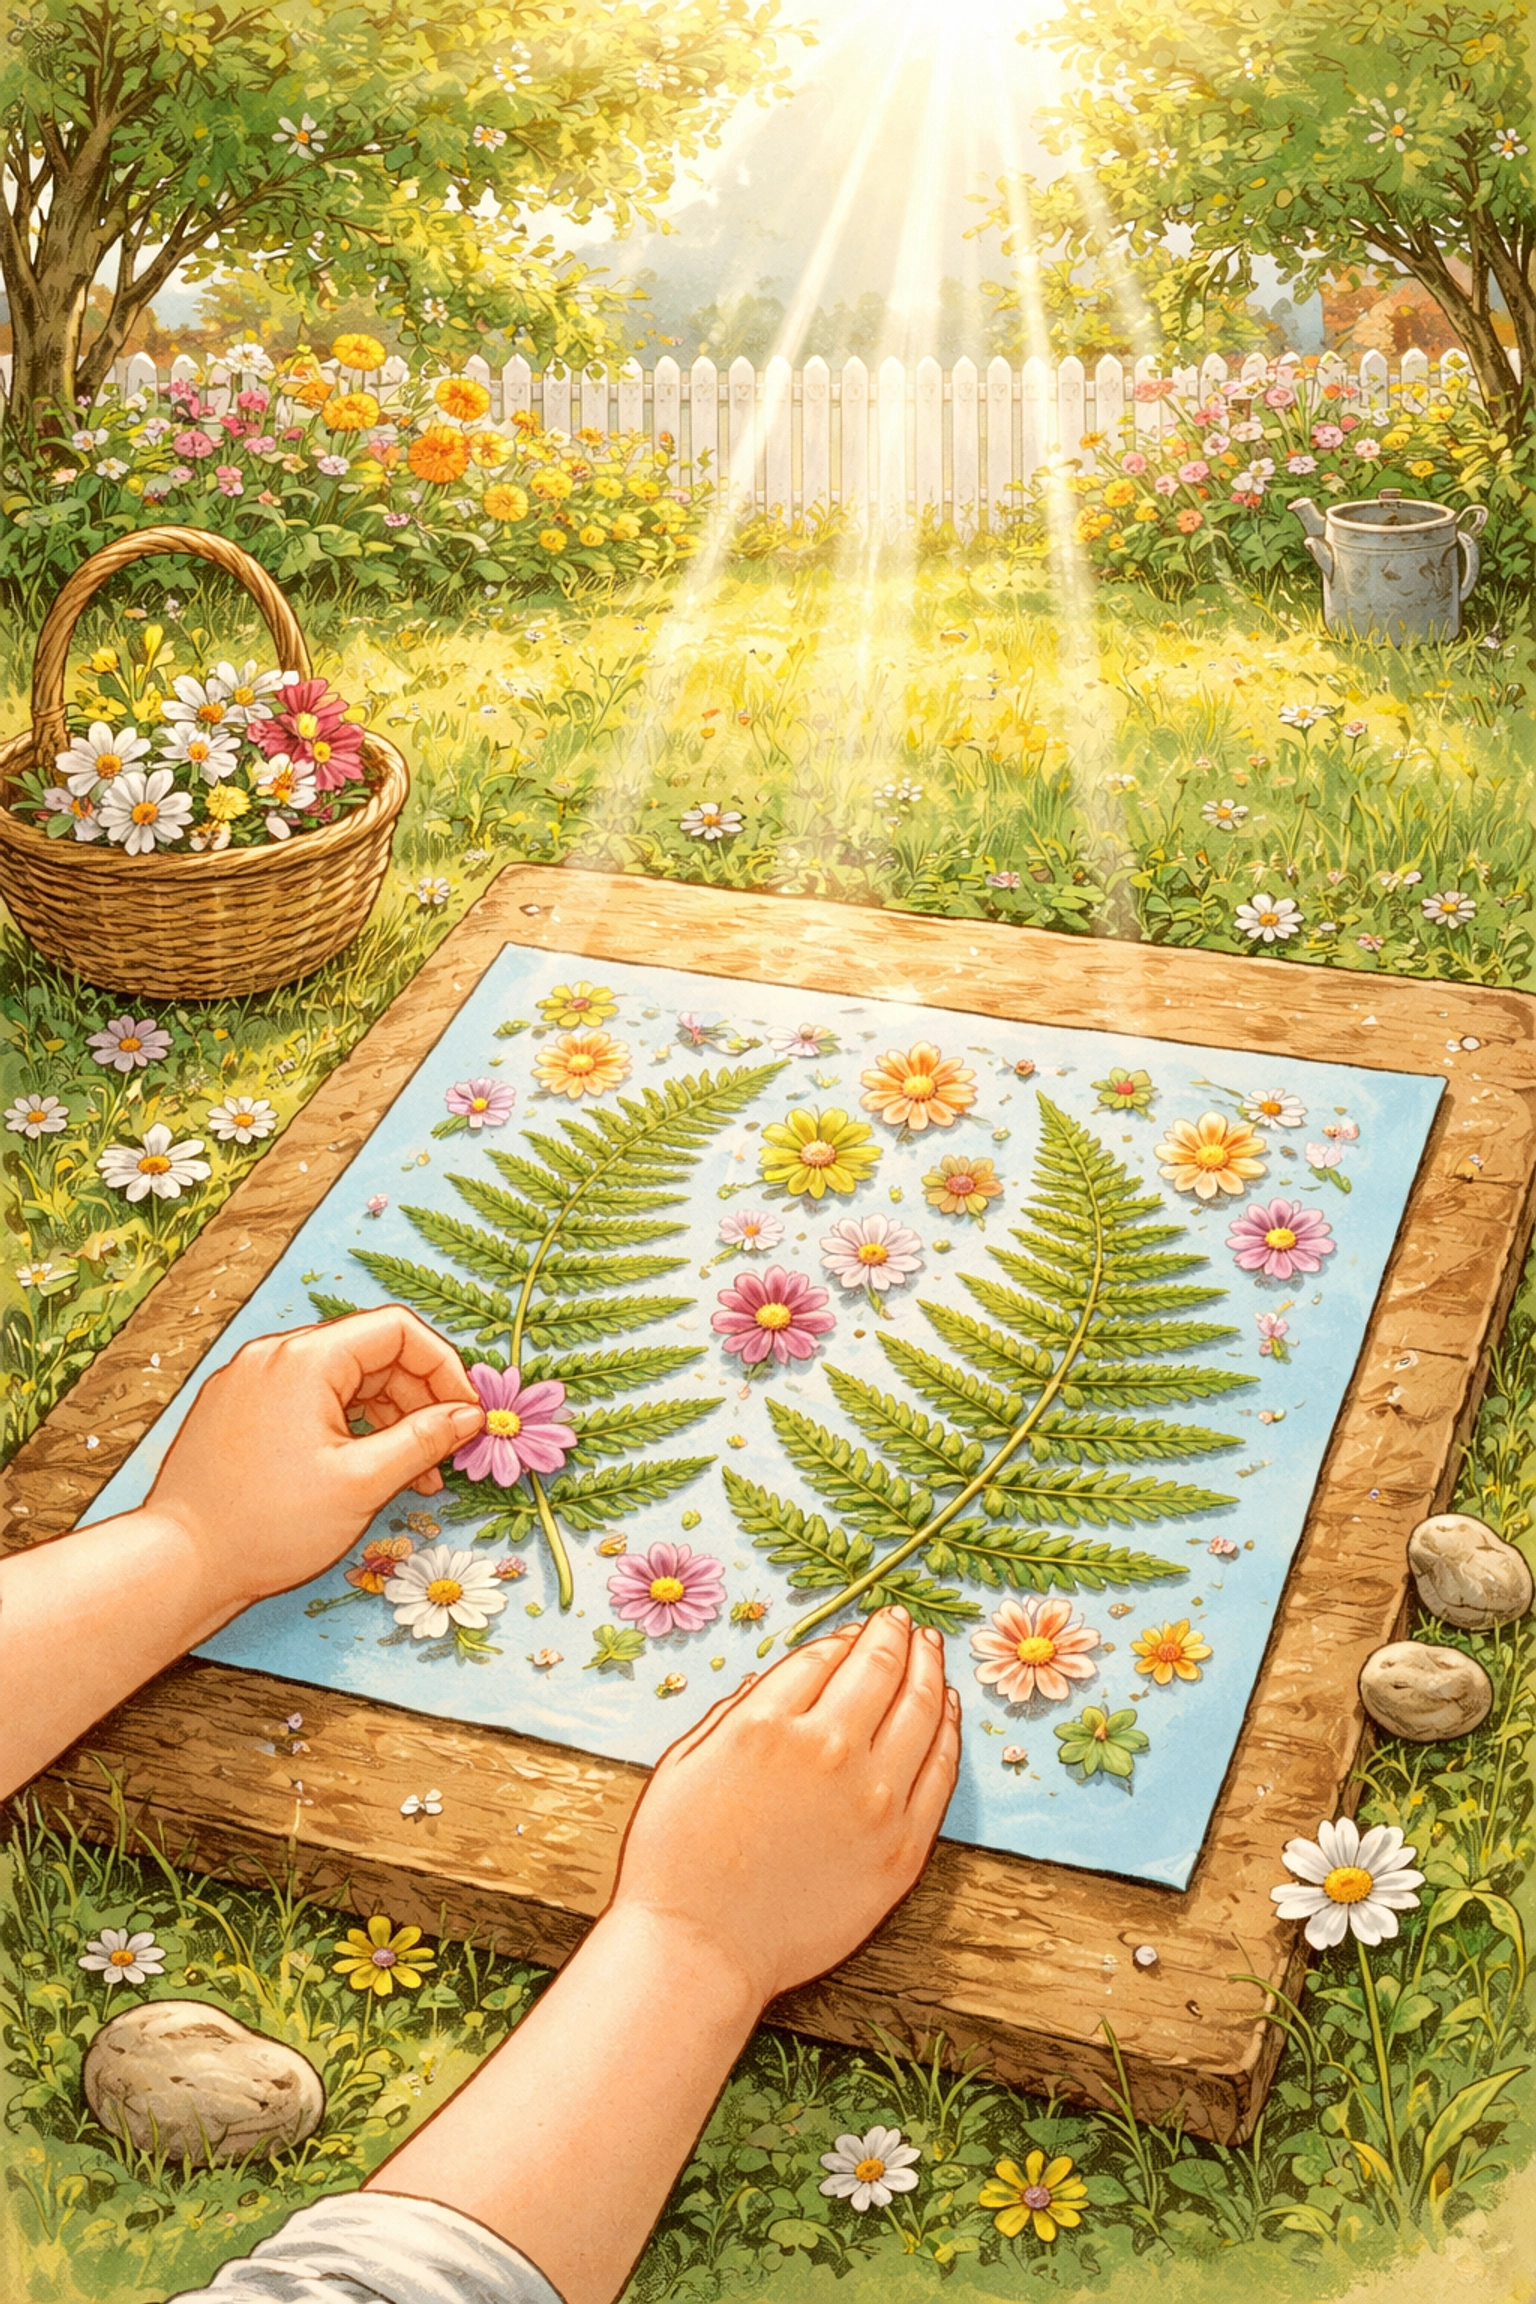
Step 3: Arrange Your Nature Items
Now comes the creative part! Let your kids arrange their collected treasures on the paper however they like. Some ideas:
- A scattered, random arrangement
- A symmetrical pattern
- A nature "scene" with a flower garden or forest
- Their initial made from leaves and sticks
Important: Avoid overlapping objects too much. Spread out individual leaves and petals so each item gets its own space to shine. The goal is distinct silhouettes, not a jumbled mess.
Step 4: Flatten Everything with Acrylic or Glass
Once your design is set, carefully place your clear acrylic sheet or glass on top. This does two important things:
- Keeps everything perfectly flat against the paper
- Prevents objects from blowing away when you head outside
- Creates sharper contrast between the blue and white areas
Press down gently but firmly.
Step 5: Head Into the Sunlight
Carefully carry your entire setup outside and place it in direct sunlight. This is the moment the magic happens!
Watch the paper, you'll see it start to change from blue to a pale green or white color in the exposed areas. This usually takes 2-5 minutes on a sunny day, though overcast days may need a bit longer.
Don't walk away! This is actually a great opportunity to talk with your kids about what's happening. The UV light from the sun is causing a chemical reaction in the paper. The objects block the light, protecting those spots from the reaction.
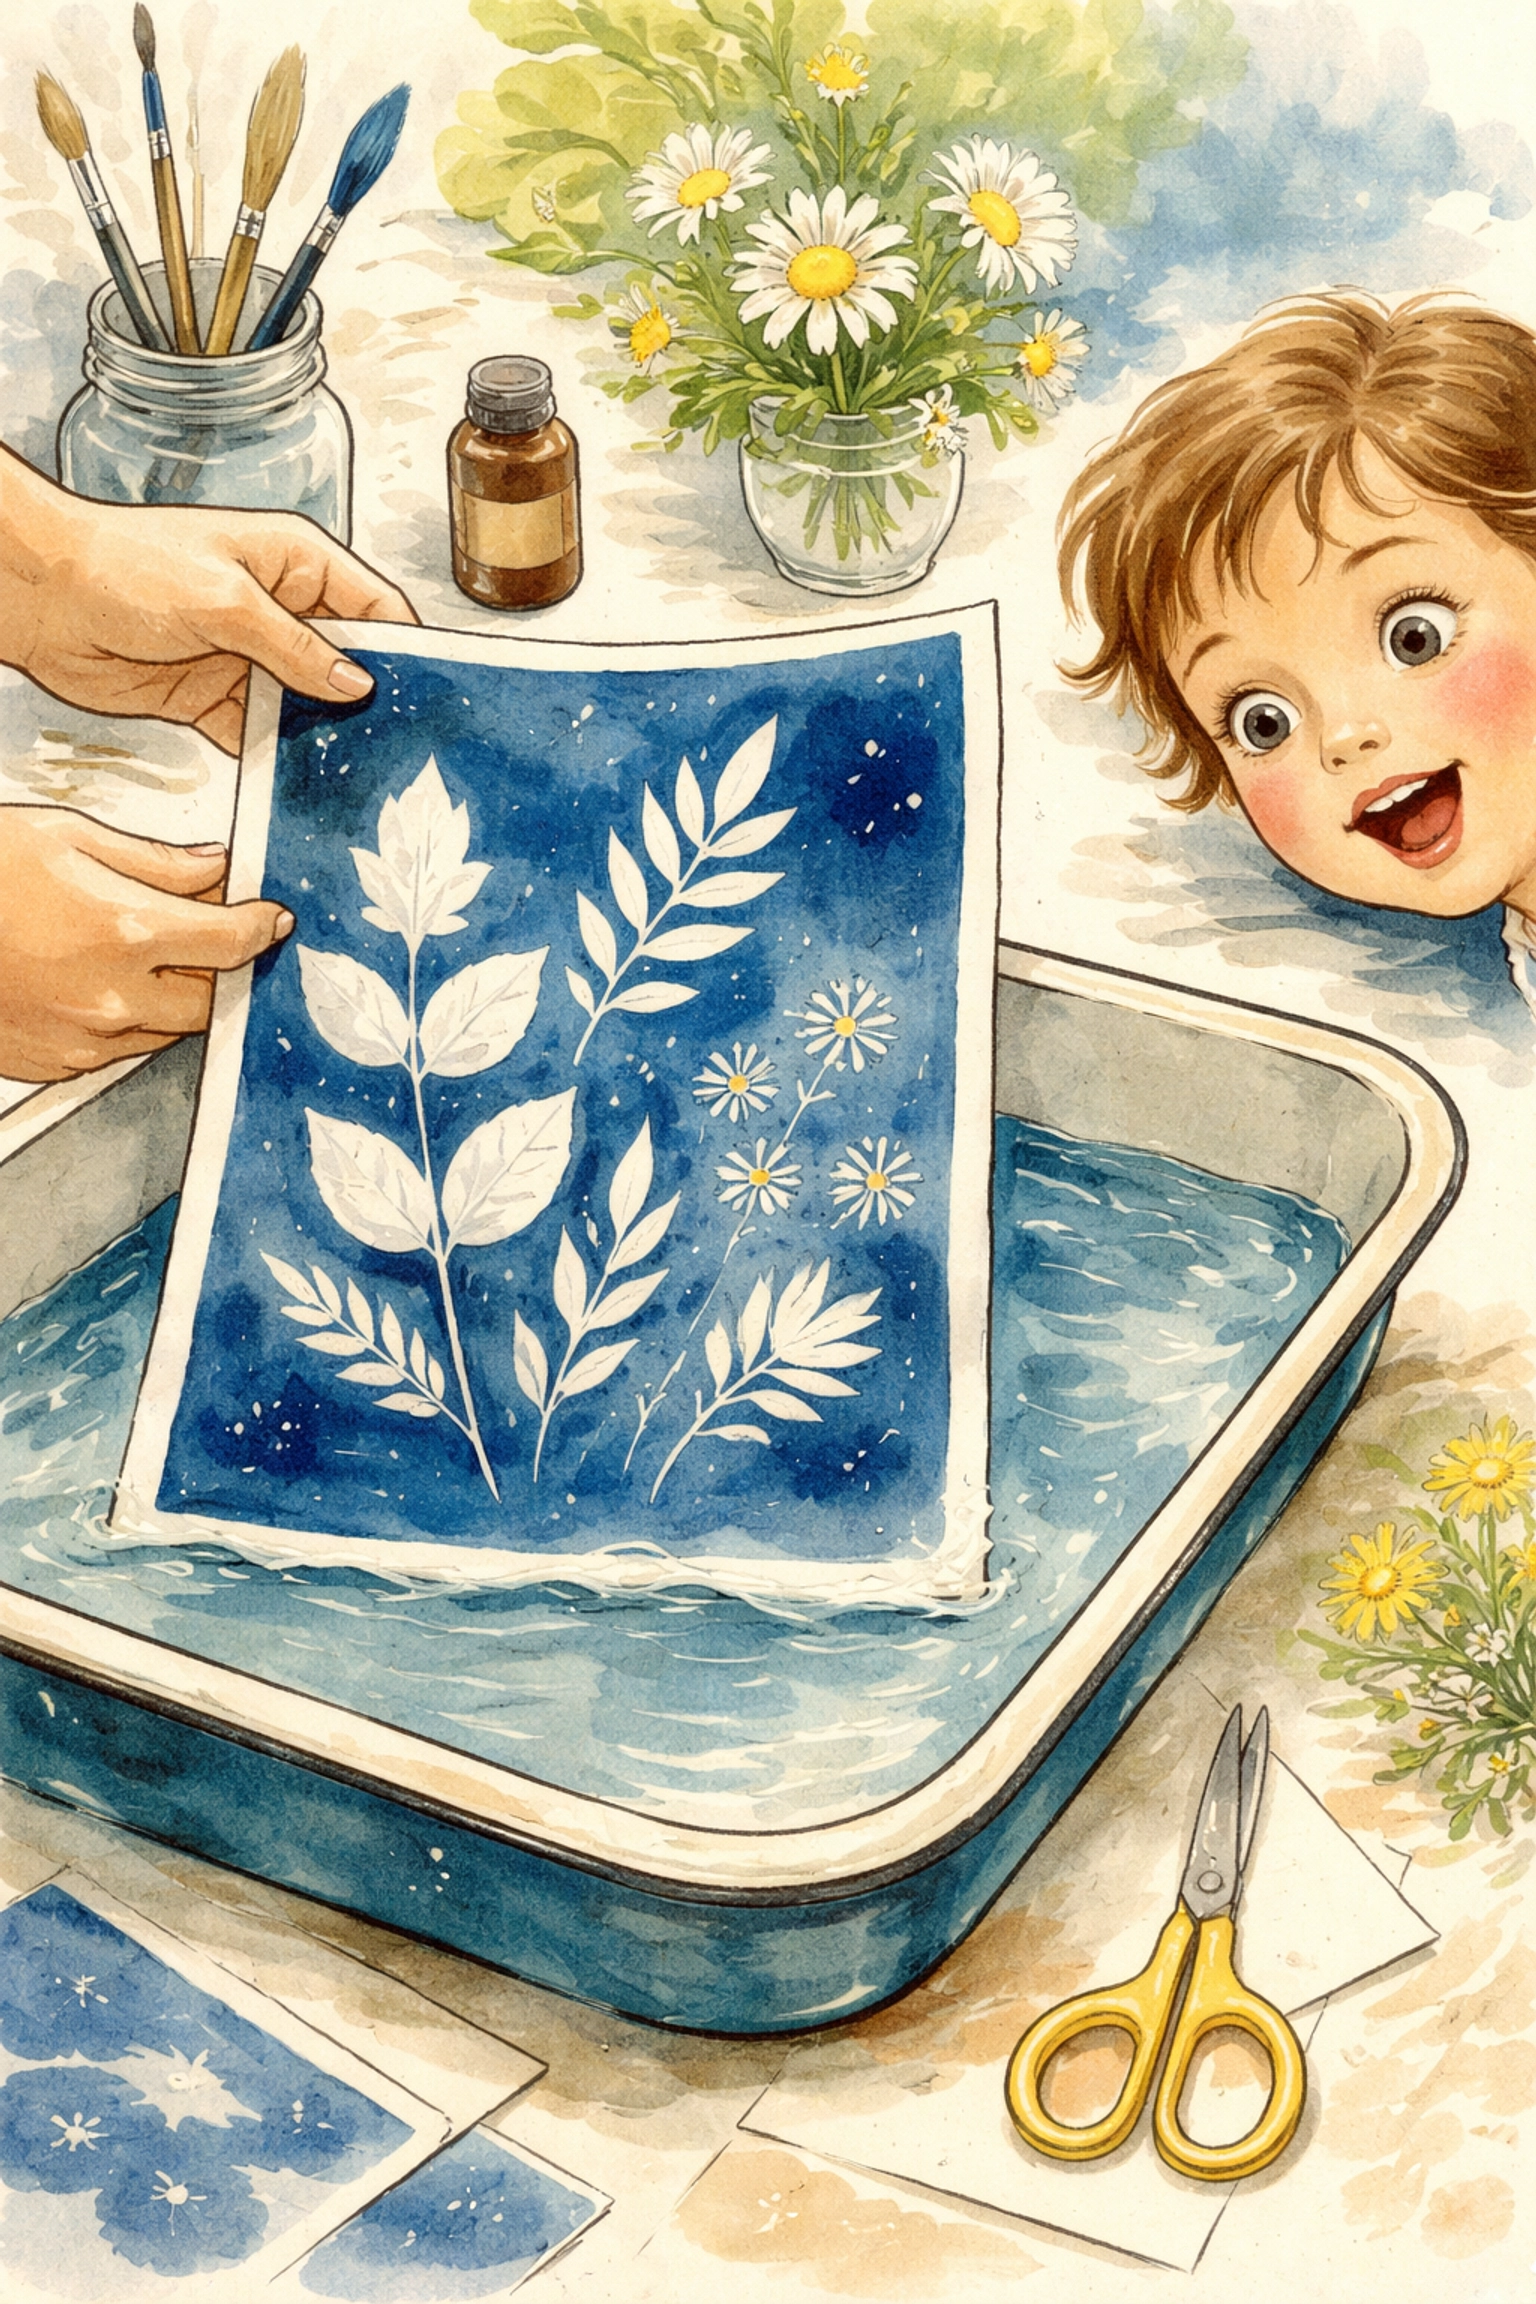
Step 6: Rinse to Reveal
Once the exposed areas have faded significantly, bring your setup back inside (or to a shady spot). Remove the glass and nature items, then immediately rinse the paper in cool water for about one minute.
This is the best part, watch your kids' faces as the print "develops" right before their eyes. The areas that were covered by objects will stay white, while the sun-exposed areas turn a beautiful deep blue.
Step 7: Dry Flat and Admire
Lay your finished print on paper towels or an absorbent cloth to dry flat. The blue color will actually continue to deepen as it dries, so don't worry if it looks a little pale at first.
Once dry, you've got a beautiful piece of nature art ready for framing, gifting, or hanging on the fridge.
The Science Behind Sun Prints (Explain It to Your Kids!)
Want to turn this into a full-on kids science experiment at home? Here's the simple explanation you can share:
The blue coating on sun print paper contains special chemicals that react when ultraviolet light hits them. The sun sends UV rays down to Earth, and when those rays touch the paper, they cause a chemical change that makes the coating turn white.
But when something blocks the light, like a leaf or feather, that spot stays protected. No UV rays, no chemical change. After rinsing, the protected spots stay light while everything else turns deep blue.
It's basically the same science that causes sunburns (UV exposure) and why we wear sunscreen. The leaf is like sunscreen for the paper!
Tips for Sun Print Success
- Keep unused paper sealed in its dark packaging until the moment you're ready to use it
- Work fast once the paper is out, even indoor light can start the exposure process
- Press objects flat against the paper for the sharpest edges
- Experiment freely, there's no wrong way to arrange your items
- Try different exposure times to see how it affects the final result
- Save some paper for a second round once kids see how cool the first prints turn out
More Nature Art Ideas
If your family loved this project, check out some of our other kids crafts that combine creativity with outdoor exploration. There's something special about art that starts with a walk outside.
Frequently Asked Questions
Where can I buy sun print paper?
Sun print paper (cyanotype paper) is available at most craft stores, educational supply shops, and online retailers. Look for it in the kids' science section or art supplies.
How long do sun prints need to stay in the sun?
Typically 2-5 minutes on a sunny day. Watch for the exposed areas to fade from blue to pale green or white. Overcast days may require longer exposure.
Can you make sun prints on a cloudy day?
Yes, but it takes longer. UV rays still penetrate clouds, just at a lower intensity. Expect exposure times of 10-15 minutes or more.
What age is appropriate for sun print crafts?
Kids as young as 3 can participate with help, though children ages 5 and up can handle most steps independently. It's a great multi-age activity.
Do sun prints fade over time?
Properly rinsed and dried sun prints are quite stable. However, like most artwork, avoid displaying them in direct sunlight long-term to preserve the color.
Can you use things other than nature items?
Absolutely! Keys, lace, cookie cutters, stencils, and other flat objects all work. Nature items are just especially beautiful and free.
Why did my sun print come out blurry?
Objects that aren't pressed flat against the paper create fuzzy edges. Make sure to use a glass or acrylic sheet on top and choose flatter items.
Is sun print paper reusable?
No, each sheet can only be used once. The chemical reaction is permanent.
Can you make sun prints indoors with a UV lamp?
Yes! A UV lamp or black light can work, though exposure times vary. Natural sunlight is easiest and most accessible for families.
How do you store finished sun prints?
Store flat in a dark place, like inside a book or portfolio. Avoid prolonged light exposure to keep colors vibrant.


