


Rock painting with kids is as simple as gathering smooth stones, grabbing some acrylic paint, and letting creativity flow. This budget-friendly outdoor activity keeps little hands busy for hours while producing colorful keepsakes perfect for garden displays, gifts, or hiding around the neighborhood for others to discover. Best of all, it requires zero artistic skill, messy, imaginative rocks are often the most charming ones.
Whether you're looking for creative play ideas for a sunny afternoon or need a screen-free activity that actually holds attention, rock painting checks every box. Let's dig into everything you need to get started.
Why Rock Painting is Perfect for Kids
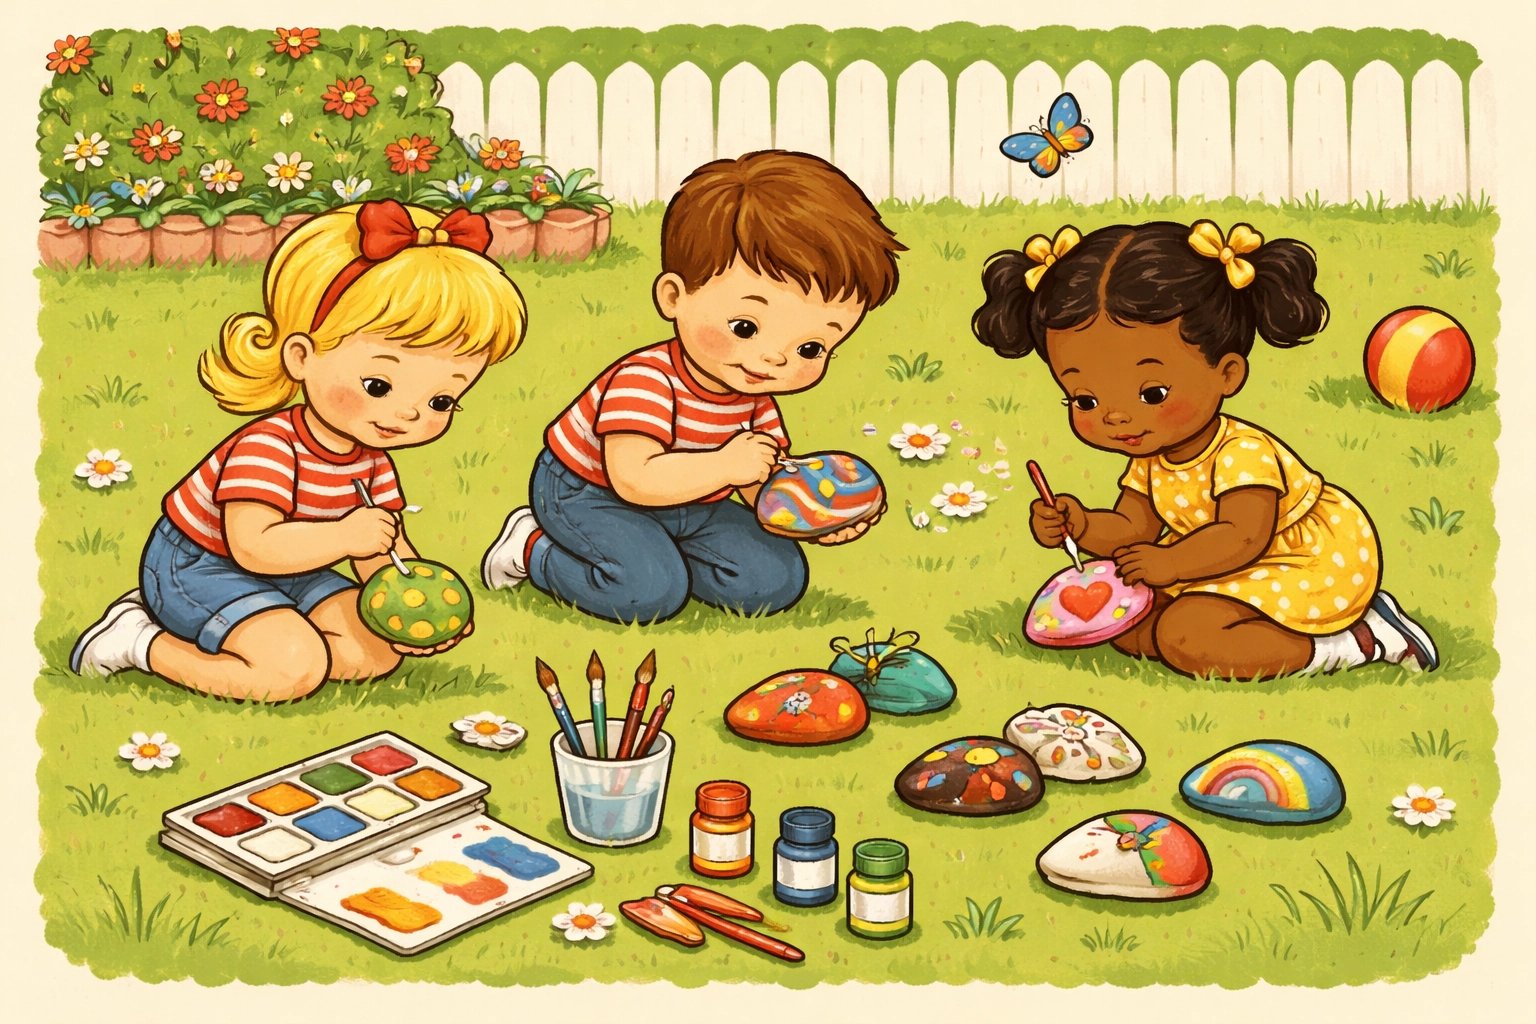
There's something almost magical about transforming an ordinary backyard stone into a tiny work of art. Rock painting combines the treasure-hunt excitement of finding the perfect stone with the satisfaction of making something completely unique.
This activity works beautifully for outdoor activities for kids because it connects them to nature while encouraging creative play. Unlike paper crafts that often end up in the recycling bin, painted rocks stick around. Kids can display them on windowsills, tuck them into potted plants, or line them along garden paths.
The meditative quality of painting also helps little ones slow down and focus, a welcome break from the constant motion of typical outdoor play. And because there's no "right" way to paint a rock, even the most hesitant young artists can dive in without fear of making mistakes.
Materials You'll Need
Before heading outside, gather these supplies. Most families already have several items on hand, and the rest cost just a few dollars at any craft store.
| Material | Purpose | Notes |
|---|---|---|
| Smooth, flat rocks | Painting surface | Larger stones are easier for small hands |
| Acrylic paint | Main medium | Waterproof when dry; craft paints work great |
| Paintbrushes (various sizes) | Application | Include fine-tip brushes for details |
| Water jar | Brush cleaning | Mason jars or plastic cups work perfectly |
| Newspaper or drop cloth | Surface protection | Old shower curtains work wonderfully |
| Paper plates | Paint palettes | Disposable and easy cleanup |
| Paint pens (optional) | Fine details | Great for outlines and words |
| Outdoor sealer (optional) | Weather protection | Extends outdoor display life |
Pro tip: Skip washable paints and markers. They might seem safer for little ones, but they'll wash right off when the rocks get wet outside. Acrylic paint is your friend here, it's non-toxic, inexpensive, and actually stays put.
Step-by-Step Rock Painting Instructions
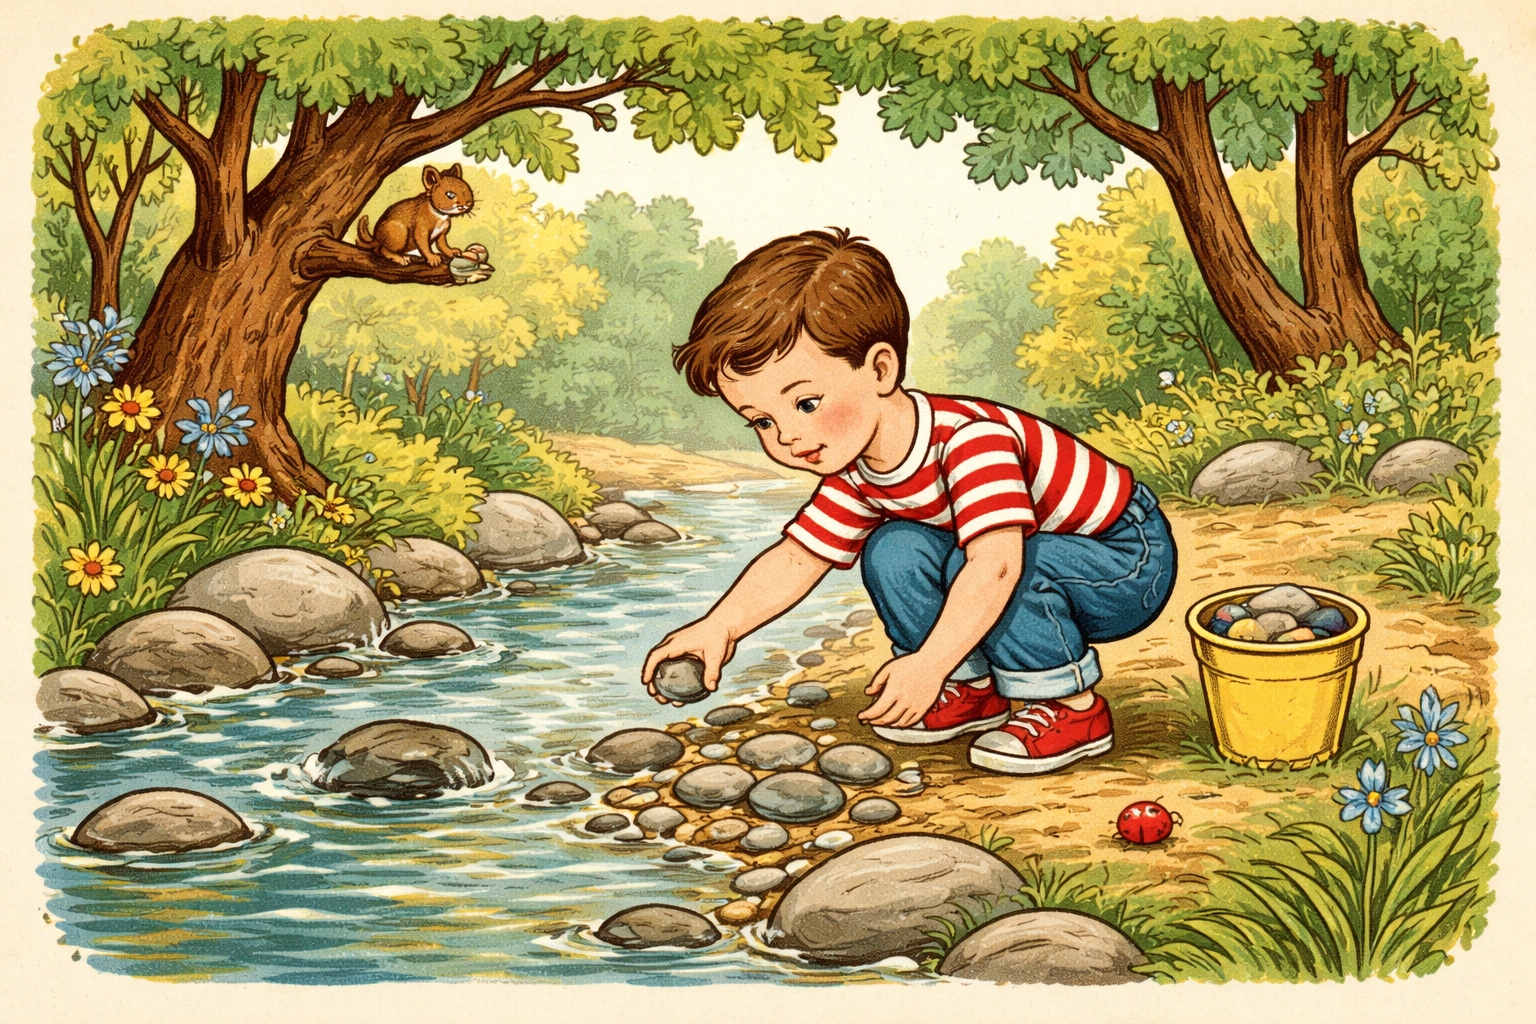
Step 1: Hunt for the Perfect Rocks
Turn supply gathering into its own adventure. Head to the backyard, a creek bed, or even a landscaping supply store to find smooth, flat stones. Look for rocks about the size of your child's palm, big enough to paint easily but small enough to handle.
Avoid rough, porous stones that absorb paint unevenly. River rocks with their naturally tumbled smoothness work best.
Step 2: Wash and Dry Thoroughly
Dirty rocks don't hold paint well. Give your stones a good scrub with water and let them dry completely in the sun. This step takes patience, but painting on a wet rock leads to streaky, peeling results.
Set them on a towel in a sunny spot for at least 30 minutes, or longer if they're particularly thick.
Step 3: Apply a Base Coat
Here's a game-changer many beginners skip: paint the entire rock with a solid base color first. White works especially well because it makes every color you add afterward pop with brightness.
Let this base coat dry completely before moving on. Rushing leads to muddy color mixing, ask any kid who's tried painting over wet paint.
Step 4: Paint Your Design
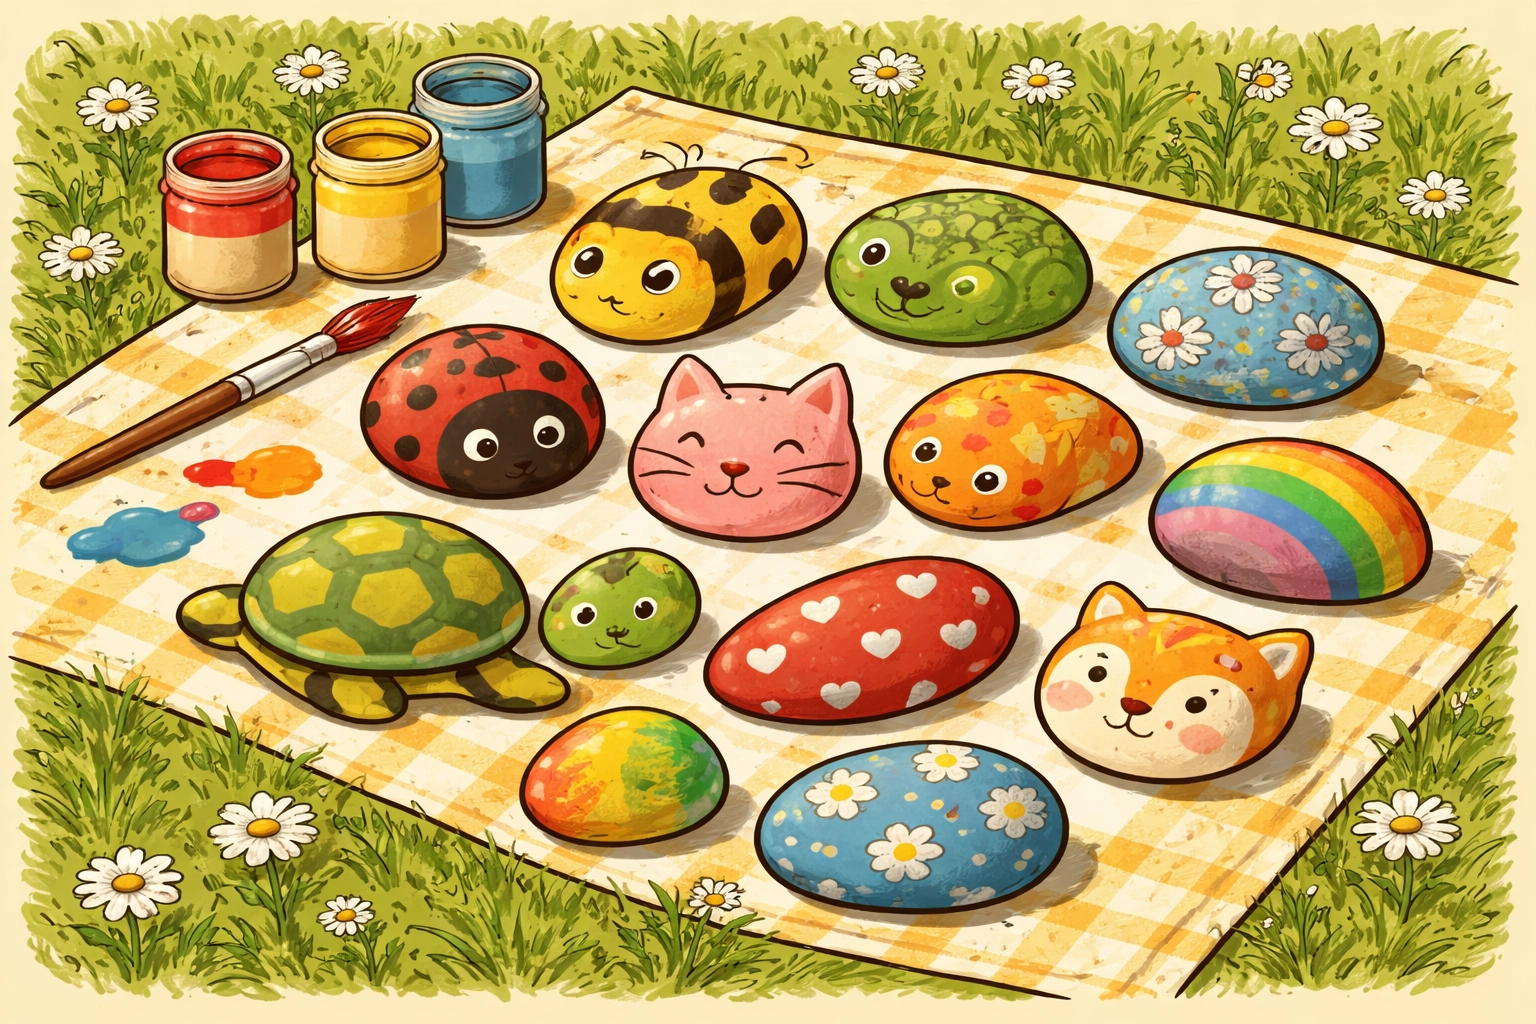
Now comes the fun part. Let kids paint whatever speaks to them, ladybugs, rainbows, silly faces, abstract swirls, or just layers of their favorite colors.
Work from background to foreground, letting each layer dry before adding details on top. For younger children, simple designs like dots, stripes, and basic shapes work wonderfully. Older kids might enjoy more detailed creatures or patterns.
Step 5: Add Fine Details
Once the main design dries, break out smaller brushes or paint pens for details. Eyes, spots, outlines, and tiny accents bring painted rocks to life.
This step separates "pretty good" from "wow, you made that?" Don't rush it.
Step 6: Seal for Outdoor Display (Optional)
If your painted rocks will live outside in the elements, a clear outdoor sealer protects them from rain and sun damage. Spray-on polyurethane works well and dries quickly.
Skip this step for rocks that will stay indoors or if you don't mind them weathering naturally over time.
Easy Design Ideas for Every Age
For Toddlers and Preschoolers (Ages 2-4):
- Thumbprint bugs and butterflies
- Rainbow stripes
- Splatter art (paint a solid base, then flick contrasting paint)
- Simple smiley faces
For Early Elementary (Ages 5-7):
- Ladybugs with spots
- Basic animals (fish, turtles, owls)
- Hearts and flowers
- Polka dot patterns
For Older Kids (Ages 8+):
- Detailed mandalas
- Galaxy and space scenes
- Animal portraits
- Inspirational word rocks
Remember, there's no wrong answer here. A rock covered in seemingly random color splotches made by a three-year-old is just as valid as an intricate butterfly painted by an older sibling. Creative play means letting go of "perfect."
Tips for Rock Painting Success
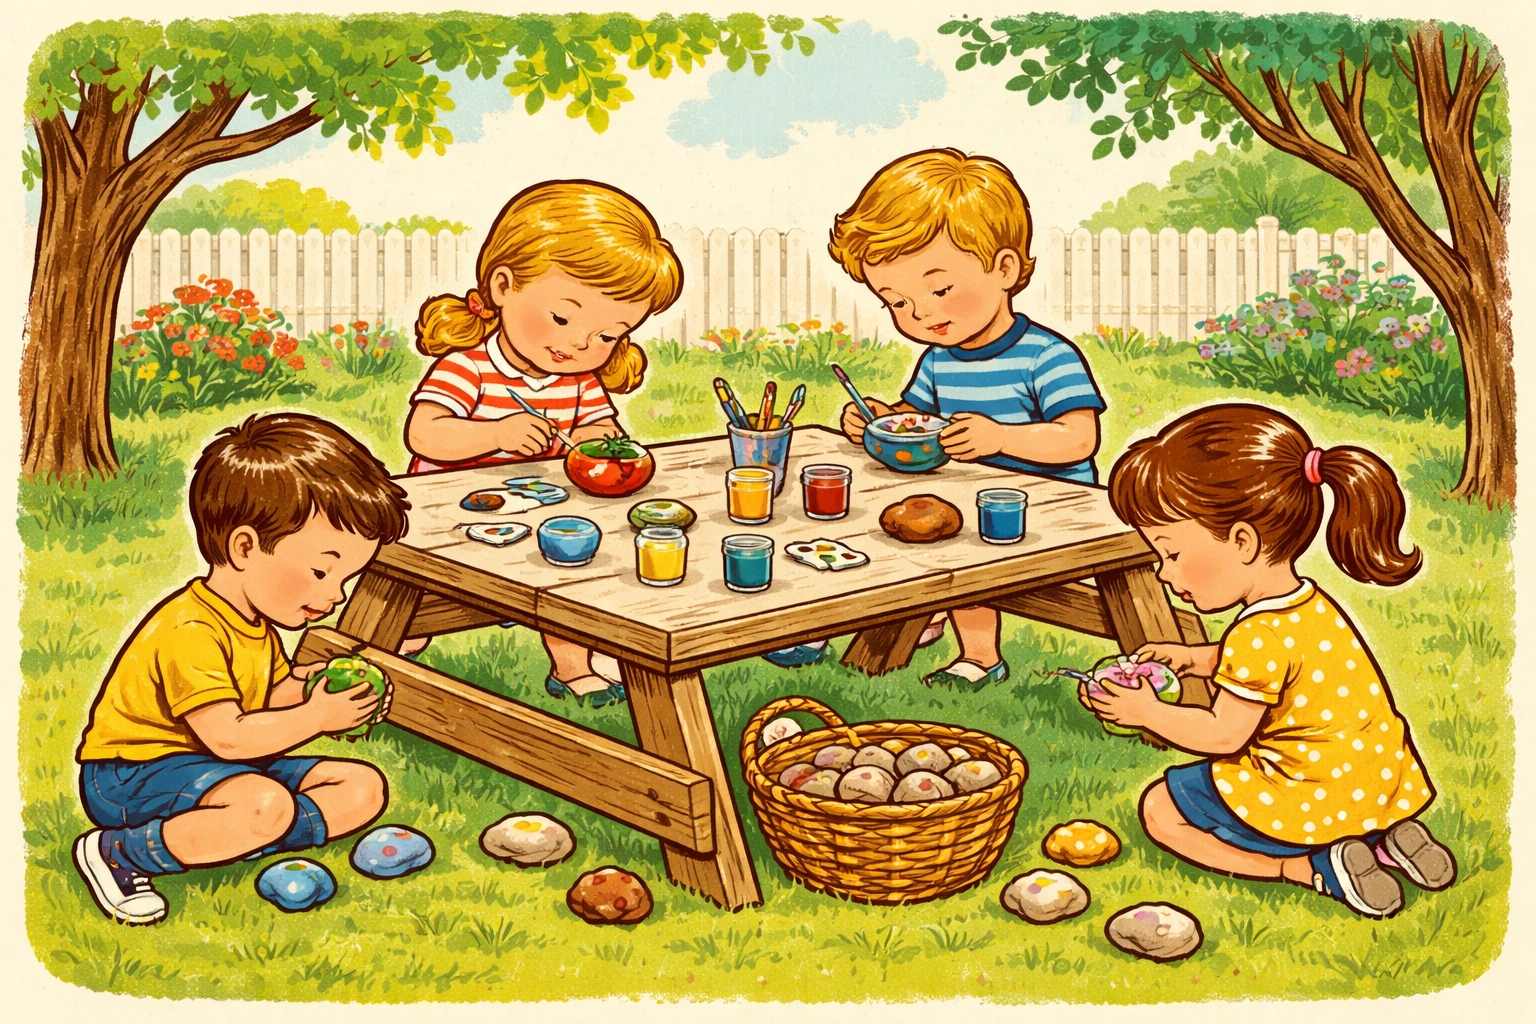
Work outside when possible. Natural light shows colors accurately, and cleanup becomes infinitely easier when spills happen on grass instead of carpet.
Embrace the mess. Lay down plenty of protective covering, dress kids in clothes you don't mind getting paint-spattered, and accept that acrylic paint will probably end up on someone's elbow.
If drawing feels intimidating, use words instead. Simple phrases like "smile," "be kind," or "you rock" make charming designs without requiring illustration skills.
Create a drying station. Empty egg cartons or muffin tins make perfect rock-drying racks, keeping freshly painted stones from rolling around and smudging.
Make it social. Rock painting works beautifully for playdates, birthday parties, or family craft nights. Set up stations and let everyone create their own collection.
Frequently Asked Questions
What type of paint works best for rock painting with kids?
Acrylic craft paint is the gold standard for rock painting. It's affordable, comes in countless colors, dries waterproof, and is non-toxic. Avoid tempera, watercolor, or washable paints: they'll wash right off outdoor rocks.
How do you prepare rocks for painting?
Wash rocks thoroughly with water to remove dirt and debris, then let them dry completely in the sun. Some crafters lightly sand very rough spots, but most smooth river rocks are ready to paint after a simple wash.
What age is appropriate for rock painting?
Kids as young as two can enjoy rock painting with supervision and simple designs like dots and stripes. The activity scales beautifully: toddlers love the sensory experience while older children can create detailed artwork.
Do painted rocks need to be sealed?
Sealing is optional but recommended for rocks displayed outdoors. A clear spray polyurethane or outdoor Mod Podge protects designs from rain and UV damage. Indoor display rocks don't require sealing.
Where can kids hide painted rocks?
Popular hiding spots include parks, hiking trails, playgrounds, library gardens, and neighborhood walking paths. Many communities have rock-hiding groups where finders post photos online. Always get permission before hiding rocks on private property.
How long does rock painting take?
A basic painted rock takes 30-45 minutes including drying time between coats. More detailed designs might take an hour or more. Plan for multiple rocks per session since kids can paint new ones while others dry.
Can you paint rocks found anywhere?
Most backyard and creek rocks work fine. Avoid taking rocks from national parks, protected areas, or private property without permission. Landscaping supply stores sell smooth river rocks inexpensively if natural sources aren't available.
What designs are easiest for beginners?
Ladybugs, rainbows, hearts, smiley faces, and abstract patterns like dots and swirls are perfect starting points. Thumbprint art works wonderfully for very young painters.
For more creative play ideas and outdoor activities for kids, explore our Kids Crafts collection for inspiration that keeps little hands busy and imaginations growing.


