


Short answer: You can build a charming "Fairy Tale" bean pole by gathering 5-8 tall sticks or bamboo poles, arranging them in a teepee shape, tying them together at the top with twine, and wrapping string around the structure for climbing support. Total cost? Usually under $5 if you forage your sticks!
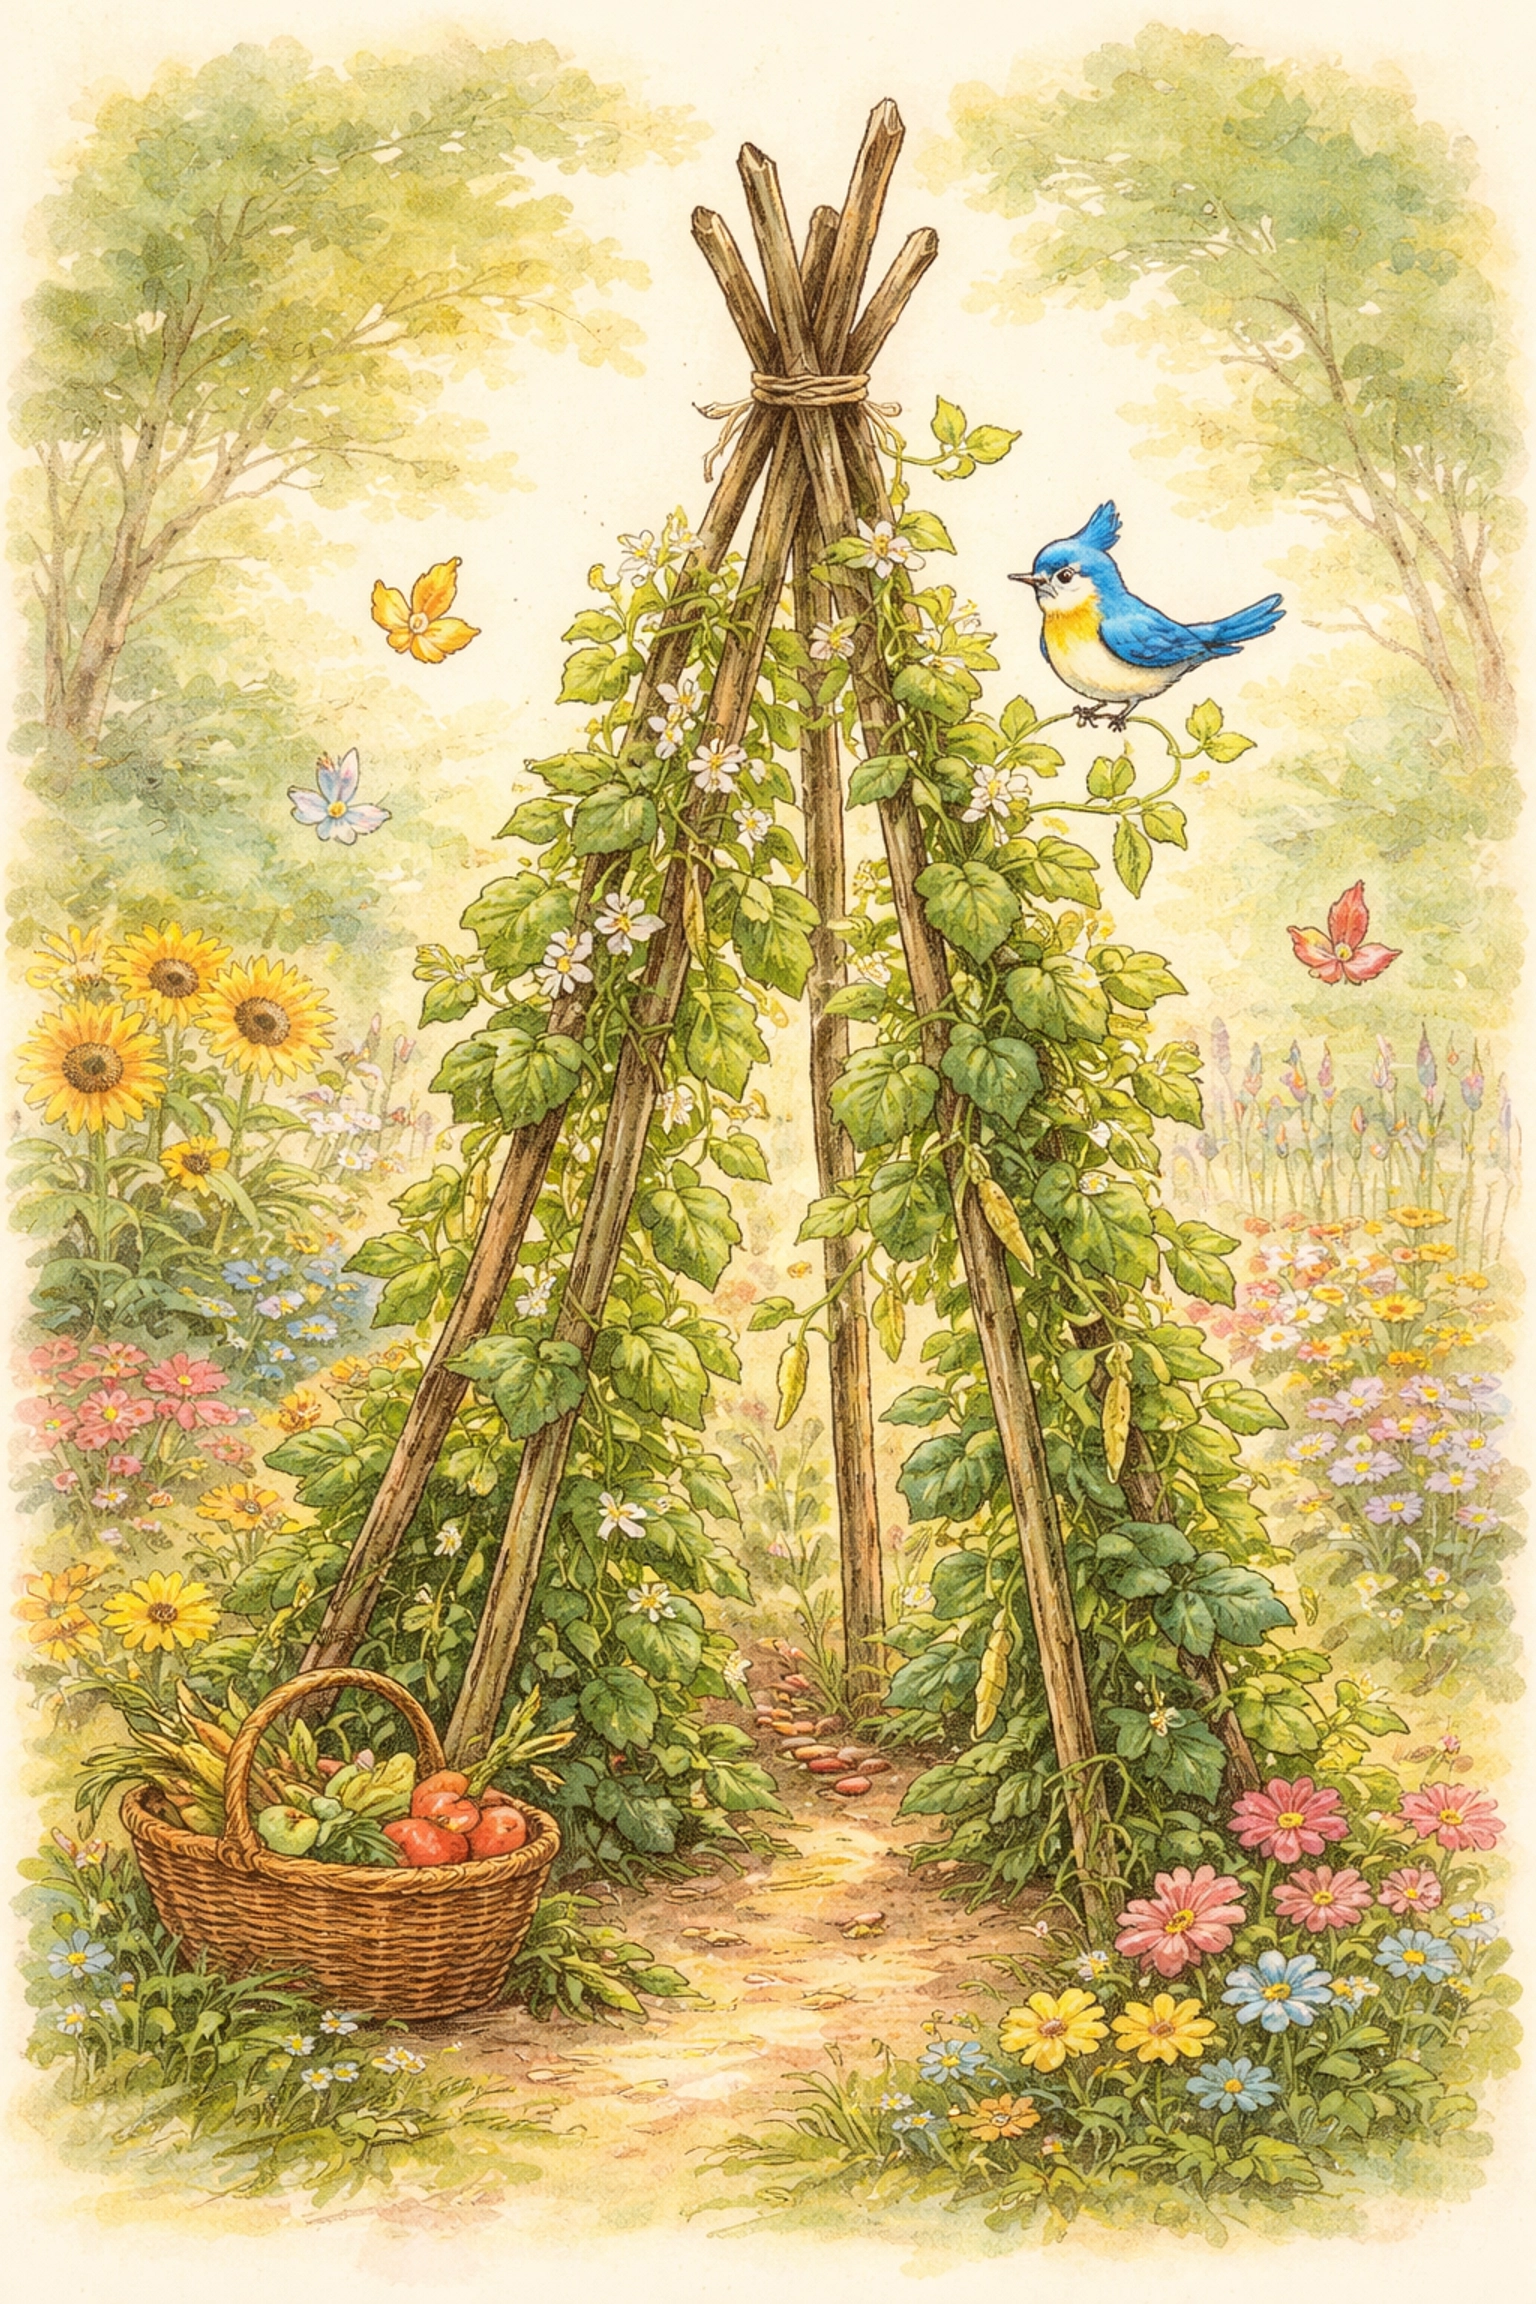
There's something downright magical about watching bean vines twist and climb their way toward the sky. Add a whimsical teepee structure to your garden, and suddenly you've got yourself a living storybook tower that kids can actually play inside once those leafy vines fill in. It's the kind of project that makes neighbors slow down and ask, "How'd you do that?"
Let's build one together.
Why Beans Love to Climb (And Why You Should Let Them)
Pole beans are natural climbers. Unlike their bushy cousins, these ambitious little plants send out tendrils searching for something: anything: to grab onto. Give them a vertical structure, and they'll reward you with pounds of fresh beans from a tiny footprint of garden space.
A teepee-style bean pole isn't just practical; it's pure garden whimsy. Once the vines grow thick, the inside becomes a shady hideaway perfect for summer reading, imaginative play, or simply escaping the afternoon heat. Picture your little ones ducking inside their very own "Jack and the Beanstalk" tower. That's the fairy tale magic we're after.
What You'll Need: The Materials Table
Here's everything you'll need to build your fairy tale bean pole. Most of these items can be found around your yard, borrowed from a neighbor, or picked up for pocket change at the hardware store.
| Material | Quantity | Estimated Cost | Notes |
|---|---|---|---|
| Bamboo poles, branches, or furring strips | 5-8 poles (6-8 feet tall) | $0-$6 | Foraged branches work great! |
| Twine or jute string | 1 ball (about 50 feet) | $2-$3 | Natural fibers look nicer and biodegrade |
| Ribbon or fabric scraps (optional) | A few strips | $0 | For decoration: raid the craft bin! |
| Bean seeds | 1 packet | $1-$3 | Pole bean varieties only |
Estimated Total: $3-$10 (or nearly free if you forage!)
Step-by-Step: Building Your Fairy Tale Bean Pole
Step 1: Gather Your Poles
Hunt around your yard, a nearby wooded area, or ask a neighbor if they've got any pruned branches lying around. You're looking for relatively straight sticks or poles that are at least 6 feet tall: 8 feet is even better for a more dramatic structure.
Bamboo stakes from the garden center work wonderfully and usually come in bundles for just a few dollars. Furring strips from the hardware store (those skinny 1×2 boards) are another budget-friendly option.
Tip: Aim for 5-8 poles. Fewer poles create a more open structure; more poles make a denser, cozier hideaway.
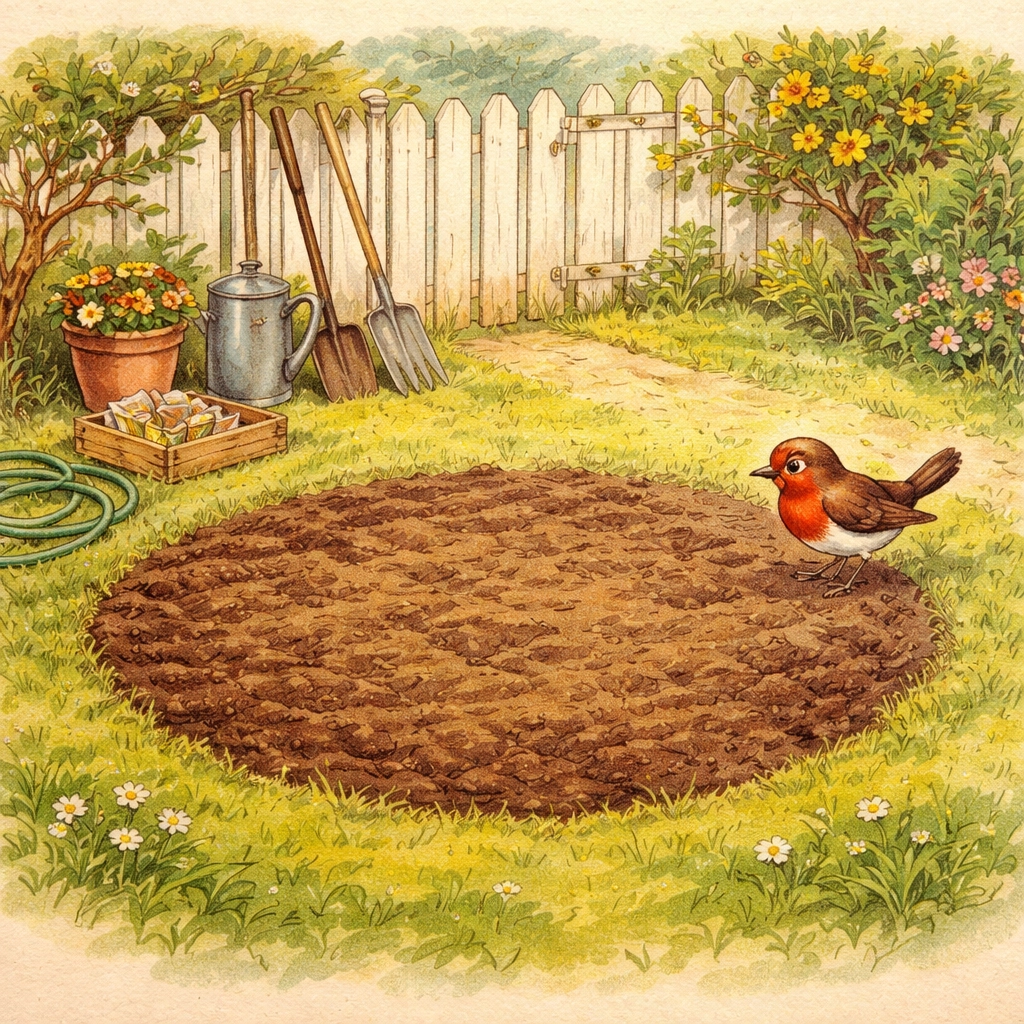
Step 2: Choose Your Spot
Pick a sunny location in your garden: beans generally prefer at least 6 hours of direct sunlight. Consider the view from your kitchen window or patio. This structure becomes a garden centerpiece, so place it where you can admire it!
Mark a circle on the ground about 4-5 feet in diameter. This gives you enough interior space for a child (or a very patient adult) to sit inside once it's fully grown.
Step 3: Set Up the Teepee Frame
Here's where it starts looking like something from a storybook:
Sharpen the ends (optional): If your poles have blunt ends, whittle or cut them to a rough point. This makes pushing them into the soil much easier.
Plant the poles in a circle: Space them evenly around your marked circle, pushing each pole about 6-8 inches into the ground. Angle them inward so they'll meet at the top.
Leave a doorway: Skip one or two pole positions to create an entrance. Every fairy tale tower needs a door!
Gather and tie the tops: Once all poles are in the ground, gather them together at the top and wrap twine around them several times. Tie it off securely with a good knot (or three).
Step 4: Add Climbing Support
Bean tendrils need something to grab onto as they climb. Wrap twine horizontally around the outside of your teepee at different heights: maybe every 8-12 inches or so. This creates a lovely lattice effect and gives young vines plenty of handholds.
You can also run vertical strings from the top down to the ground between each pole for extra climbing paths.
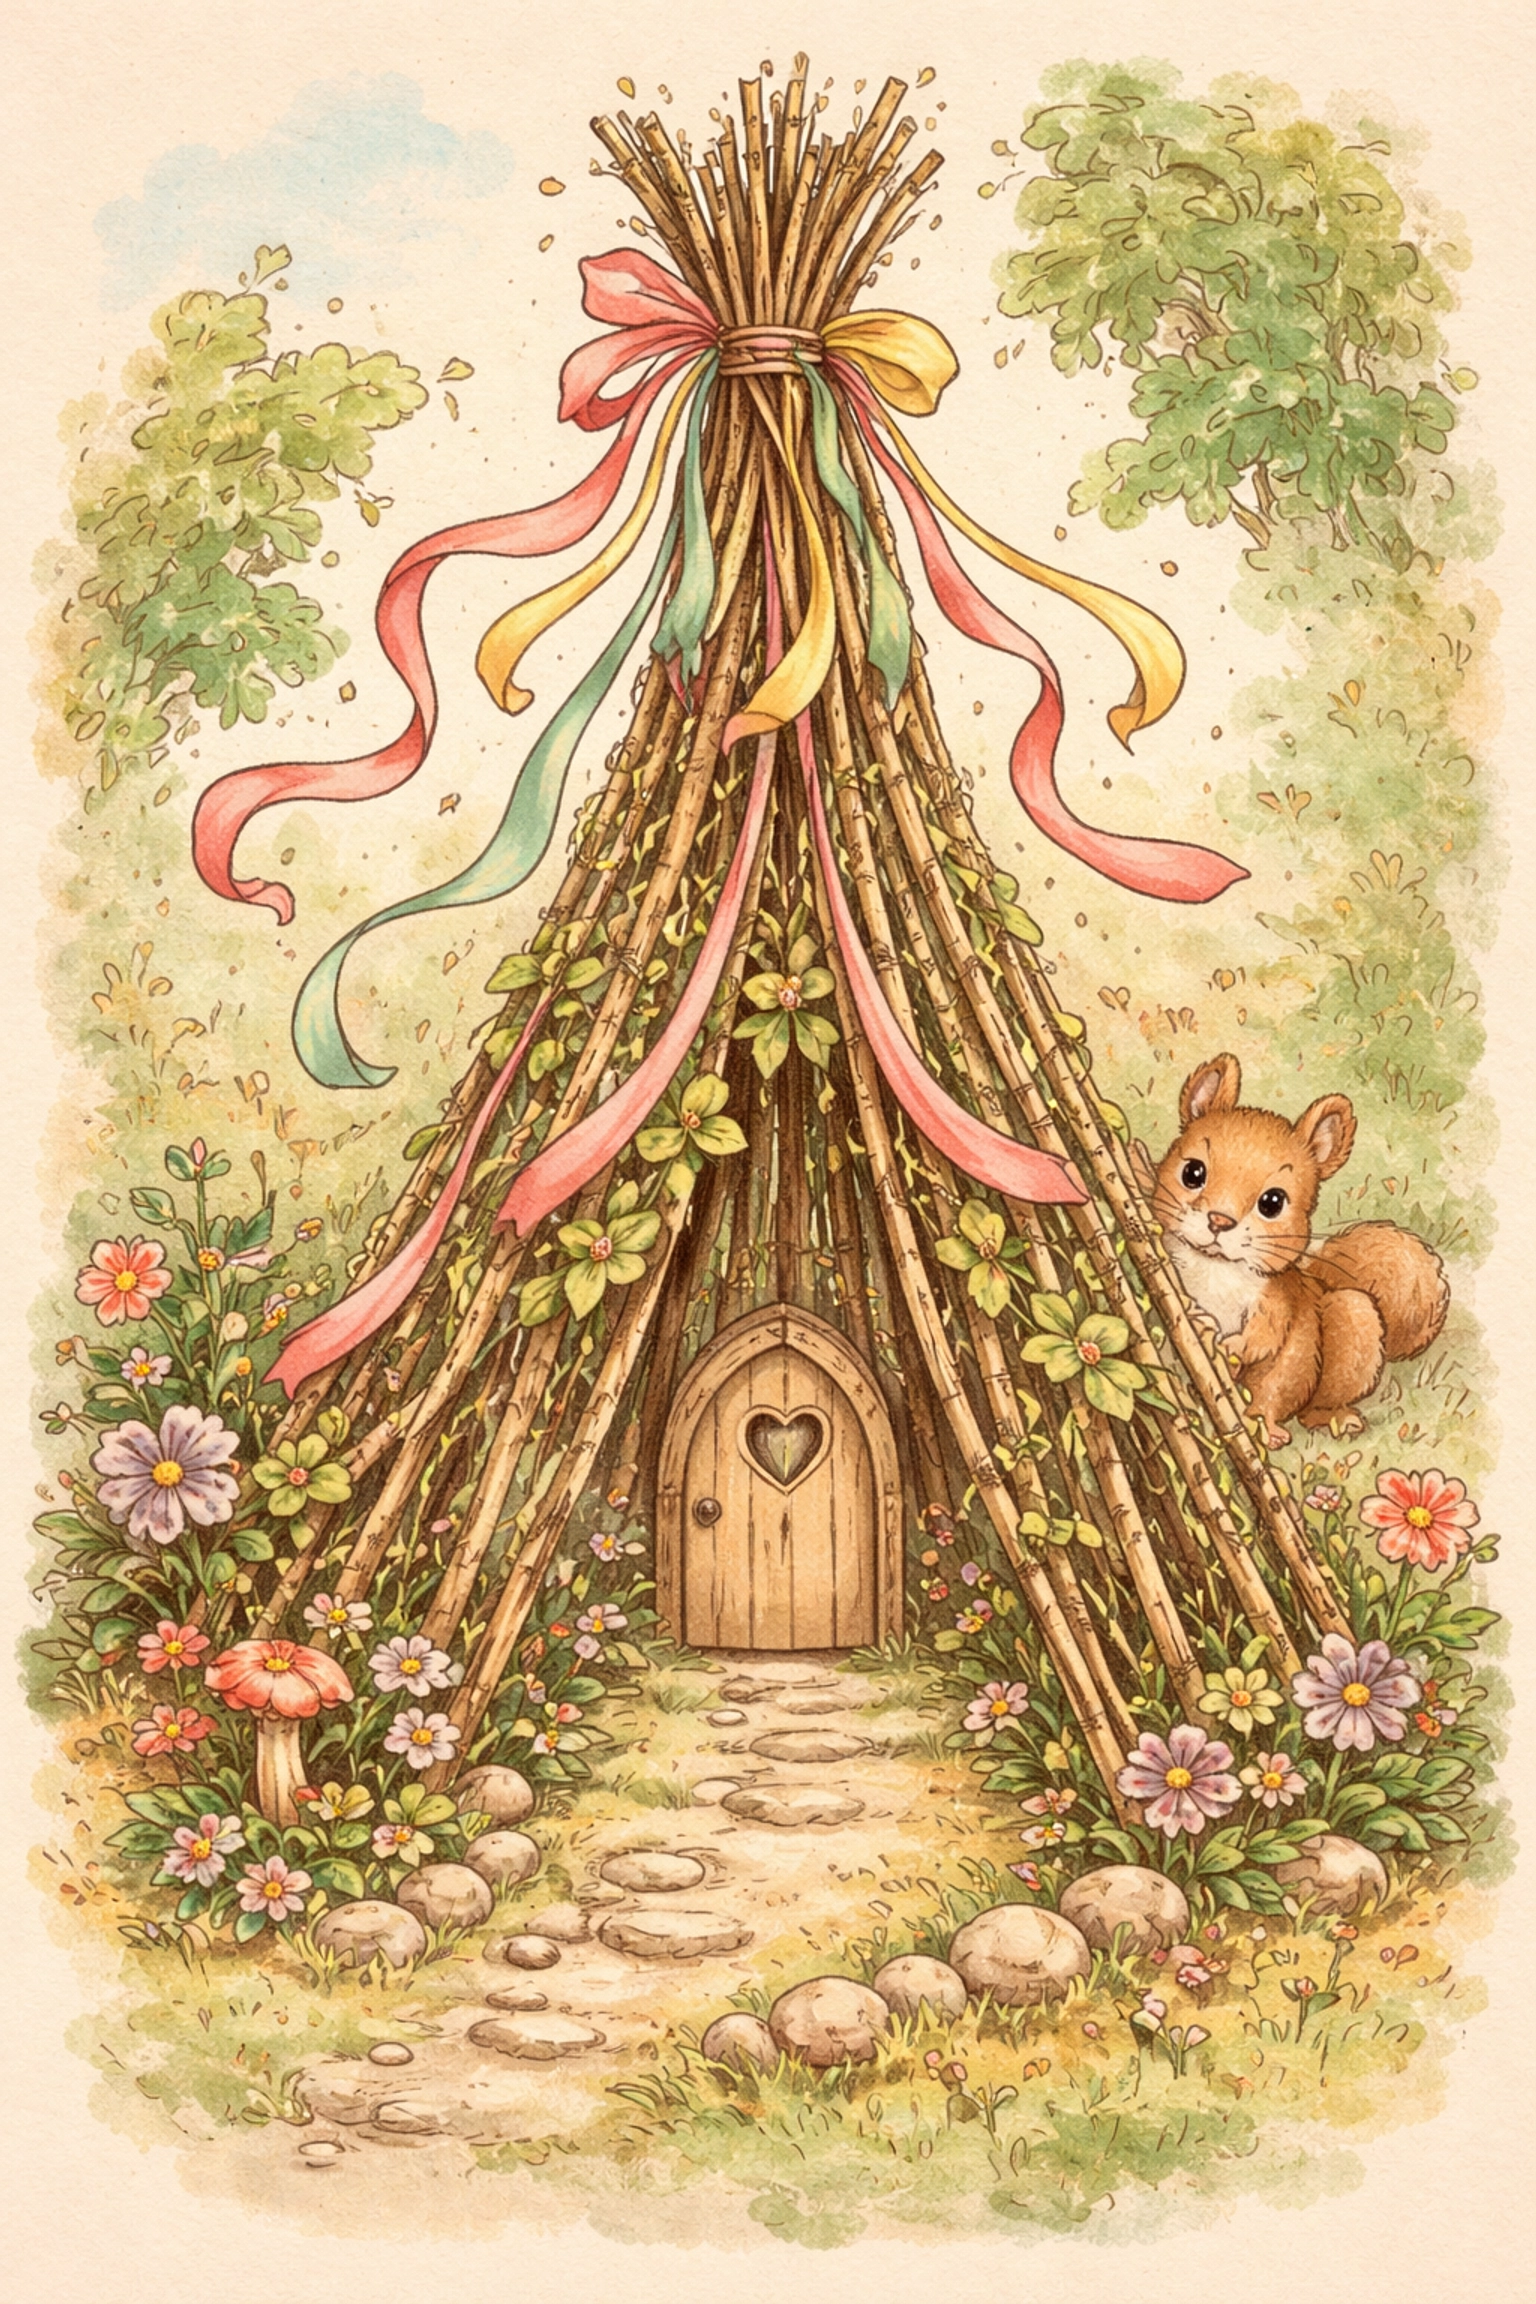
Step 5: Add Whimsical Touches
This is where "garden structure" becomes "fairy tale tower":
- Tie ribbon streamers near the top so they flutter in the breeze
- Hang a small wind chime from the peak
- Place painted stones around the base (let the kids decorate them!)
- Add a tiny fairy door at the entrance: just lean a small painted board against one of the poles
These finishing touches cost almost nothing but transform the whole project into something truly enchanting.
Step 6: Plant Your Beans
Once your structure is secure, it's planting time! Sow 2-3 bean seeds at the base of each pole, about 1 inch deep. Water gently and keep the soil moist until sprouts appear (usually within 7-14 days).
As the vines grow, you may need to gently guide the first tendrils toward the poles. After that, they'll figure it out on their own: beans are clever like that.
Best Bean Varieties for Your Fairy Tale Tower
Not all beans are climbers! Make sure you grab pole bean varieties, not bush beans. Here are some family favorites:
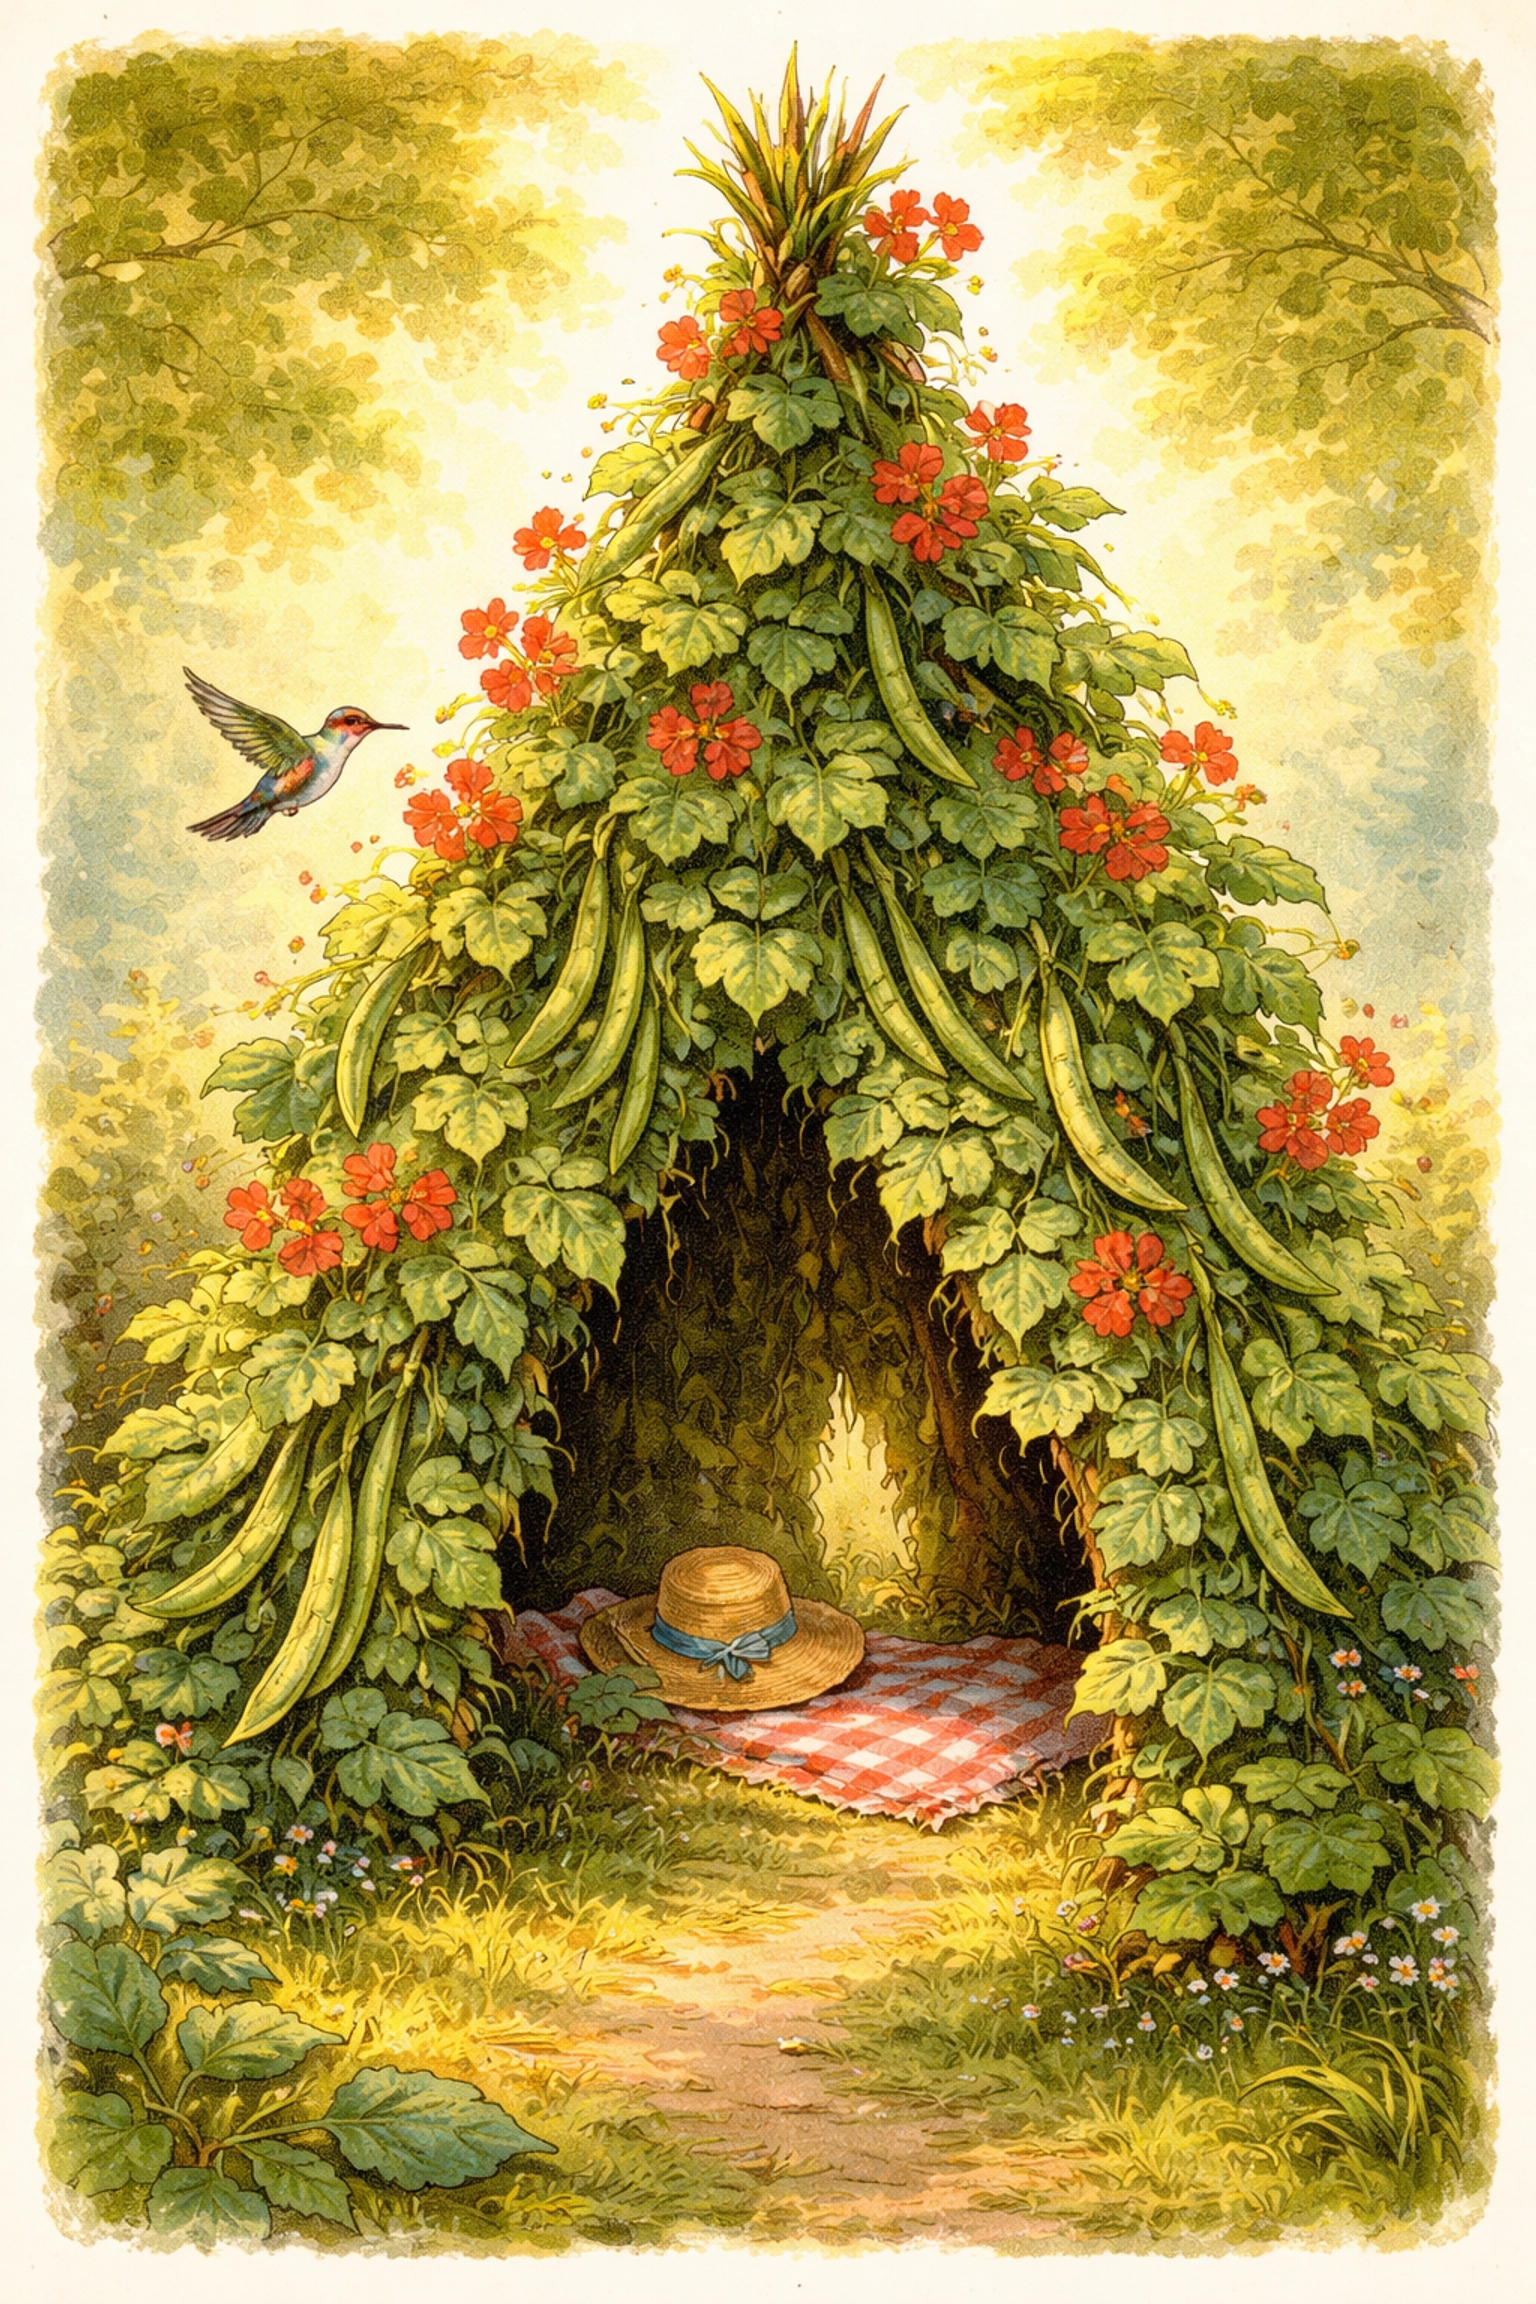
- Scarlet Runner Beans – Beautiful red flowers that hummingbirds adore
- Kentucky Wonder – Classic, reliable, and absolutely delicious
- Blue Lake Pole – Tender and sweet, great for fresh eating
- Purple Podded Pole – Gorgeous purple beans that turn green when cooked (magic!)
- Rattlesnake Pole – Fun streaky pattern that kids find fascinating
If you're gardening with little ones, Scarlet Runner beans are especially rewarding. Those bright red blooms appear before the beans and make the whole tower look like something from an illustrated children's book.
Caring for Your Bean Tower
Once established, bean poles are wonderfully low-maintenance:
- Water regularly – Beans like consistent moisture, especially when flowering
- Harvest often – The more you pick, the more beans the plant produces
- Watch for friends – Expect visits from bees, butterflies, and maybe a curious toad or two
By midsummer, your teepee should be fully covered in lush green vines, creating that fairy tale hideaway you've been dreaming about. Don't forget to peek inside: it's cooler in there than you'd expect!
If you're looking for more budget-friendly garden projects to try with the family, check out our guide on how to make a DIY mini greenhouse out of plastic bottles.
Frequently Asked Questions
How long does it take for beans to cover the teepee?
Most pole beans will reach the top of a 6-8 foot structure within 6-8 weeks after sprouting. Full, lush coverage usually happens by midsummer.
Can I use this structure for other climbing plants?
Certainly! Morning glories, sweet peas, small gourds, and even some cucumber varieties would happily climb a teepee structure.
What if my poles aren't perfectly straight?
Character is a feature, not a bug! Slightly crooked branches add to the fairy tale charm. As long as they're sturdy and roughly the same height, they'll work just fine.
How do I keep the structure stable in wind?
Push your poles at least 6-8 inches into the soil, and make sure your top binding is tight. For extra security, you can tie the lower sections of adjacent poles together with twine.
Can kids actually play inside?
Once the vines fill in (usually by mid-July in most climates), the interior becomes a shady, leafy hideout. Lay down a small blanket or outdoor cushion and let imaginations run wild.
Do I need to remove the structure at the end of the season?
You can leave it up year-round as garden art, or disassemble it after the first frost. Natural materials like branches will eventually break down, while bamboo may last several seasons.
What if my beans don't climb?
Double-check that you planted pole beans, not bush beans! If they're definitely climbers, try gently wrapping the young vines around the poles to show them the way.
Is this project safe for young children?
Building the structure involves pushing sticks into dirt and tying knots: perfectly safe for most ages with supervision. Just watch those pointy ends if you've sharpened them.
References
- General bean pole construction methods adapted from common gardening practices
- Furring strip recommendations based on budget lumber options available at most hardware stores


