


The short answer: You can make vibrant, all-natural paint by mashing berries through a sieve and mixing with a tiny splash of water, or by grinding dirt and rocks into fine powder and combining with milk powder and water. It's messy, it's magical, and your kids will absolutely love it.
Forget the plastic paint bottles from the craft store for an afternoon. Nature has been providing pigments for thousands of years, long before anyone invented acrylic or washable markers. And the best part? You probably have everything you need in your backyard, kitchen, or a quick walk around the neighborhood.
This project costs practically nothing (we're talking well under $10), creates zero toxic waste, and gives your kids a hands-on science lesson wrapped in pure creative fun. Let's get our hands dirty, literally.
Why Make Paint from Nature?
Here's the thing: kids learn best when they're engaged with all their senses. When they squish a blackberry between their fingers and watch deep purple juice stain the paper, they're not just making art. They're learning about pigments, plant biology, and chemistry all at once.
Plus, there's something wonderfully old-fashioned about it. Cave painters used earth pigments. Medieval artists ground beetles and minerals. Your kiddo is joining a creative tradition that stretches back tens of thousands of years.
And honestly? It's just plain fun to make a glorious mess in the name of art.
What You'll Need (Budget: Under $5!)
For Berry Paint:
- Fresh or frozen berries (blackberries, blueberries, raspberries, strawberries, whatever you've got)
- A fine mesh sieve or strainer
- A spoon or fork for mashing
- Small bowls or containers
- Water (just a splash)
For Dirt Paint:
- Dry dirt, clay, or colorful rocks from your yard
- A mortar and pestle (or two rocks work great!)
- A fine mesh sieve
- Milk powder (optional, but helps create a smooth paint)
- Water
- Small jars for storage
For Painting:
- Thick paper or cardboard (watercolor paper works beautifully)
- Brushes, sticks, or fingers (the best brushes of all!)
- An apron or old clothes (trust me on this one)
Total cost: Free to $5, depending on what you already have at home.
How to Make Berry Paint: Step-by-Step
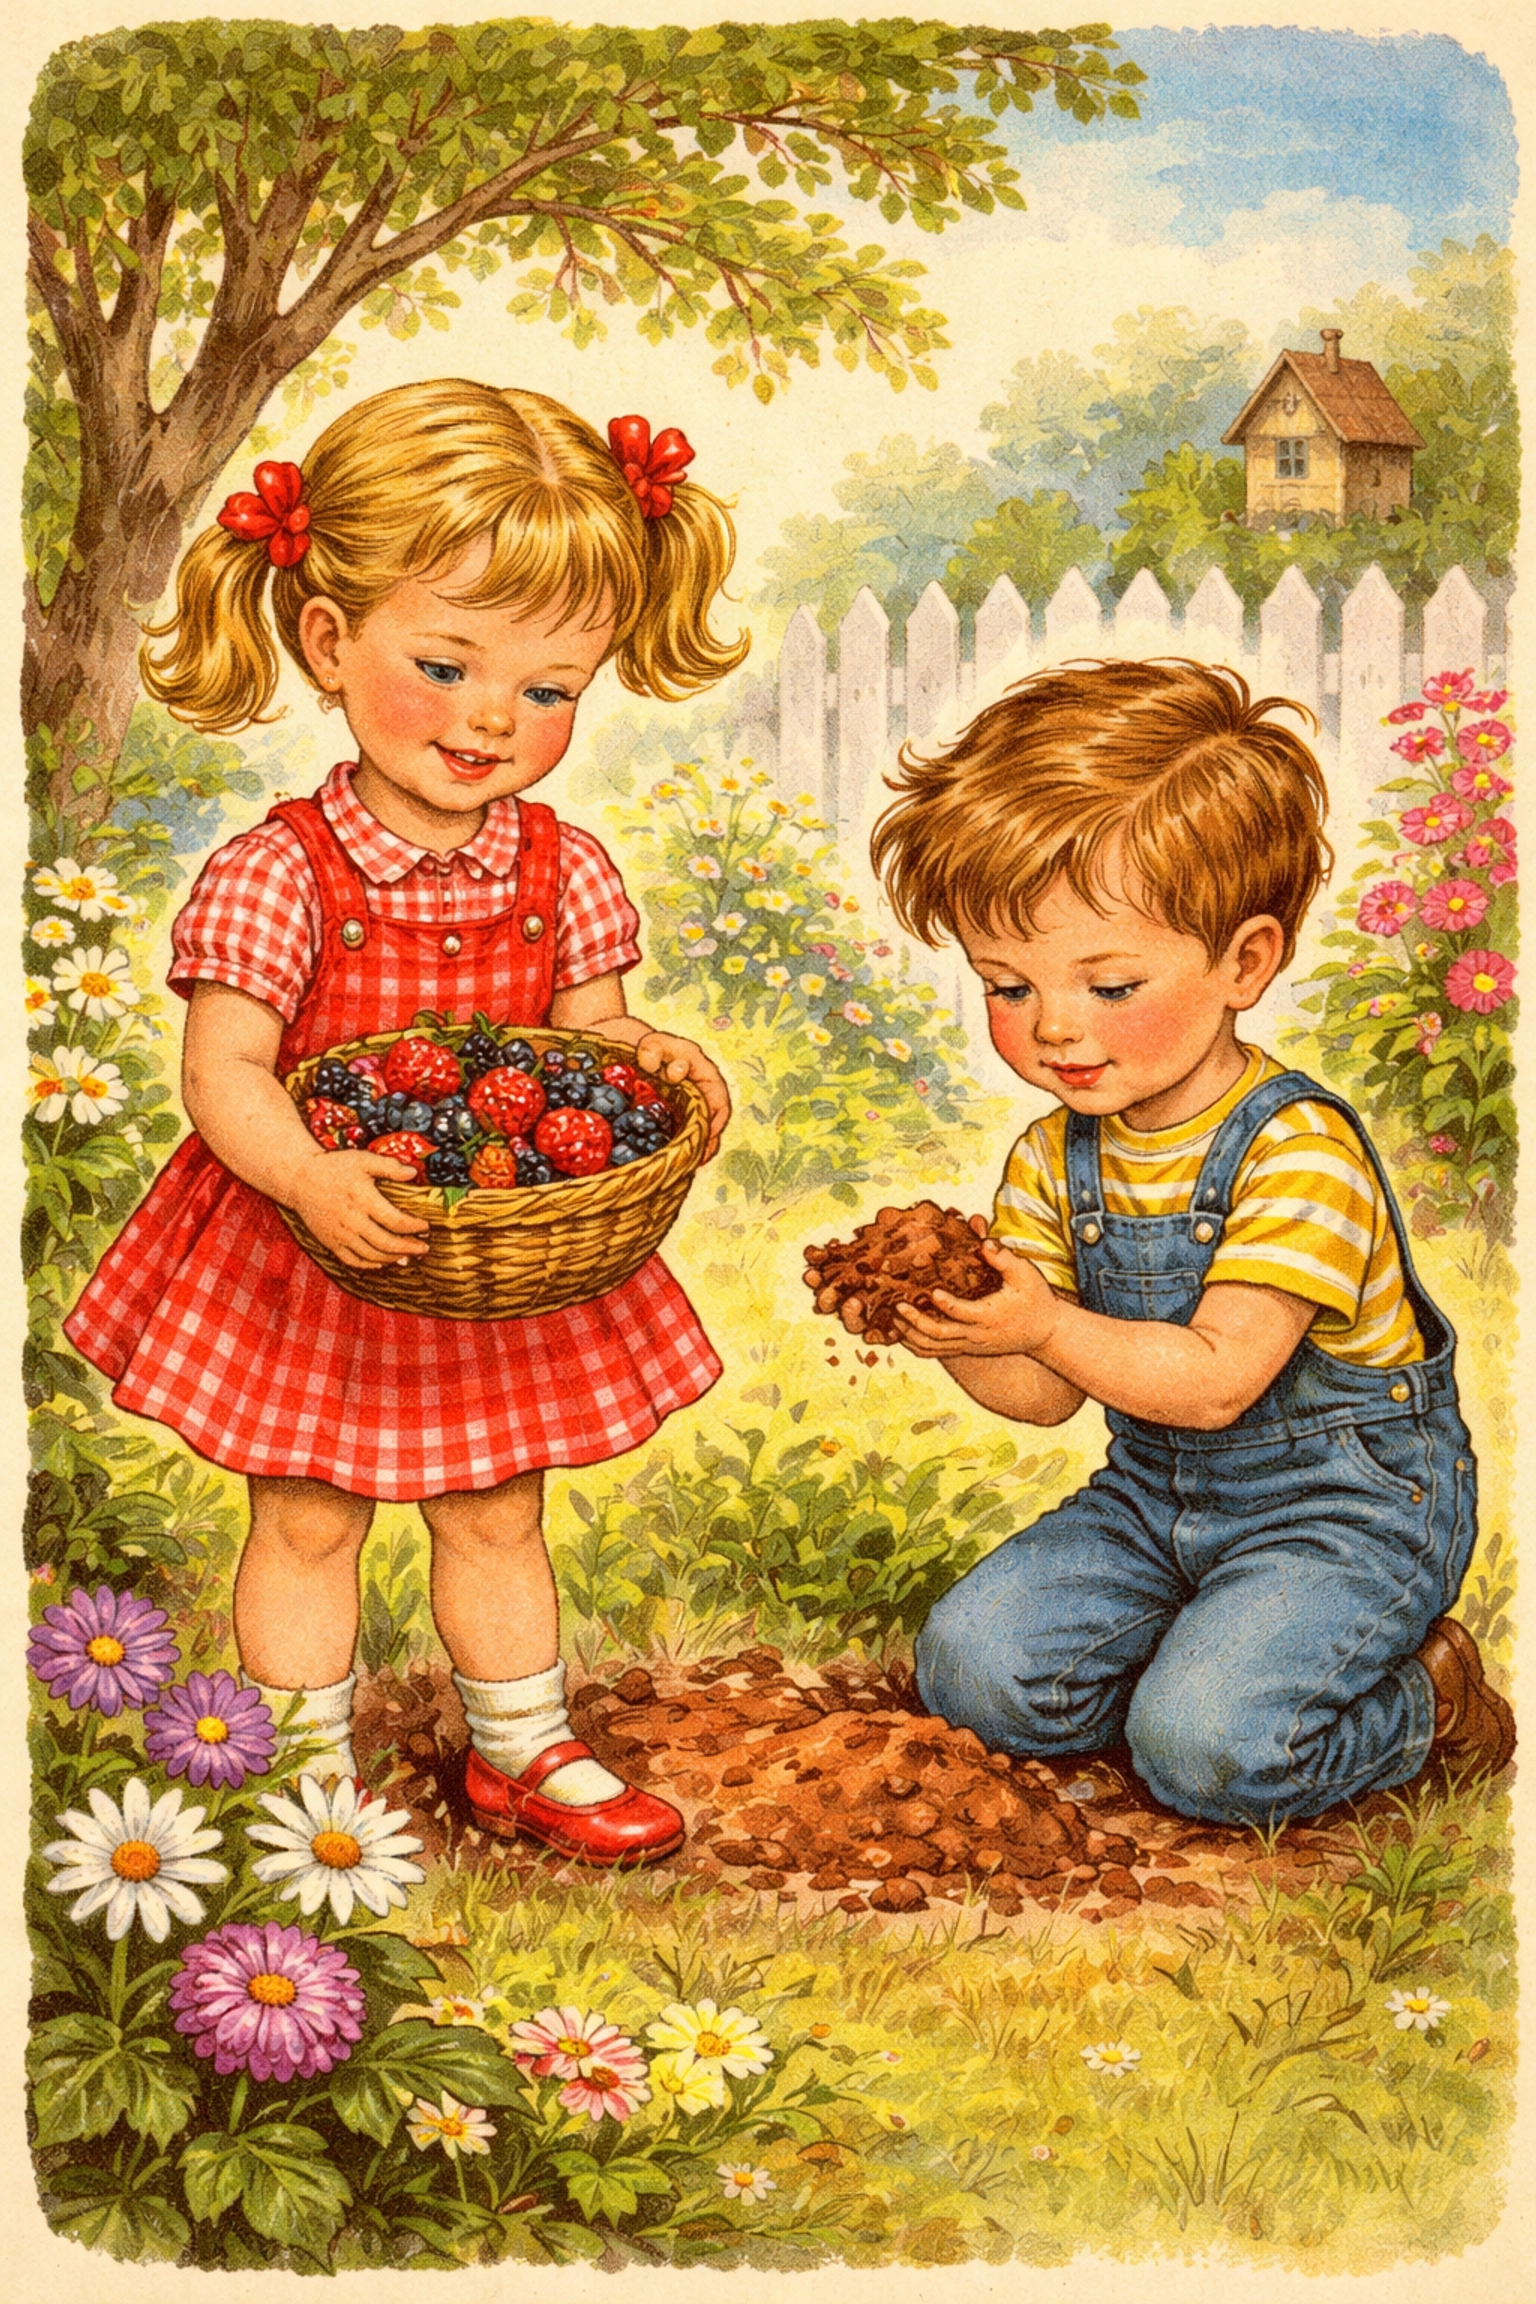
Step 1: Gather Your Berries
Head outside with your little ones and hunt for berries. Blackberries, mulberries, and elderberries grow wild in many areas. No luck foraging? Frozen berries from the grocery store work perfectly fine. Grab a variety for a rainbow of colors:
- Blues and purples: Blackberries, blueberries, blackcurrants
- Reds and pinks: Strawberries, raspberries, cranberries
- Yellows and oranges: Try turmeric powder, mustard powder, or even mashed pumpkin
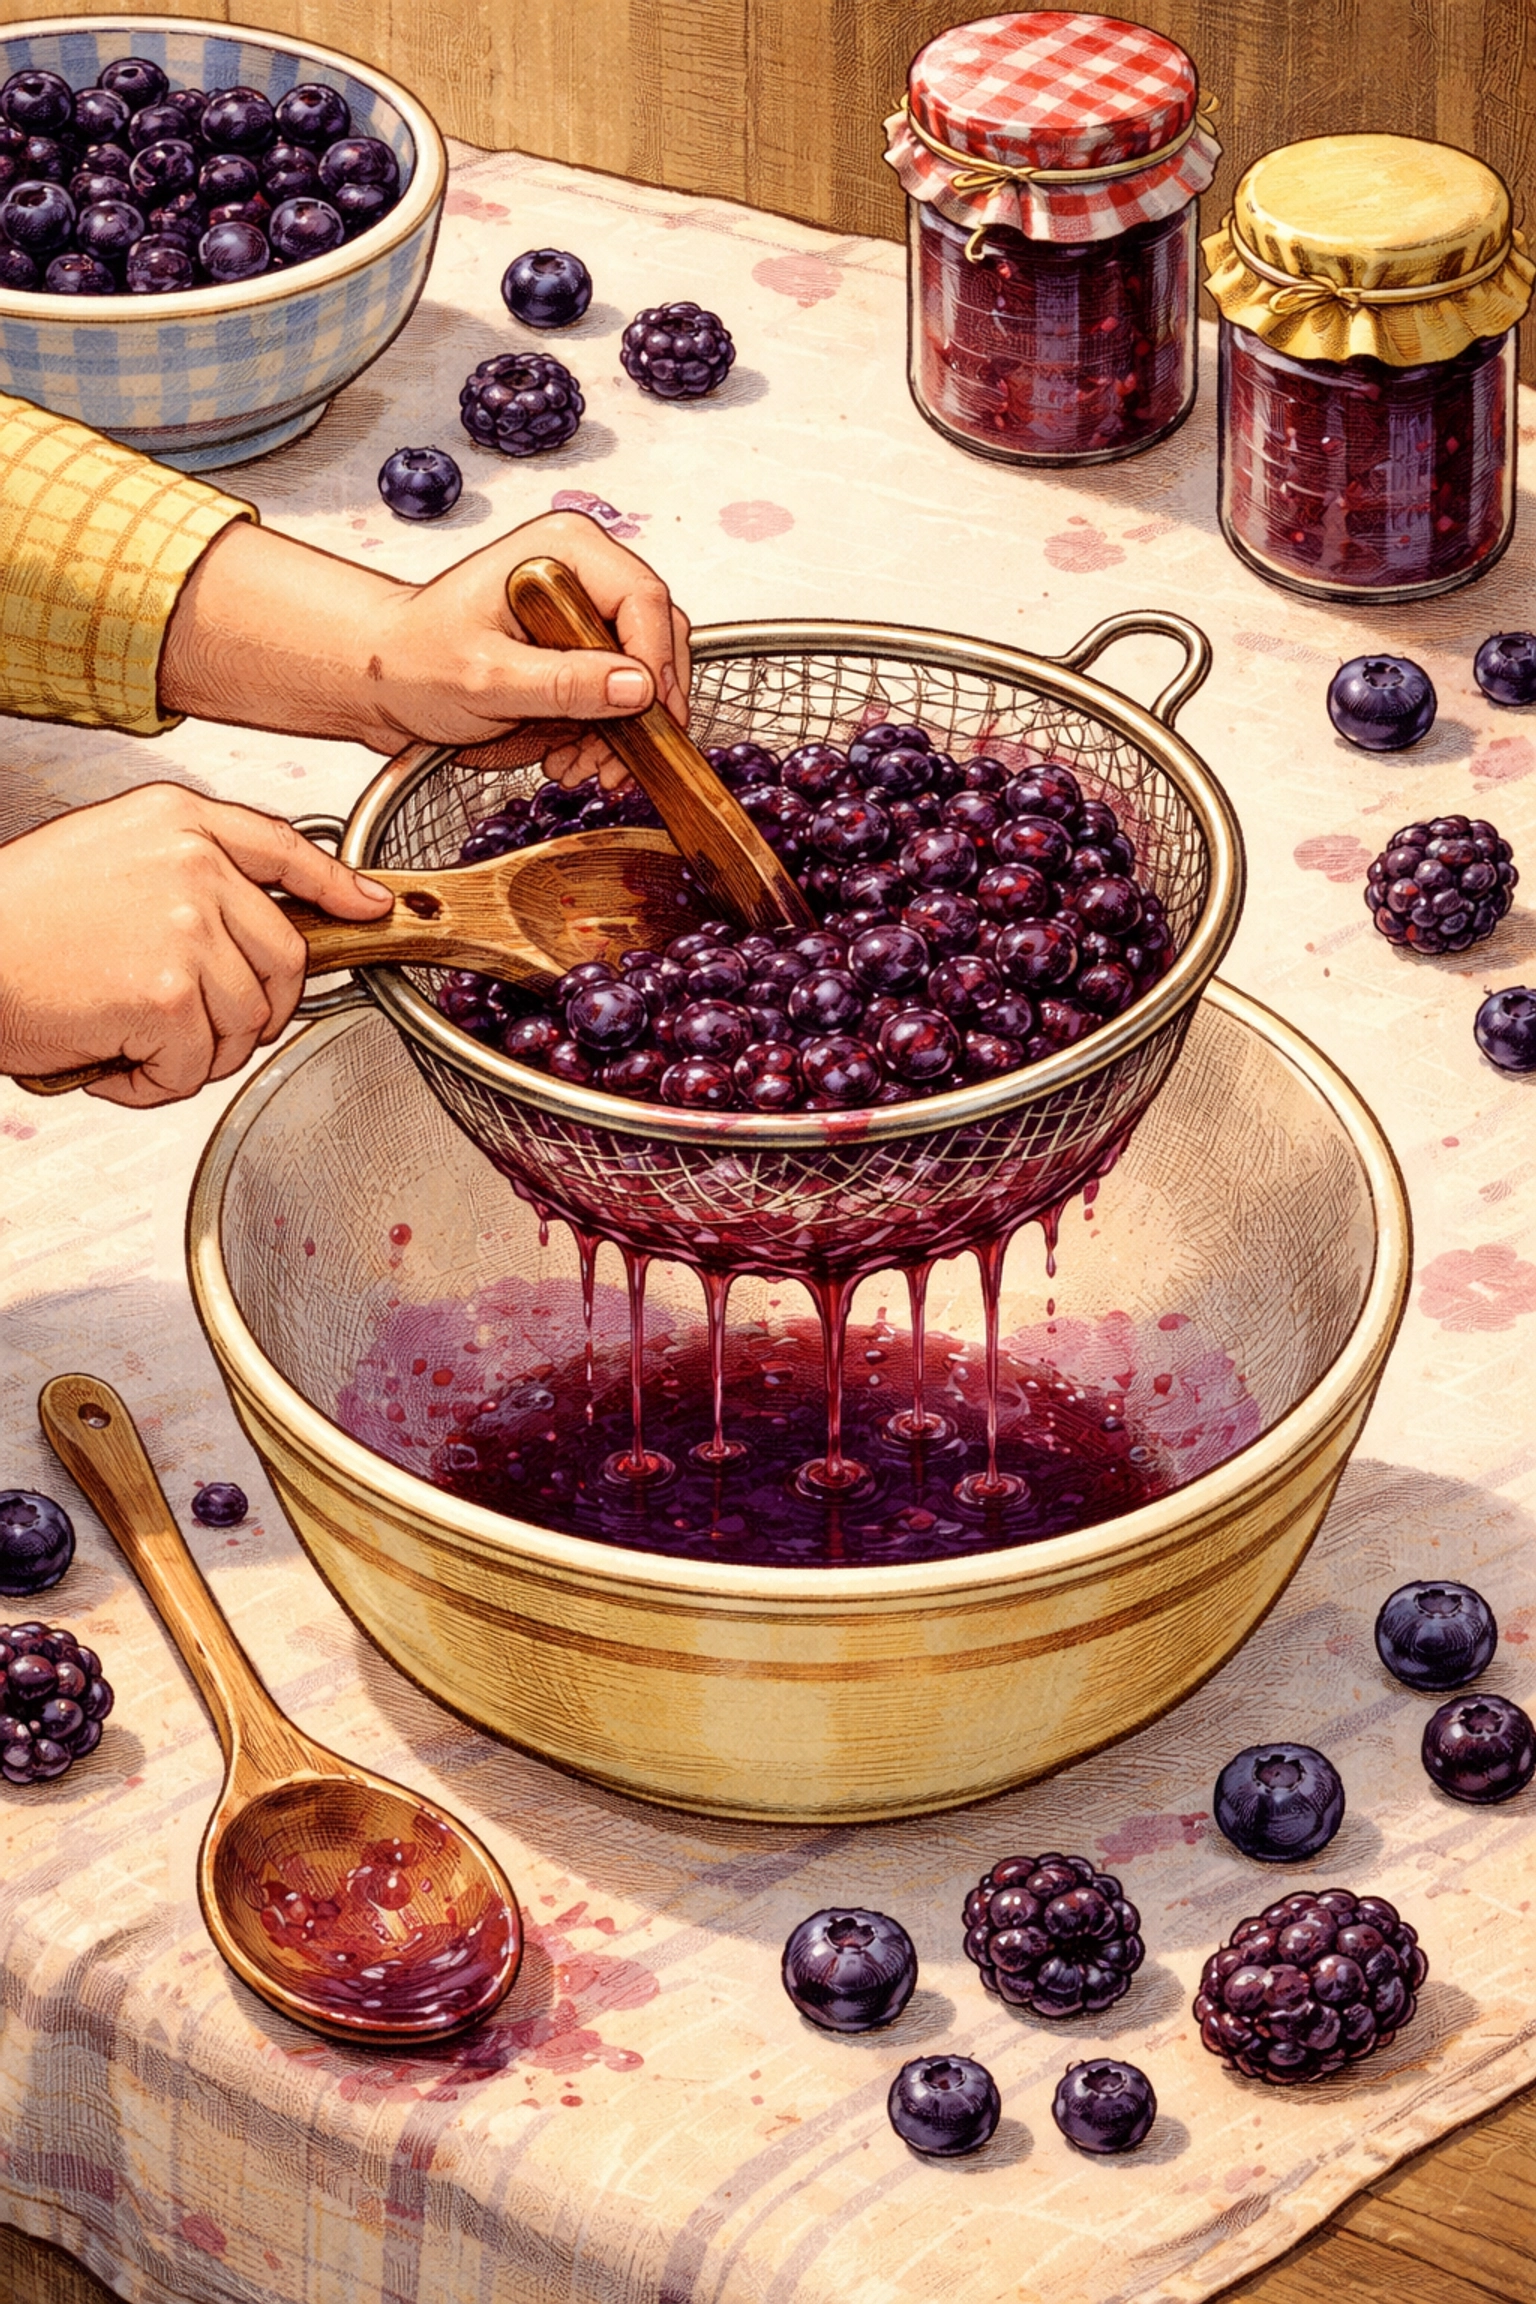
Step 2: Mash and Strain
Place a handful of berries into your sieve over a bowl. Using the back of a spoon, press and squish the berries until all that gorgeous juice drips through. You're separating the pigment from the seeds and pulp.
Pro tip: Let your kids go to town on this part. Mashing berries is incredibly satisfying.
Step 3: Add Just a Tiny Bit of Water
Here's where most folks go wrong, they add too much water and end up with watery, pale paint. You want thick, vibrant color. Add only a small splash of water, just enough to make it paintable but not runny.
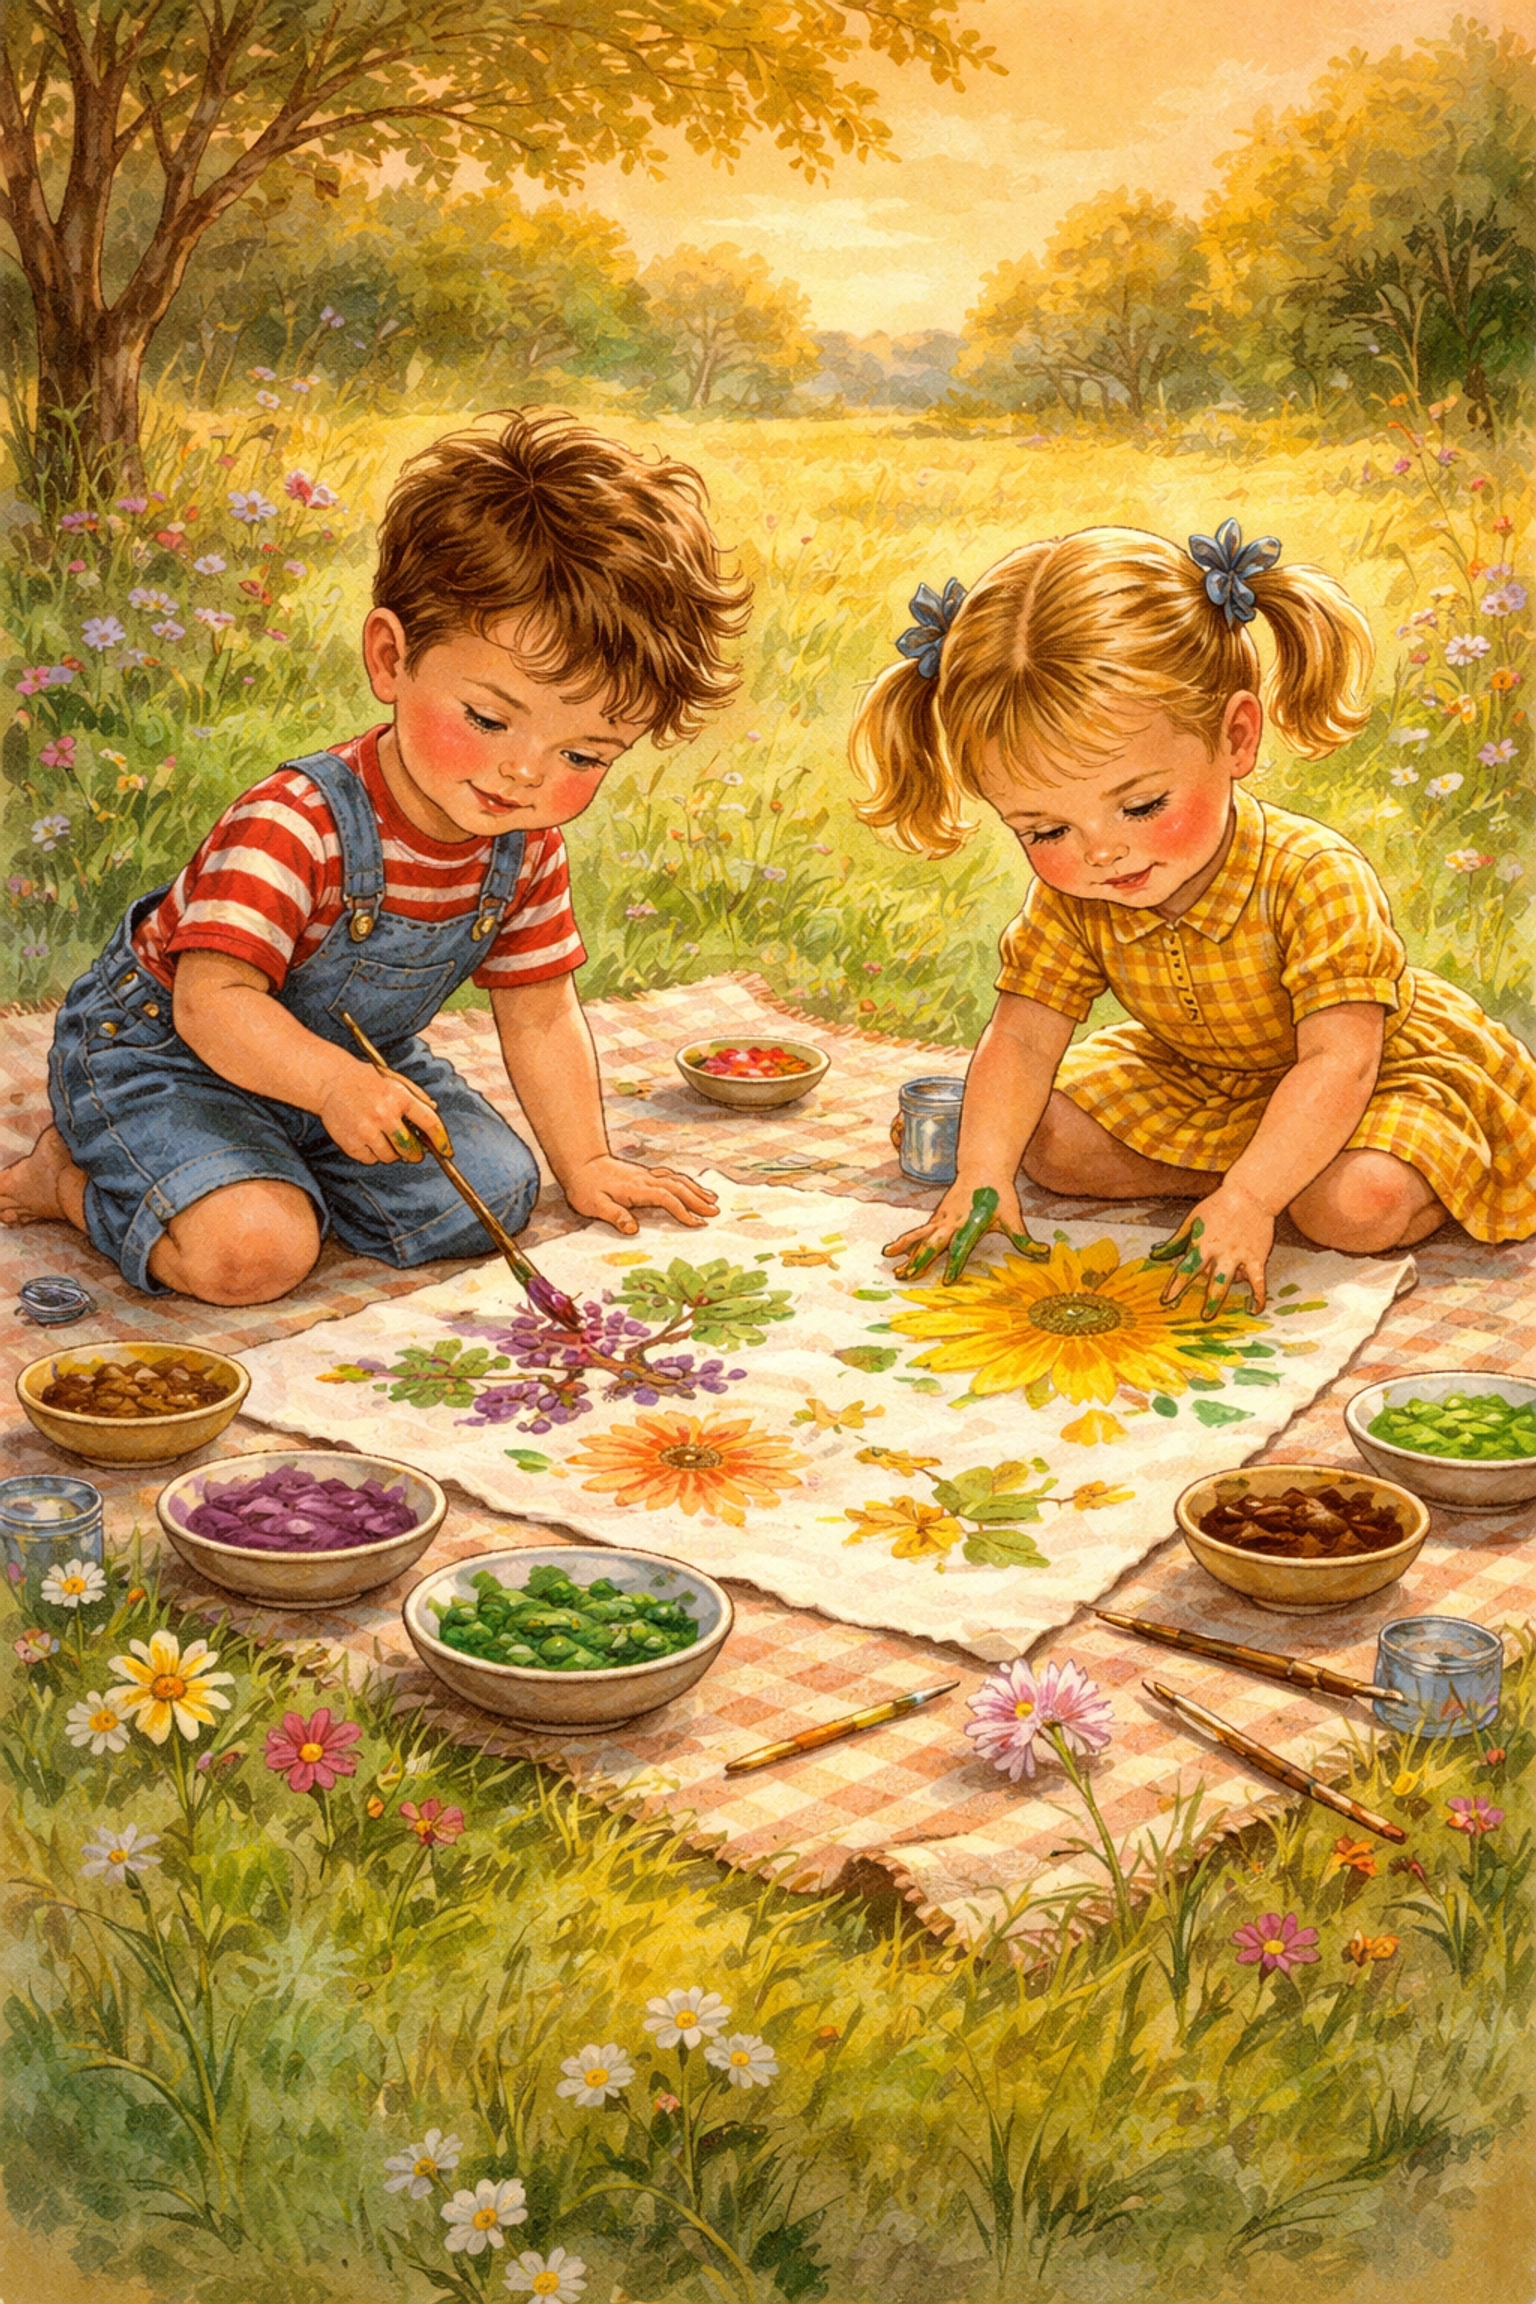
Step 4: Paint Away!
Dip your brushes (or fingers, or leaves, or sticks) and create! The colors will be softer and more natural than store-bought paint, which is part of the charm. Layer colors for depth, or let them bleed together for a watercolor effect.
How to Make Dirt Paint: Step-by-Step
This one feels like real alchemy. You're literally turning earth into art supplies.
Step 1: Collect Your Earth Materials
Go on a color hunt! Different soils and rocks produce different shades:
- Browns and tans: Regular garden dirt
- Reds and oranges: Clay-rich soil, red rocks, or brick dust
- Yellows: Sandy soil, certain clays
- Grays and blacks: Charcoal (from your fire pit), slate
Collect dry materials in small containers. Wet dirt won't grind well.
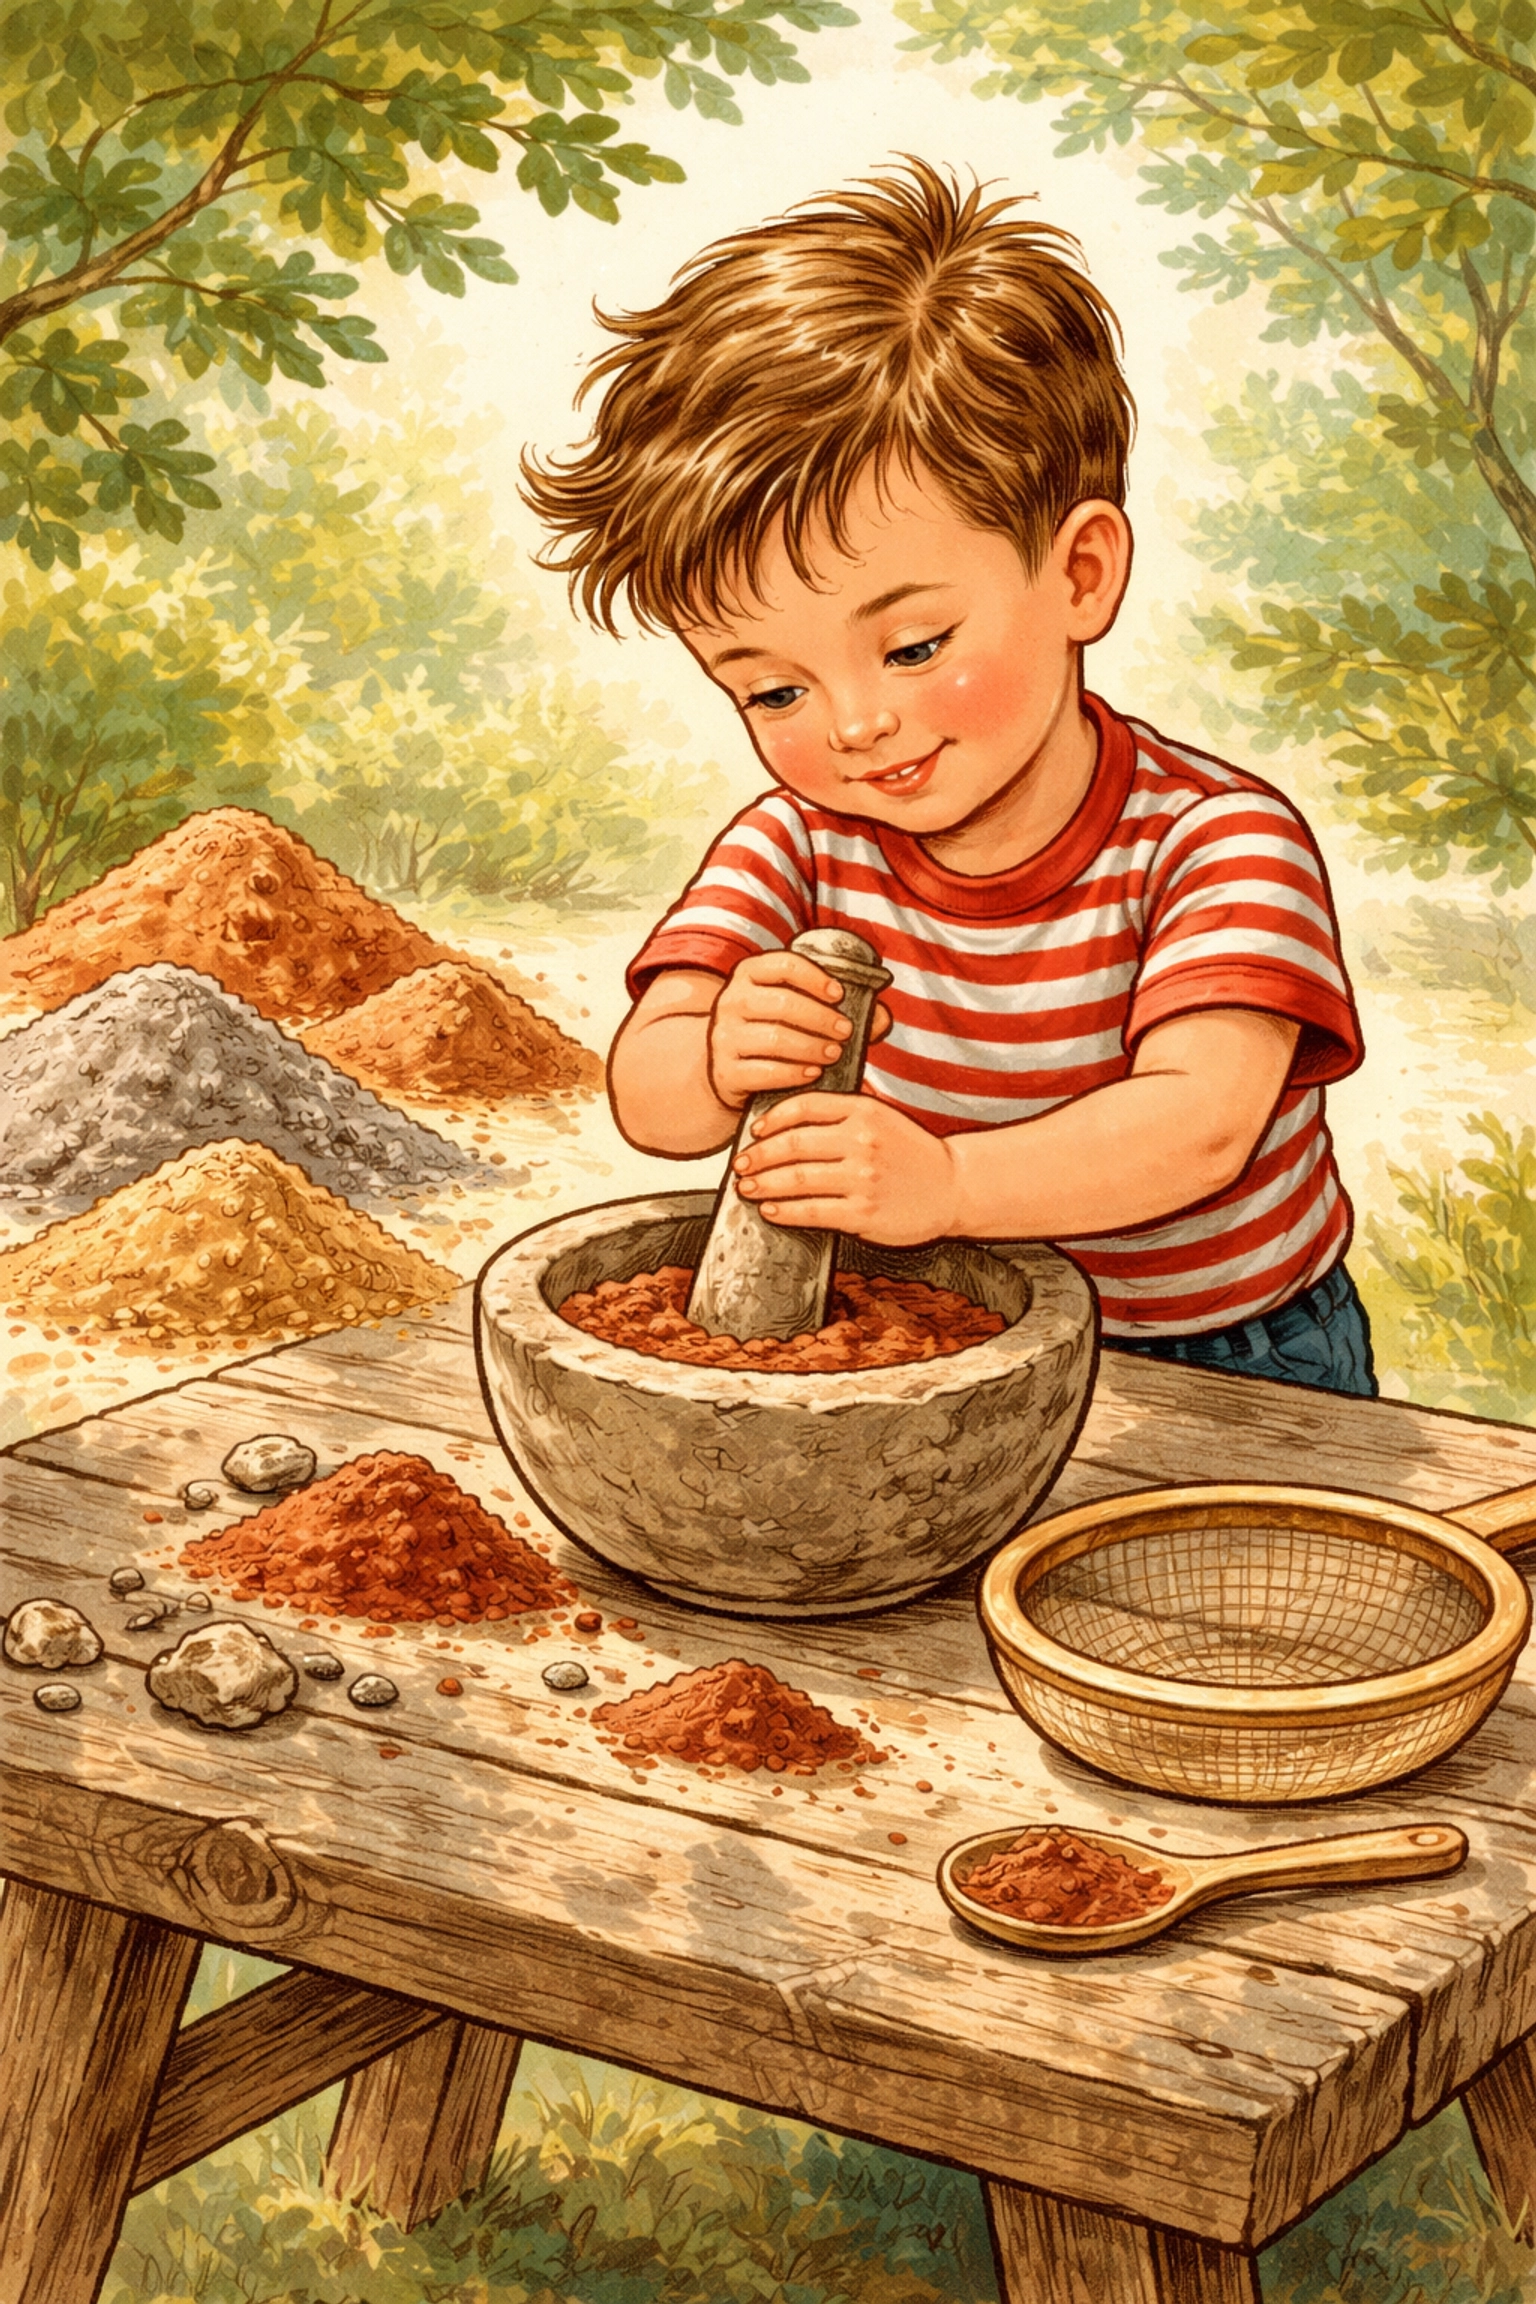
Step 2: Grind It Down
Using a mortar and pestle (or simply two rocks, one flat, one round), grind your earth materials into the finest powder you can manage. This takes some elbow grease, so let the kids take turns.
The finer the powder, the smoother your paint will be.
Step 3: Sift Out the Chunks
Pour your powder through a fine mesh sieve to remove any remaining pebbles or grit. You want silky-smooth pigment.
Step 4: Mix Your Paint
Here's a simple recipe that works beautifully:
- Mix 1 part earth pigment with 1 part milk powder
- Add 1 part water and stir until smooth
- Adjust thickness by adding more powder (thicker) or water (thinner)
No milk powder? Just mix your earth pigment with water and a tiny drop of honey or vegetable glycerin to help it bind.
Step 5: Store or Use Immediately
Earth paints can be stored in small glass jars. If you used milk powder, pop any leftovers in the refrigerator.
Bonus Colors from Your Kitchen
Want to expand your palette without leaving the house? Raid the pantry:
- Bright yellow: Turmeric powder mixed with water
- Deep red: Beet juice (just grate and squeeze)
- Green: Blend spinach or grass with a tiny bit of water
- Brown: Coffee grounds or strong brewed coffee
- Purple: Red cabbage juice (boil chopped cabbage for 20 minutes)
Tips for Success
Embrace the impermanence. Nature paints may fade over time, especially berry colors. That's okay! You can spray finished artwork with hairspray to help preserve it, or simply enjoy the art in the moment.
Protect your surfaces. Lay down newspaper or an old tablecloth. Berry juice stains are no joke.
Wear old clothes. Or better yet, let the kids paint in swimsuits and hose them down after.
Experiment freely. There are no mistakes here. Mix colors, layer them, try different papers. Half the fun is discovery.
Take It Further
Once your kids master basic nature paints, challenge them to create an entire painting using only materials found outside. No store-bought anything. It's a fantastic exercise in creativity and resourcefulness.
You might also enjoy our guide on making a DIY mini greenhouse from plastic bottles, another great upcycling project that pairs perfectly with growing your own dye plants!
Frequently Asked Questions
Will berry paint stain my child's hands?
Yes, temporarily! Berry juice washes off with soap and water, though it may take a day or two for deep stains to fully fade. Consider this part of the adventure.
How long does homemade nature paint last?
Berry paint should be used within a day or two (it can ferment and get smelly). Earth pigment paint stored in the fridge lasts about a week.
Can we use nature paint on fabric?
Absolutely! Add a splash of vinegar or salt to help the color bind to fabric. Keep in mind that natural dyes fade faster than synthetic ones, especially in sunlight.
Is nature paint safe if my toddler eats it?
Berry and vegetable paints are generally safe in small tastes, but this isn't a snack! Always supervise young children, and avoid any plants you can't positively identify as non-toxic.
What paper works best?
Thicker paper handles the moisture better. Watercolor paper, cardstock, or even cardboard work great. Regular printer paper may get too soggy.
Can we make nature paint in winter?
Yes! Use frozen berries, dried spices, and collected earth pigments. You can also dry and store summer berries specifically for winter art projects.
Why is my paint too watery?
You added too much water. Start with less than you think you need: you can always add more. For berry paint, the juice itself is often enough.
What if I can't find colorful dirt?
Check garden centers for terracotta pot shards, or look for naturally occurring clay in your area. Even plain brown dirt makes a lovely sepia tone!
How do I make the colors brighter?
Layer your paint. Let one coat dry, then add another on top. The colors will deepen with each layer.
Can adults enjoy this project too?
Are you kidding? This is secretly more fun for grown-ups. Pour yourself some lemonade and get squishing.
Now get outside, gather your ingredients, and let the masterpieces begin. Happy painting, friends! 🎨🍇


