


You can grow basil in a recycled pasta jar by either filling it with well-draining potting soil (after adding drainage holes) or by using a simple water-based method where basil cuttings root directly in water. Both approaches typically cost under $5, make excellent family projects, and can keep fresh basil within arm's reach of your kitchen all year round.
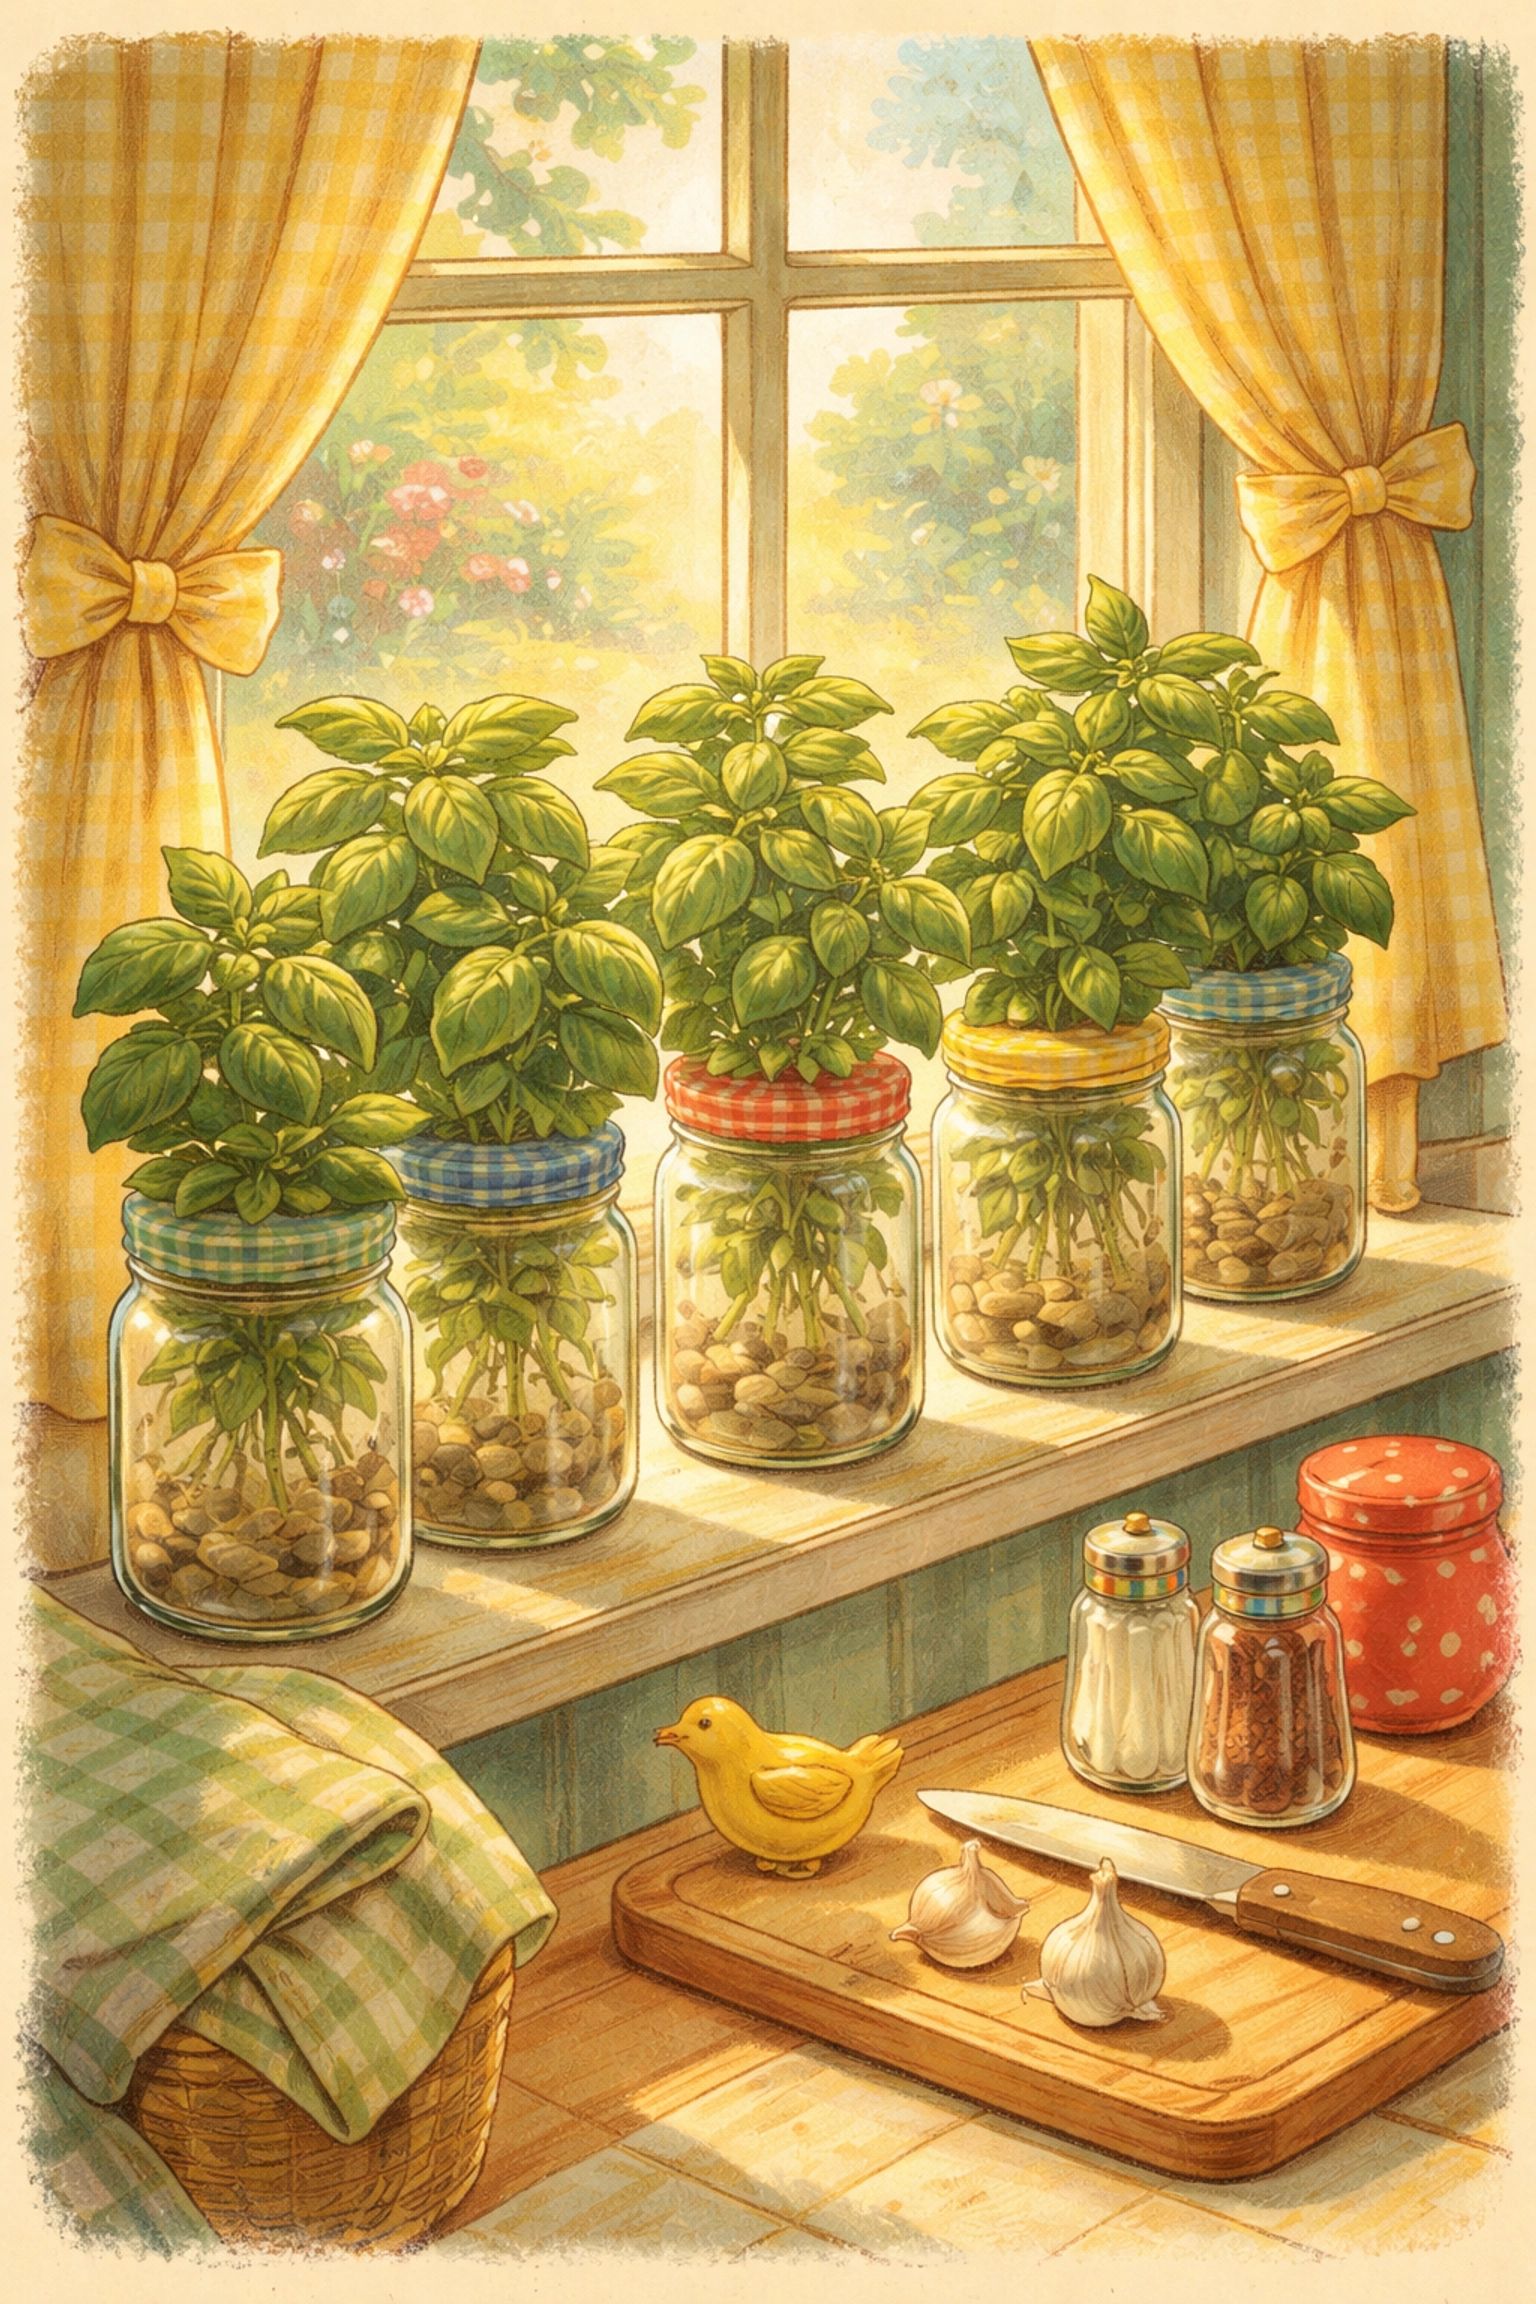
That empty Classico or Ragù jar sitting in your recycling bin? It's about to become a tiny basil farm. Let's walk through everything you need to know to turn kitchen "trash" into a thriving herb garden.
Why Pasta Jars Work So Well for Basil
Glass pasta jars are practically custom-made for growing herbs. They're sturdy, clear (so you can monitor root growth or water levels), and they're the perfect size for a single basil plant. Plus, reusing them keeps glass out of the landfill and saves you money on fancy planters.
Basil is a particularly forgiving herb for beginners. It roots easily in water, grows quickly, and actually thrives when you harvest it regularly. That means more pesto for you!
Budget Breakdown: Growing Basil for Under $5
One of the best parts of this project? It's seriously budget-friendly. Here's what you might spend:
| Item | Estimated Cost | Notes |
|---|---|---|
| Recycled pasta jar | $0 | From your kitchen! |
| Basil seeds OR grocery store basil plant | $1–$3 | A potted plant from the grocery store works great for cuttings |
| Potting soil (small bag) | $2–$4 | Only needed for soil method; skip for water method |
| Small pebbles or gravel | $0–$2 | Optional drainage layer; aquarium gravel works |
| Water | $0 | Tap water is fine (with a small trick) |
| Total | $1–$5 | Likely less if you have supplies on hand |
If you choose the water-based method, you can often get started for around $1–$3 total, just the cost of a basil plant from the produce section.
Two Methods: Pick Your Adventure
You've got options here, and both work well. The water method is simpler and great for beginners or impatient gardeners (no judgment). The soil method tends to produce a longer-lived, bushier plant over time.
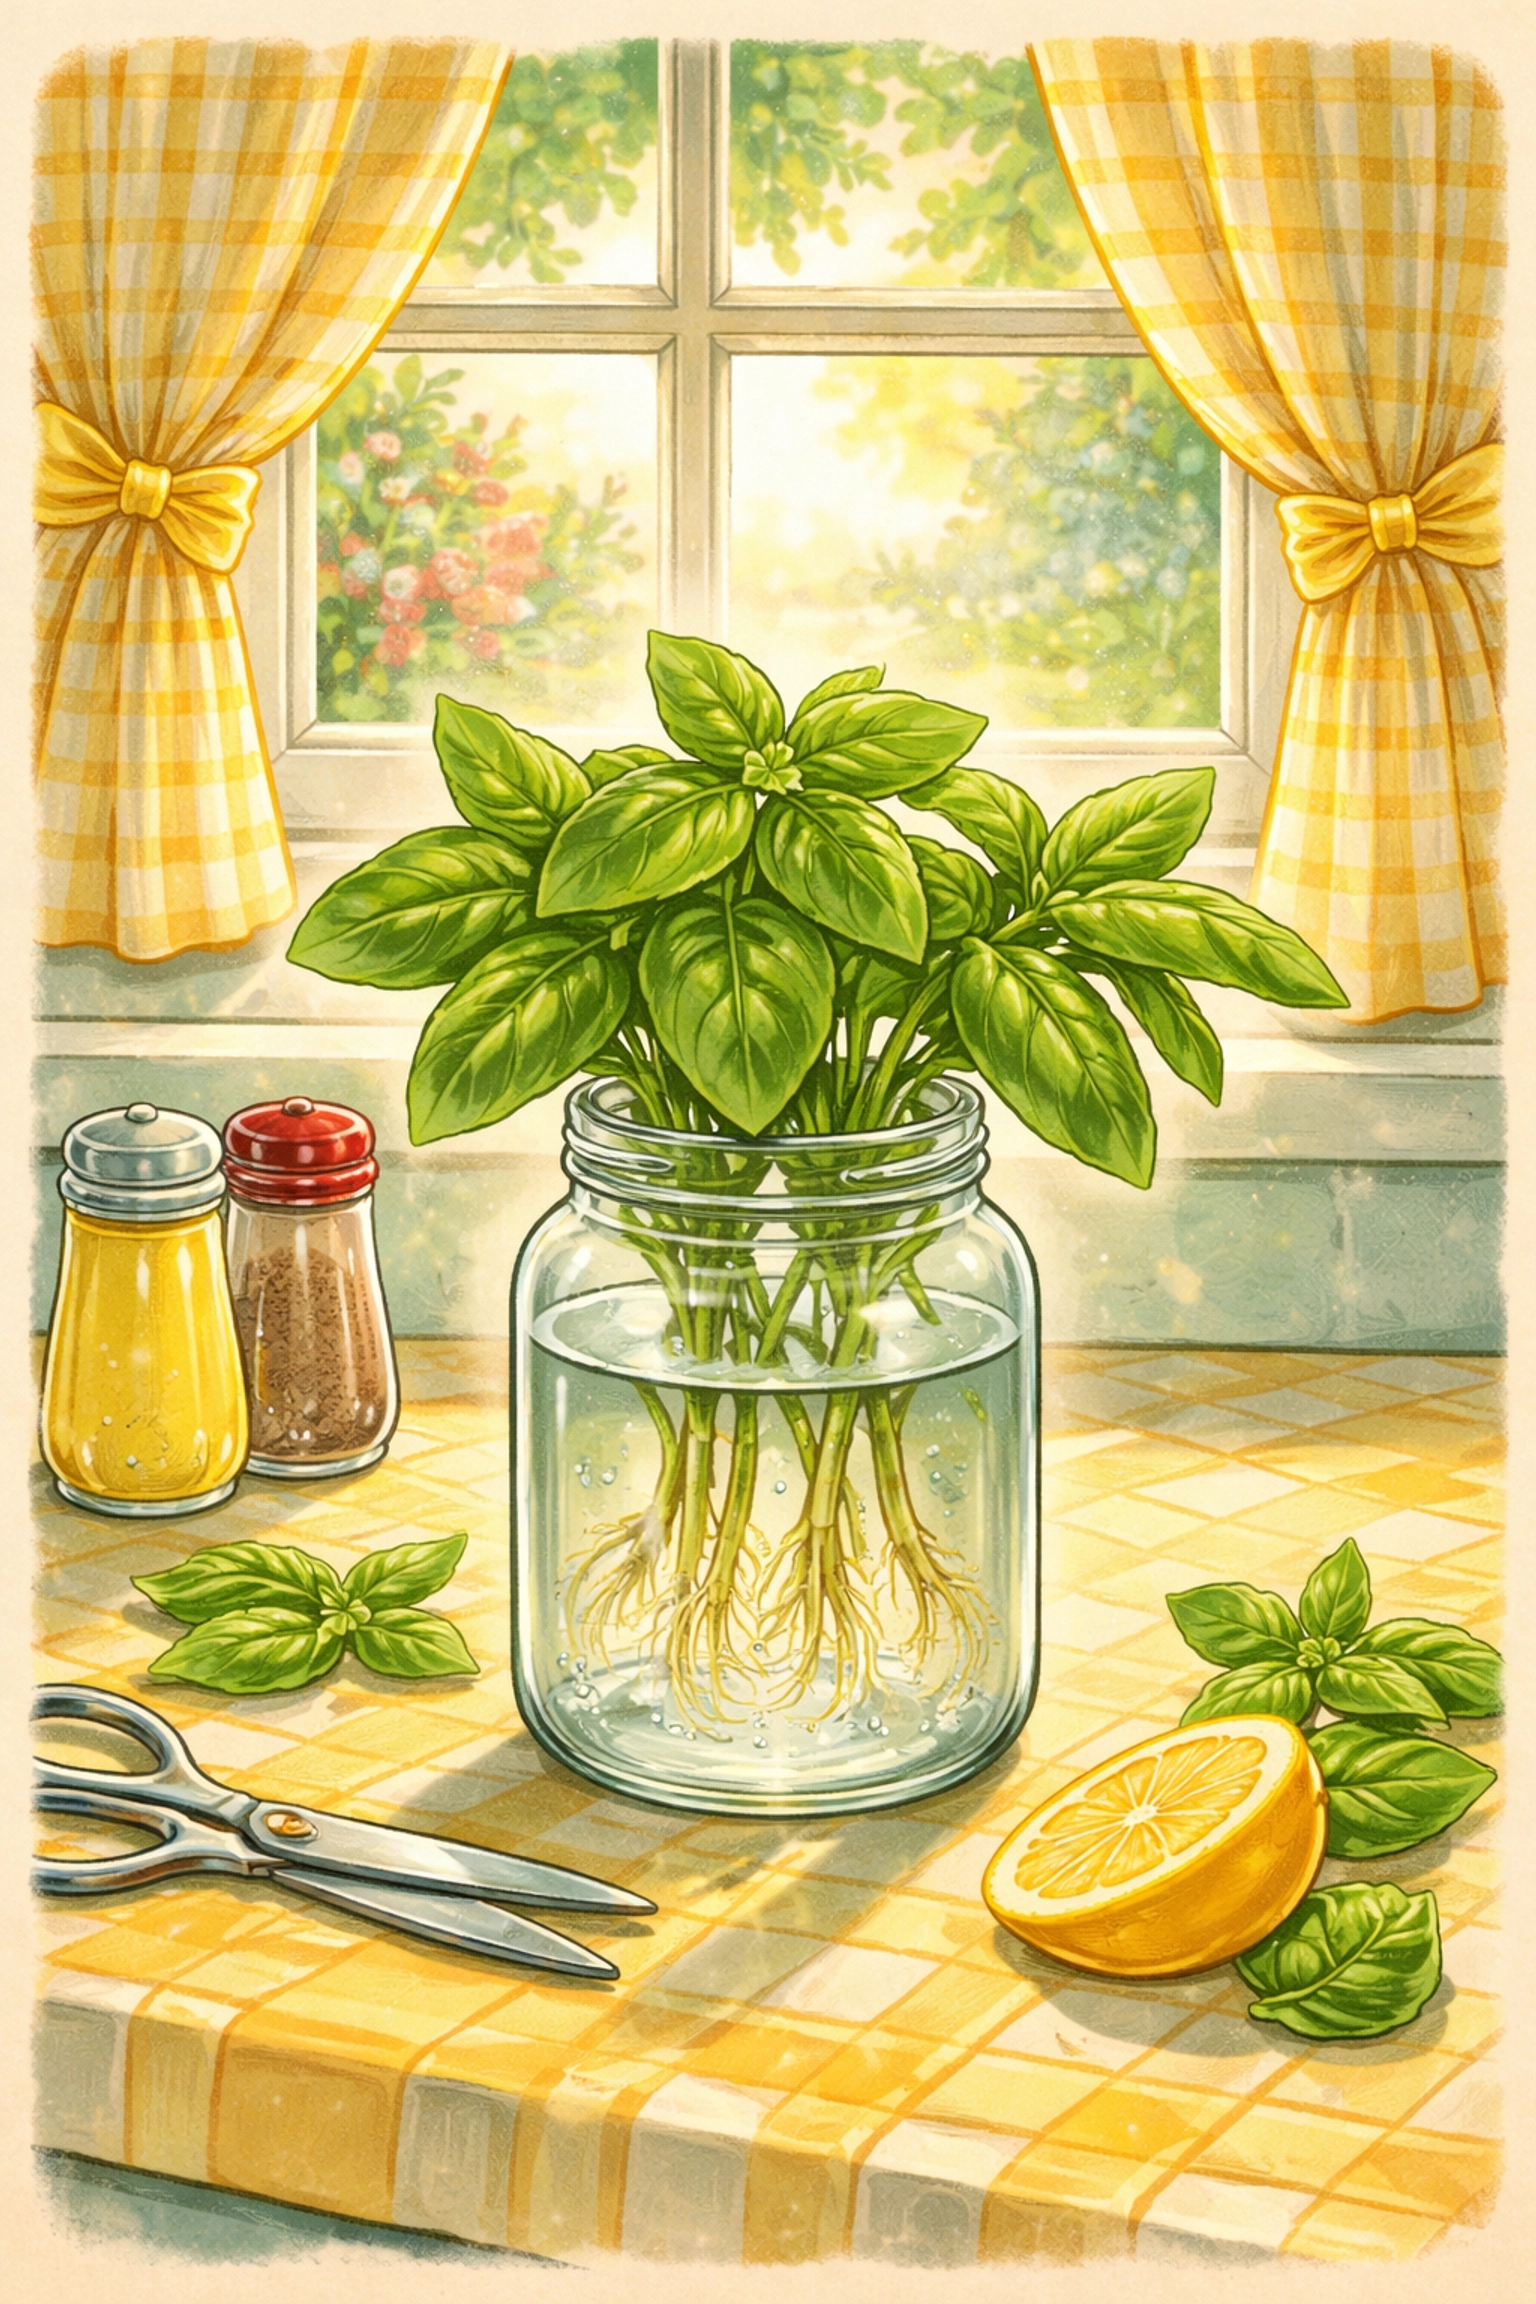
Method 1: The Water-Based Approach (Easiest)
This is the "set it and mostly forget it" method. It's sometimes called passive hydroponics, and it's a fantastic way to grow basil indoors through winter.
What You'll Need
- 1 clean pasta jar (labels removed)
- Fresh basil cuttings (4–6 inches long)
- Water (room temperature)
- A sunny windowsill
Step-by-Step Instructions
Step 1: Clean your jar thoroughly.
Wash the pasta jar with soap and hot water. Rinse it well to remove any soap residue. This helps prevent mold or bacteria from bothering your basil later.
Step 2: Prepare your water.
If you're using tap water that contains chlorine (most municipal water does), fill the jar and let it sit uncovered for 24 hours. This allows the chlorine to dissipate, which basil tends to appreciate.
Step 3: Take your cuttings.
From a grocery store basil plant or an existing basil plant, snip 4–6 inch stems just below a leaf node (that little bump where leaves emerge). Remove the bottom leaves, leaving just 2–3 sets of leaves at the top.
Step 4: Place cuttings in water.
Add about 1–2 inches of water to your jar and place your cuttings inside. The stems should be submerged, but keep the remaining leaves above the waterline.
Step 5: Find a sunny spot.
Set your jar on a windowsill that gets at least 6 hours of sunlight daily. South-facing windows are often ideal.
Step 6: Refresh the water regularly.
Change the water every 3–5 days to keep it fresh and oxygenated. You should see roots forming within 1–2 weeks.
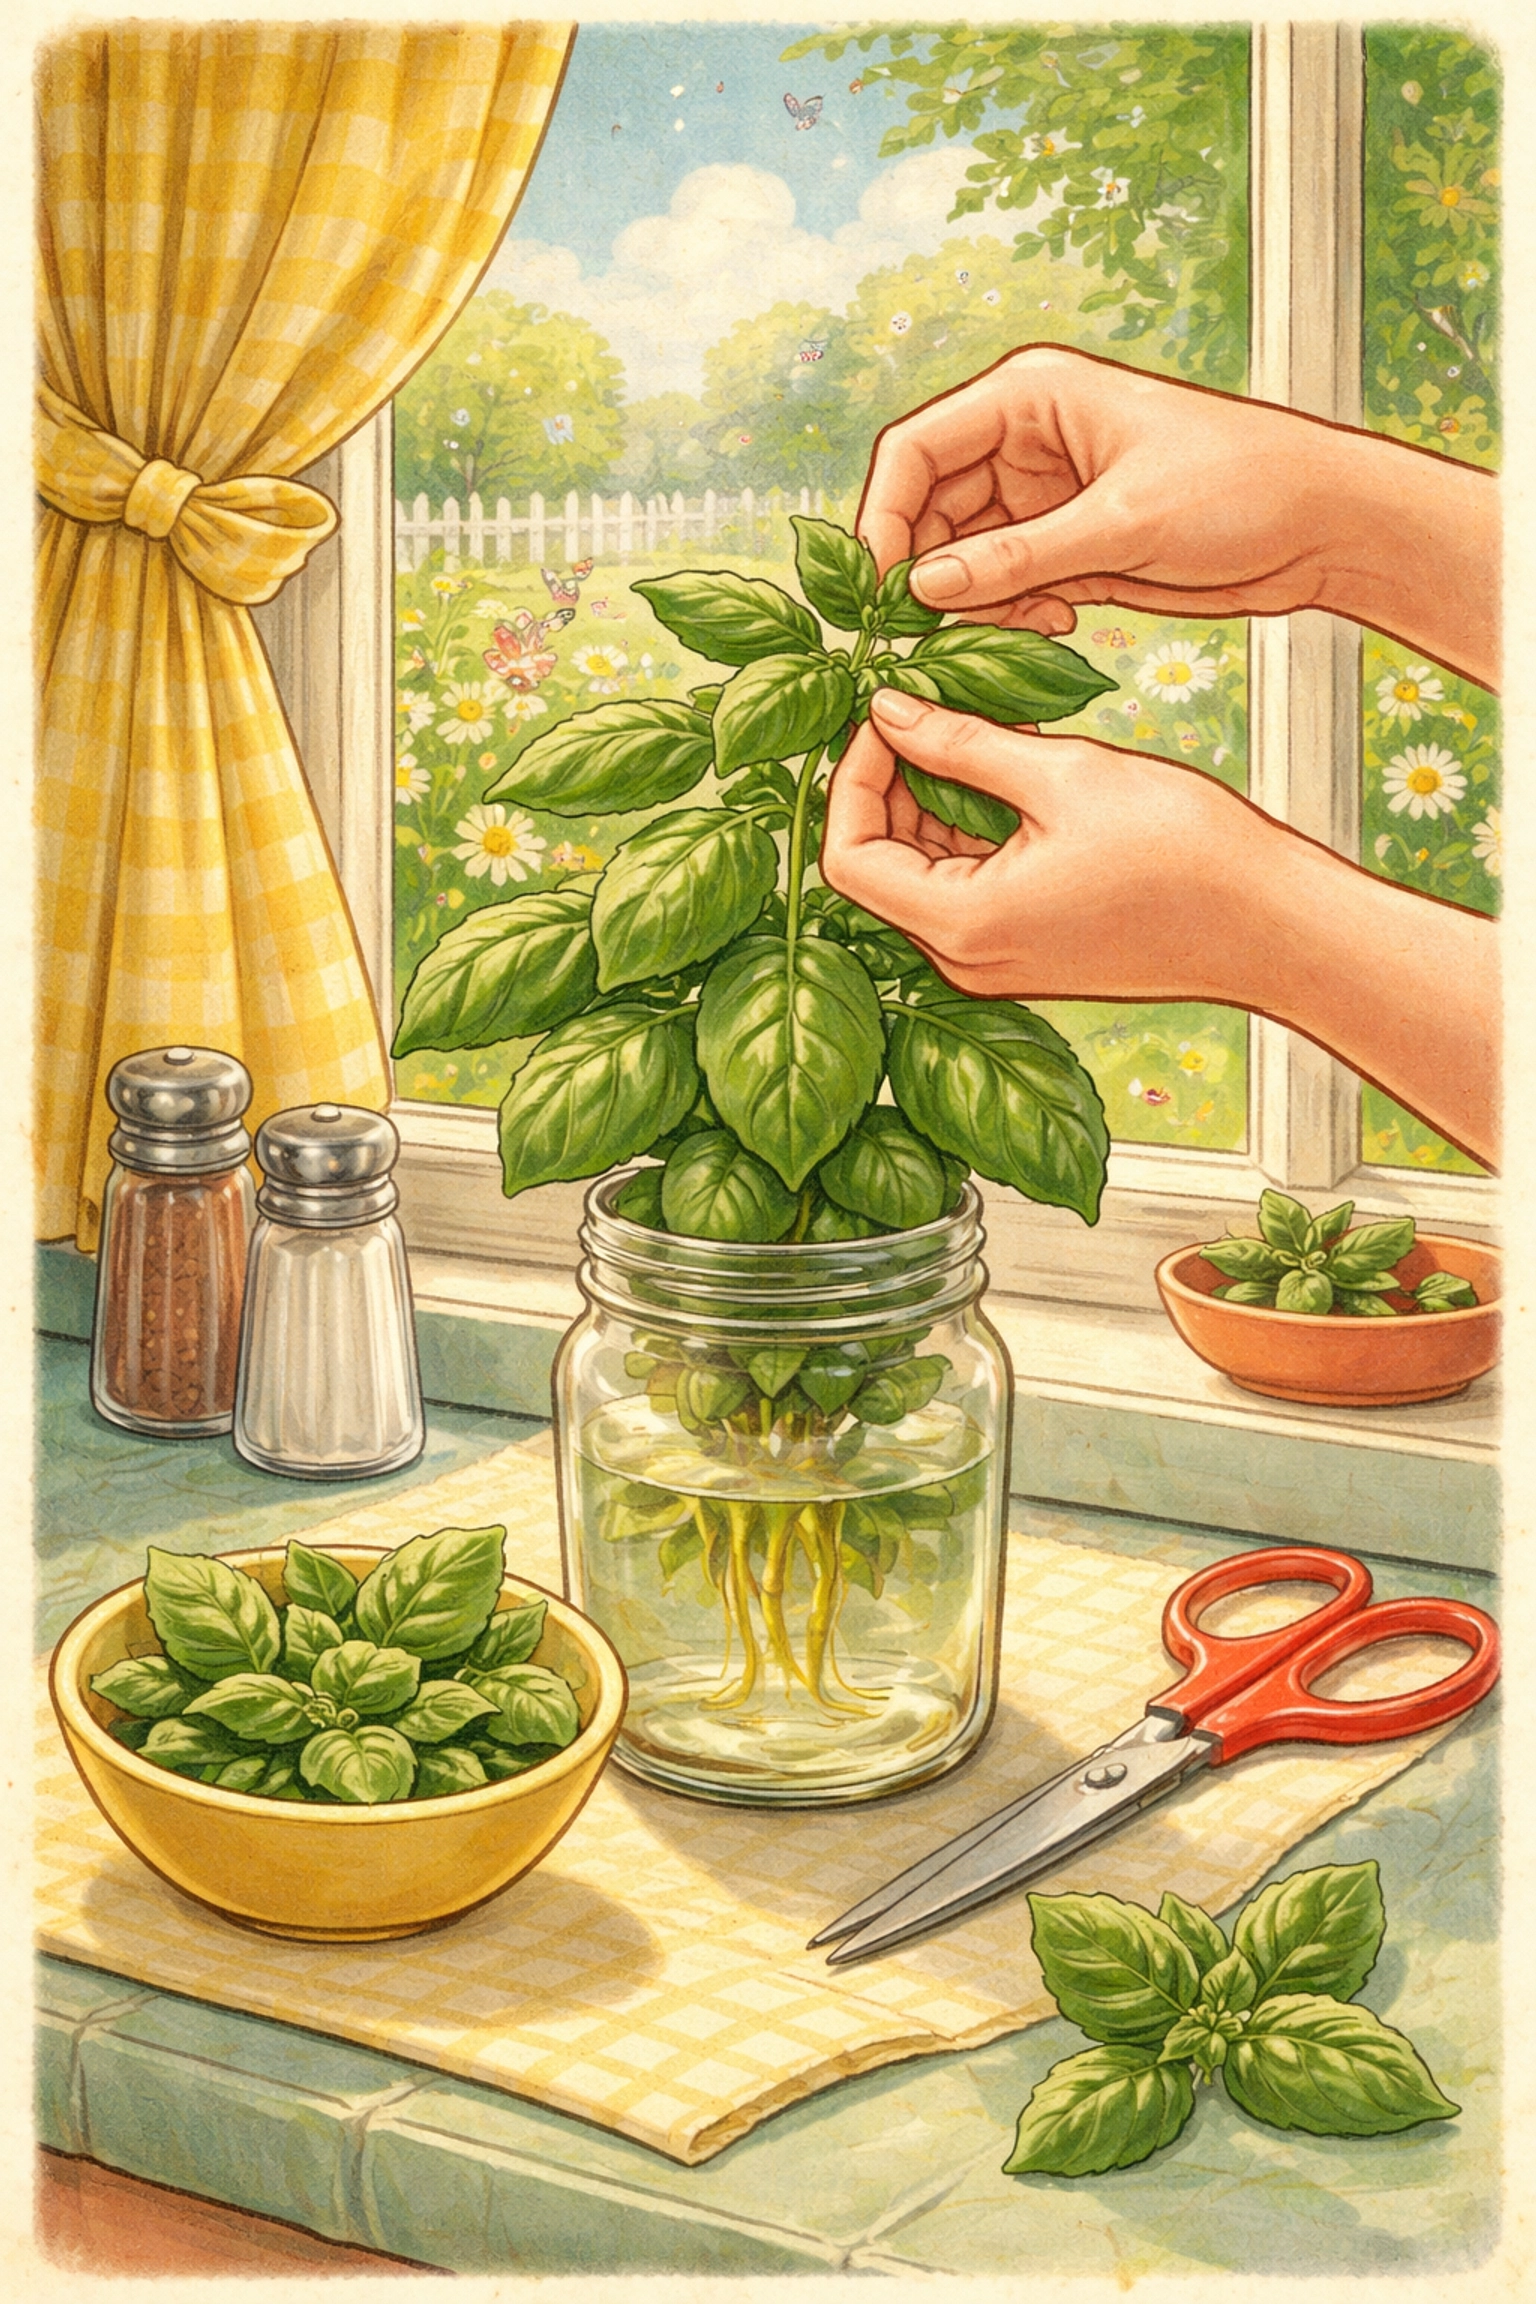
Step 7: Harvest and enjoy!
Once roots are a few inches long, your basil is established. Harvest by pinching off stem tips rather than individual leaves, this encourages bushier growth.
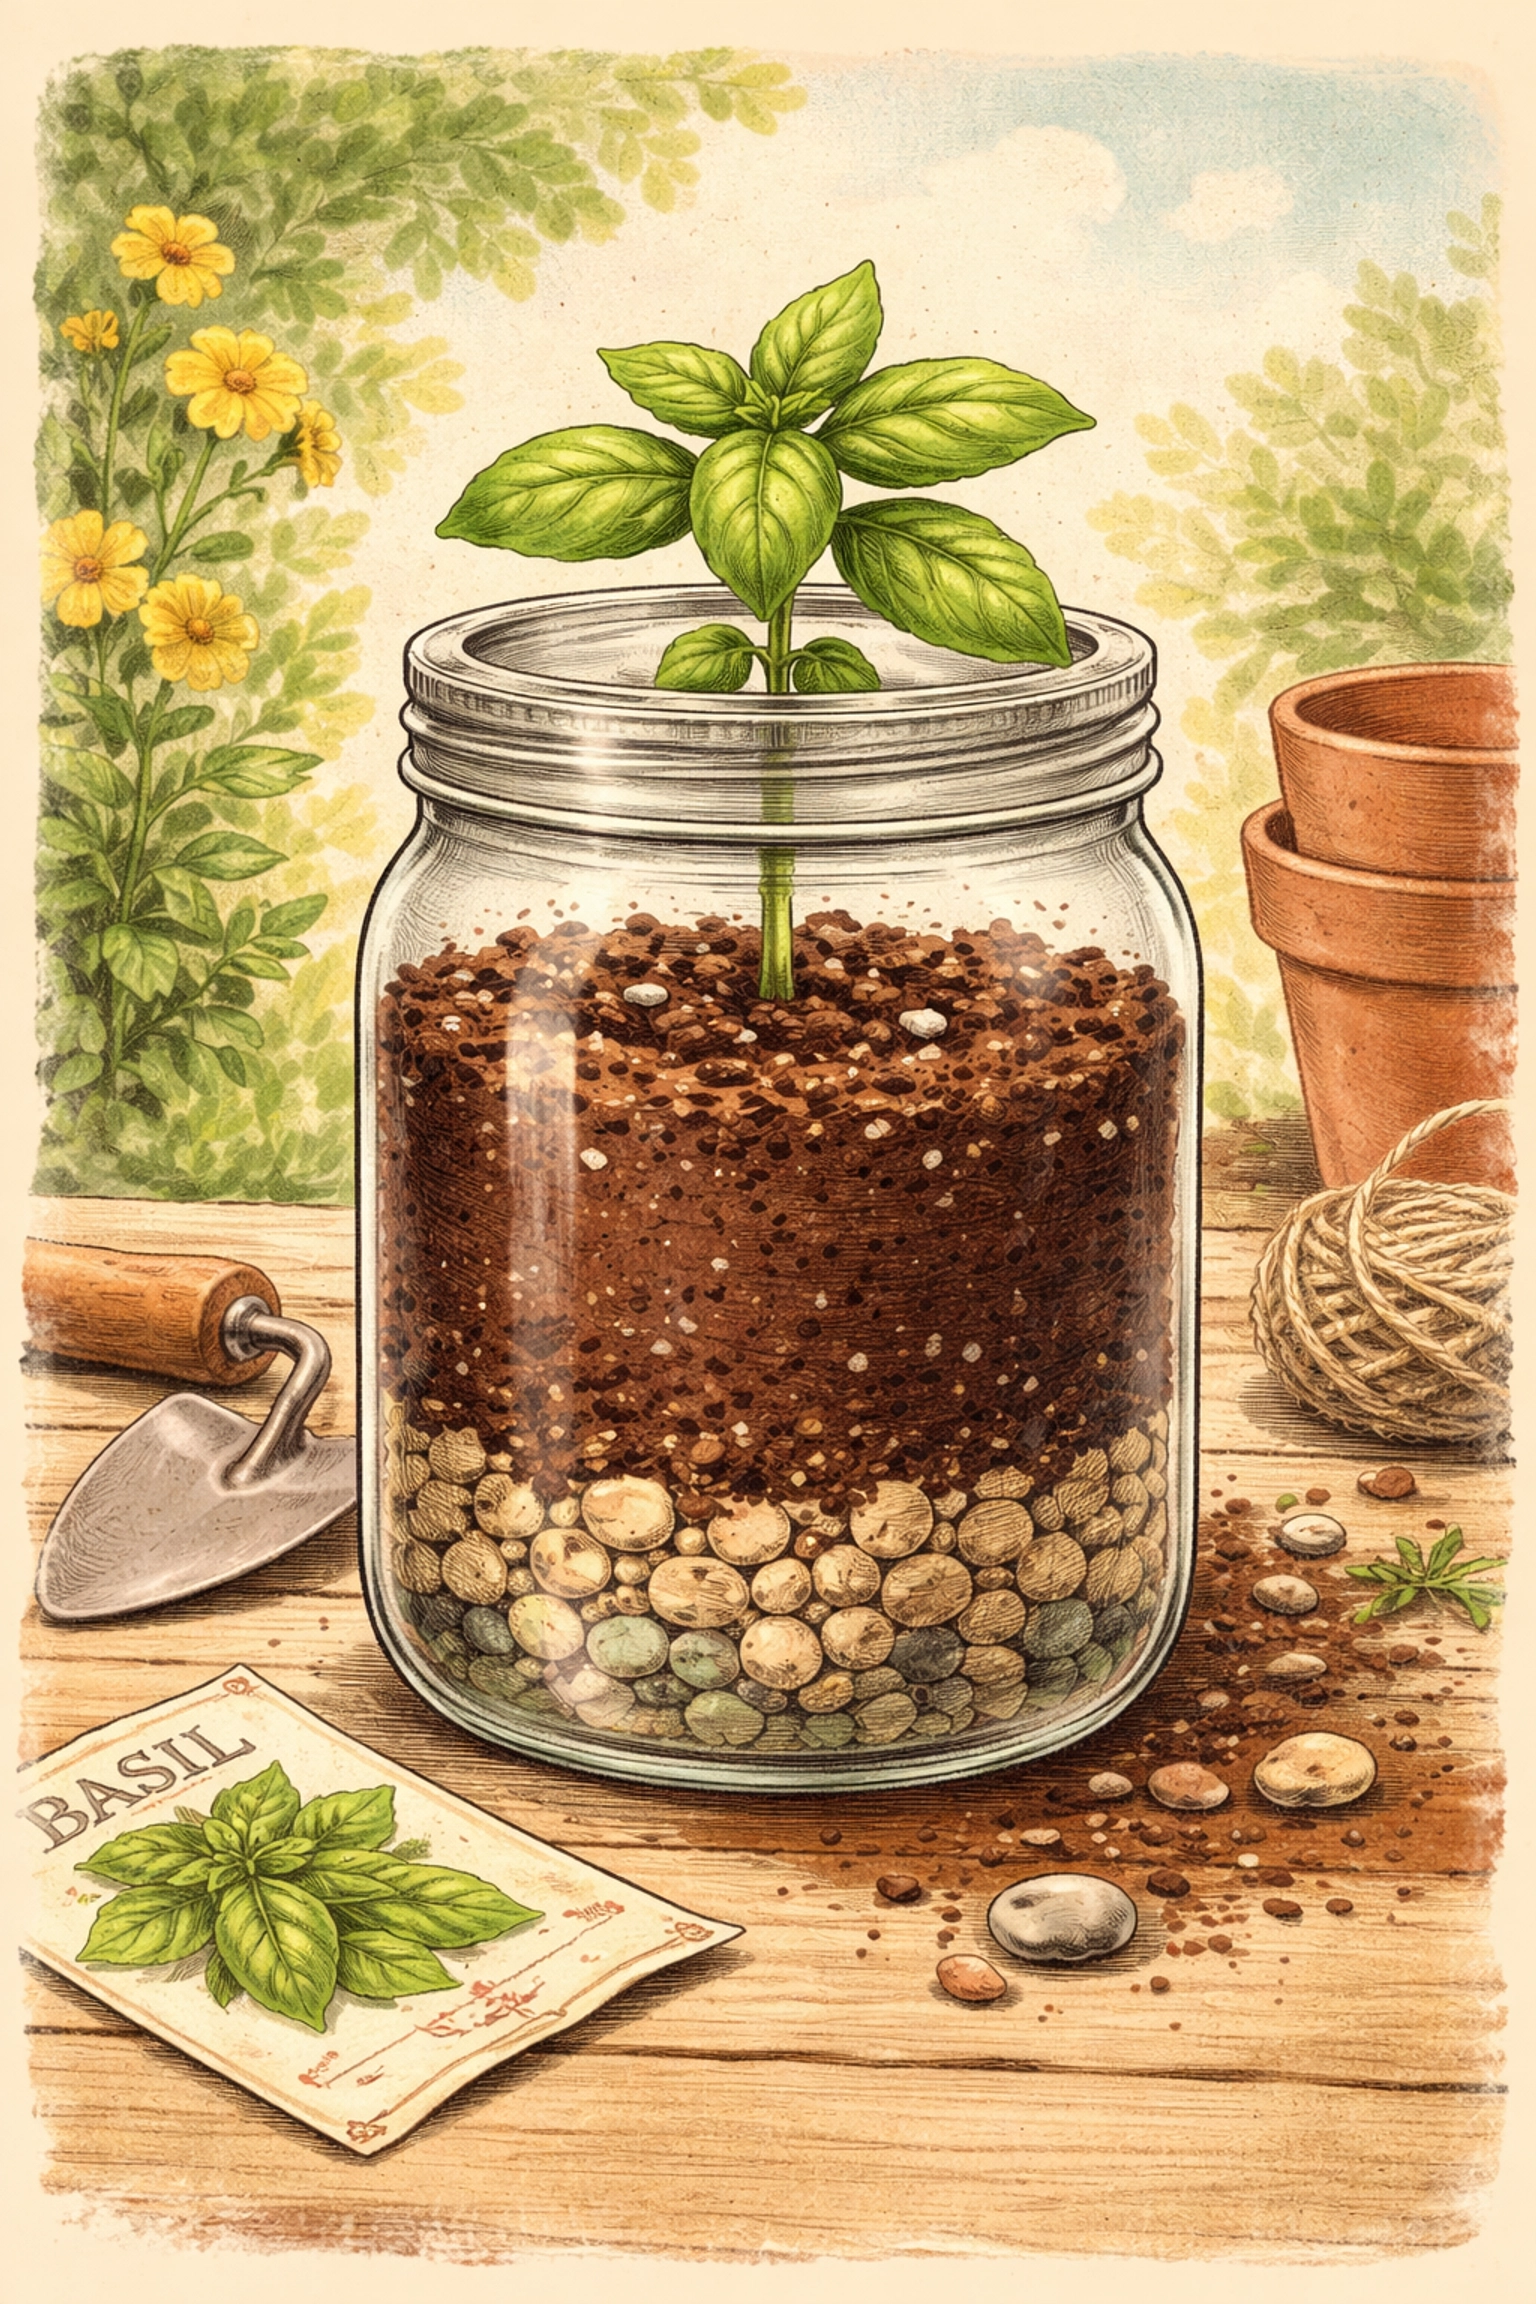
Method 2: The Soil-Based Approach (Longer-Lasting)
If you want a basil plant that may live for months and produce more abundantly, soil is the way to go. The catch? You'll need to add drainage holes to your jar.
What You'll Need
- 1 clean pasta jar
- Drill with a glass/tile bit OR a hammer and nail (for careful cracking)
- Small pebbles or gravel
- Well-draining potting soil
- Basil seeds or a small seedling
- Water
Step-by-Step Instructions
Step 1: Create drainage holes.
This is the trickiest part. Using a drill with a diamond or carbide glass bit, carefully drill 3–4 small holes in the bottom of the jar. Work slowly and keep the glass wet to prevent cracking. No drill? Some crafty folks carefully tap small holes using a nail and hammer, though this takes patience and carries more risk of cracking.
Step 2: Add a drainage layer.
Place about an inch of small pebbles or gravel at the bottom of the jar. This helps excess water drain away from the roots.
Step 3: Fill with potting soil.
Add well-draining potting soil, leaving about an inch of space at the top. Lightly moisten the soil before planting.
Step 4: Plant your basil.
If using seeds, sprinkle 3–4 seeds on the surface and cover with a thin layer of soil (about ¼ inch). If transplanting a seedling, create a small hole, place the seedling inside, and gently firm the soil around it.
Step 5: Water gently.
Water until you see a little moisture come through the drainage holes. Then let the soil dry out slightly between waterings, basil doesn't love soggy roots.
Step 6: Provide plenty of light.
Just like the water method, aim for at least 6 hours of sunlight daily. If your windowsill is dim, a small grow light can help.
Step 7: Harvest regularly.
Once your plant has several sets of leaves, start harvesting from the top. Pinch stems back to just above a leaf pair, and you'll encourage the plant to branch out and become bushier.
Quick Care Tips for Happy Jar Basil
- Temperature matters. Basil loves warmth (65–80°F is ideal) and doesn't appreciate cold drafts. Keep it away from chilly windows in winter.
- Don't let it flower. If you see flower buds forming, pinch them off. Once basil flowers, the leaves often become bitter and the plant focuses energy on seeds rather than tasty leaves.
- Rotate your jar. Give it a quarter turn every few days so all sides get equal light and the plant grows evenly.
- Watch for pests. Aphids occasionally find indoor basil. A gentle spray of water usually knocks them off.
If you're interested in other budget-friendly growing projects, you might enjoy our guide on how to make a DIY kitchen scrap regrow garden for under $10 with your kids.
Frequently Asked Questions
Can I use any type of pasta jar?
Most glass pasta jars work well. Just make sure they're clean and free of cracks. Jars with wider mouths are easier to work with.
How long does basil live in a pasta jar?
In water, basil cuttings can often last several months with proper care. In soil, a well-maintained basil plant may live 6–12 months or longer indoors.
Do I need special fertilizer?
For the water method, you can add a drop or two of liquid fertilizer every few weeks. For soil, a light feeding once a month during the growing season is usually sufficient.
Can I grow basil from grocery store basil?
Yes! This is one of the best sources for cuttings. Look for the freshest basil with firm stems, and take cuttings as soon as you get home.
Why is my basil turning yellow?
Yellow leaves often indicate overwatering, poor drainage, or insufficient light. Check your watering schedule and make sure your plant gets enough sun.
Can kids help with this project?
This is a great family activity. Kids can help clean jars, take cuttings, add soil, and water. Supervise any steps involving drills or sharp tools.
Is it okay to use colored glass jars?
Clear glass is best because it lets you monitor water levels and root growth. Colored glass may work but makes observation harder.
How often should I harvest?
Once established, you can harvest a few leaves or stems every week or two. Regular harvesting actually helps the plant stay healthy and productive.
Can I move my water-rooted basil to soil later?
You can transplant water-rooted basil into soil once the roots are 2–3 inches long. The transition can be a bit stressful for the plant, so keep the soil consistently moist for the first week or two.
References
- Container herb gardening methods and drainage requirements
- Hydroponic basil growing in glass containers
- Indoor herb care and harvesting techniques
- Water-based propagation for kitchen herbs
Happy growing! 🌿


