


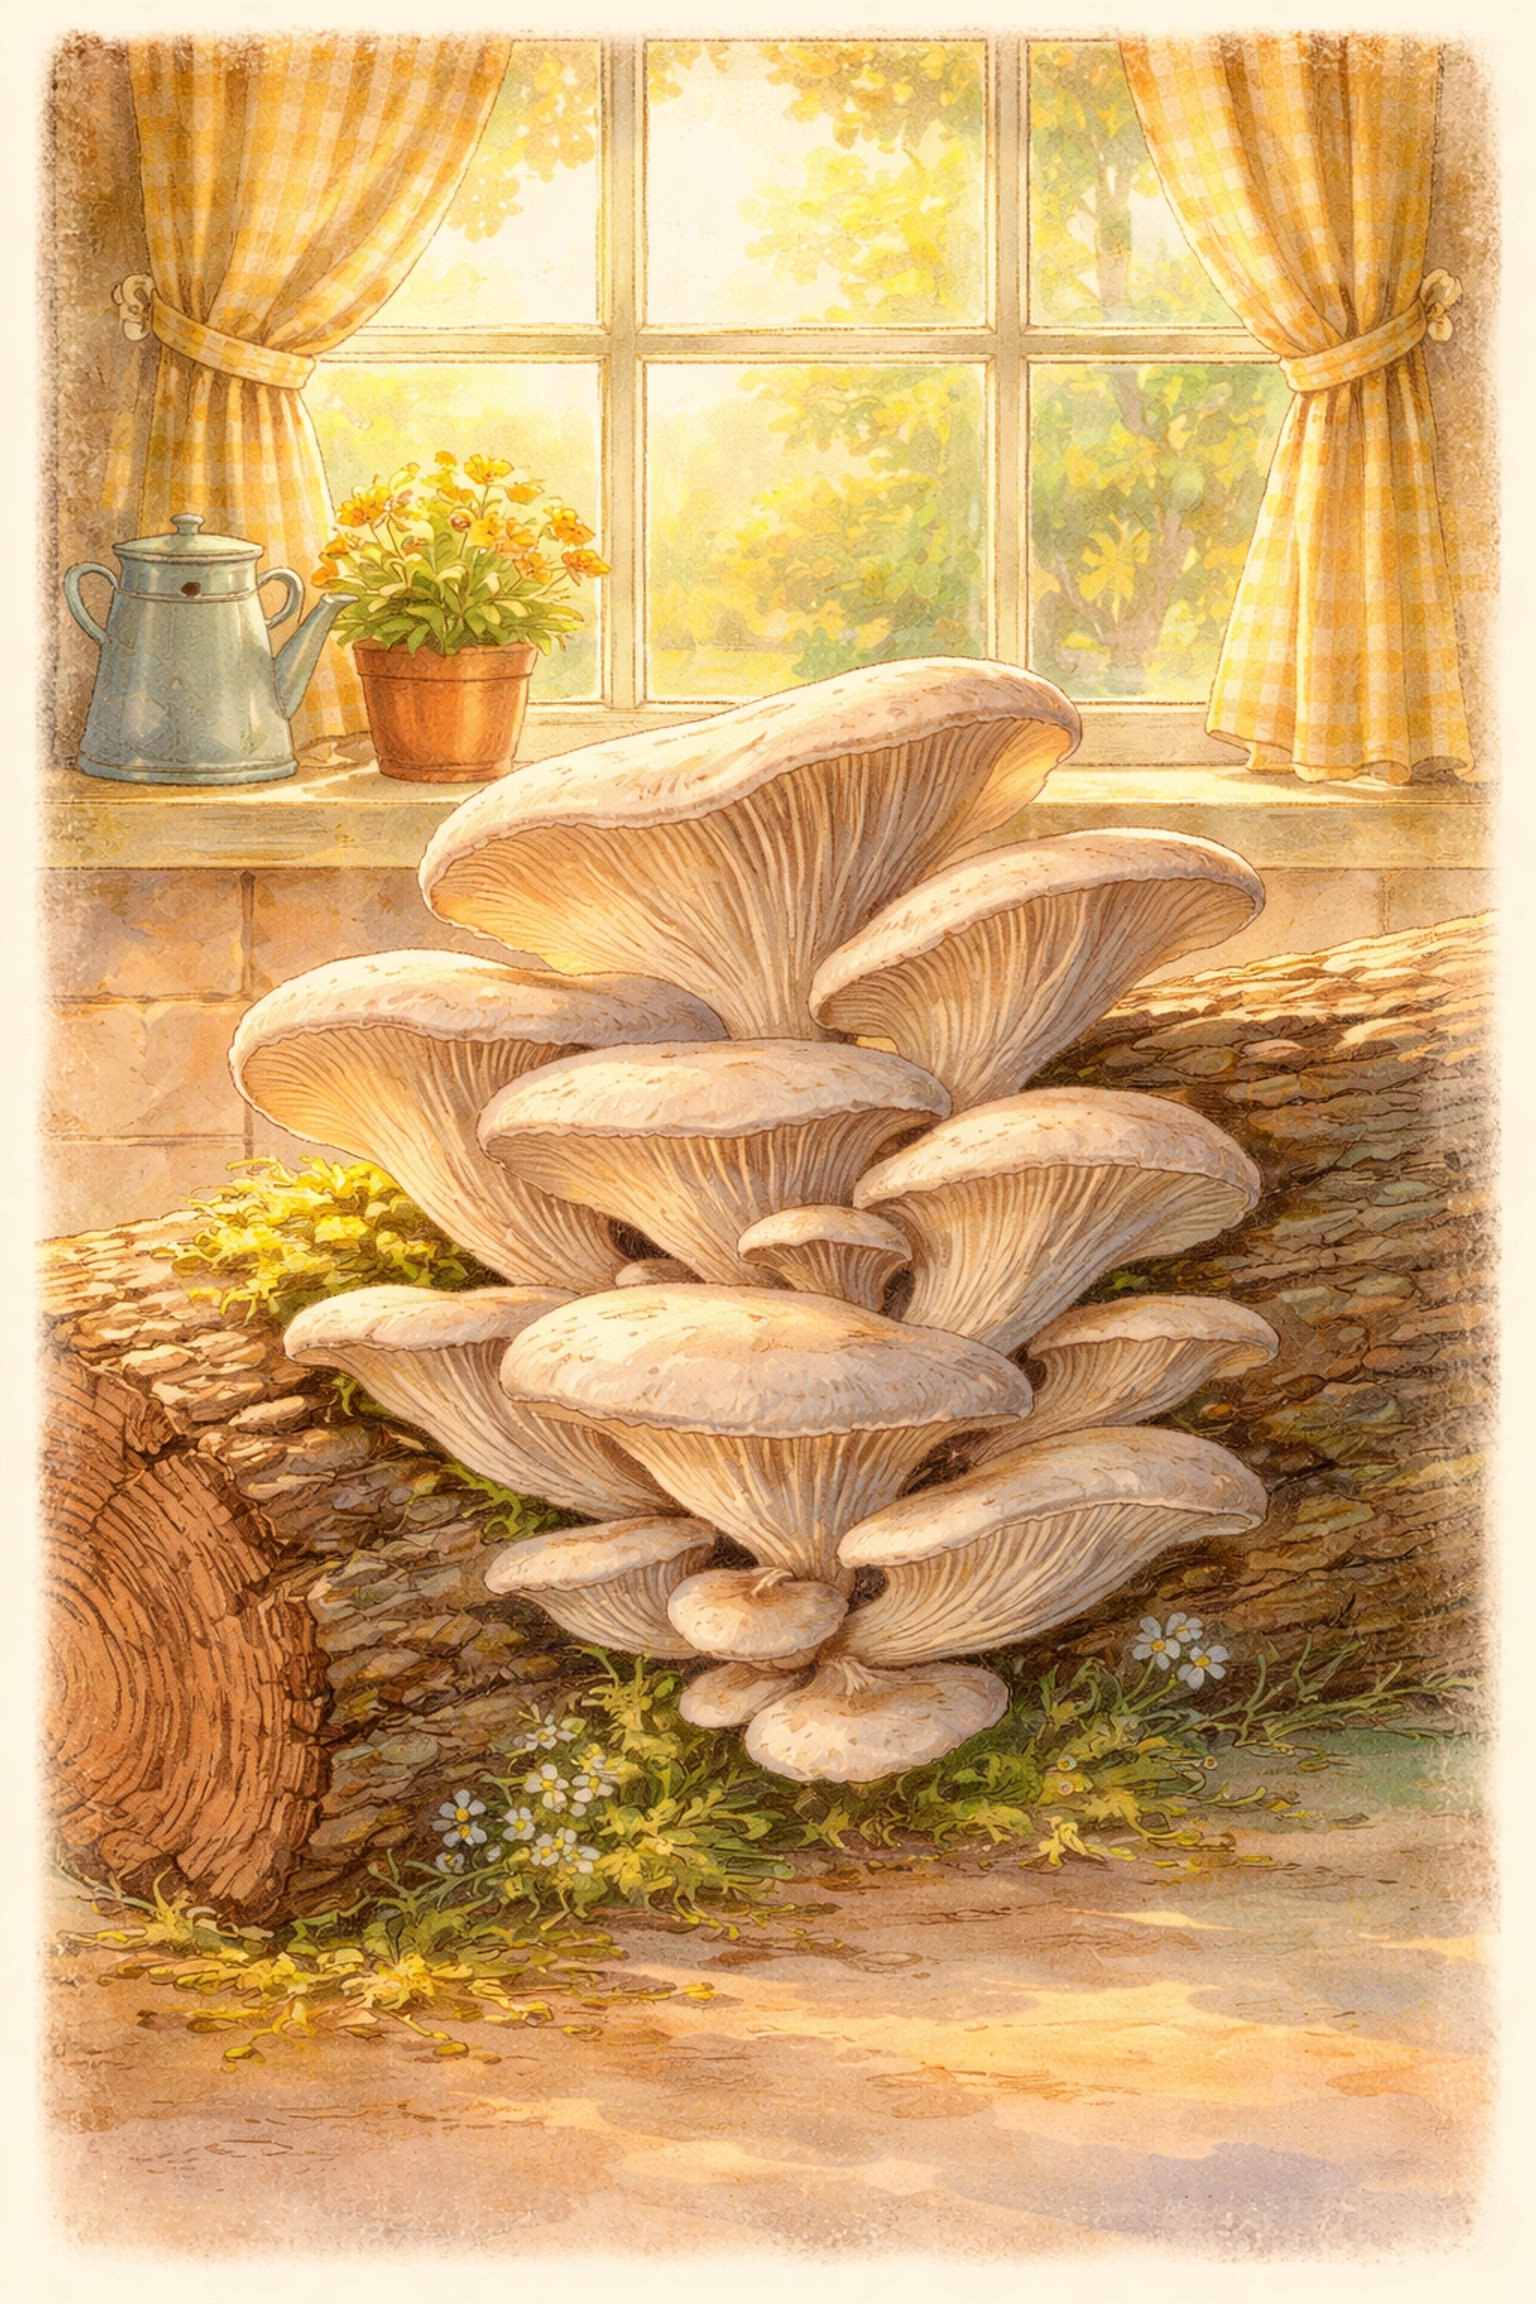
Yes, you can absolutely grow mushrooms vertically indoors using a simple 5-gallon bucket method called “Bucket Tek.” This beginner-friendly technique lets families harvest fresh oyster mushrooms in as little as 4-6 weeks, using inexpensive materials and minimal space. The bucket acts as a vertical growing tower, mushrooms fruit out of holes drilled around the sides, stacking your harvest potential without taking over your kitchen.
Vertical mushroom farming can yield several times more per square foot more mushrooms than traditional flat-bed methods while using significantly less water. It’s a perfect indoor science project that teaches kids about fungi biology, decomposition, and sustainable food production.
Let’s dig into exactly how to set up your own indoor mushroom tower.
Why Oyster Mushrooms Are Perfect for Beginners
Oyster mushrooms (Pleurotus ostreatus) are the ideal species for first-time fungi farmers. They’re aggressive colonizers, meaning they outcompete contamination more easily than finicky varieties. They tolerate a wider range of temperatures (55-75°F during fruiting) and forgive minor mistakes that would doom other mushroom species.
Plus, oyster mushrooms are delicious, mild, slightly savory, with a tender texture that works in stir-fries, soups, pasta, and even as a meat substitute.
Other beginner-friendly vertical options include king oyster and pink oyster varieties, but standard pearl oyster mushrooms remain the most forgiving for family projects.
What You’ll Need: The Bucket Tek Supply List
The “Bucket Tek” method uses a food-grade 5-gallon bucket as your vertical growing chamber. Here’s your complete materials list:
Essential Supplies:
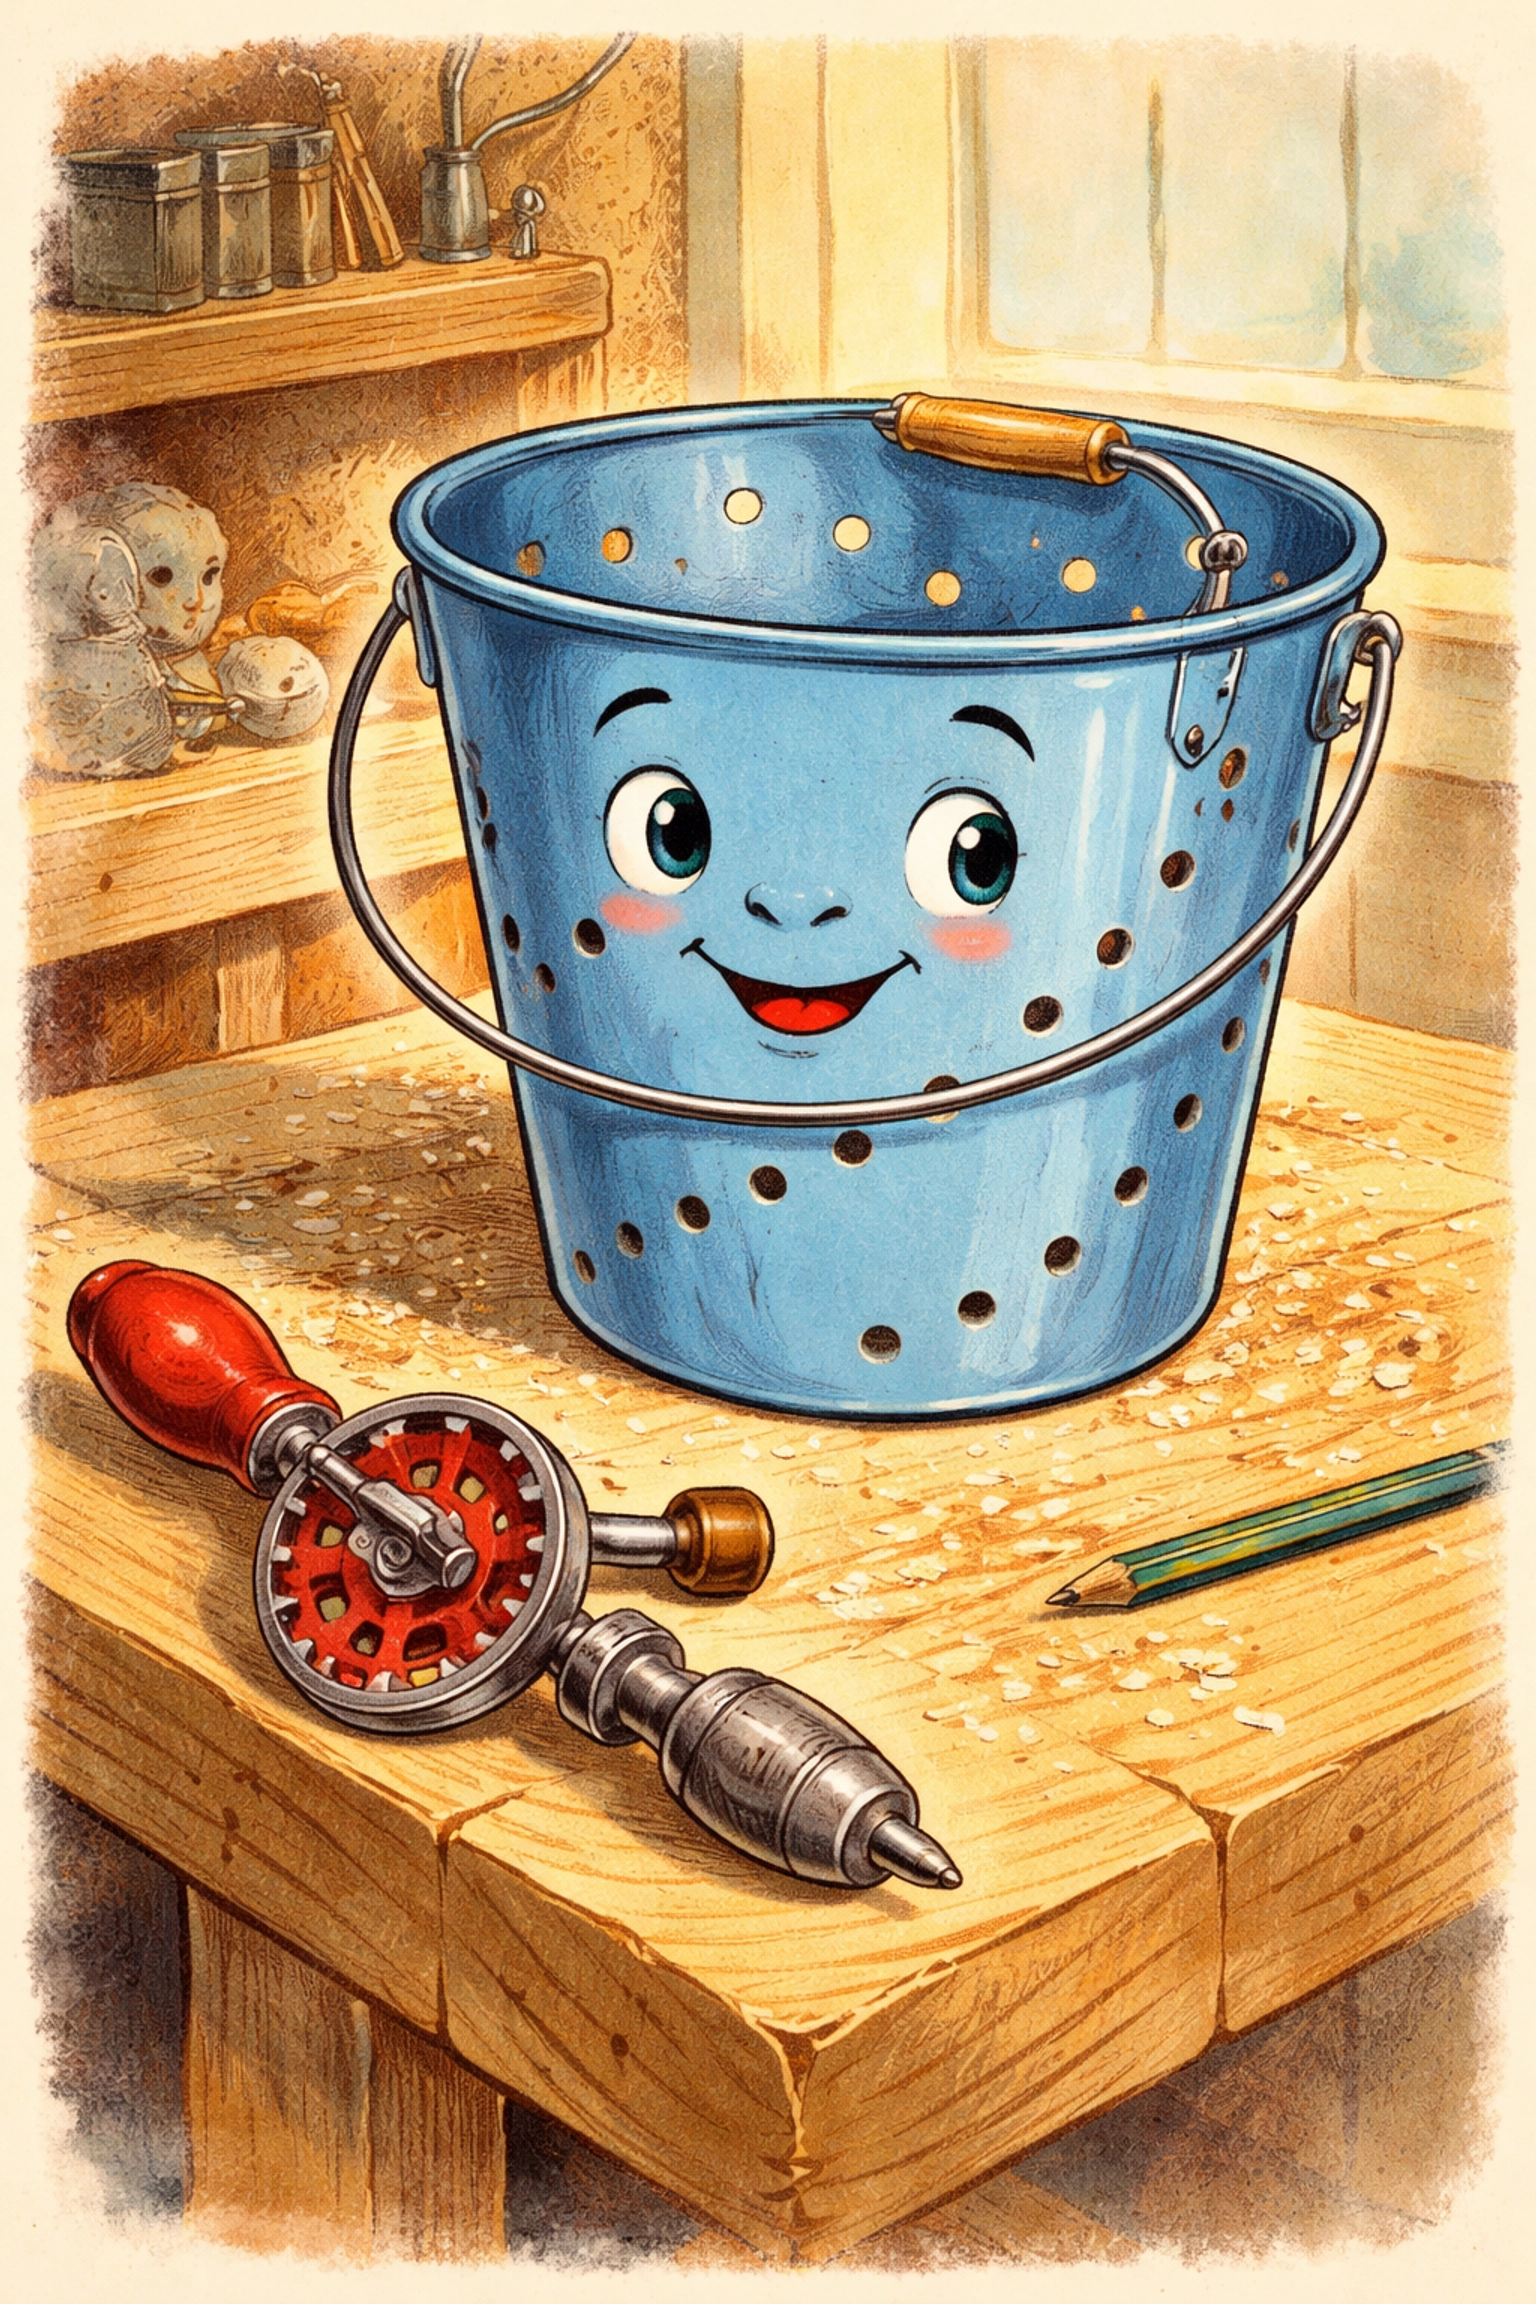
- 1 food-grade 5-gallon bucket with lid
- Drill with 1/2-inch drill bit
- 5-10 lbs chopped straw OR hardwood fuel pellets (oak, maple, or beech, never softwoods like pine or cedar)
- 2-3 lbs oyster mushroom grain spawn (purchased from a reputable supplier)
- Large pot or cooler for pasteurization
- Thermometer
- Spray bottle or humidifier
- Clear plastic bag (optional, for humidity tent)
Important note on spawn: Purchase grain spawn from established mushroom suppliers. Grain spawn consists of sterilized grain (usually rye or millet) fully colonized by mushroom mycelium. This is different from “spores”, spawn gives you a massive head start and much higher success rates.
Step 1: Prepare Your Bucket
Drill 1/2-inch holes around your bucket in a pattern. Space holes approximately 4-6 inches apart, creating 4-5 horizontal rings of holes from bottom to top. You’ll end up with roughly 20-30 holes total.
These holes serve two purposes: they provide fresh air exchange during colonization and become the exit points where mushroom clusters will fruit.
Clean your bucket thoroughly with hot soapy water and let it dry completely. Some growers wipe the inside with isopropyl alcohol for extra insurance against contamination.
Step 2: Pasteurize Your Substrate
Your substrate is the food source for mushroom mycelium. Straw and hardwood sawdust are the two most reliable options for oyster mushrooms.
For straw:
- Chop or shred straw into 1-4 inch pieces (a weed trimmer in a garbage can works great)
- Submerge in water heated to 160-180°F (71-82°C)
- Maintain this temperature for 60-90 minutes
- Drain and cool until the straw reaches room temperature
For hardwood fuel pellets:
- Pour pellets into a clean container
- Add boiling water at a 1:1 ratio by weight
- Cover and let sit for 30 minutes
- Pellets will expand and break apart into sawdust
- Cool to room temperature before use
Proper pasteurization kills competing molds and bacteria while leaving beneficial microbes that help mushroom mycelium thrive. The substrate should feel damp like a wrung-out sponge, moist but not dripping.
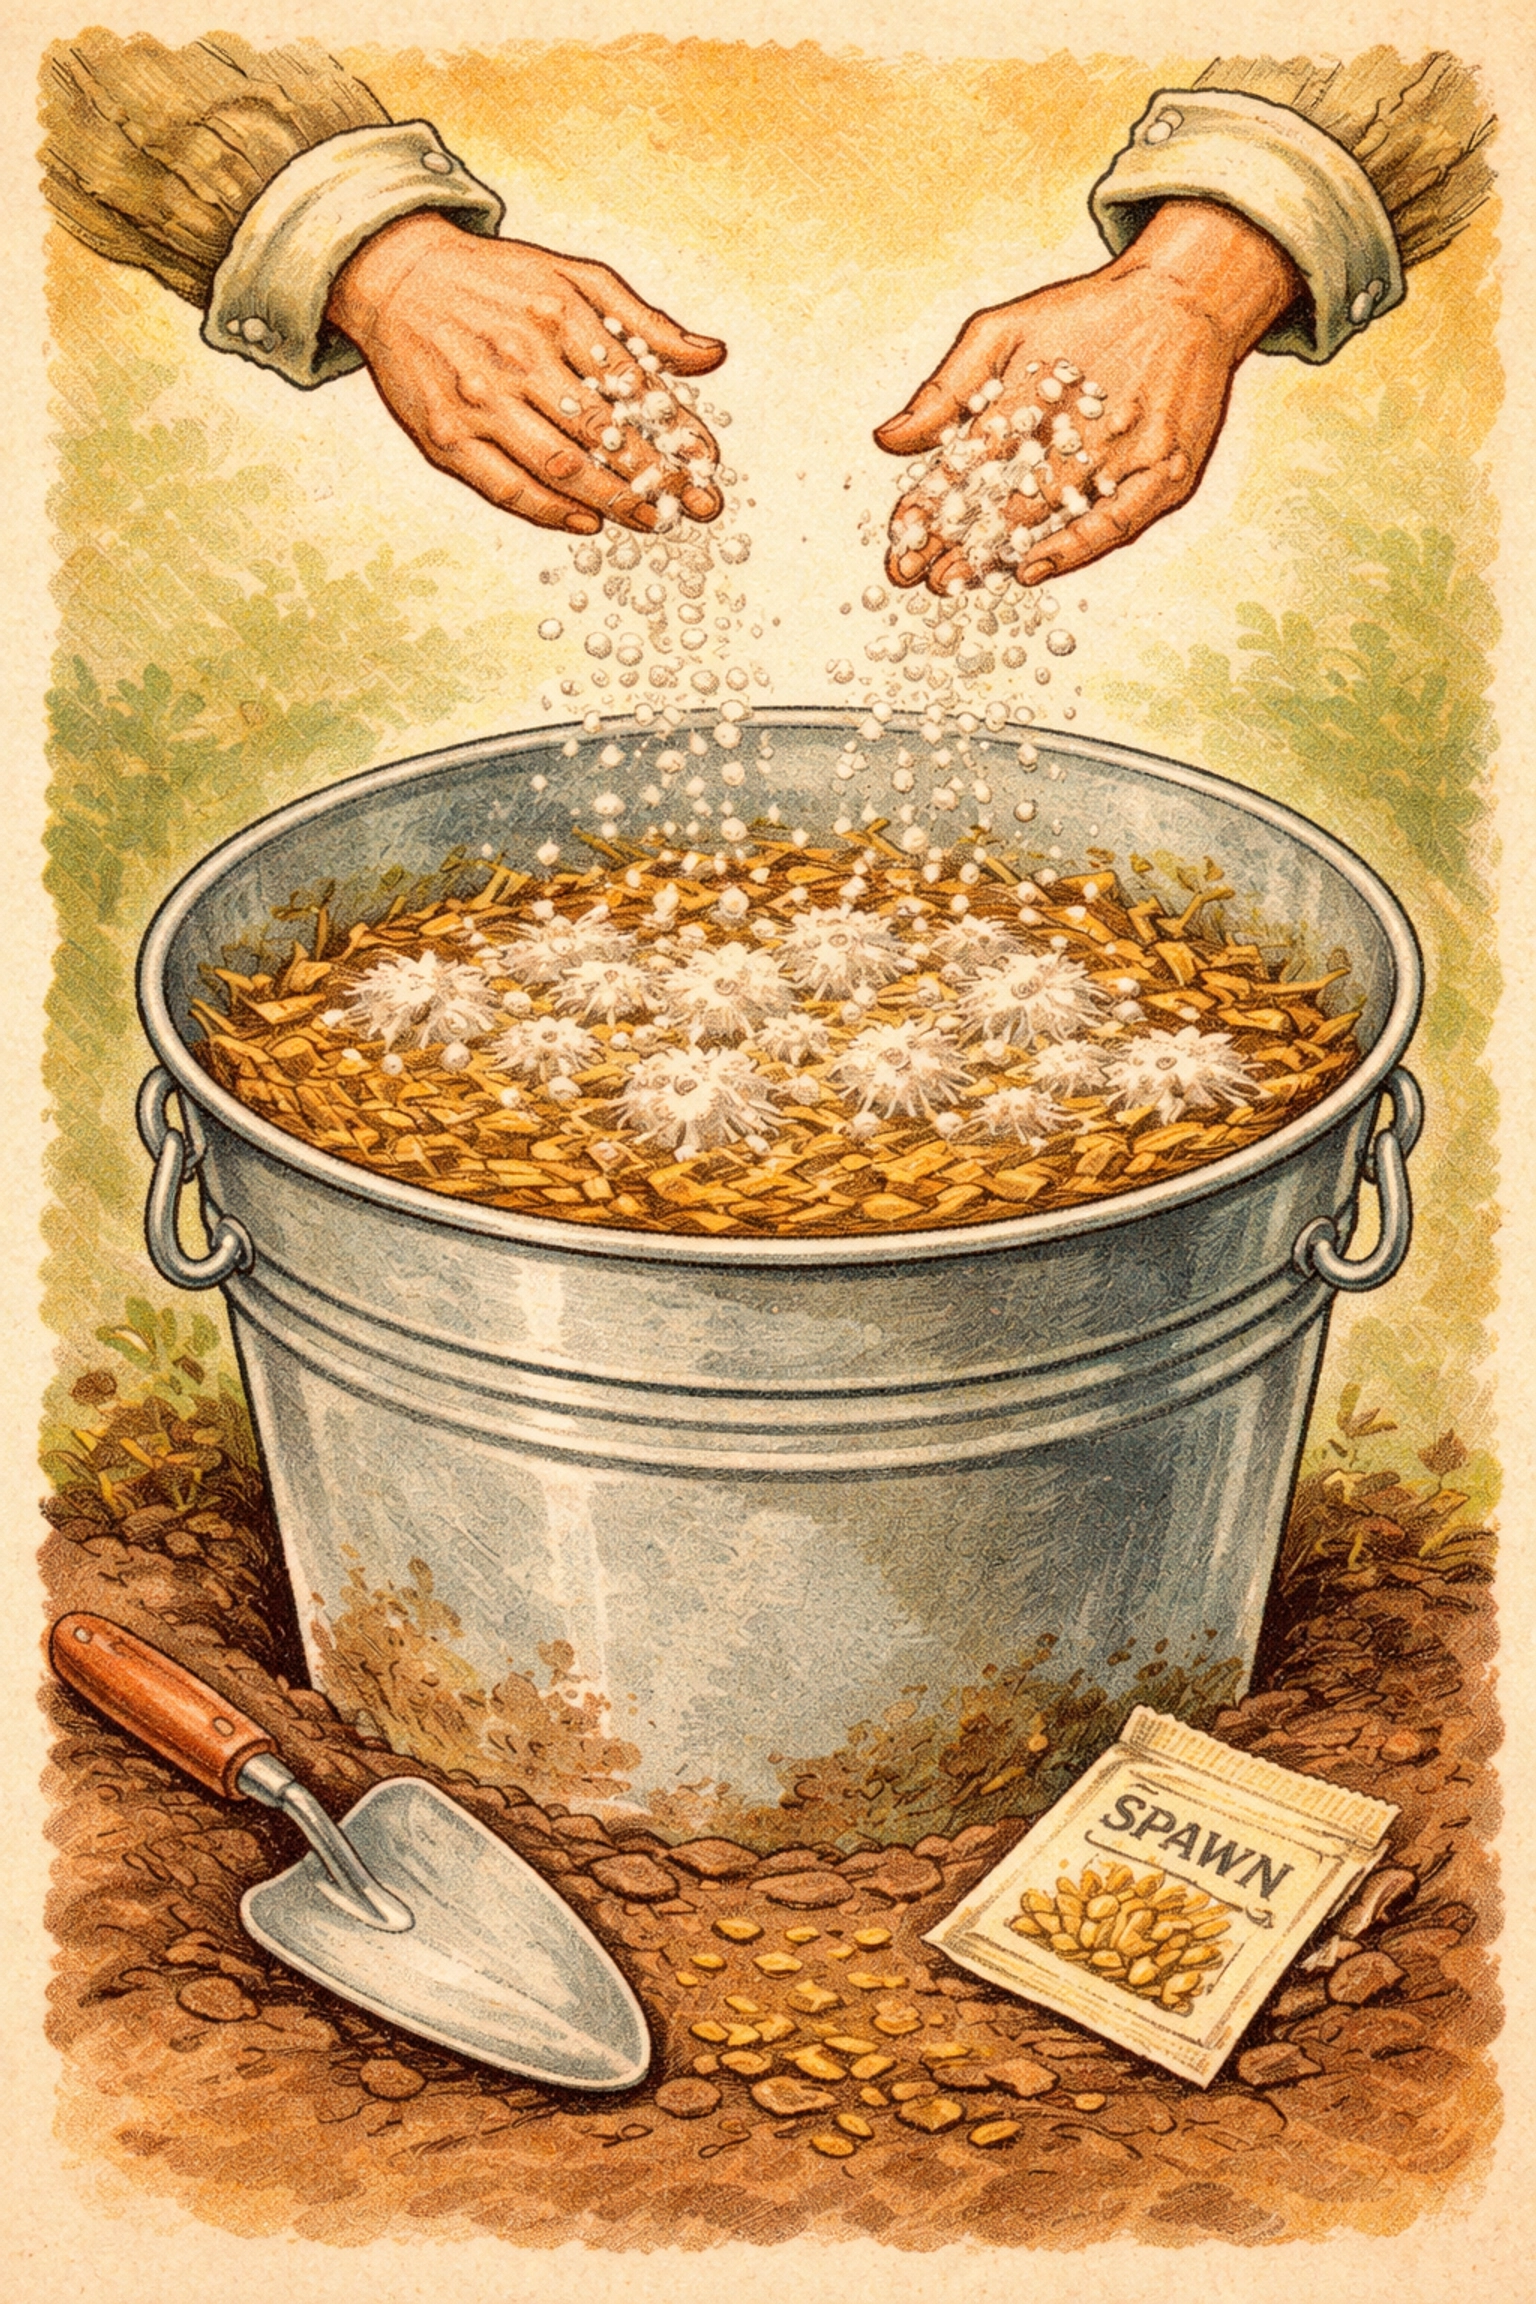
Step 3: Layer Your Bucket
Now comes the fun part that kids love, building the mushroom tower layer by layer.
- Add a 2-3 inch layer of pasteurized substrate to the bottom of your bucket
- Sprinkle a handful of grain spawn across the surface, focusing near the drilled holes
- Break up any clumps of spawn to distribute the mycelium evenly
- Add another 2-3 inch layer of substrate
- Repeat: spawn, substrate, spawn, substrate
- Continue until the bucket is full (typically 5-6 layers)
- End with a substrate layer on top
- Place the lid on loosely (mycelium needs some air exchange)
A good spawn-to-substrate ratio is approximately 10-20% spawn by weight. More spawn means faster colonization and less chance of contamination.
Step 4: The Colonization Phase
Place your bucket in a dark location at room temperature (65-75°F is ideal). A closet, basement corner, or cabinet works perfectly.
During colonization, the white mycelium network will spread throughout the substrate, breaking down the straw or sawdust. You’ll start seeing white fuzzy growth through the holes within 5-10 days.
What to watch for:
- Healthy mycelium is bright white and has a fresh, mushroomy smell
- Green, black, or orange patches indicate contamination, unfortunately, you’ll need to start over
- Complete colonization typically takes 14-21 days
Don’t open the bucket during this phase. Patience is key. The mycelium is working hard, and disturbing it invites contamination.
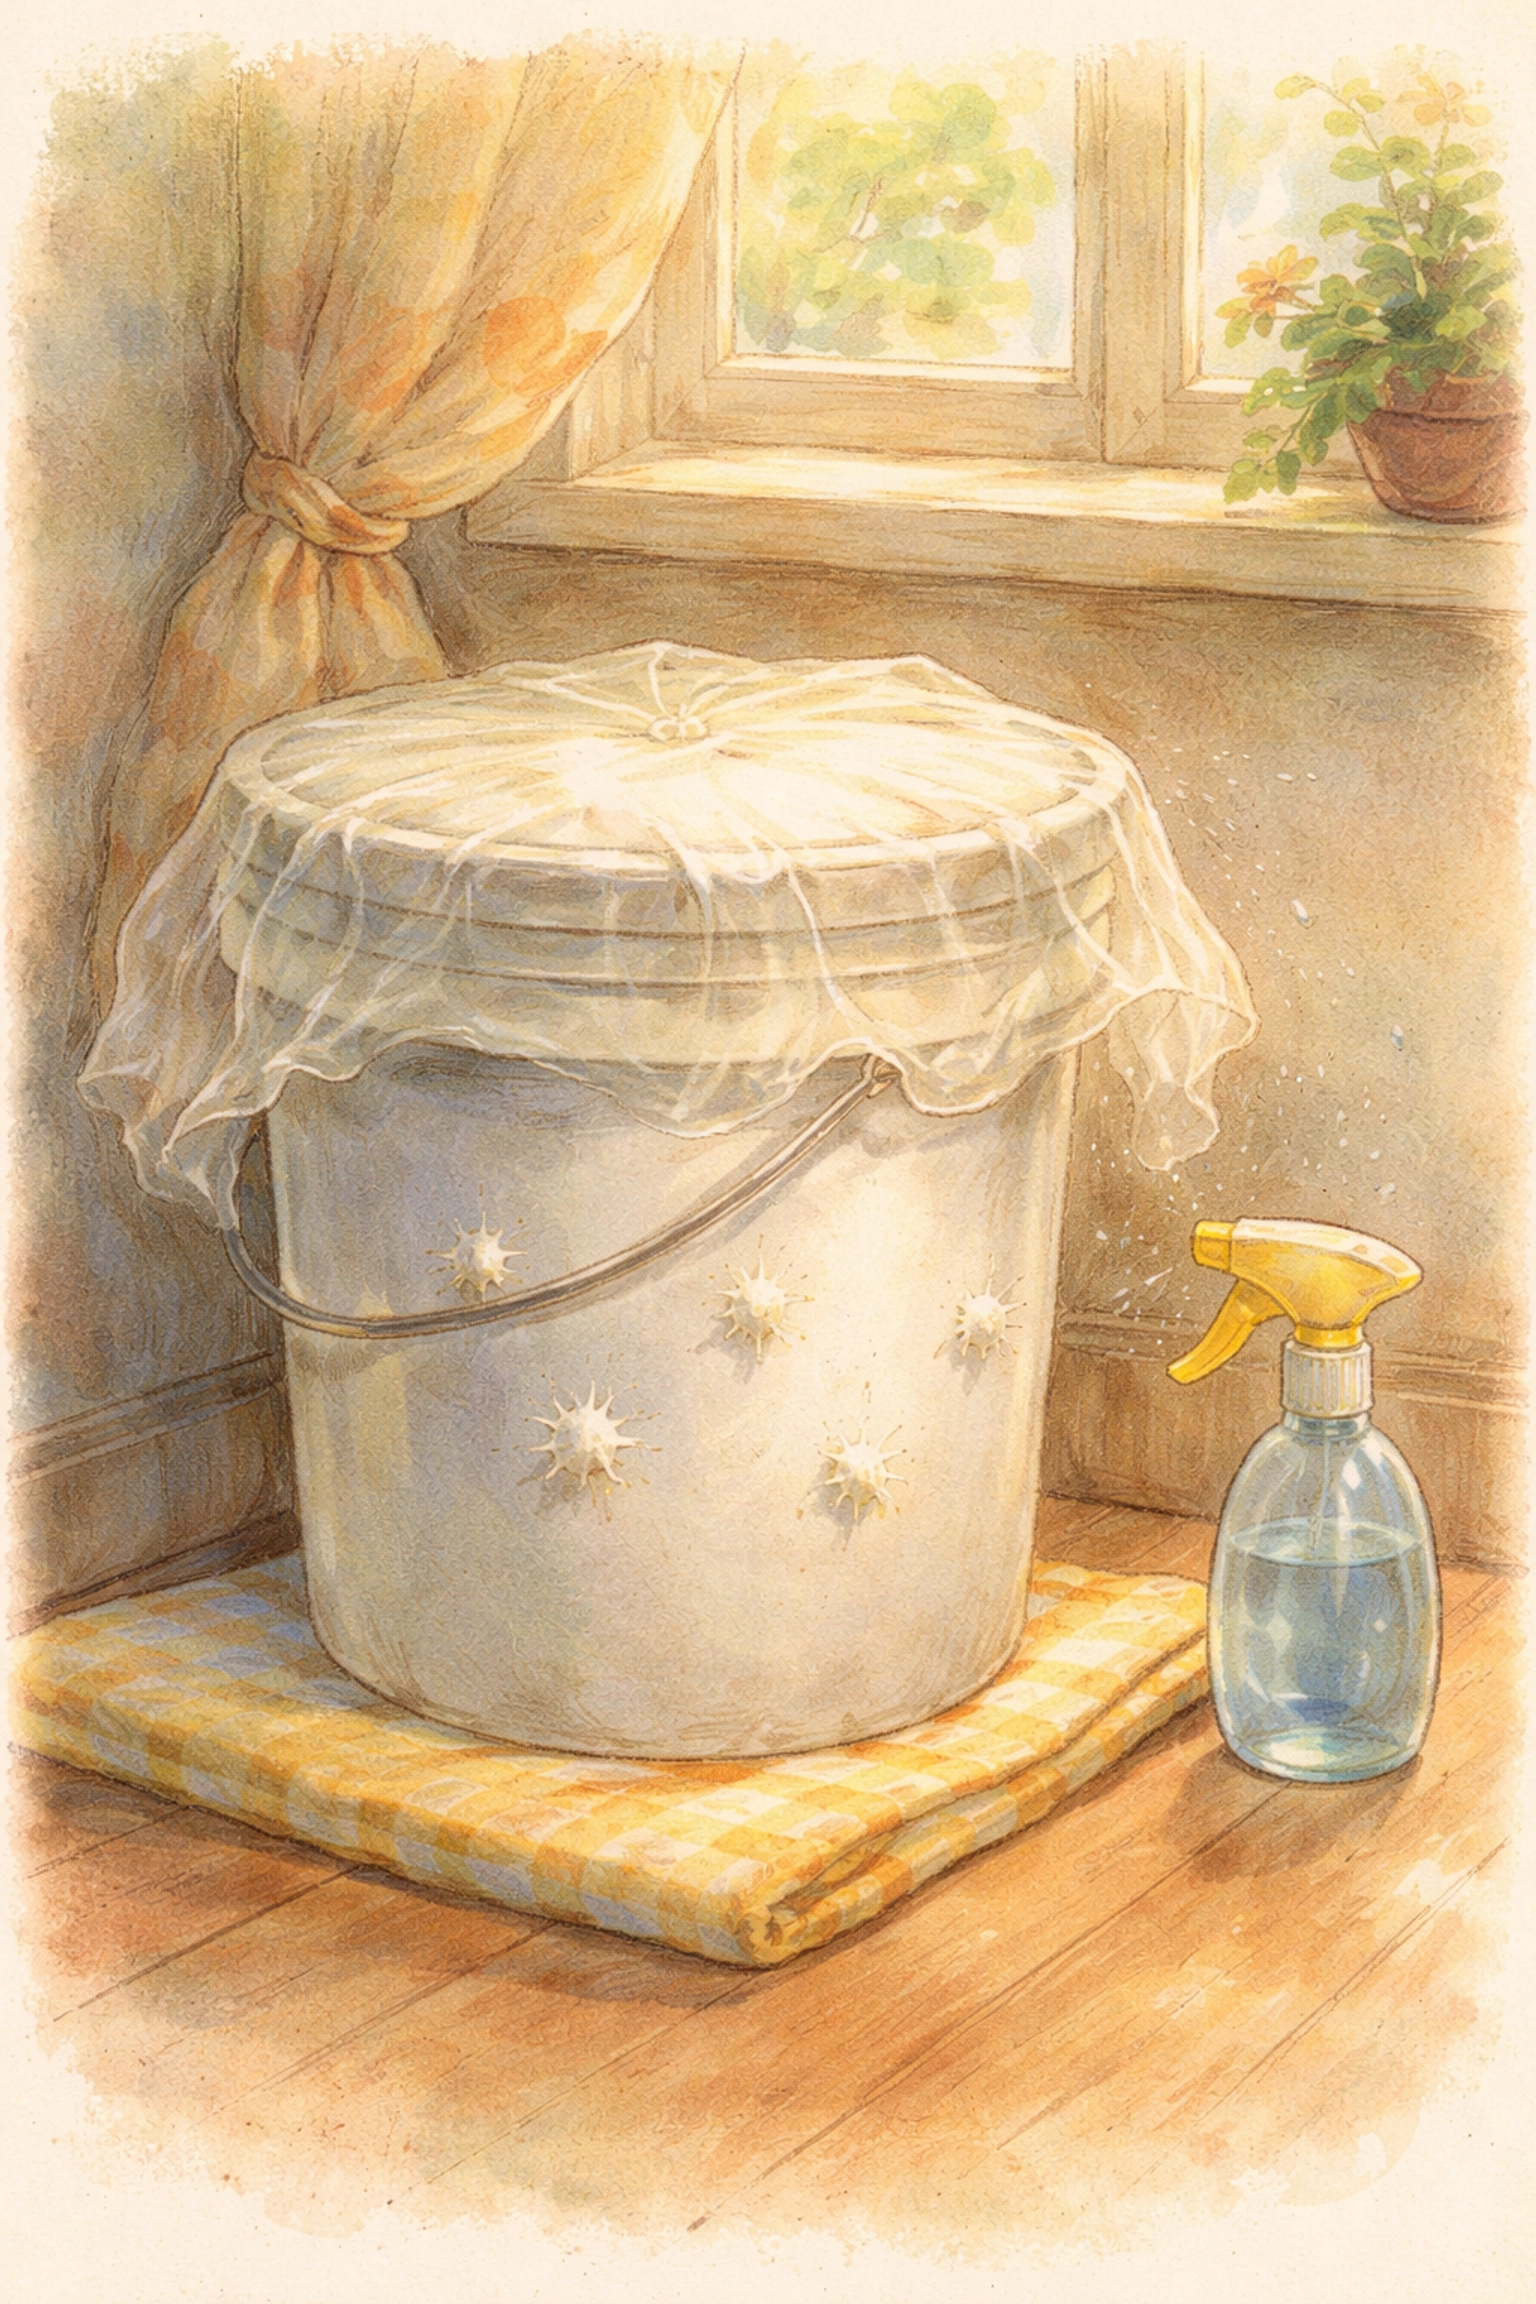
Step 5: Initiate Fruiting Conditions
Once the substrate looks fully white (colonized) through most of the holes, it’s time to trigger fruiting. Mushrooms need specific environmental changes to know it’s time to produce.
Fruiting requirements for oyster mushrooms:
- Humidity: 80-95% (this is critical)
- Temperature: 55-75°F
- Fresh air: Good air exchange prevents CO2 buildup
- Light: Indirect natural light or 12 hours of low LED light daily
Create a humidity chamber by loosely draping a clear plastic bag over the bucket, misting inside the bag 2-3 times daily. Alternatively, place the bucket in a bathroom, laundry room, or near a small humidifier.
Fresh air exchange matters enormously. High CO2 levels cause oyster mushrooms to grow long, spindly stems with tiny caps, not what you want. Fan the bucket gently or remove the plastic bag for 10-15 minutes twice daily.
Step 6: Harvest Time
Within 5-10 days of initiating fruiting conditions, you’ll see tiny “pins” (baby mushrooms) forming at the holes. These pins double in size rapidly, sometimes visibly growing within hours.
Harvest oyster mushrooms when the cap edges are still slightly curled downward or just beginning to flatten. Don’t wait until caps turn upward and wavy, that’s past prime.
To harvest, gently twist and pull the entire cluster from the hole. Avoid cutting, which can leave stumps that rot and invite contamination.
Expect 1-3 flushes (harvests) from a single bucket, with decreasing yields each time. After the final flush, the spent substrate makes excellent garden compost.
Budget Breakdown
| Item | Estimated Cost |
|---|---|
| 5-gallon bucket with lid | $5-8 |
| Hardwood fuel pellets (40 lb bag) | $6-10 |
| Oyster mushroom grain spawn (2.5 lb) | $15-25 |
| Spray bottle | $2-4 |
| Drill bit (if needed) | $5-8 |
| Total Startup Cost | $33-55 |
After your initial investment, subsequent buckets cost only $10-15 since you already own the equipment. That’s incredibly economical for pounds of fresh gourmet mushrooms.
Frequently Asked Questions
How long until I can harvest mushrooms?
Expect your first harvest 4-6 weeks after setting up your bucket, approximately 2-3 weeks for colonization plus 1-2 weeks for fruiting.
Can kids help with this project?
Absolutely. Children can help drill holes (with supervision), layer substrate and spawn, mist the humidity chamber, and harvest clusters. It’s a fantastic hands-on biology lesson.
Why are my mushroom stems long and skinny?
This indicates too much CO2 and not enough fresh air. Increase ventilation by fanning more frequently or moving the bucket to a better-ventilated area.
Can I reuse the bucket for another batch?
Yes. Clean thoroughly between batches with hot water and a diluted bleach solution, then rinse well and dry completely.
What if I see green mold?
Green mold (usually Trichoderma) means contamination. Unfortunately, that bucket is lost: compost the contents outdoors and sanitize everything before trying again. Better pasteurization and cleaner technique prevent most contamination.
Ready to Start Your Fungi Adventure?
Growing mushrooms vertically transforms a simple bucket into a productive food source that fascinates kids and adults alike. There’s something almost magical about watching clusters emerge from holes, doubling in size overnight.
For more hands-on growing projects, check out our guide on creating a DIY worm composting bin with children: another excellent way to explore decomposition science as a family.
Happy growing!
🍄 Safety & Legal Note
Growing mushrooms is a blast, but safety first! Here are a few things to keep in mind:
- Know Your Fungi: While Oyster mushrooms are very distinct, always double-check your harvest. If a mushroom looks “off” or different from what you expected, don’t eat it. Remember: If in doubt, throw it out!
- Fresh Air: Mushrooms release tiny spores as they grow. To keep the air in your home fresh (and avoid any potential spore allergies), always set up your bucket in a well-ventilated room.
- Allergy & Sensitivity Check: Just like with any new food, some people may have an allergy or digestive sensitivity to certain mushrooms. When trying your home-grown harvest for the first time, it’s a good idea to start with a small, cooked portion to see how your body reacts. If you have a history of food allergies or are in doubt, please consult with your doctor before consuming.
- Check Your Local Laws: While growing culinary mushrooms for personal use is generally legal across the U.S., laws can vary by state and even by city. It’s always a smart move to double-check your local regulations to ensure your indoor garden is fully compliant and safe.
- Just for Fun: This project is designed for personal education and family fun. If you’re so successful that you want to start selling your harvest, make sure to check your local state “Cottage Food” laws or health department regulations first.
References:
- Cornell University Small Farms Program: Mushroom Cultivation Resources
- North American Mycological Association: Growing Oyster Mushrooms
- Penn State Extension: Mushroom Substrate Preparation Guidelines


