


Quick Answer: To set up a pouring and scooping tray, fill a shallow container with dried materials like rice, beans, or corn kernels, then arrange various scoops, cups, and funnels around it. The whole setup takes about 5 minutes and costs under $10 using items you likely already have at home. This simple activity helps children develop fine motor skills, hand-eye coordination, and an understanding of cause and effect, all while keeping them entertained for surprisingly long stretches.
Why Pouring and Scooping Trays Work So Well
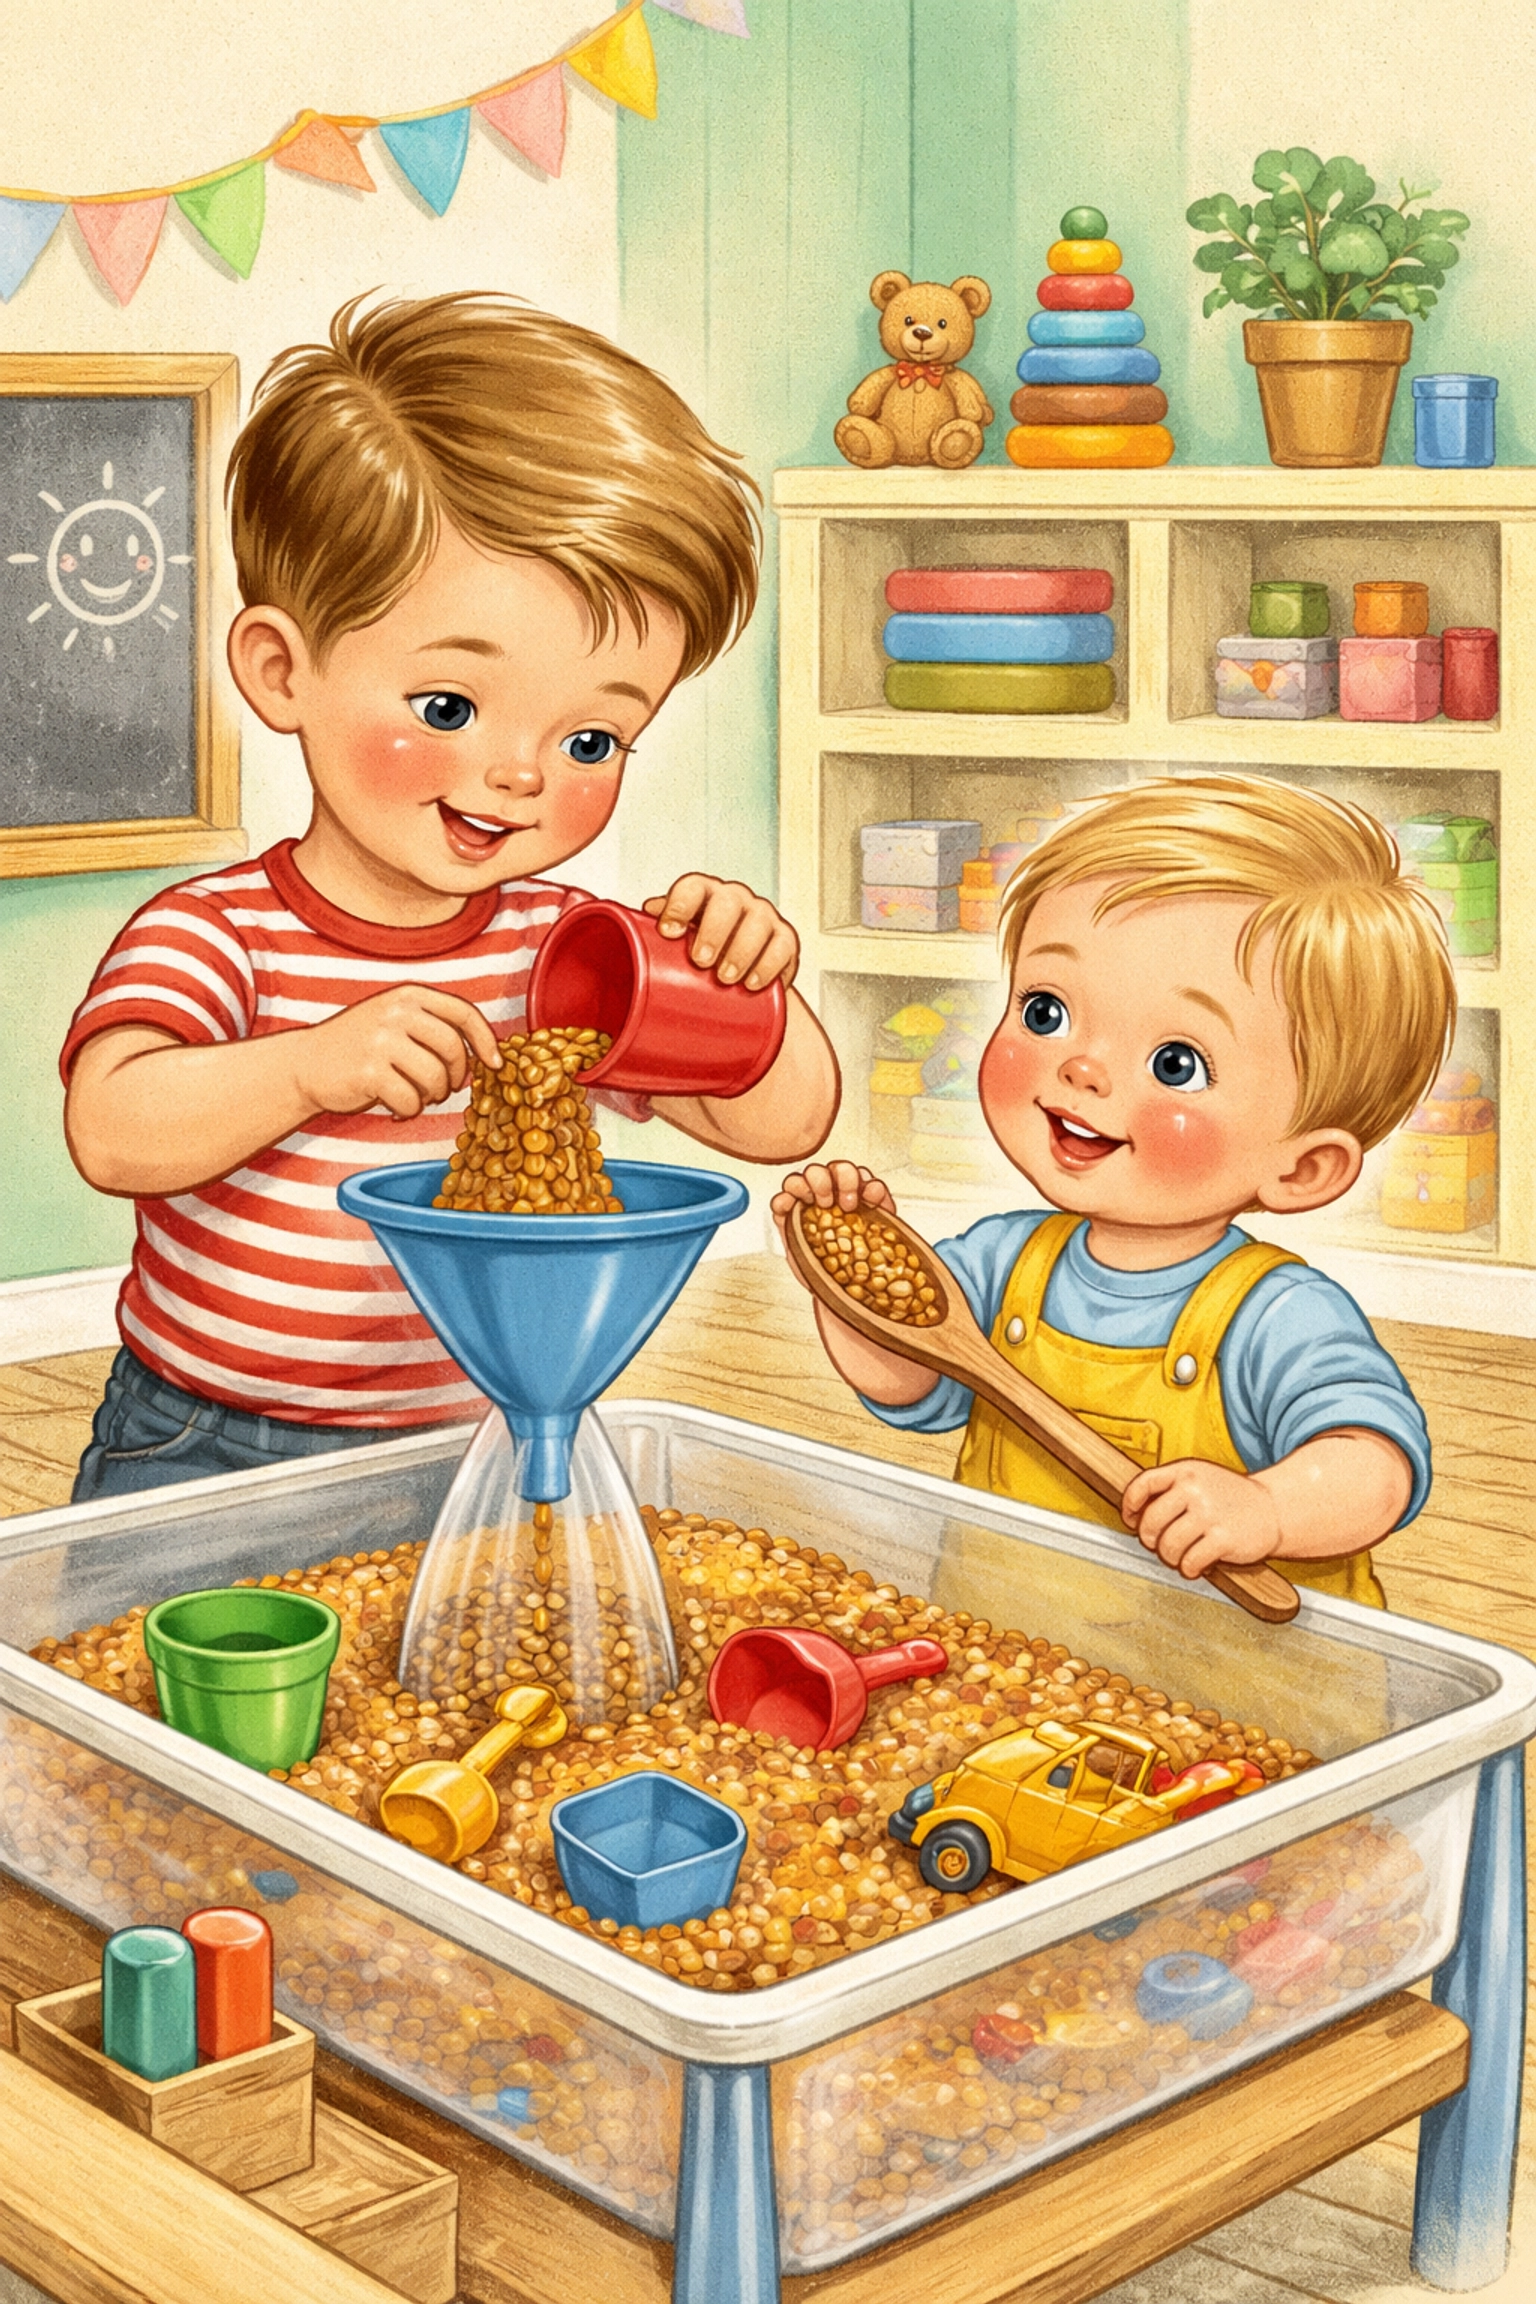
There's something almost magical about watching a toddler discover they can transfer beans from one cup to another. Their face lights up. They try it again. And again. And somehow, 30 minutes disappear while you actually get to finish your coffee.
Pouring and scooping activities tap into a child's natural curiosity about how things move and behave. They're exploring gravity, volume, and spatial relationships without even realizing it. Plus, all that scooping and pouring strengthens the small muscles in their hands and fingers, the same muscles they'll eventually use for writing, buttoning shirts, and tying shoes.
The setup couldn't be simpler, and you can customize it for different ages and skill levels.

Materials You'll Need (Under $10)
Most families already have these items tucked away in kitchen drawers and pantries. Here's what to gather:
| Category | Items | Estimated Cost |
|---|---|---|
| Container | Shallow baking tray, plastic bin, or large rimmed plate | $0–$3 |
| Filler Materials | Dried rice, beans, lentils, corn kernels, dry pasta, or cereal | $1–$3 |
| Scooping Tools | Measuring cups, spoons, small cups, yogurt containers | $0 (from kitchen) |
| Pouring Tools | Small pitchers, funnels, plastic bottles with tops cut off | $0–$2 |
| Optional Extras | Tongs, strainers, muffin tins, ice cube trays | $0–$2 |
Total estimated cost: $1–$10 (often free if you raid your existing supplies)
Pro tip: Dry Cheerios or puffed rice cereal work wonderfully for younger toddlers who still explore with their mouths. You get the same sensory experience without the worry.
Age Ranges: Who Enjoys What
This activity adapts beautifully across different developmental stages. Here's a general guide:
12–18 months: Start with larger materials like big dried beans or chunky cereal pieces. Use wide scoops and shallow containers. Expect lots of exploration and some tasting, keep everything edible at this stage.
18 months–3 years: Introduce smaller materials like rice or lentils. Add funnels and smaller cups. Children at this age often enjoy transferring materials between multiple containers.
3–5 years: Challenge them with finer materials like sand or flour (yes, messier, but worth it). Add tools like tongs, strainers, and eyedroppers. They can handle more complex tasks like filling specific containers to certain levels.
5+ years: Incorporate measuring and counting. "Can you fill exactly three scoops into the blue cup?" This adds early math concepts to the sensory fun.
Time Estimate
- Setup: 5 minutes
- Play time: 15–45 minutes (varies wildly by child and mood)
- Cleanup: 5–10 minutes
One of the lovely things about this activity is that you can leave it set up for days. Toss a dish towel over it when not in use, and it's ready whenever your child needs something to do.
Step-by-Step Setup Instructions
Step 1: Choose Your Container
Grab a shallow tray with raised edges to help contain the materials. Cookie sheets, plastic storage bins, casserole dishes, and even large roasting pans work great. The rim is key, it catches most of the inevitable spillover.
If you're worried about mess, place the entire tray inside a larger container or set everything up on an old shower curtain or tablecloth.
Step 2: Select Your Filler Material
Pick one material to start. Dried rice is a classic choice, it pours smoothly, makes a satisfying sound, and is inexpensive. Other good options include:
- Dried beans or lentils
- Corn kernels
- Dry pasta (various shapes add visual interest)
- Dried oats or cereal
- Birdseed (for outdoor play)
For younger children or those who still mouth objects, stick with edible options like puffed cereal or large dried pasta that won't pose a choking hazard.
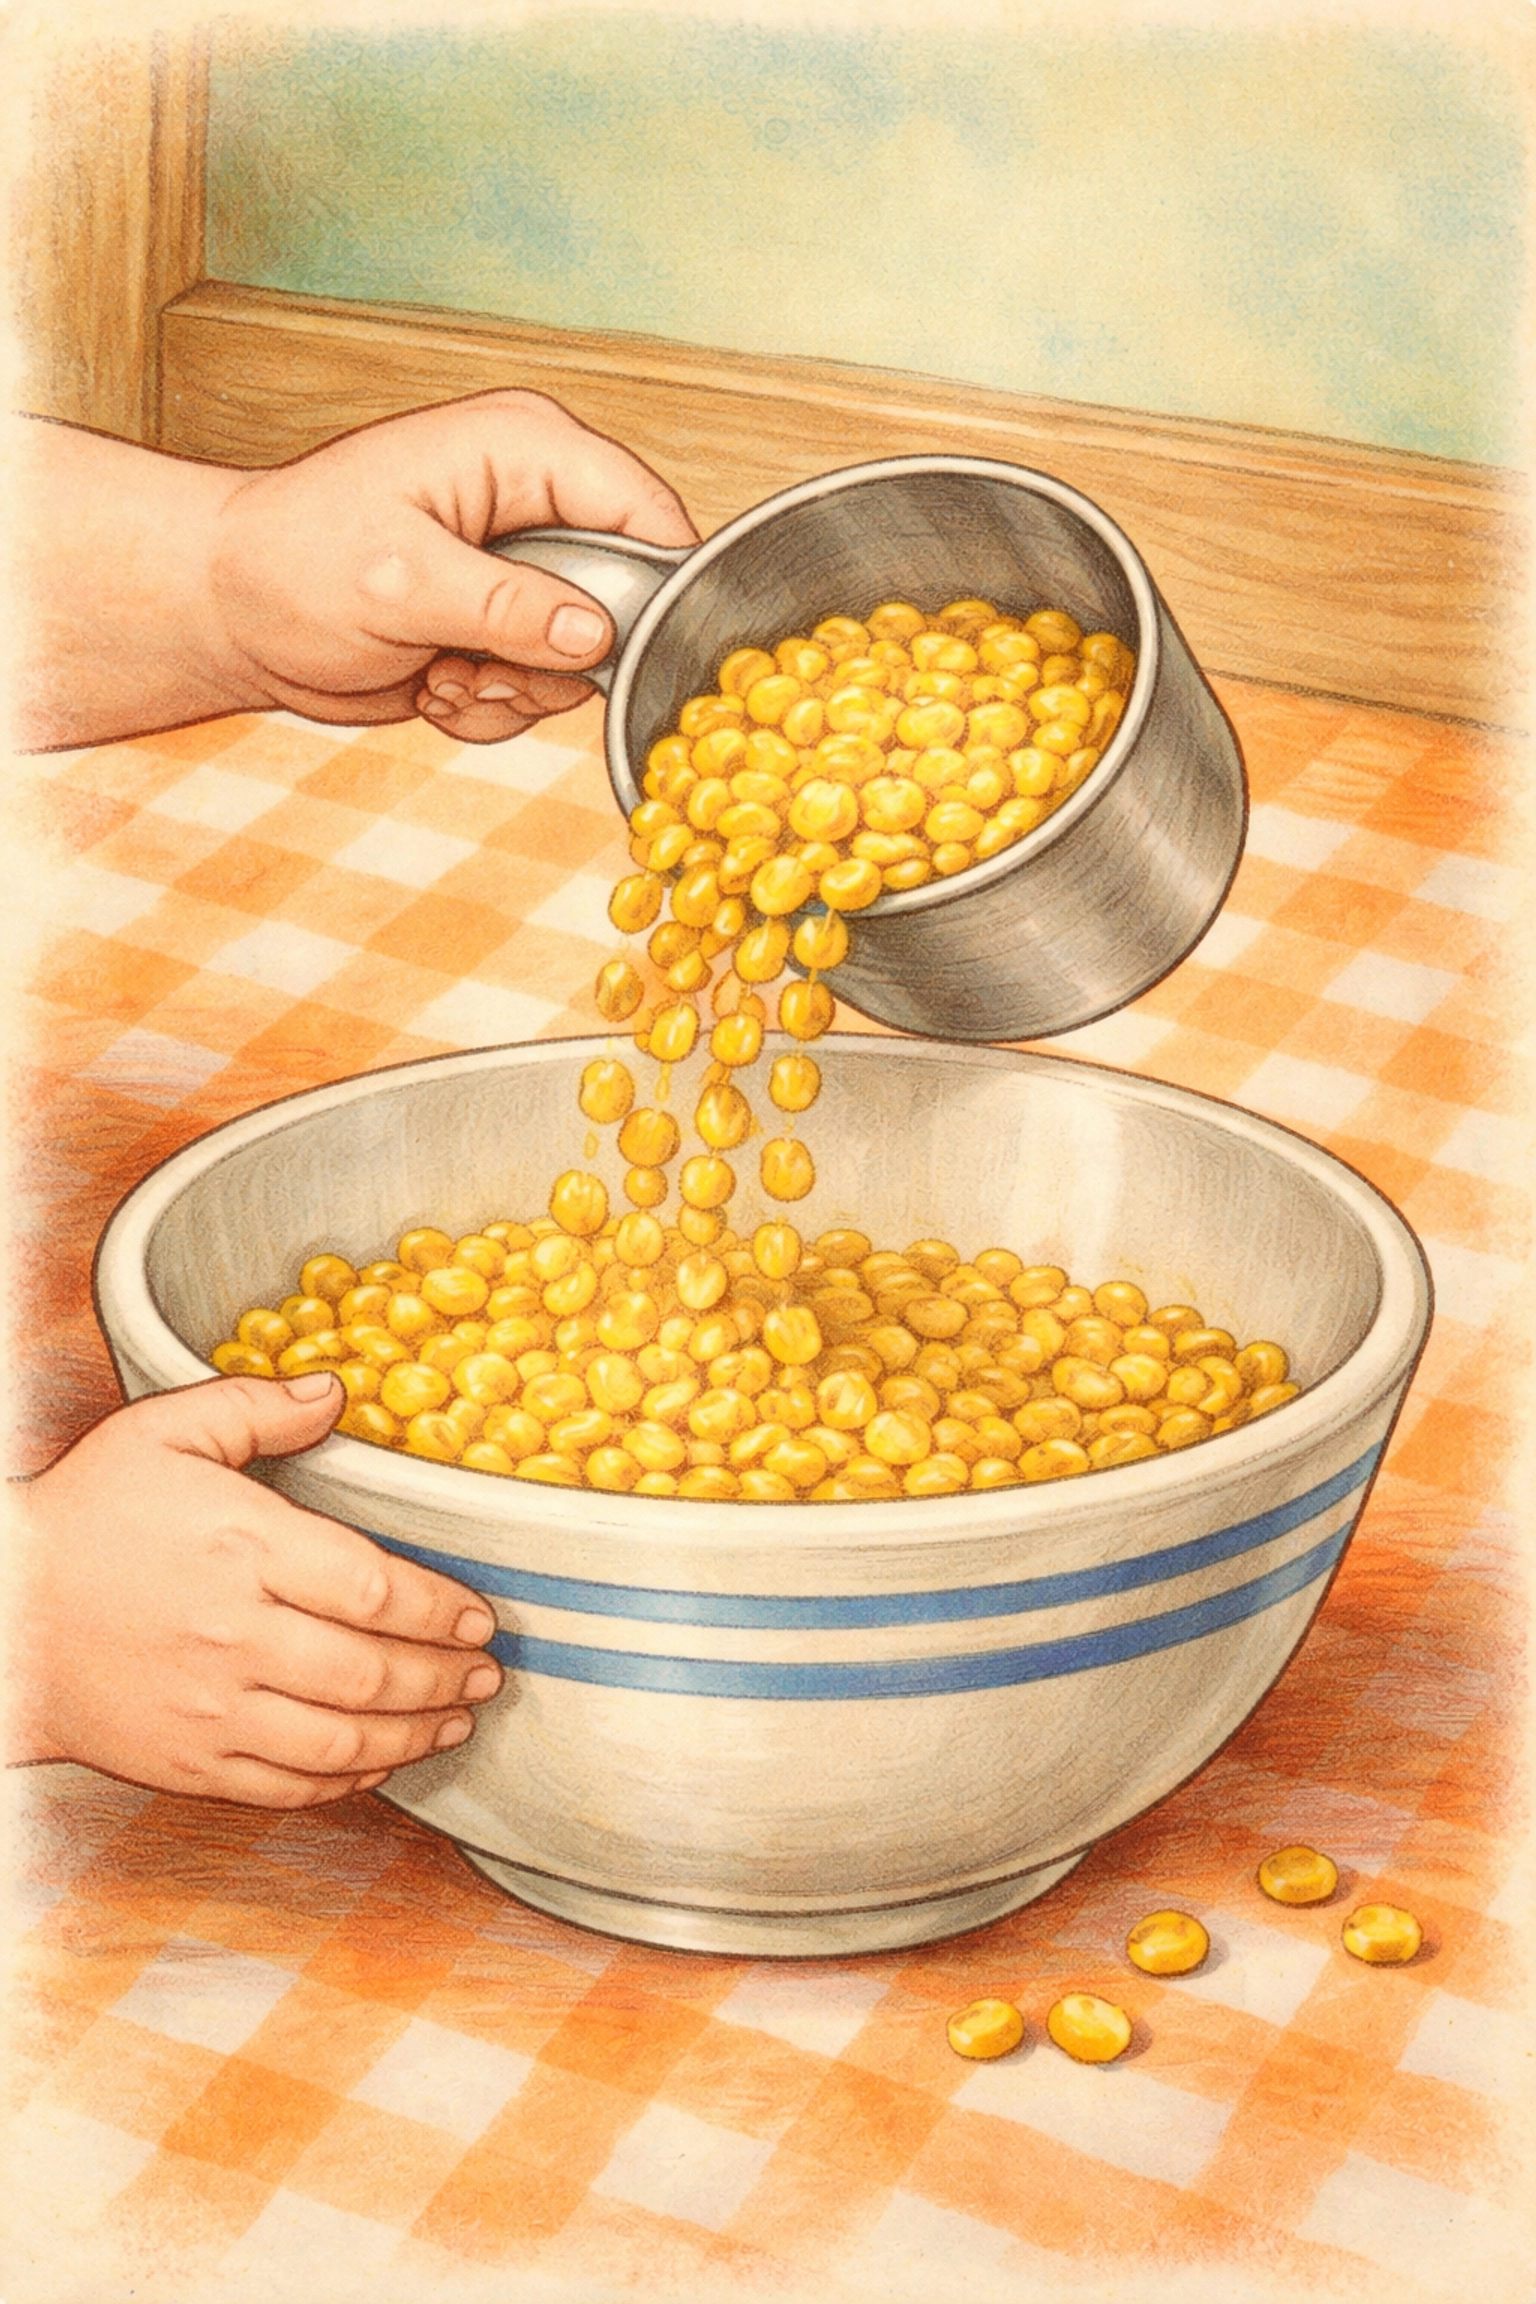
Step 3: Fill Your Container
Pour 2–4 cups of your chosen material into the tray. You don't need a specific amount, enough to scoop and pour comfortably without the tray being so full it constantly overflows.
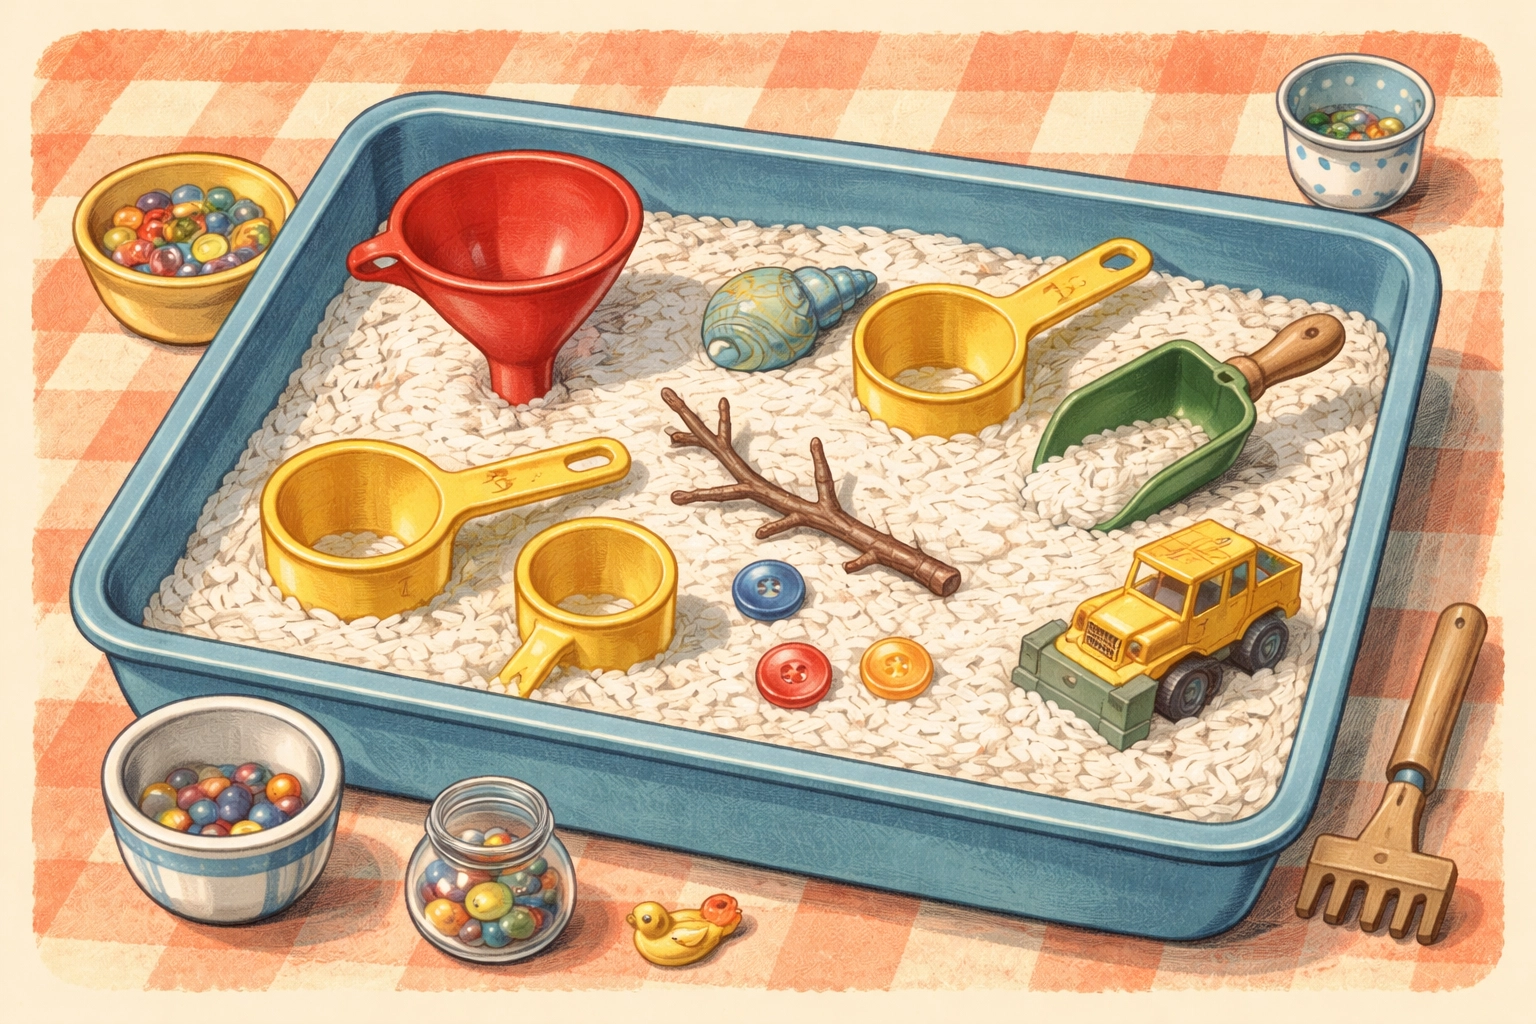
Step 4: Arrange Your Tools
Place scooping and pouring tools around the edges of the tray or directly in the material. Include a variety of sizes:
- A large scoop or measuring cup
- A medium spoon
- A small teaspoon
- One or two containers to pour into
- A funnel if you have one
Start with fewer tools (3–5 items) for younger children. Too many options can feel overwhelming.
Step 5: Add Transfer Containers
Set out 2–3 empty containers nearby, small bowls, cups, or even a muffin tin with multiple compartments. These give children a destination for their scooping and pouring work.
Step 6: Demonstrate (Briefly)
Show your child how to scoop material and pour it into another container. Model pouring close to the receiving container rather than from high above (this reduces spillage significantly). Keep your demonstration short, children often learn more through their own experimentation.
Step 7: Step Back and Let Them Explore
Resist the urge to direct too much. Let them discover what happens when they tip the scoop slowly versus quickly, or what happens when they try to pour through the funnel. This self-directed exploration is where the real learning happens.
Tips for Success
Contain the chaos: Accept that some material will escape the tray. Setting up over a vinyl tablecloth, old sheet, or even in an empty bathtub makes cleanup much easier.
Watch their grip: Pay attention to how your child holds the scooping tools. This gives you insight into their fine motor development and readiness for other activities like cutting with scissors.
Rotate materials: Swap out rice for beans next week, or introduce water for a completely different sensory experience. Each material teaches slightly different skills.
Add challenge gradually: Once your child masters basic scooping, introduce smaller tools, finer materials, or specific tasks like "fill the red cup first."
Make it seasonal: Dye rice with food coloring for holidays, or add plastic bugs and call it a "discovery dig."
Frequently Asked Questions
Is this activity safe for toddlers who put everything in their mouths?
Generally yes, as long as you use edible materials like dry cereal, large pasta shapes, or puffed rice. Avoid small beans or rice for children who still frequently mouth objects, as these could pose a choking risk.
How do I keep the mess manageable?
Set up the tray inside a larger container, on a plastic tablecloth, or outdoors. A handheld vacuum or dustpan makes quick work of stray materials. Some families keep a dedicated "sensory play" sheet that gets shaken outside after use.
Can I reuse the materials?
You can often reuse dried goods like beans and rice multiple times for sensory play. Store them in a sealed container between sessions. Just don't cook with them afterward: they'll have collected dust and tiny fingers.
What if my child just dumps everything immediately?
Totally normal, especially for younger toddlers. Dumping is part of the exploration process. Try using less material so dumps are smaller, or provide a designated "dumping container" to give the impulse an appropriate outlet.
How long should I expect my child to stay engaged?
This varies enormously. Some children happily scoop for 45 minutes; others lose interest after 5. Both are fine. You can extend interest by adding a new tool or asking open-ended questions like "I wonder what happens if you pour it through the strainer?"
What skills does this activity actually develop?
Pouring and scooping strengthen hand muscles, improve hand-eye coordination, and teach concepts like volume, gravity, and cause-and-effect. Children also practice concentration and learn to manage a task independently.
Can older kids enjoy this too?
Definitely. Add measuring challenges, timed tasks, or scientific questions like "Which material pours faster?" to engage school-age children. They can also help younger siblings learn the activity.
Looking for more hands-on activities to keep little ones busy? Check out our collection of kids crafts for more budget-friendly ideas the whole family can enjoy.


