


A measuring station for kids is a dedicated hands-on area where children can explore length, weight, and comparison using simple household materials. You can set one up in about 30 minutes using items you likely already have, rulers, paper cups, a clothes hanger, and random objects from around the house. This DIY activity station helps kids grasp early math concepts through play, estimation, and experimentation rather than worksheets.
The beauty of a measuring station is that it grows with your child. Younger kids can compare "heavy" versus "light" using teddy bears and toy cars, while older children can record precise measurements in inches or centimeters. It's the kind of learning activity that feels like play, which is exactly when kids absorb the most.
What You'll Need: Materials List (Under $10)
Most families can pull this together for free using items already in the junk drawer. If you need to grab a few things, you're still looking at pocket change.
| Material | Purpose | Estimated Cost |
|---|---|---|
| Wooden ruler or yardstick | Measuring length and building balance scale | $1-2 (or free if you have one) |
| 4-6 paper or plastic cups | Holding objects for weighing | $1 |
| Wire clothes hanger | Base for DIY balance scale | Free |
| String or yarn (about 3 feet) | Hanging cups from hanger | Free |
| Binder clips or clothespins | Attaching cups to hanger | $1 |
| Small household objects | Items to measure and weigh | Free |
| Paper and pencil | Recording estimates and results | Free |
| Masking tape or painter's tape | Marking measurements, securing items | $2 |
Total estimated cost: $0-$7 depending on what you already own
Age Range and Time Investment
Recommended ages: 3-8 years old (with adjustments for skill level)
- Ages 3-4: Focus on simple comparisons, bigger/smaller, heavier/lighter. Skip precise numbers.
- Ages 5-6: Introduce rulers and counting. Estimation games work well here.
- Ages 7-8: Add recording sheets, centimeters versus inches, and more complex weighing challenges.
Setup time: 20-30 minutes
Activity time: 30 minutes to an hour (or longer if your kid gets really into it, mine usually do)
Step-by-Step: Building Your Measuring Station
Step 1: Choose Your Location
Find a flat, accessible surface where your child can work comfortably. A kitchen table, low desk, or even a cleared section of floor works well. You'll want enough room to spread out objects and swing a balance scale without knocking things over.
Tip: Pick a spot where spills or minor messes won't cause stress. Measuring stations tend to involve a lot of "what happens if I add MORE rocks?" moments.
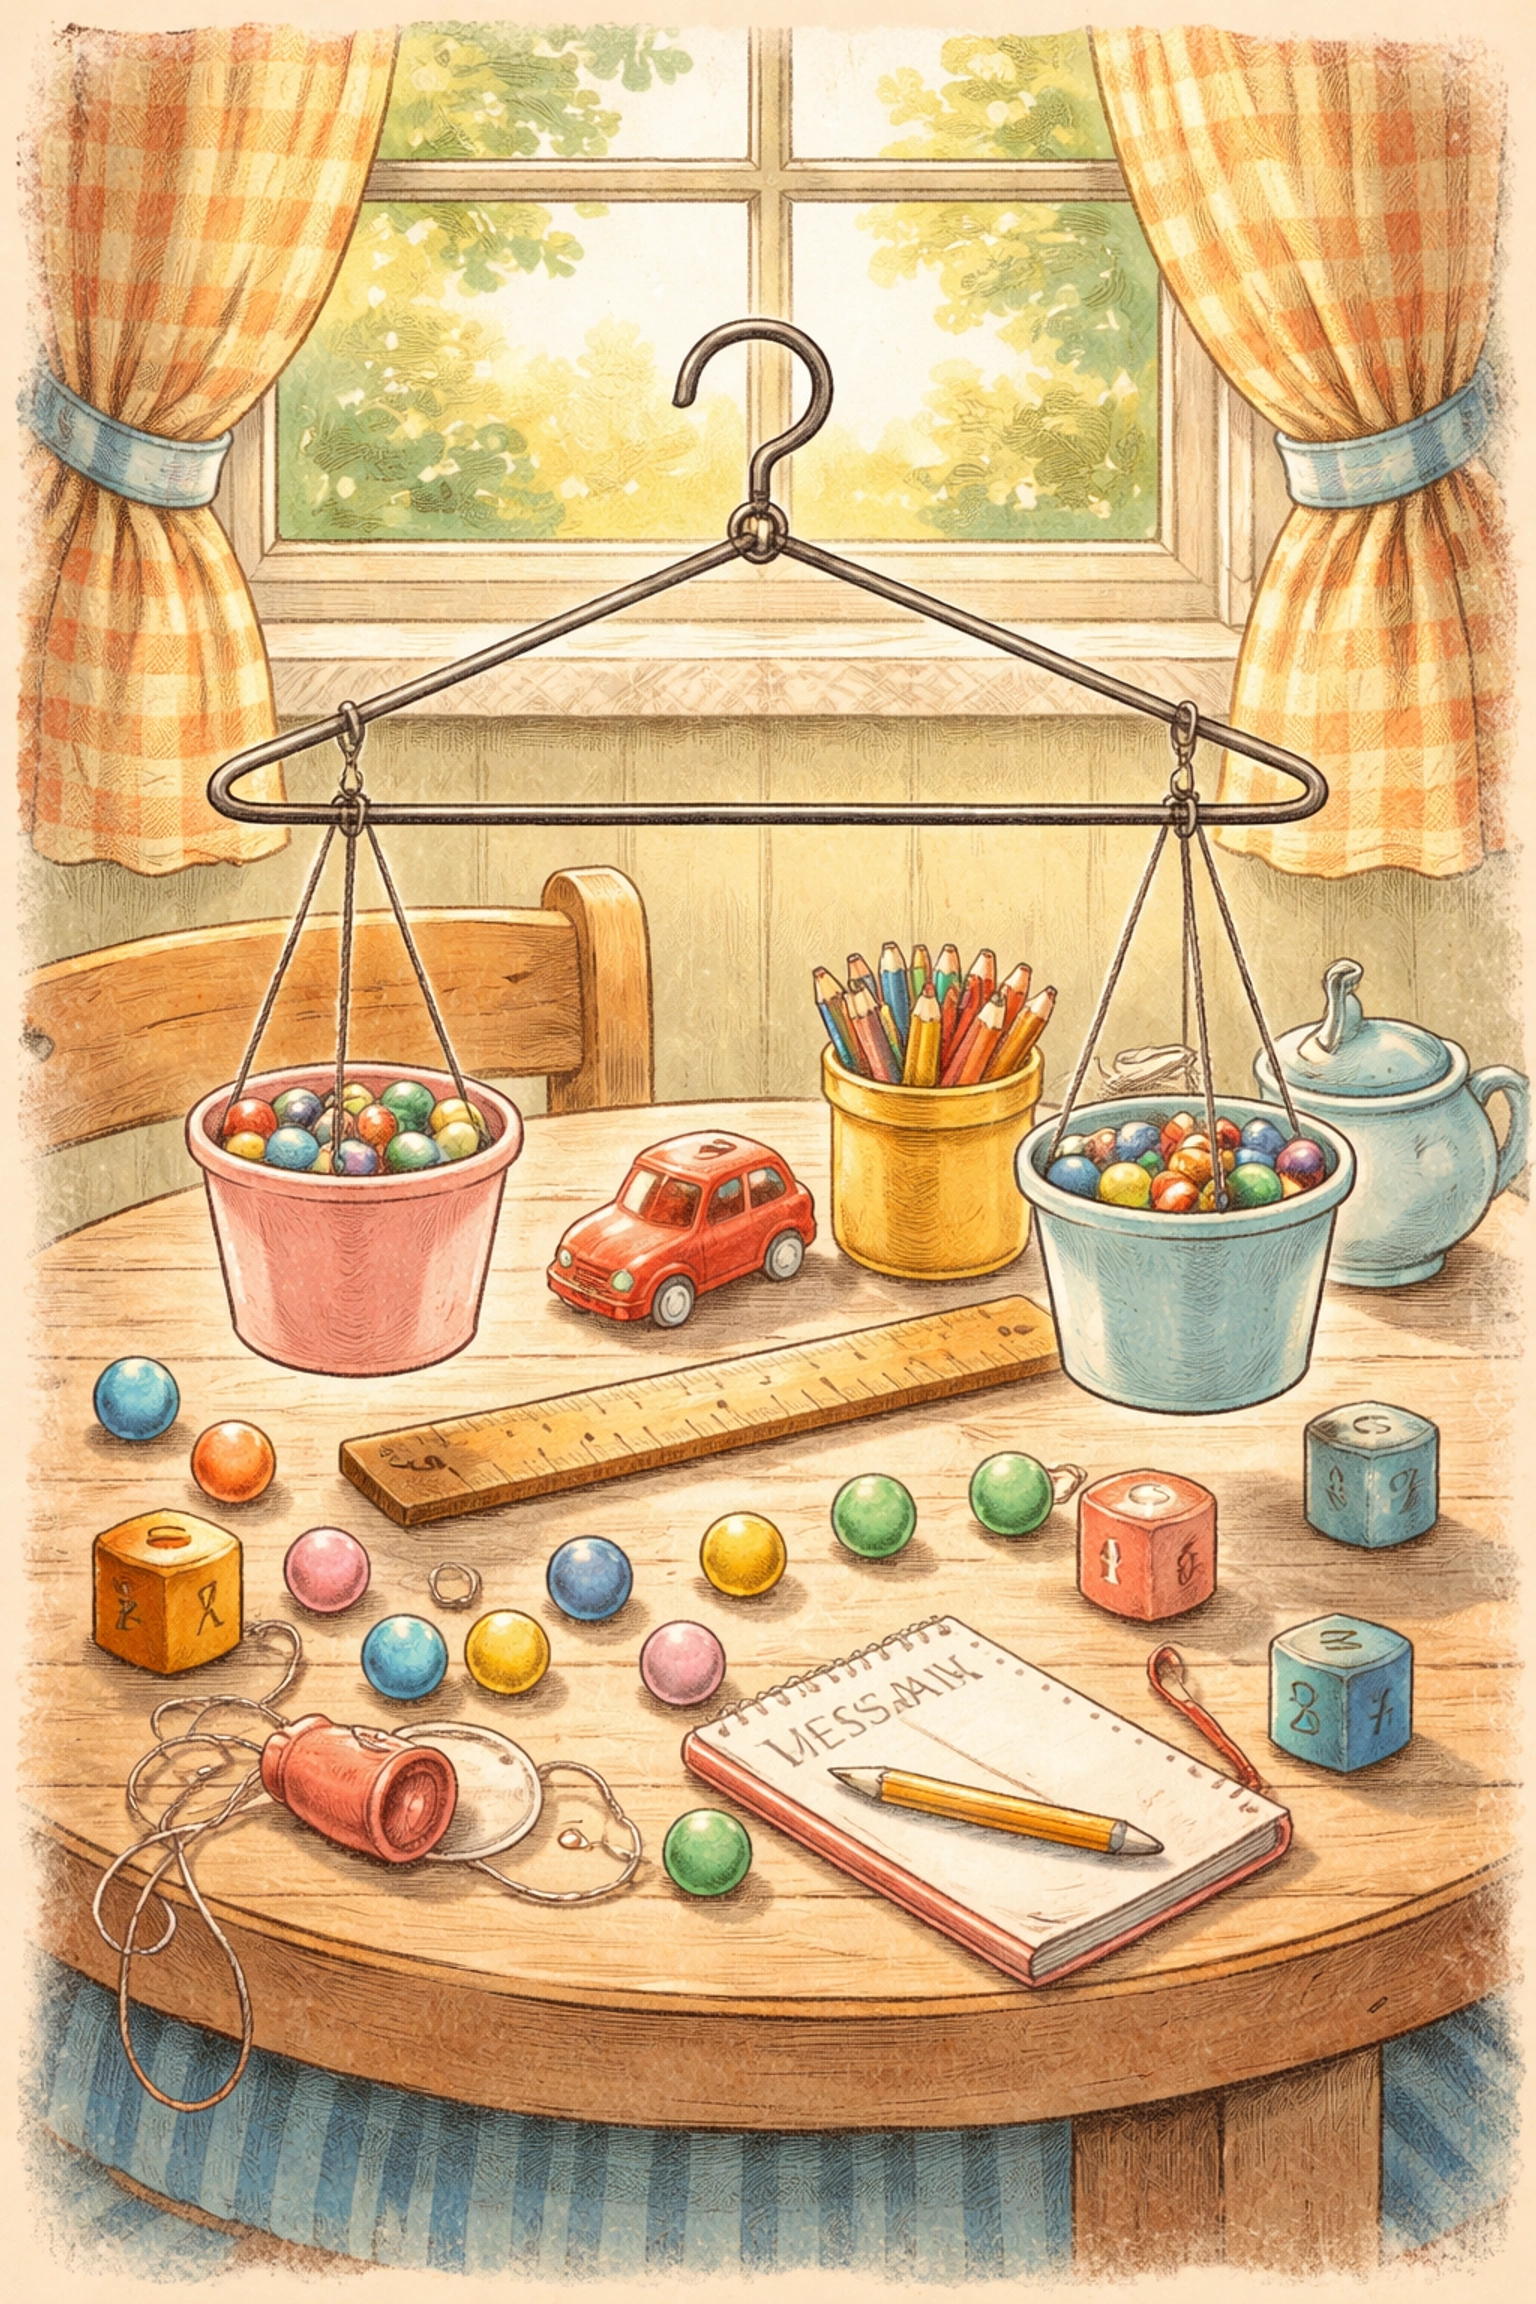
Step 2: Create a Simple Balance Scale
This is often the favorite part of any measuring station.
- Take your wire clothes hanger and bend the hook so it can hang freely from a doorknob, cabinet handle, or chair back.
- Cut two equal lengths of string (about 10-12 inches each).
- Punch two small holes on opposite sides of two paper cups, near the rim.
- Thread string through the holes to create handles.
- Use binder clips or clothespins to attach each cup to opposite ends of the hanger's bottom bar.
- Make sure the cups hang at equal heights. Adjust string length if needed.
Now you've got a working balance scale. When one side dips lower, that side holds the heavier objects. Kids pick this up quickly once they start experimenting.
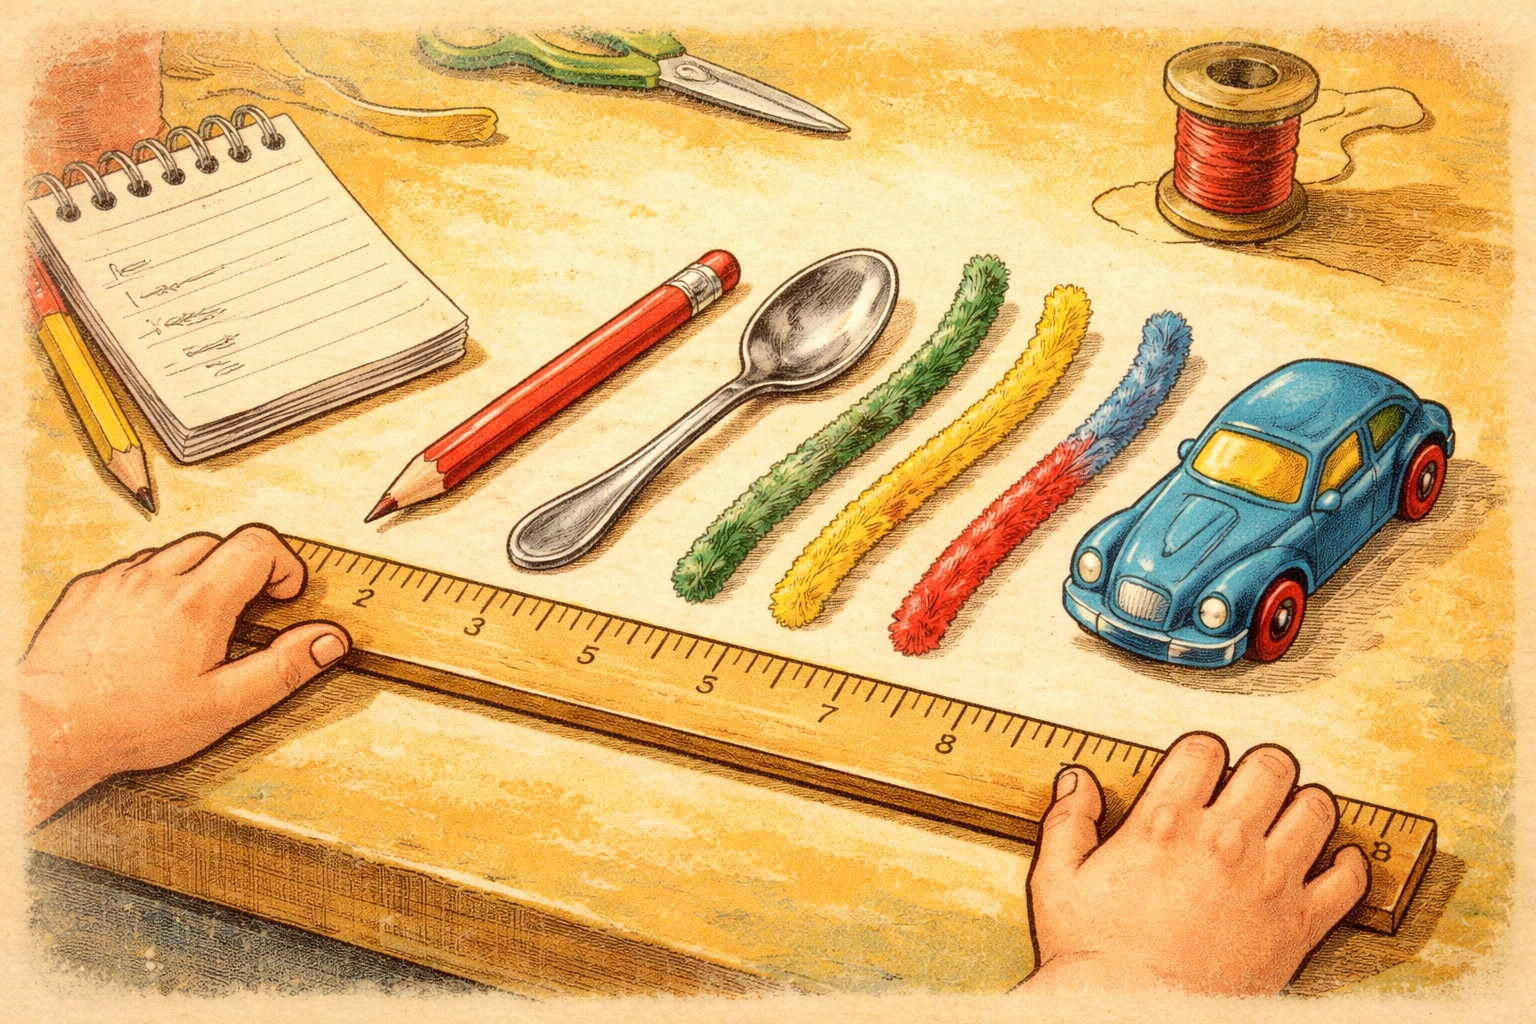
Step 3: Set Up a Length Measuring Area
Gather 8-10 household objects of varying sizes. Good options include:
- Pencils and pens
- Spoons
- Small toys
- Leaves or sticks from outside
- Craft supplies like pipe cleaners or ribbon
Lay out your ruler or yardstick flat on the table. Create a simple recording sheet with two columns: "My Guess" and "Actual Length." For younger kids, you can draw the objects instead of writing names.
Have your child estimate how long each object is before measuring. This estimation step is where the real learning happens, it builds number sense and helps kids understand scale.
Step 4: Add a Non-Standard Measurement Challenge
Before jumping to inches and centimeters, try measuring with unconventional units. This helps younger children understand what measurement actually means.
Ask questions like:
- "How many paper clips long is this crayon?"
- "How many LEGO bricks tall is your water bottle?"
- "How many of your hand-widths across is the table?"
This approach tends to click faster than abstract numbers for kids under six.
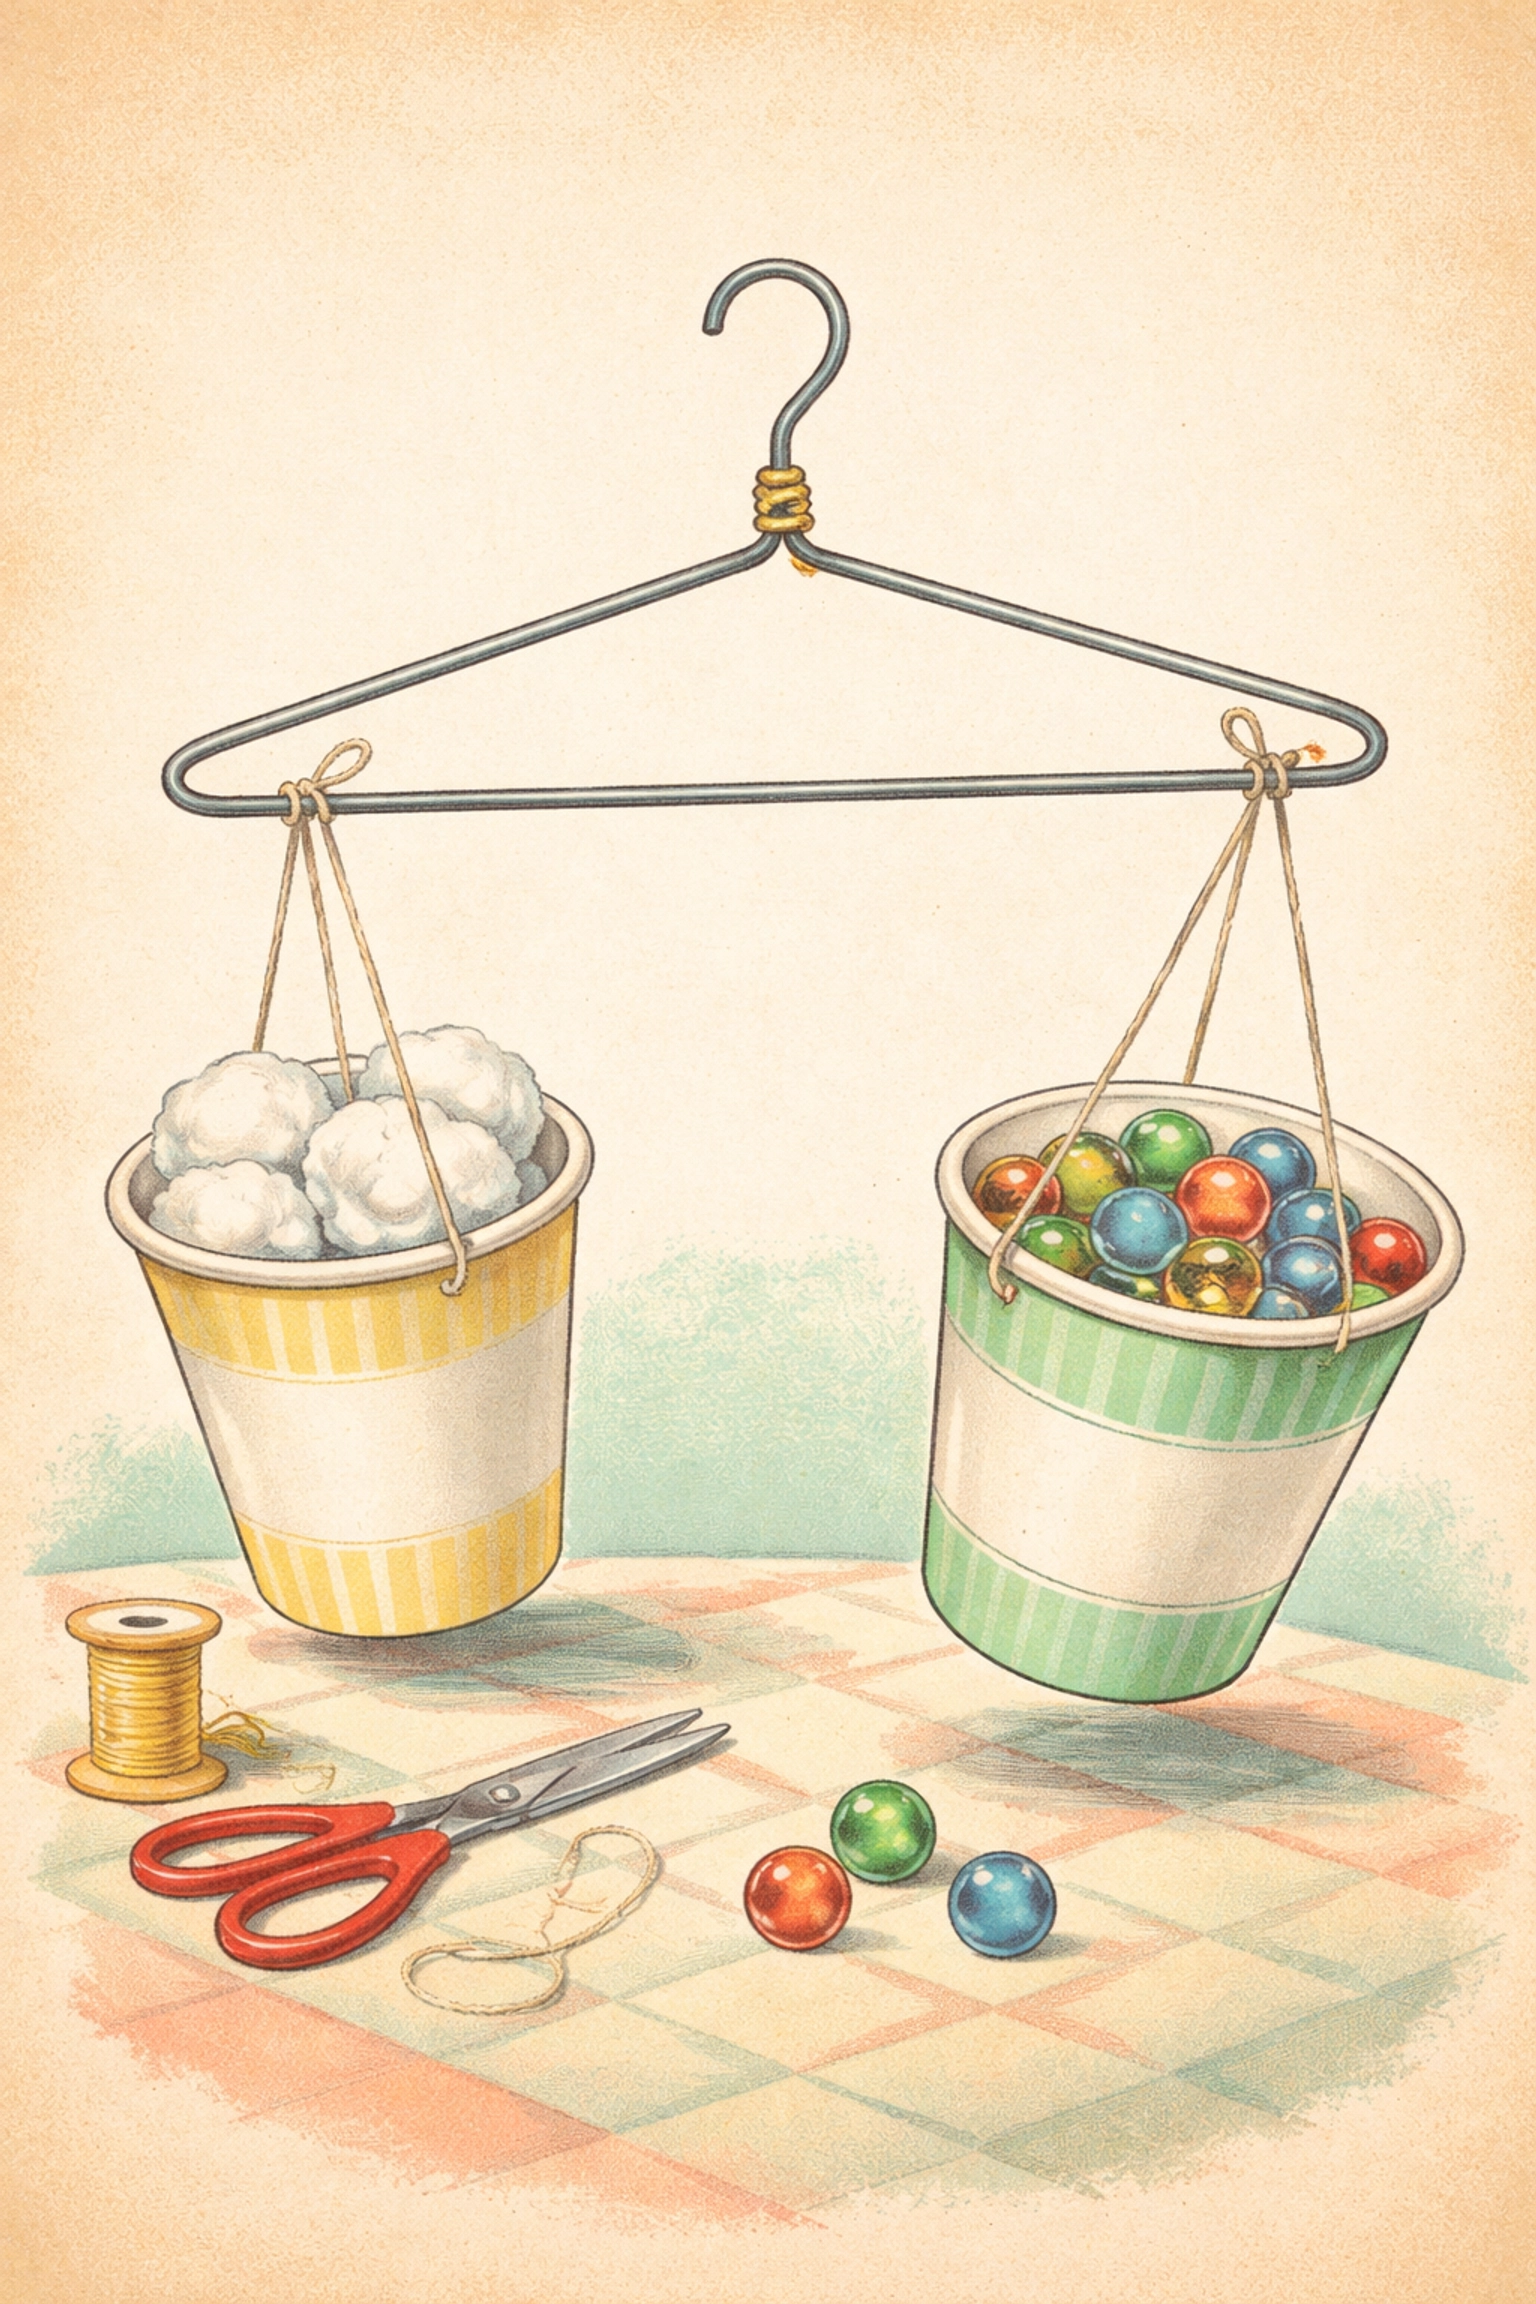
Step 5: Create Weight Comparison Activities
Using your balance scale, set up weight challenges:
- Place a small toy in one cup.
- Ask your child to find something they think weighs the same amount.
- Test their guess by placing the second object in the other cup.
- If the scale tips, discuss which is heavier and try again.
For older kids, introduce the concept of units by using uniform objects as weights. "This toy car weighs about 12 marbles" is a perfectly valid measurement, and it makes the concept concrete.
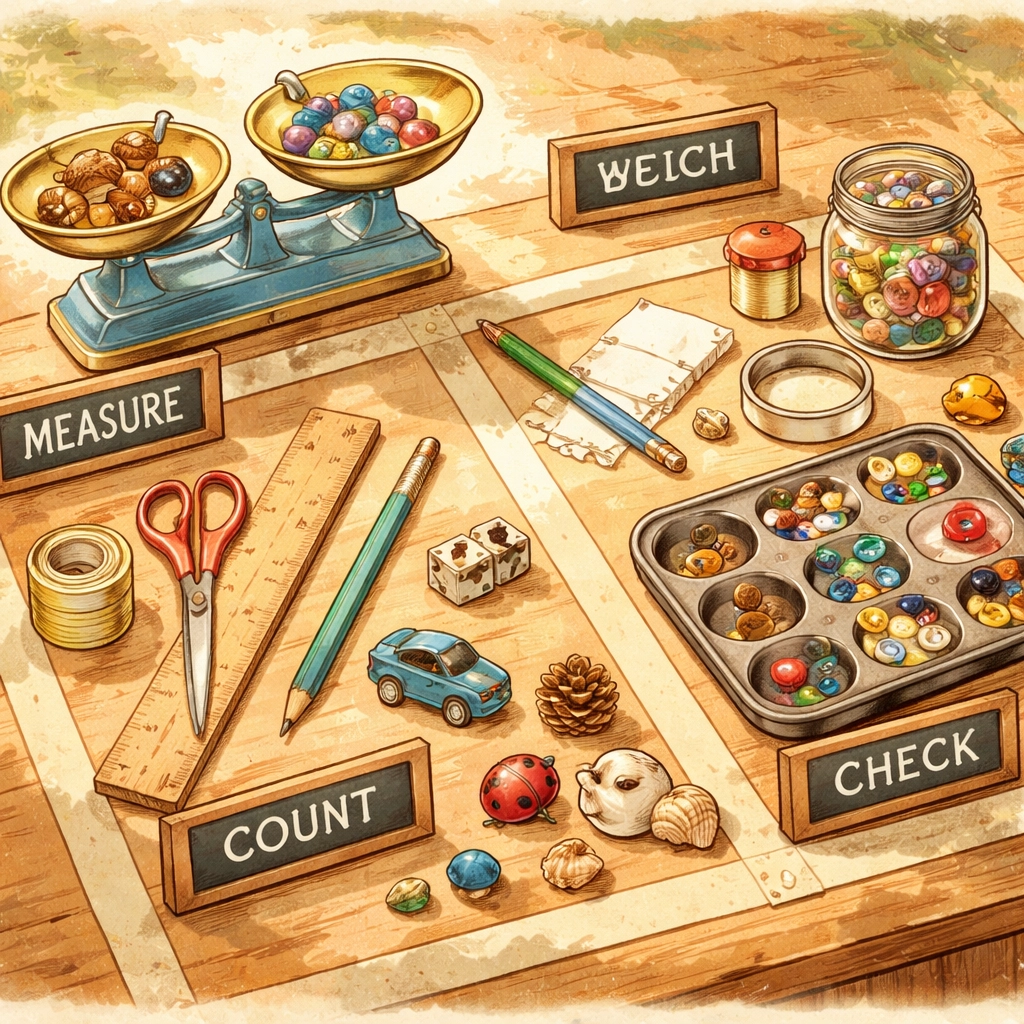
Step 6: Organize and Label Your Station
Use masking tape to mark different zones on your table:
- "Weighing Zone" near the balance scale
- "Measuring Zone" near the ruler
- "Objects to Explore" for your collection of items
You don't need fancy labels. Tape and marker work fine. The zones help kids understand that different tools serve different purposes.
Tips for Getting the Most Out of Your Measuring Station
Rotate objects regularly. Swap in new items every few days to keep things fresh. Kitchen gadgets, garden finds, and random toys all work well.
Ask open-ended questions. Instead of "measure this pencil," try "which three things do you think are closest to the same length? Let's find out."
Let them lead. Some kids will spend 45 minutes obsessively weighing every marble in the house. Others will measure two things and move on. Both are fine.
Connect it to real life. When you're cooking or doing projects together, point out when you're measuring. "I need to cut this ribbon to 6 inches, want to help me measure?"
Frequently Asked Questions
What age is a measuring station appropriate for?
Most kids enjoy measuring activities between ages 3 and 8. Younger children focus on basic comparisons (heavy/light, long/short), while older kids can handle precise measurements and recording data.
Do I need to buy a real scale?
Not at all. A DIY balance scale made from a hanger and cups teaches the same concepts. Kids often learn more from building their own tools than using store-bought versions.
How long will my child stay engaged with this activity?
It varies widely. Some children will explore for 20 minutes, others for over an hour. Rotating objects and adding new challenges helps extend interest over multiple sessions.
Can this work for multiple children at once?
Yes, and it often works even better with siblings or friends. Kids can take turns, make predictions about each other's objects, or race to find the longest item in the room.
What if my child gets frustrated with measuring?
Start with estimation games rather than precise measurement. "Guess and check" feels more like play and reduces pressure. You can always add precision later.
How do I explain the difference between weight and length?
Keep it simple: "Length tells us how long something is from end to end. Weight tells us how heavy it feels when we pick it up." Then demonstrate with two objects: something long and light (like a ribbon) versus something short and heavy (like a rock).
Should I use inches or centimeters?
Either works. Some families use both to introduce the idea that different systems exist. For young children, the specific unit matters less than understanding the concept.
How can I extend this activity for older kids?
Add challenges like measuring in multiple units, converting between inches and centimeters, or graphing their results. You can also introduce liquid measurement with measuring cups and water.
For more hands-on learning projects, explore our kids crafts collection for activities that blend play with practical skills.


