


The Quick Answer
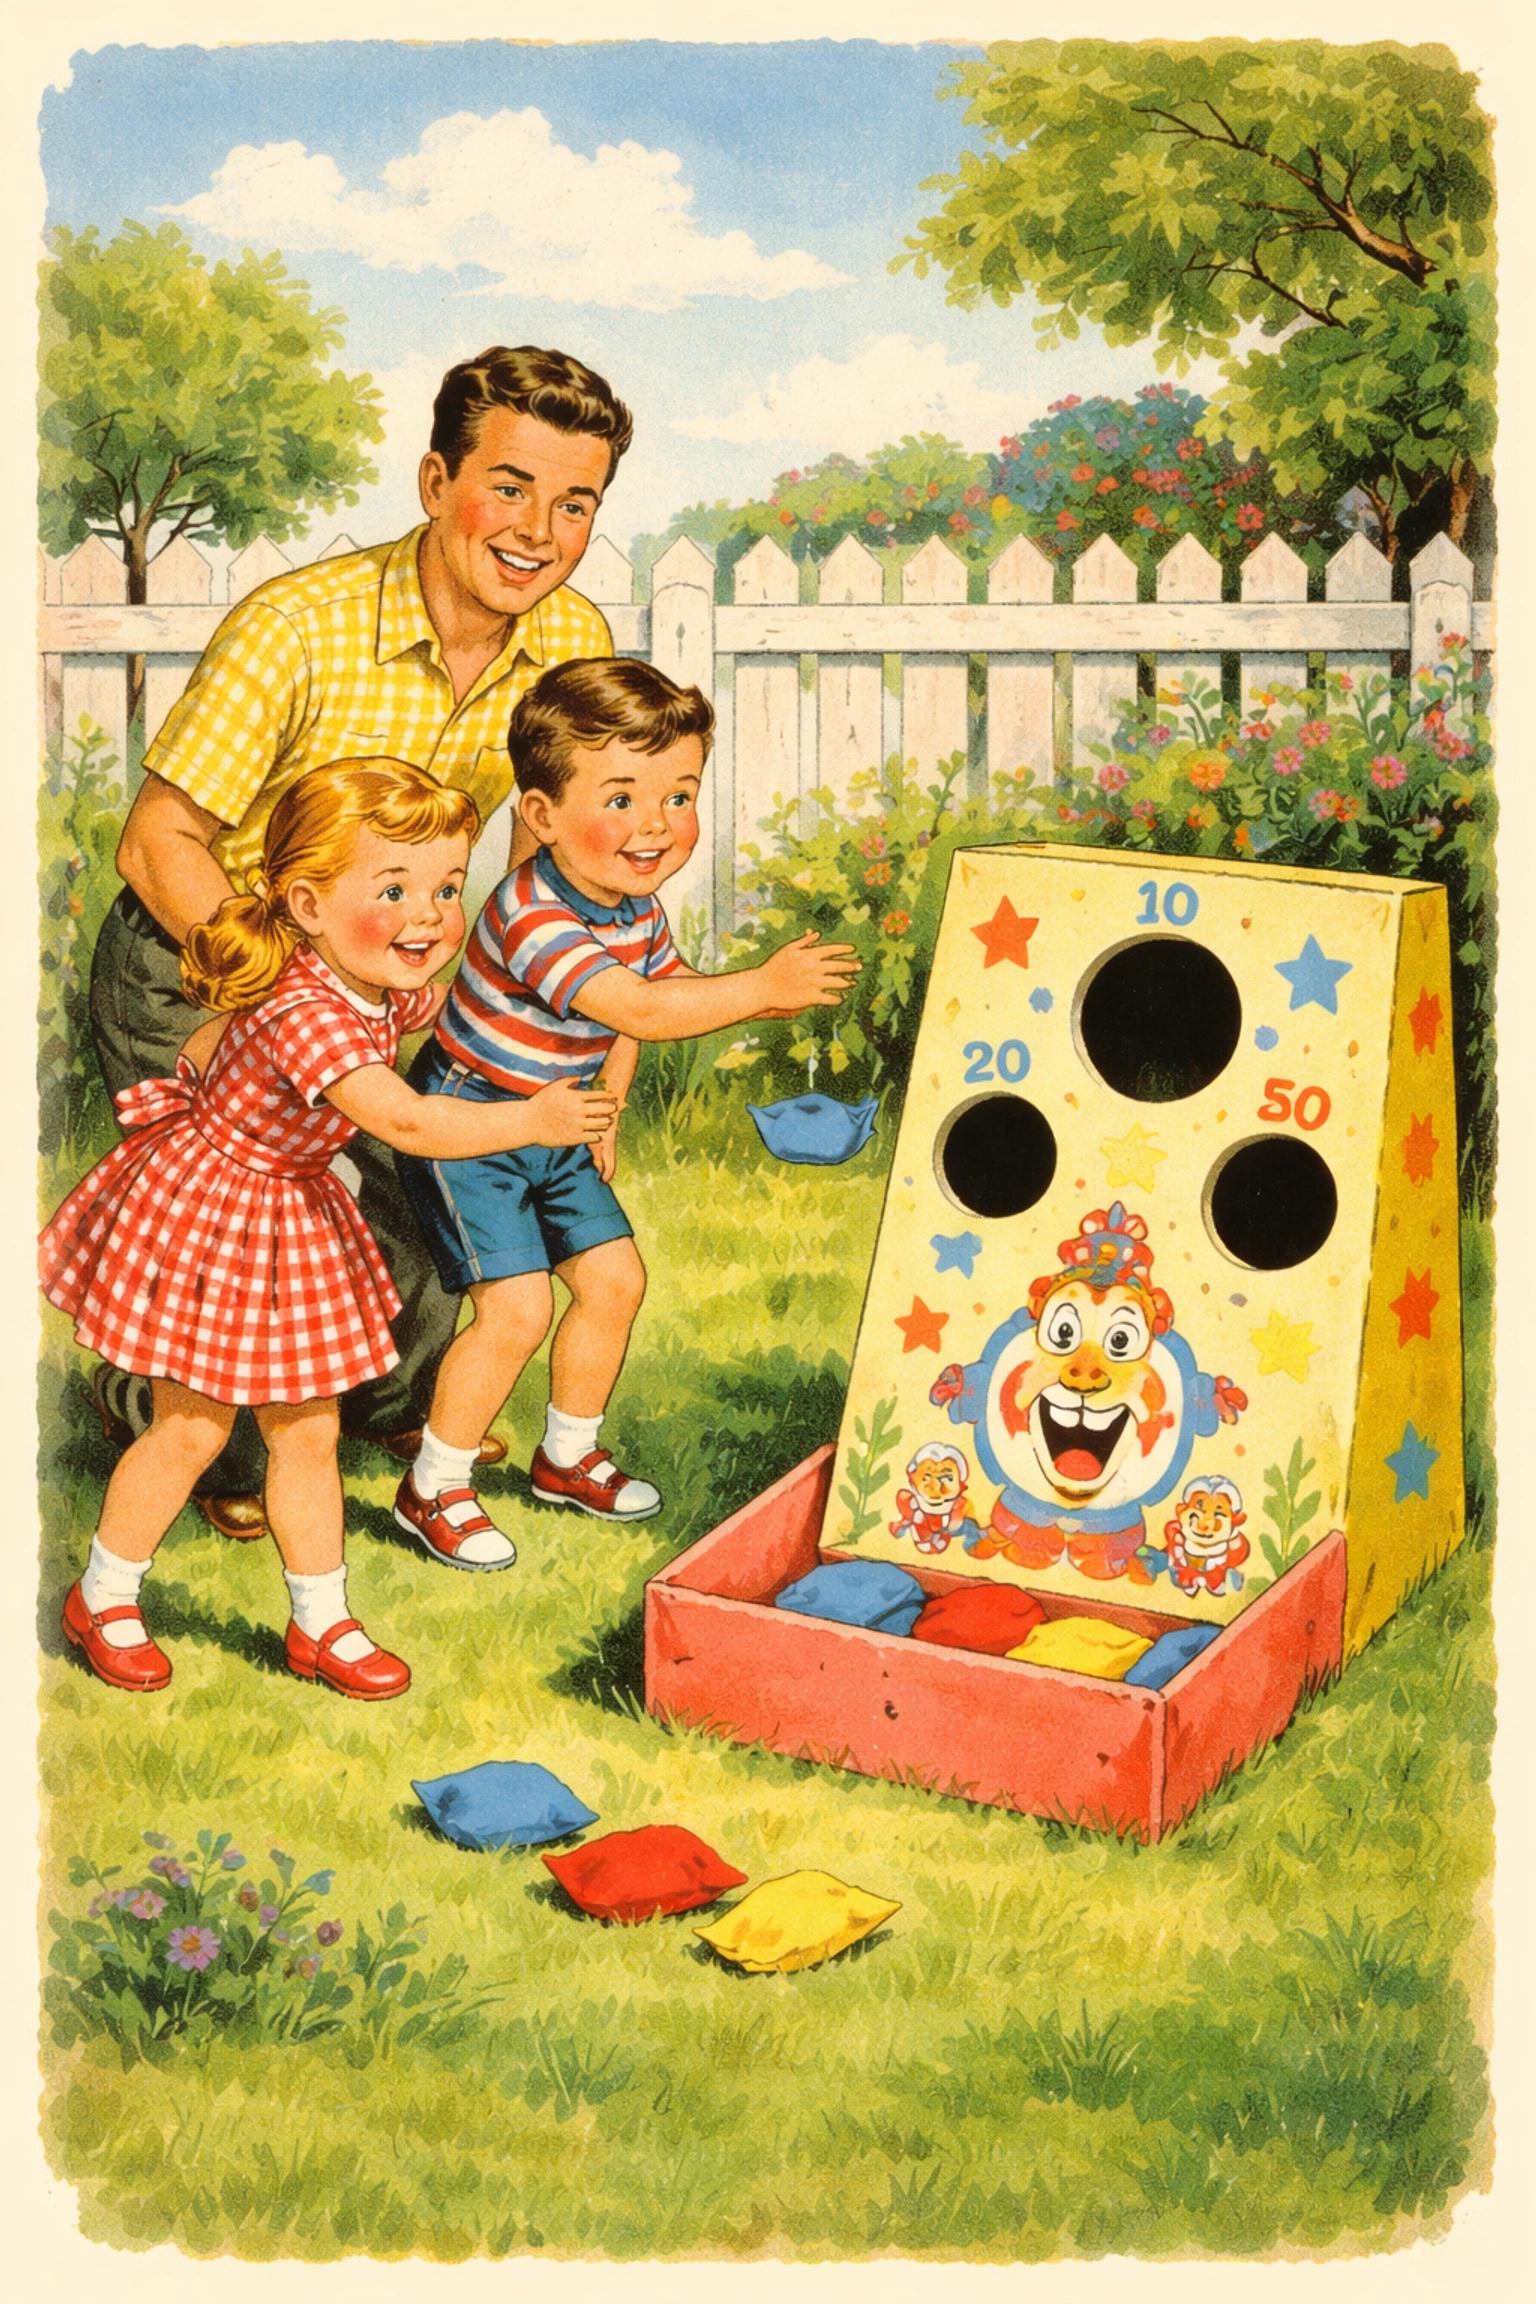
You can make a fun, kid-friendly bean bag toss game using a cardboard box, some paint, and homemade bean bags: all for under $10 and in about an hour of active crafting time. This classic backyard game works well for kids ages 3 and up, and the building process itself becomes half the fun. Kids get to paint, decorate, and create something they'll actually play with for months to come.
Why This Project Works for Families
A bean bag toss game hits that sweet spot where crafting meets play. Unlike projects that end up collecting dust on a shelf, this one gets pulled out again and again: for backyard afternoons, birthday parties, rainy-day indoor fun, and family game nights.
The building process is simple enough for little hands to help meaningfully, yet the finished game entertains kids (and adults) across a wide age range. Plus, when you make it yourself, you can customize the theme to match your child's current obsession, whether that's dinosaurs, rainbows, farm animals, or outer space.
Materials You'll Need
Here's everything required to build your bean bag toss game. Most families already have several of these items around the house.
| Material | Estimated Cost | Notes |
|---|---|---|
| Large cardboard box | Free | Appliance or shipping boxes work well |
| Acrylic craft paint | $3-4 | 2-3 colors of your choice |
| Paintbrushes | $1-2 | Foam brushes work great for kids |
| Scissors or craft knife | Already own | Adult use only for cutting holes |
| Dried beans or rice | $2-3 | About 2 cups total |
| Fabric scraps or old socks | Free | For making bean bags |
| Markers or stickers | $1-2 | Optional for decoration |
Total estimated cost: $7-11
Age Ranges
Building the game:
- Ages 3-5: Can help with painting and decorating
- Ages 6-8: Can assist with measuring and filling bean bags
- Ages 9+: Can handle most steps with supervision
Playing the game:
- Ages 2-3: Enjoy tossing from a close distance (2-3 feet)
- Ages 4-7: Standard play distance (5-6 feet)
- Ages 8+: Can move back to 8-10 feet for more challenge
Time Estimate
- Active crafting time: 45-60 minutes
- Drying time: 1-2 hours (depending on paint thickness)
- Total time from start to play: About 2-3 hours
Pro tip: Start this project in the morning, let it dry during lunch and nap time, and it's ready for afternoon play.
Step-by-Step Instructions
Step 1: Prepare Your Cardboard Box
Find a sturdy cardboard box: the bigger, the better for younger kids. Appliance boxes, diaper boxes, or large shipping boxes all work nicely. Cut away any flaps on the long side so you have a flat, angled surface to work with.
If your box has printing or logos on it, flip it inside out or plan to cover those areas with extra paint.
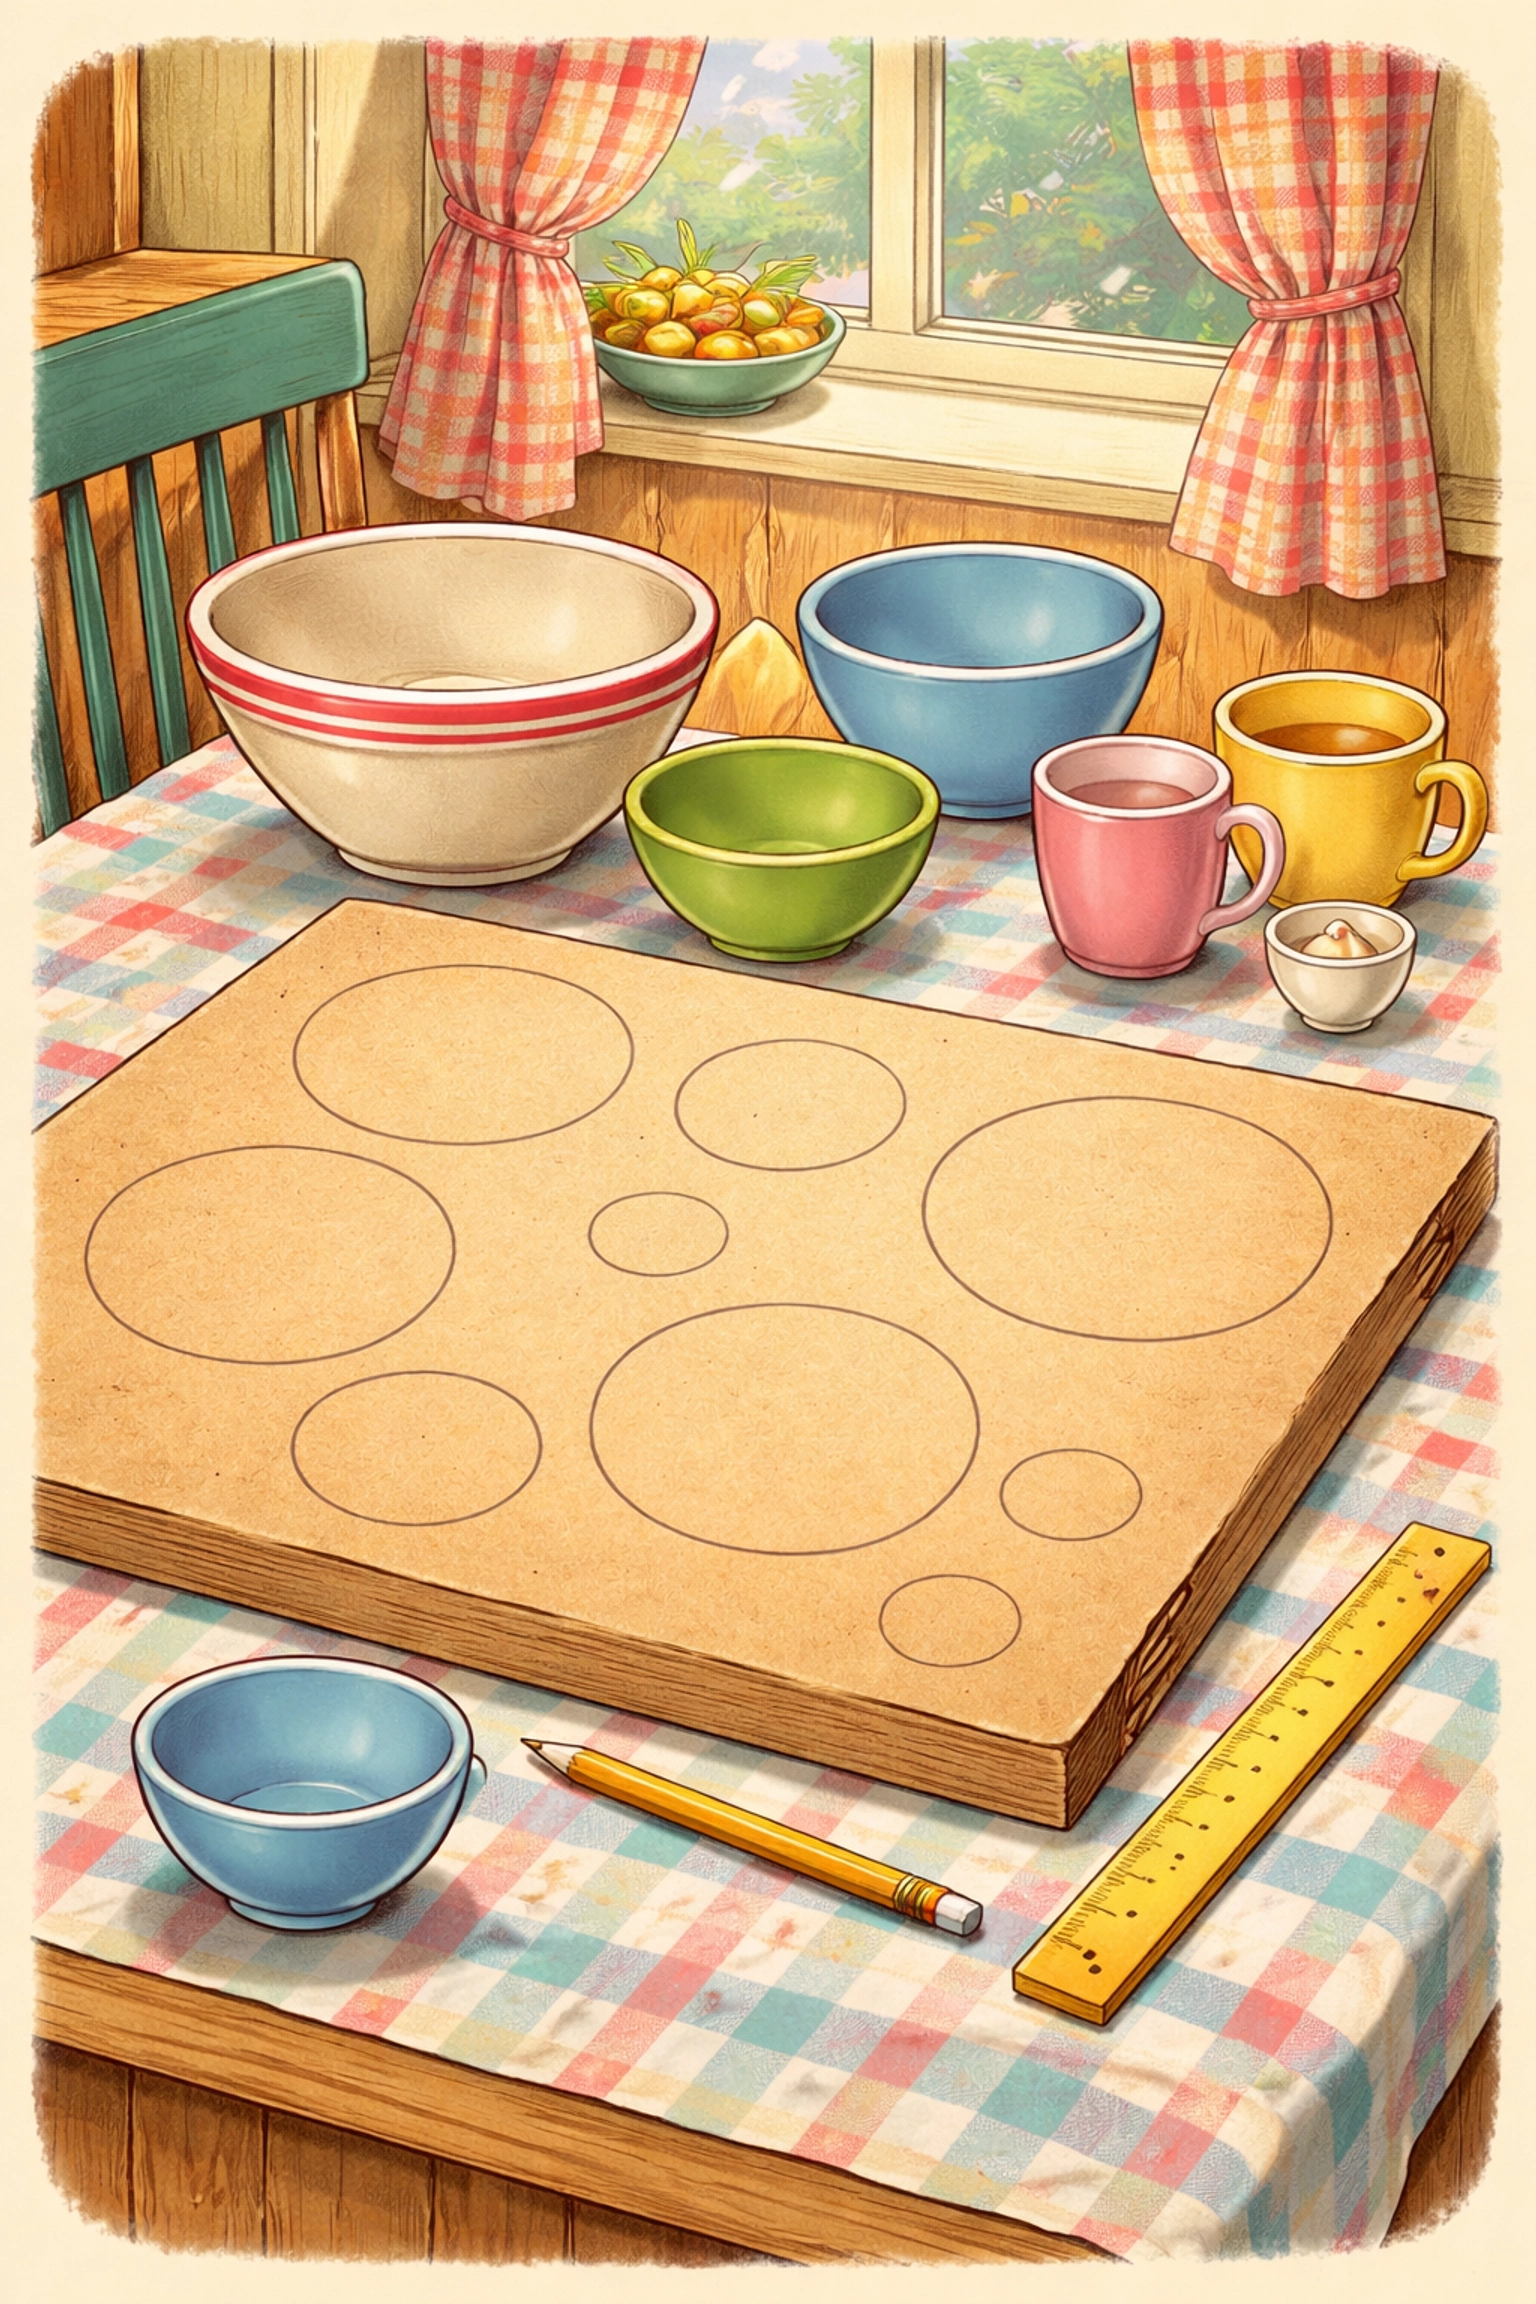
Step 2: Plan Your Holes
Before cutting anything, decide where your target holes will go. Three holes tends to work well for most box sizes:
- One larger hole at the bottom (easier to hit, fewer points)
- One medium hole in the middle
- One smaller hole near the top (harder to hit, more points)
Use bowls, plates, or cups to trace circles. Vary the sizes: maybe 6 inches, 5 inches, and 4 inches in diameter. Mark point values lightly in pencil: perhaps 10, 25, and 50 points.
Step 3: Cut the Holes
This step is for adults only. Use a craft knife or sharp scissors to carefully cut out the traced circles. Cut from the inside of the box if possible to keep the outer surface smooth.
Save the cardboard circles: kids often enjoy decorating these as bonus craft pieces.
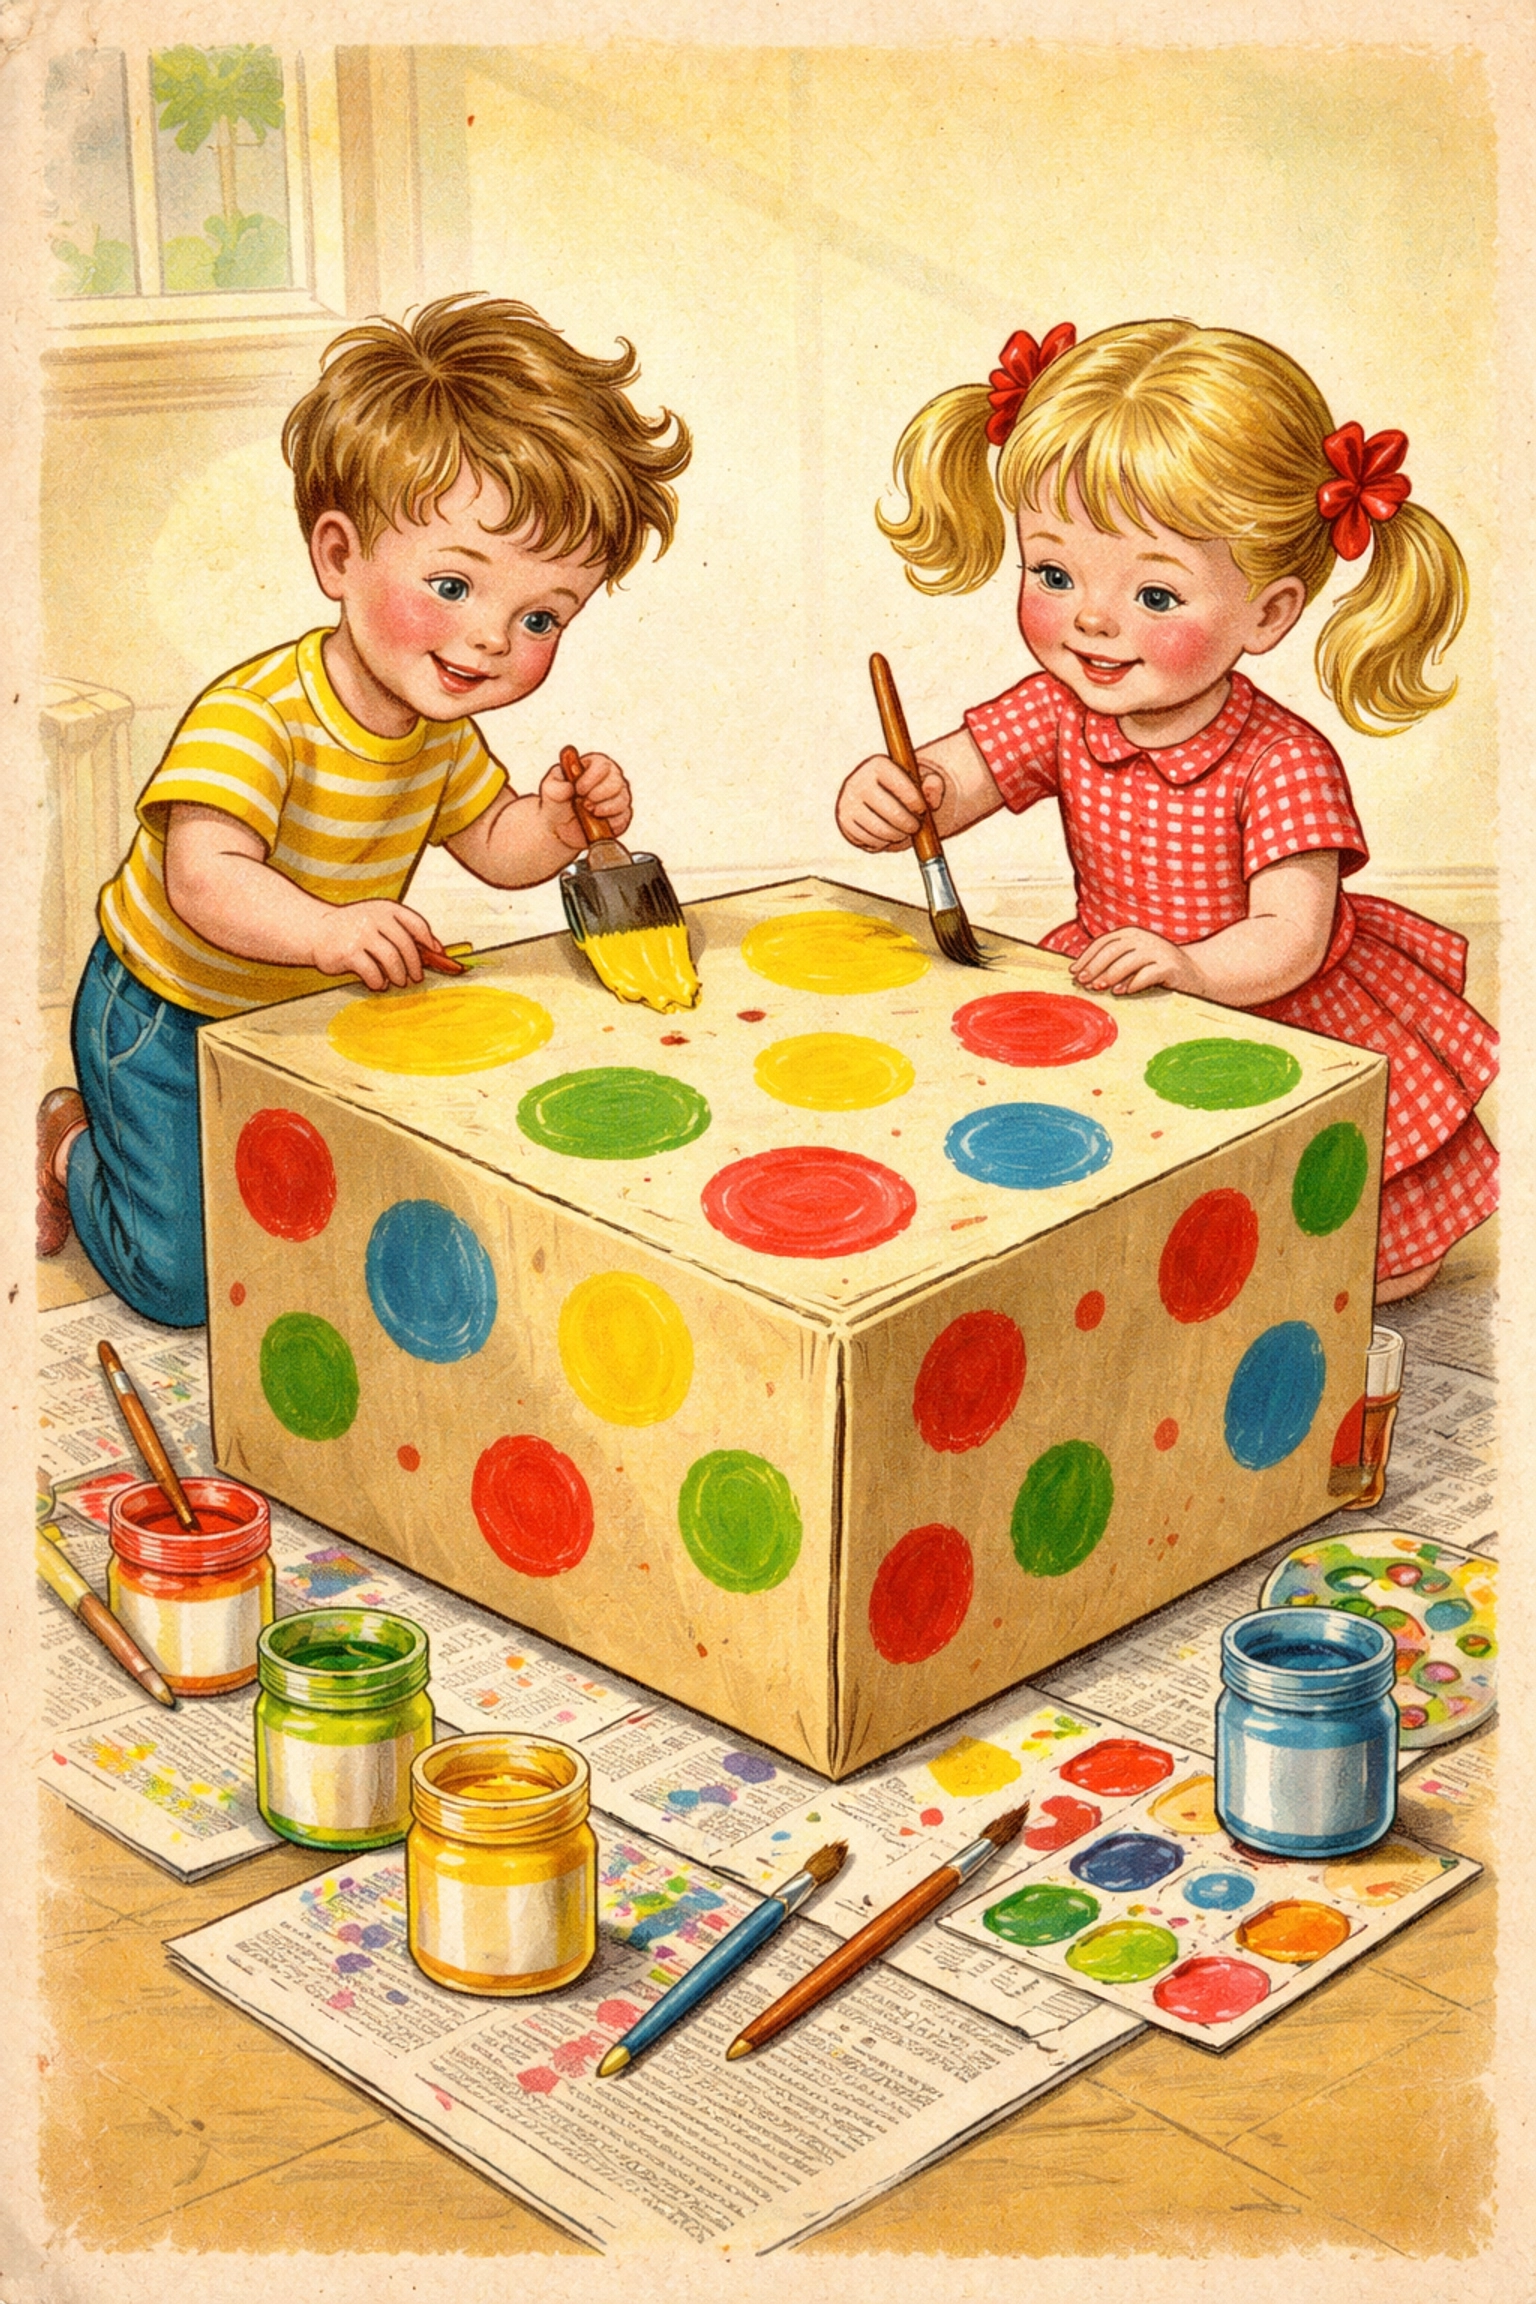
Step 4: Paint and Decorate
Now comes the part kids typically love most. Lay out newspaper or a drop cloth and let your little artists go to town.
Some decoration ideas:
- Paint the whole box a base color, then add designs around each hole
- Create a theme (a monster with holes for eyes and mouth, a rocket ship with planet targets, a barn with window holes)
- Use stickers, drawn-on stars, or handprints as finishing touches
Let the paint dry thoroughly before moving to the next step.
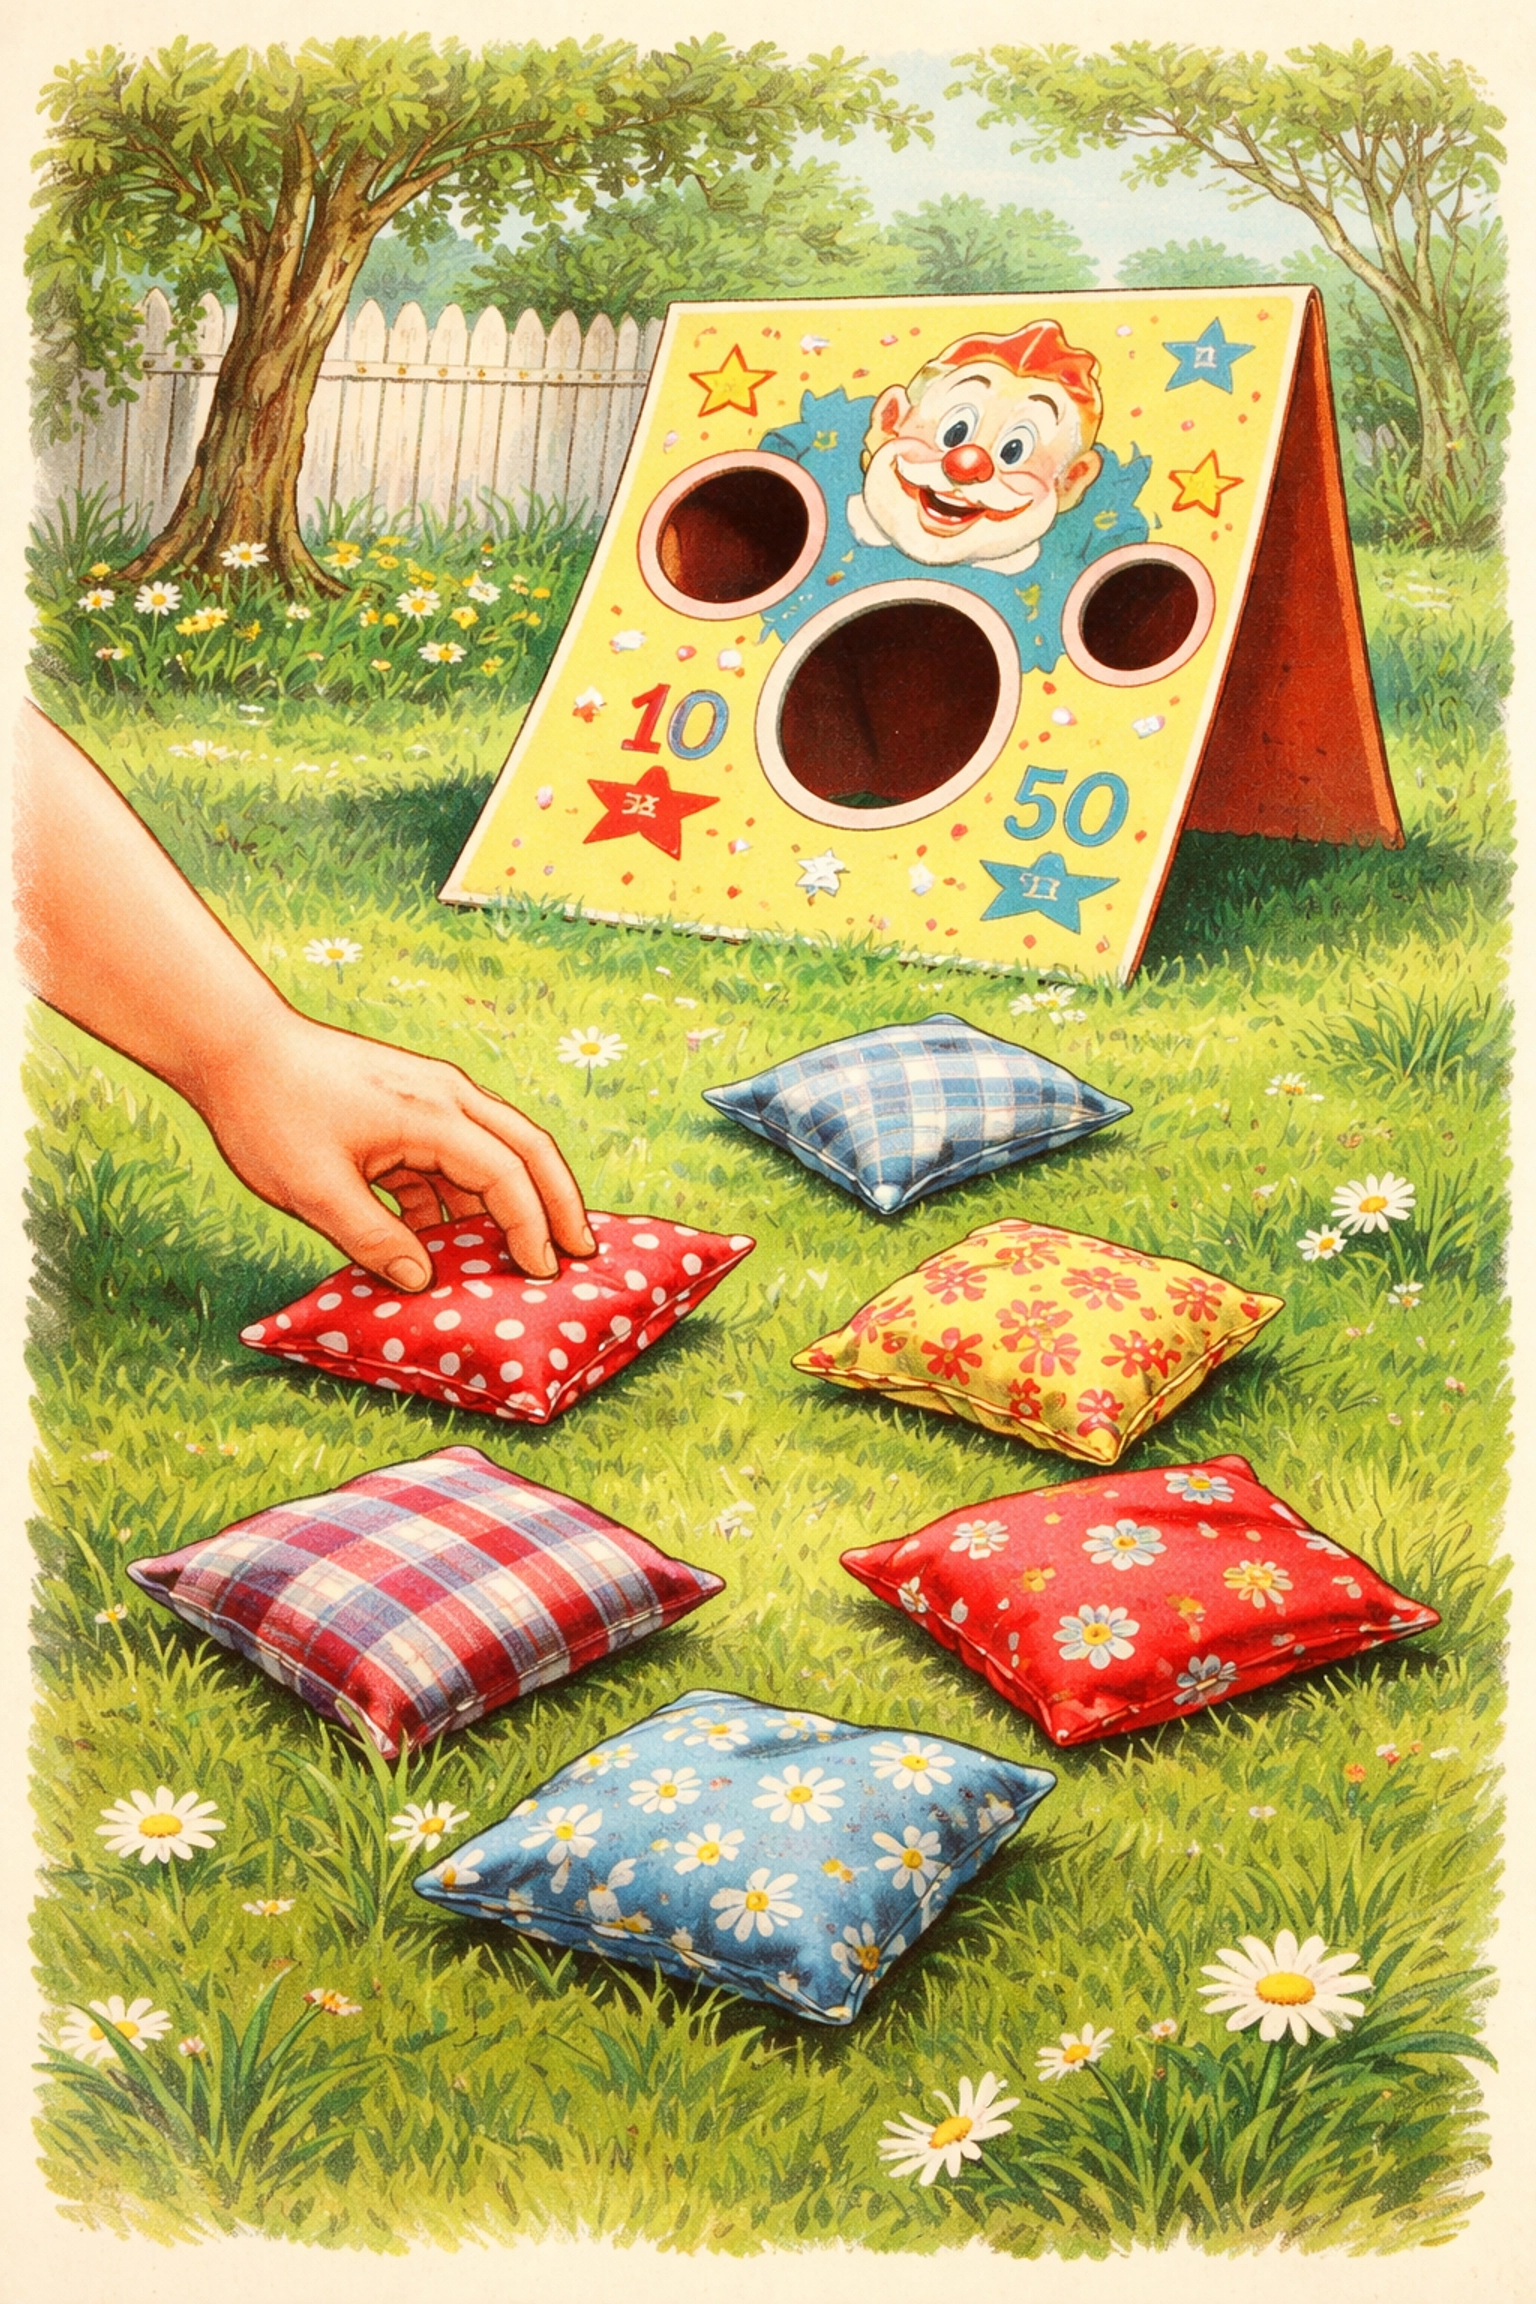
Step 5: Make Your Bean Bags
You'll need 4-6 bean bags for a good game. Here are two methods:
Sock method (easiest):
Cut the toe section from old socks, about 4-5 inches long. Fill with 1/3 cup of dried beans or rice. Tie the open end in a tight knot or secure with a rubber band. Done!
Fabric pouch method:
Cut two 5-inch fabric squares. Place them together with the "good" sides facing in. Sew or glue around three edges. Turn inside out, fill with beans, and seal the final edge with glue or stitching.
For a no-sew approach, small ziplock bags filled with beans and tucked into felt pouches work surprisingly well.
Step 6: Set Up Your Game
Place your finished target board against a wall or fence, or prop it at an angle using books or blocks behind it. Mark a throwing line on the ground with tape, chalk, or a stick: start with about 5-6 feet away for younger players.
How to Play
The rules can be as simple or elaborate as you like:
- Each player takes turns tossing their bean bags at the target
- Bags that go through holes earn the marked points
- Add up scores after each round
- First player to reach a set number (like 100) wins, or play a set number of rounds and compare totals
For younger kids, skip the scoring entirely and just celebrate every bag that makes it through any hole.
Tips for Success
- Reinforce your holes by taping around the edges with packing tape: this prevents tearing during enthusiastic play
- Weight the bottom of your box with a few rocks or books to keep it from tipping over
- Store bean bags in a ziplock bag between uses to keep them together and dry
- Make it portable by keeping the bean bags inside the box when not in use
Looking for more hands-on projects to do with your kids? Check out our Kids Crafts collection for more ideas that actually get used.
Frequently Asked Questions
Can I use something other than dried beans for the filling?
Rice, dried corn, lentils, or even plastic pellets all work well. Some families prefer rice because it's less likely to sprout if the bags get damp.
How long will a cardboard bean bag toss last?
With reasonable care and indoor storage, a well-made cardboard version can last several months to a year. If you want something more permanent, consider using a wooden board for future versions.
What if my child wants to help cut the holes?
Safety scissors generally can't cut through thick cardboard. You might let older kids (8+) use kid-safe scissors on thinner cardboard with close supervision, but the hole-cutting step is usually safest as an adult task.
Can this game be played indoors?
Definitely. Bean bags filled with dried beans are soft enough for indoor play and unlikely to break anything. Just give players enough throwing room.
How many bean bags do we really need?
Four to six is a comfortable number for most games. More bags means less running back and forth to collect them between rounds.
What's the right throwing distance for my child's age?
Start close (3-4 feet) and move back as they get the hang of it. The goal is enough challenge to be interesting without so much difficulty that it stops being fun.
Can we paint the bean bags too?
Fabric paint works on cloth bean bags, though it may stiffen the fabric slightly. Permanent markers are another option for adding designs or player initials.
How do I keep score with kids who can't count yet?
Use physical tokens (buttons, small blocks, or coins) to represent points. Kids can count their pile of tokens at the end without needing to do mental math.
This bean bag toss game tends to become a family favorite that grows with your kids: start with simple tossing practice, add scoring when they're ready, and eventually introduce team play or tournament brackets. The best part? They helped build it themselves.


