


To build marshmallow and toothpick towers with kids, you'll need mini marshmallows and wooden toothpicks. Start by creating simple 2D shapes like triangles and squares on a flat surface, then connect those shapes to form 3D structures. Build upward from a wide, sturdy base, using triangles for stability. The whole activity typically takes 20-45 minutes and costs less than $5.
This classic STEM activity has been keeping kids entertained for generations: and for good reason. It's cheap, it's hands-on, and it sneaks in lessons about engineering, geometry, and problem-solving without anyone realizing they're learning. Plus, there's something deeply satisfying about watching a wobbly tower finally stand on its own.
Let's get building.
What You'll Need: Materials List
Here's the good news: this project probably costs less than your morning coffee.
| Material | Quantity Needed | Estimated Cost |
|---|---|---|
| Mini marshmallows | 1 bag (10 oz) | $2-3 |
| Wooden toothpicks | 1 box (250 count) | $1-2 |
| Flat building surface | 1 (table, tray, or cutting board) | Free |
| Total | Under $5 |
Pro tip: Round toothpicks tend to work better than flat ones: they're a bit stronger and poke into the marshmallows more easily. If you can, let your marshmallows sit out uncovered for a day or two before building. They'll dry out slightly and hold their shape much better. Fresh, squishy marshmallows can make structures droop and sag (which, honestly, is still a good learning moment).
Age Range: Who Can Do This?
This activity works across a surprisingly wide age range, though the experience differs:
Ages 3-4: Little ones can practice poking toothpicks into marshmallows and making simple shapes. Don't expect architectural wonders: focus on the sensory experience and basic hand-eye coordination. Supervision is important since toothpicks have pointy ends.
Ages 5-7: This is the sweet spot. Kids can follow along with 2D shapes, start understanding why triangles are stronger than squares, and build simple towers with guidance.
Ages 8-12: Older kids can tackle serious engineering challenges. Try competitions for tallest tower, strongest structure (how many books can it hold?), or most creative design.
Teens and Adults: Don't knock it. This makes a surprisingly fun family challenge or party activity. Set a timer and see who builds the tallest free-standing structure.

Time Estimate
Basic exploration: 15-20 minutes
Building a simple tower: 30-45 minutes
Extended challenge or competition: 45-60 minutes
The beauty of this activity is its flexibility. You can make it a quick afternoon distraction or stretch it into a full STEM lesson. Kids often want to keep going once they get the hang of it.
Step-by-Step Instructions
Step 1: Set Up Your Building Zone
Clear a flat surface: a kitchen table, large cutting board, or cookie sheet works well. The cookie sheet is nice because you can move the whole project without disturbing the structure.
Dump out a pile of marshmallows and toothpicks within easy reach. There's no need to count them out precisely; having plenty available keeps the creative flow going.
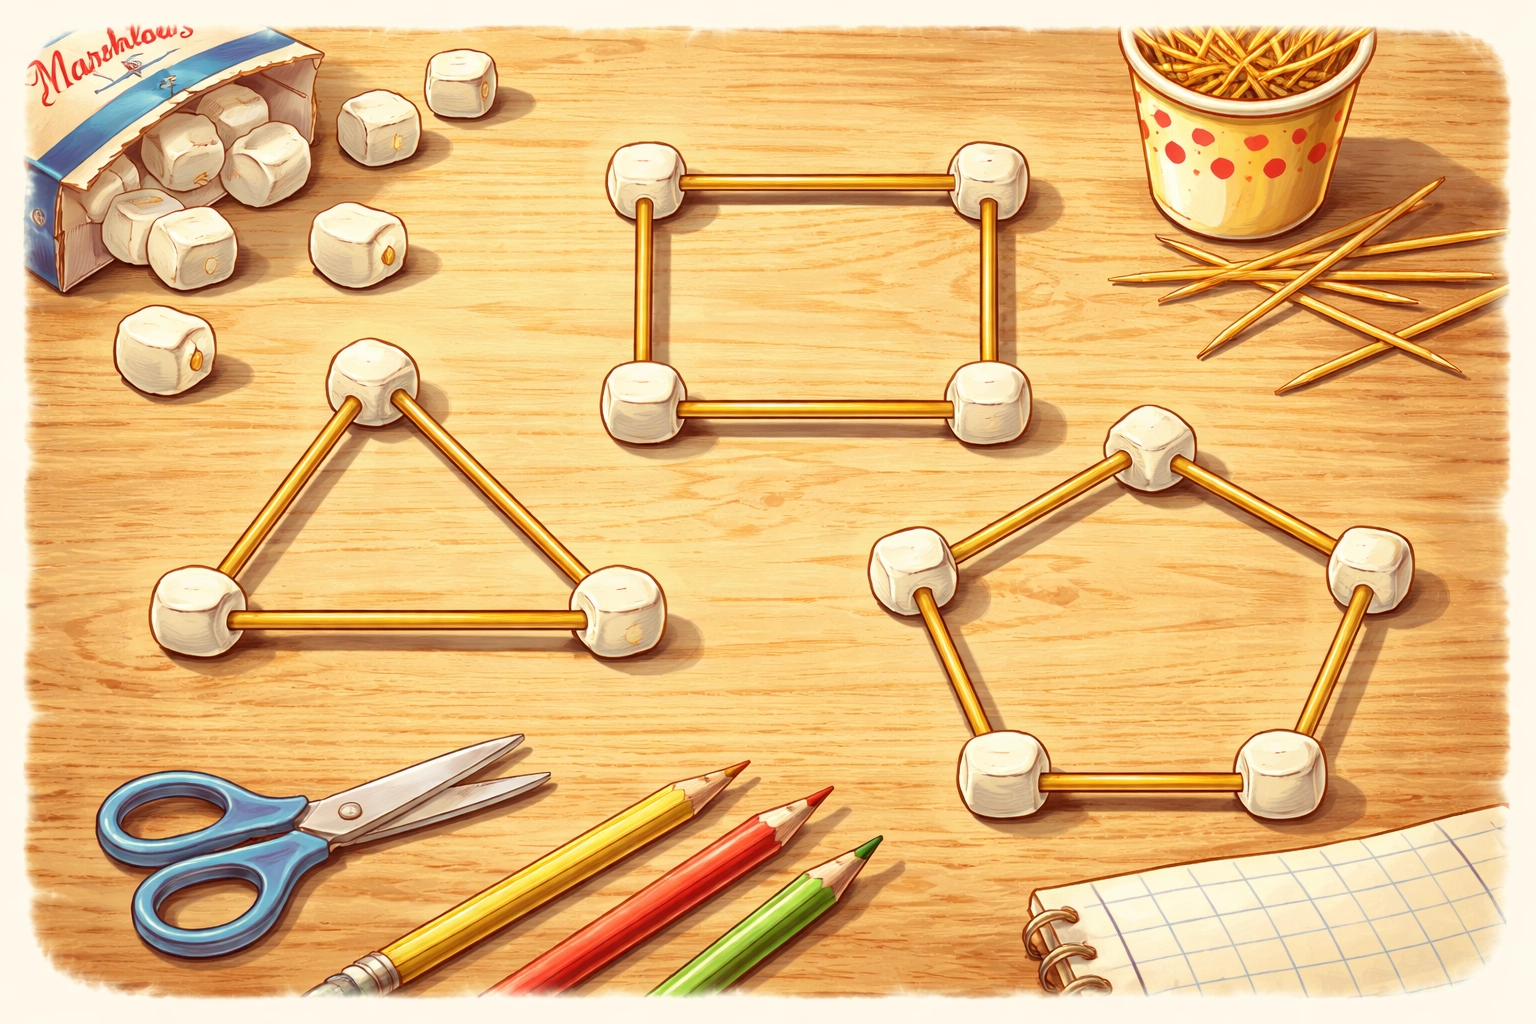
Step 2: Practice with 2D Shapes
Before reaching for the sky, start flat. Have your kids create basic shapes on the table surface:
- Triangle: 3 marshmallows + 3 toothpicks
- Square: 4 marshmallows + 4 toothpicks
- Pentagon: 5 marshmallows + 5 toothpicks
This step helps kids get comfortable with the mechanics of pushing toothpicks into marshmallows and understanding how shapes connect.
Here's where you can sneak in the first engineering lesson: push gently on each shape. Notice how the triangle holds firm while the square kind of squishes and shifts? That's because triangles distribute force more evenly. Engineers call this "structural stability," but you can just call it "triangles are tougher."
Step 3: Strengthen Your Squares
If your kids love squares (many do: they're satisfying to make), show them how to reinforce one:
- Add a diagonal toothpick across the square, corner to corner
- Or add a marshmallow in the center with four toothpicks connecting to each corner
Suddenly that wobbly square becomes much sturdier. This is the same principle real builders use when they add cross-bracing to walls and bridges.
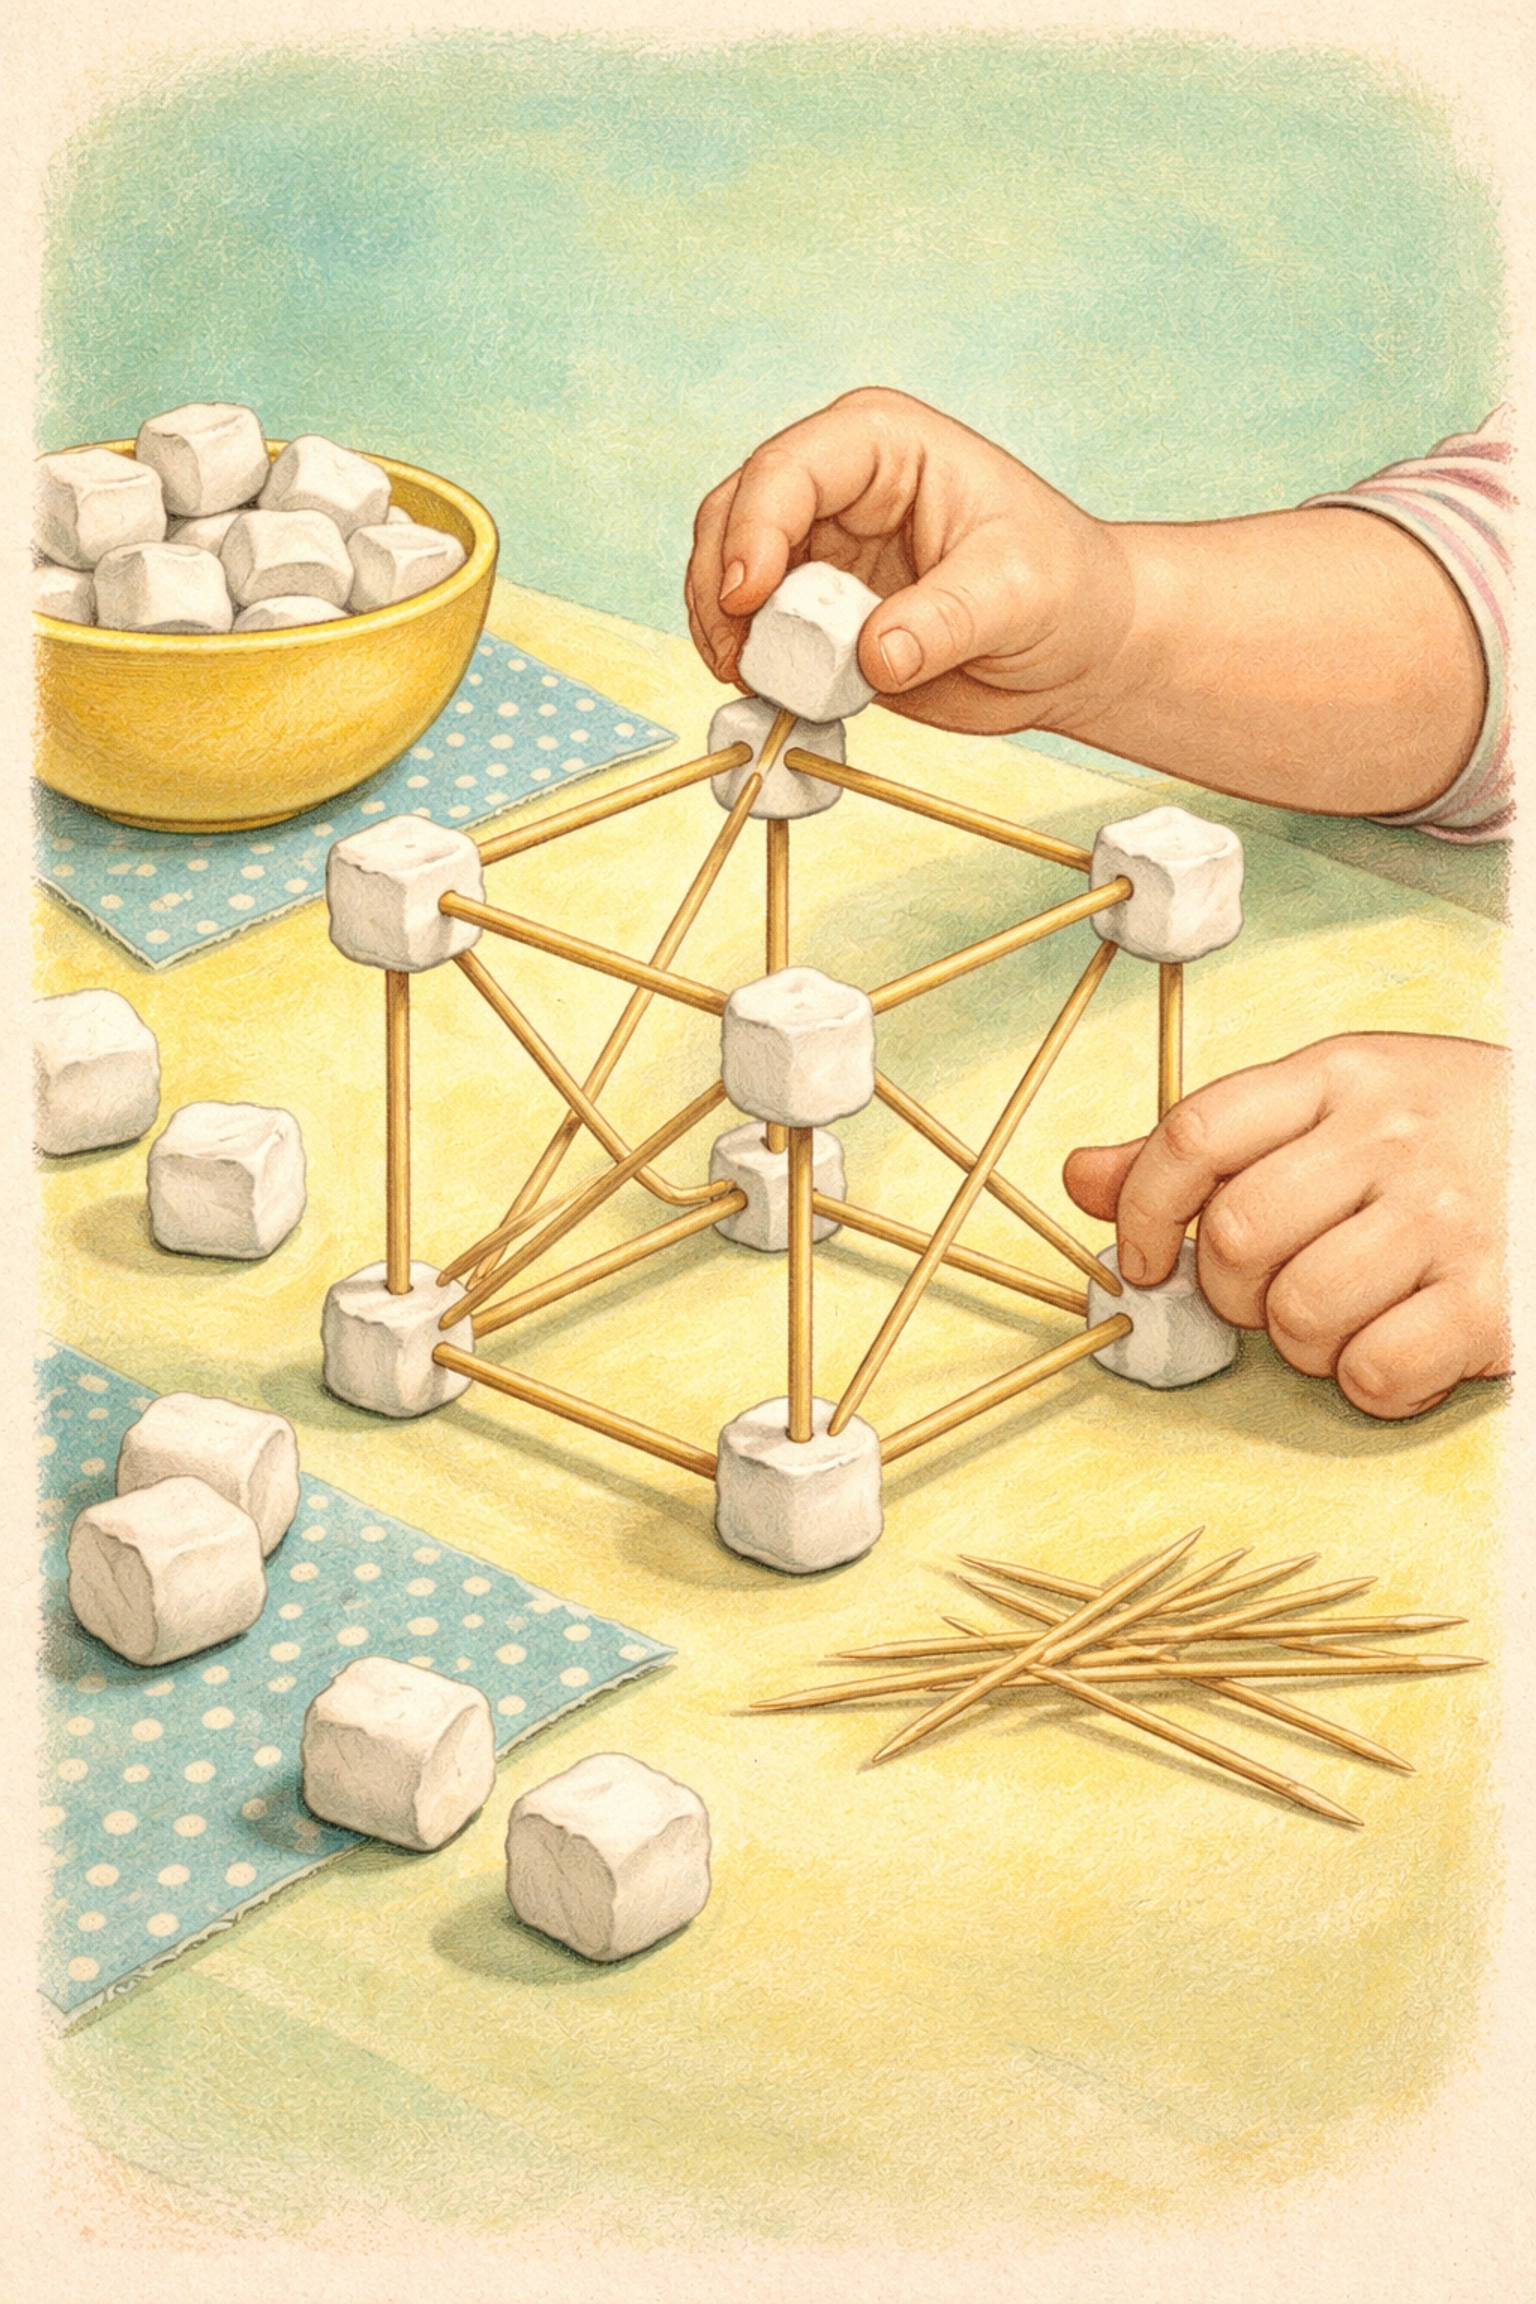
Step 4: Go 3D
Now the real fun begins. Take your flat shapes and start connecting them upward:
Make a cube:
- Build two squares
- Stand them upright, parallel to each other
- Connect the corners with four horizontal toothpicks and marshmallows
Make a tetrahedron (triangular pyramid):
- Build a triangle base
- Add three toothpicks pointing upward from each corner marshmallow
- Connect all three at the top with one marshmallow
The tetrahedron is remarkably strong for its size: it's essentially triangles all the way around.
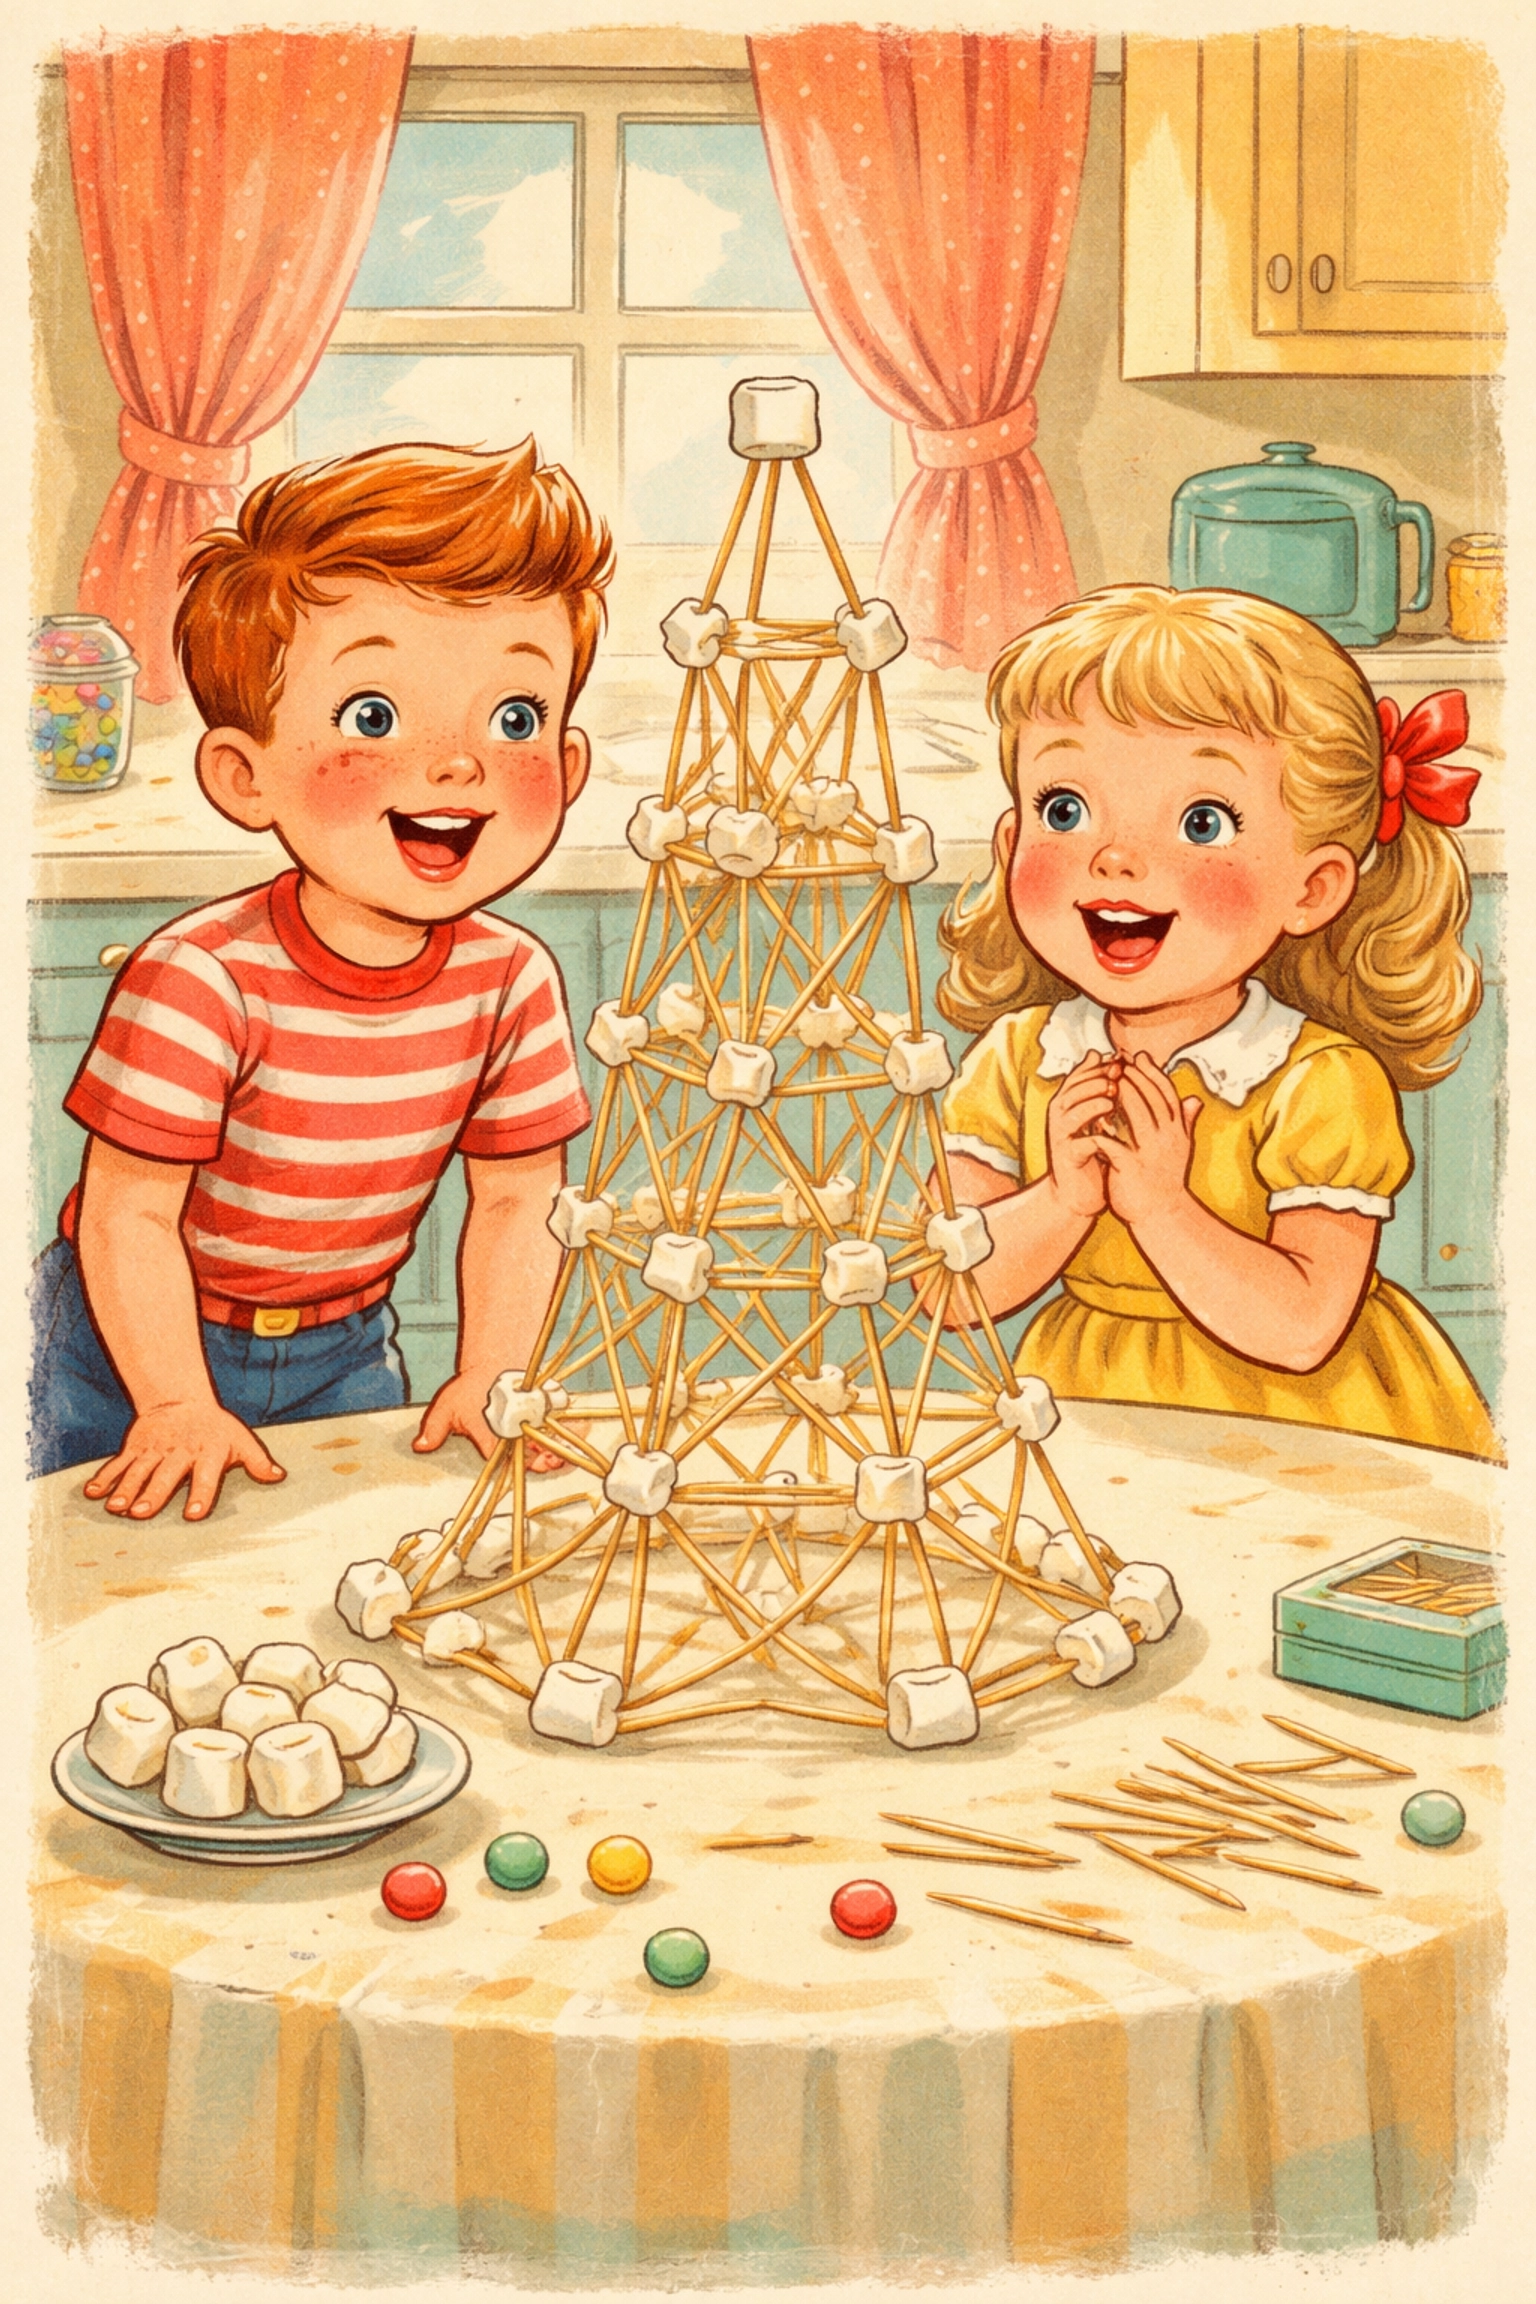
Step 5: Build Your Base Wide
Here's the most important tower-building principle: start wide. A tower with a broad, sturdy base can support much more height than one that starts narrow.
Think of it like a pyramid versus a pencil standing on its eraser. Which one's going to stay upright?
Encourage kids to build a base that's at least 4-6 marshmallows wide before adding height. Connect those base shapes with cross-braces and diagonal supports.
Step 6: Add Height Gradually
Once your base feels solid, start building upward. A few guidelines:
- Each level should be slightly smaller than the one below it
- Add diagonal bracing between levels when things start to wobble
- Use fewer marshmallows at the top: heavy tops cause tipping
- If a section starts sagging, add a support toothpick underneath like a tiny column
Step 7: Test and Troubleshoot
Structures will fall. Marshmallows will squish. Toothpicks will poke through in unexpected places. This is all part of the process.
When something collapses, resist the urge to fix it yourself. Instead, ask questions:
- "Why do you think it fell over?"
- "What could we add to make this part stronger?"
- "Where does it feel wobbly?"
These troubleshooting conversations are where the real learning happens.
Tips for Better Towers
- Work as a team: One person builds individual pieces while another connects them. This assembly-line approach often produces better results.
- Let gravity help: Build pieces flat on the table, then lift and connect them. It's easier than trying to build upward in mid-air.
- Embrace imperfection: Slightly crooked structures often have more character (and sometimes more stability) than perfectly symmetrical ones.
- Take breaks: If marshmallows get too soft from handling, let them rest for a few minutes.
Challenge Ideas
Once basic building is mastered, try these variations:
- Tallest tower: Who can build the highest free-standing structure in 15 minutes?
- Limited materials: Build the tallest tower using exactly 30 marshmallows and 50 toothpicks
- Weight test: Build a structure that can support a small book or toy
- Bridge building: Span a gap between two books: can it hold a toy car?
For more hands-on STEM projects like this, check out our kids crafts collection for ideas that keep little hands busy and curious minds engaged.
Frequently Asked Questions
Can I use regular large marshmallows instead of minis?
You can, but mini marshmallows generally work better. Large marshmallows are heavier and softer, which makes structures more prone to sagging. If large marshmallows are all you have, cut them into smaller pieces.
What if my toothpicks keep poking through the marshmallows?
This usually means the marshmallows are too soft. Try letting them dry out overnight, or use slightly stale marshmallows. You can also try inserting toothpicks at a gentler angle rather than straight through.
Is this activity safe for toddlers?
Toddlers can participate with close supervision, but be mindful of the pointy toothpicks. Some parents substitute toothpicks with dry spaghetti noodles for younger kids: they're less sharp, though they break more easily.
How do I make structures that don't lean or fall over?
Focus on triangular shapes rather than squares, build a wide base, and make sure each level is secure before adding height. Diagonal cross-bracing helps tremendously.
Can we eat the marshmallows afterward?
That's a family call. The marshmallows will have been handled quite a bit, so many families keep a separate "eating bowl" of marshmallows aside from the building supplies.
Why do triangles work better than squares?
Triangles are "rigid" shapes: the angles can't change without breaking a side. Squares can shift into parallelograms without anything breaking, which is why they feel wobbly. Adding a diagonal turns a square into two triangles, making it stable.
What's the tallest tower kids can realistically build?
With patience and good technique, kids can often build towers 12-18 inches tall. The limiting factor is usually marshmallow softness rather than structural design.
Can this be done as a classroom activity?
It works great for groups. Consider making it a team challenge with 3-4 kids per team. Set clear rules about materials and time limits for fairness.
References
- Engineering principles for marshmallow structures
- Geometry and structural stability research
- STEM education activity guidelines


