


To make dyed pasta necklaces with kids, you'll dye dried pasta using food coloring mixed with rubbing alcohol or vinegar in ziplock bags, let it dry completely, then string the colorful pieces onto yarn or lanyard. This classic craft typically takes about 30-45 minutes of active time (plus drying), costs well under $10, and works wonderfully for children ages 3 and up. It's one of those timeless projects that sneaks in fine motor practice, color recognition, and pattern-making while feeling like pure creative play.
There's something genuinely satisfying about watching a pile of plain penne transform into a rainbow of wearable art. And honestly? The adults usually end up just as invested in getting that perfect shade of turquoise as the kids do.
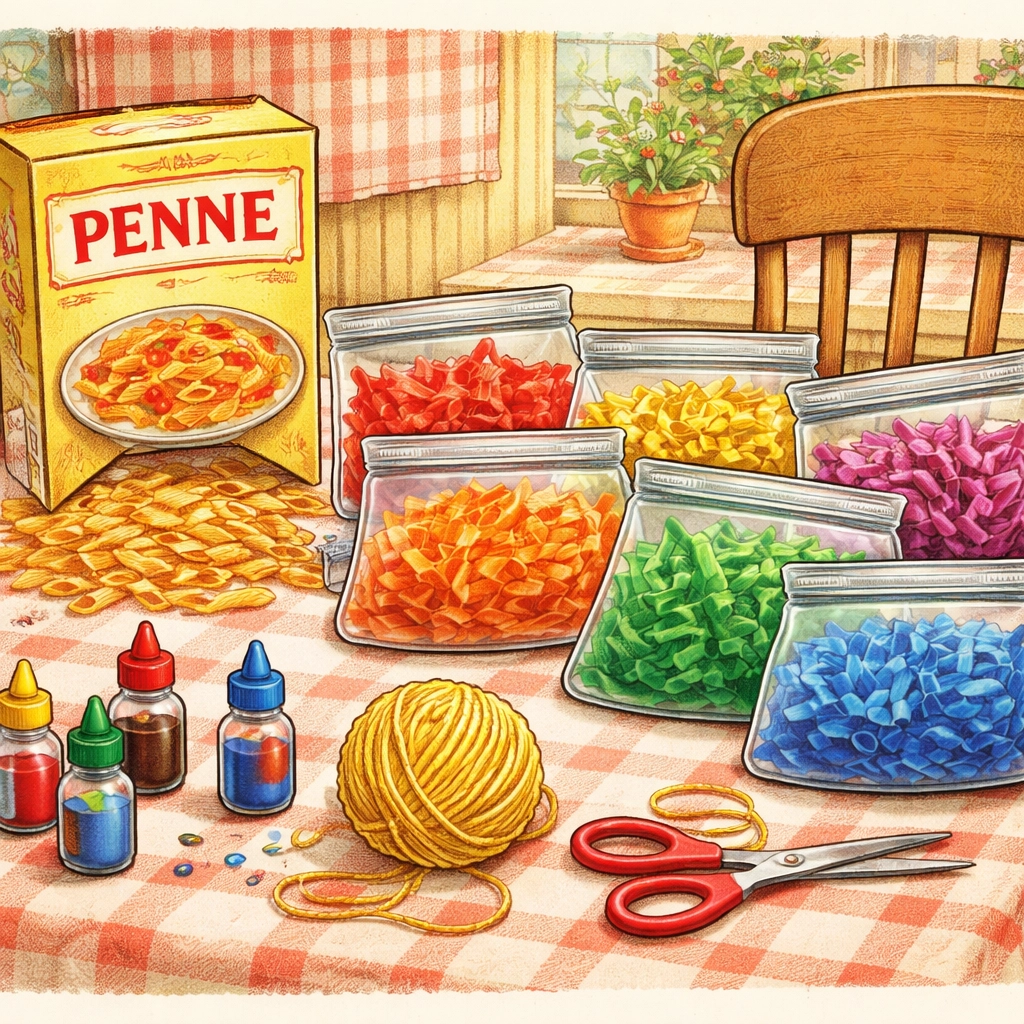
What You'll Need: Materials & Cost Breakdown
One of the best things about pasta necklaces is that you likely have most supplies at home already. Here's what to gather:
| Material | Approximate Cost | Notes |
|---|---|---|
| Dried pasta (penne, rigatoni, or wagon wheels) | $1-2 | Tubes work best for stringing |
| Food coloring (assorted colors) | $3-4 | Gel food coloring gives more vibrant results |
| Rubbing alcohol OR white vinegar | $1-2 | Helps color spread evenly and dry faster |
| Ziplock bags (gallon size) | $2-3 | One bag per color |
| Yarn, string, or lanyard | $1-3 | Lanyard tends to be easier for small hands |
| Paper towels or parchment paper | Usually on hand | For drying |
Estimated Total: $6-10
You can easily make multiple necklaces (and bracelets) from a single box of pasta, so this craft stretches nicely if you're working with siblings, a playdate group, or a classroom.
Age Range: Who Will Enjoy This Most?
Best suited for ages 3-8, though younger and older kids can certainly join in with slight adjustments.
Ages 3-4: Focus on the stringing portion. The shaking and dyeing can be a collaborative effort with a grown-up handling the food coloring. Expect chunky, colorful creations with no particular pattern, and that's perfect.
Ages 5-6: This age group often loves creating patterns (red-blue-red-blue) and may want to make necklaces for friends, pets, stuffed animals, or imaginary characters.
Ages 7-8: Older kids might enjoy experimenting with color mixing, creating ombré effects, or designing more complex pattern sequences. They can typically handle most steps independently.
Adults: Let's be honest, you'll probably make one too.
Time Estimate
| Stage | Time Required |
|---|---|
| Gathering supplies | 5-10 minutes |
| Dyeing pasta | 10-15 minutes |
| Drying time | 30 minutes to 2 hours (depending on method) |
| Stringing necklaces | 15-30 minutes |
Total active time: Around 30-45 minutes
Total project time (including drying): 1-3 hours
Pro tip: You can dye the pasta the night before and have it ready for a stringing session the next morning. Makes for a calmer, less "are they dry yet?!" experience.
Step-by-Step: How to Dye Pasta for Necklaces
Step 1: Sort Your Pasta
Pour your dried pasta into separate piles, one for each color you want to create. A handful per color is usually plenty for one necklace. Penne, rigatoni, ziti, and wagon wheels all work well because they have holes large enough for string to pass through easily.
Step 2: Prepare Your Dye Bags
For each color, you'll need one gallon-size ziplock bag. Add:
- About 1 cup of pasta
- 1 tablespoon of rubbing alcohol (or 1 teaspoon of white vinegar)
- 5-8 drops of food coloring
The rubbing alcohol helps the color distribute evenly and speeds up drying time significantly. Vinegar works too, though drying may take a bit longer.
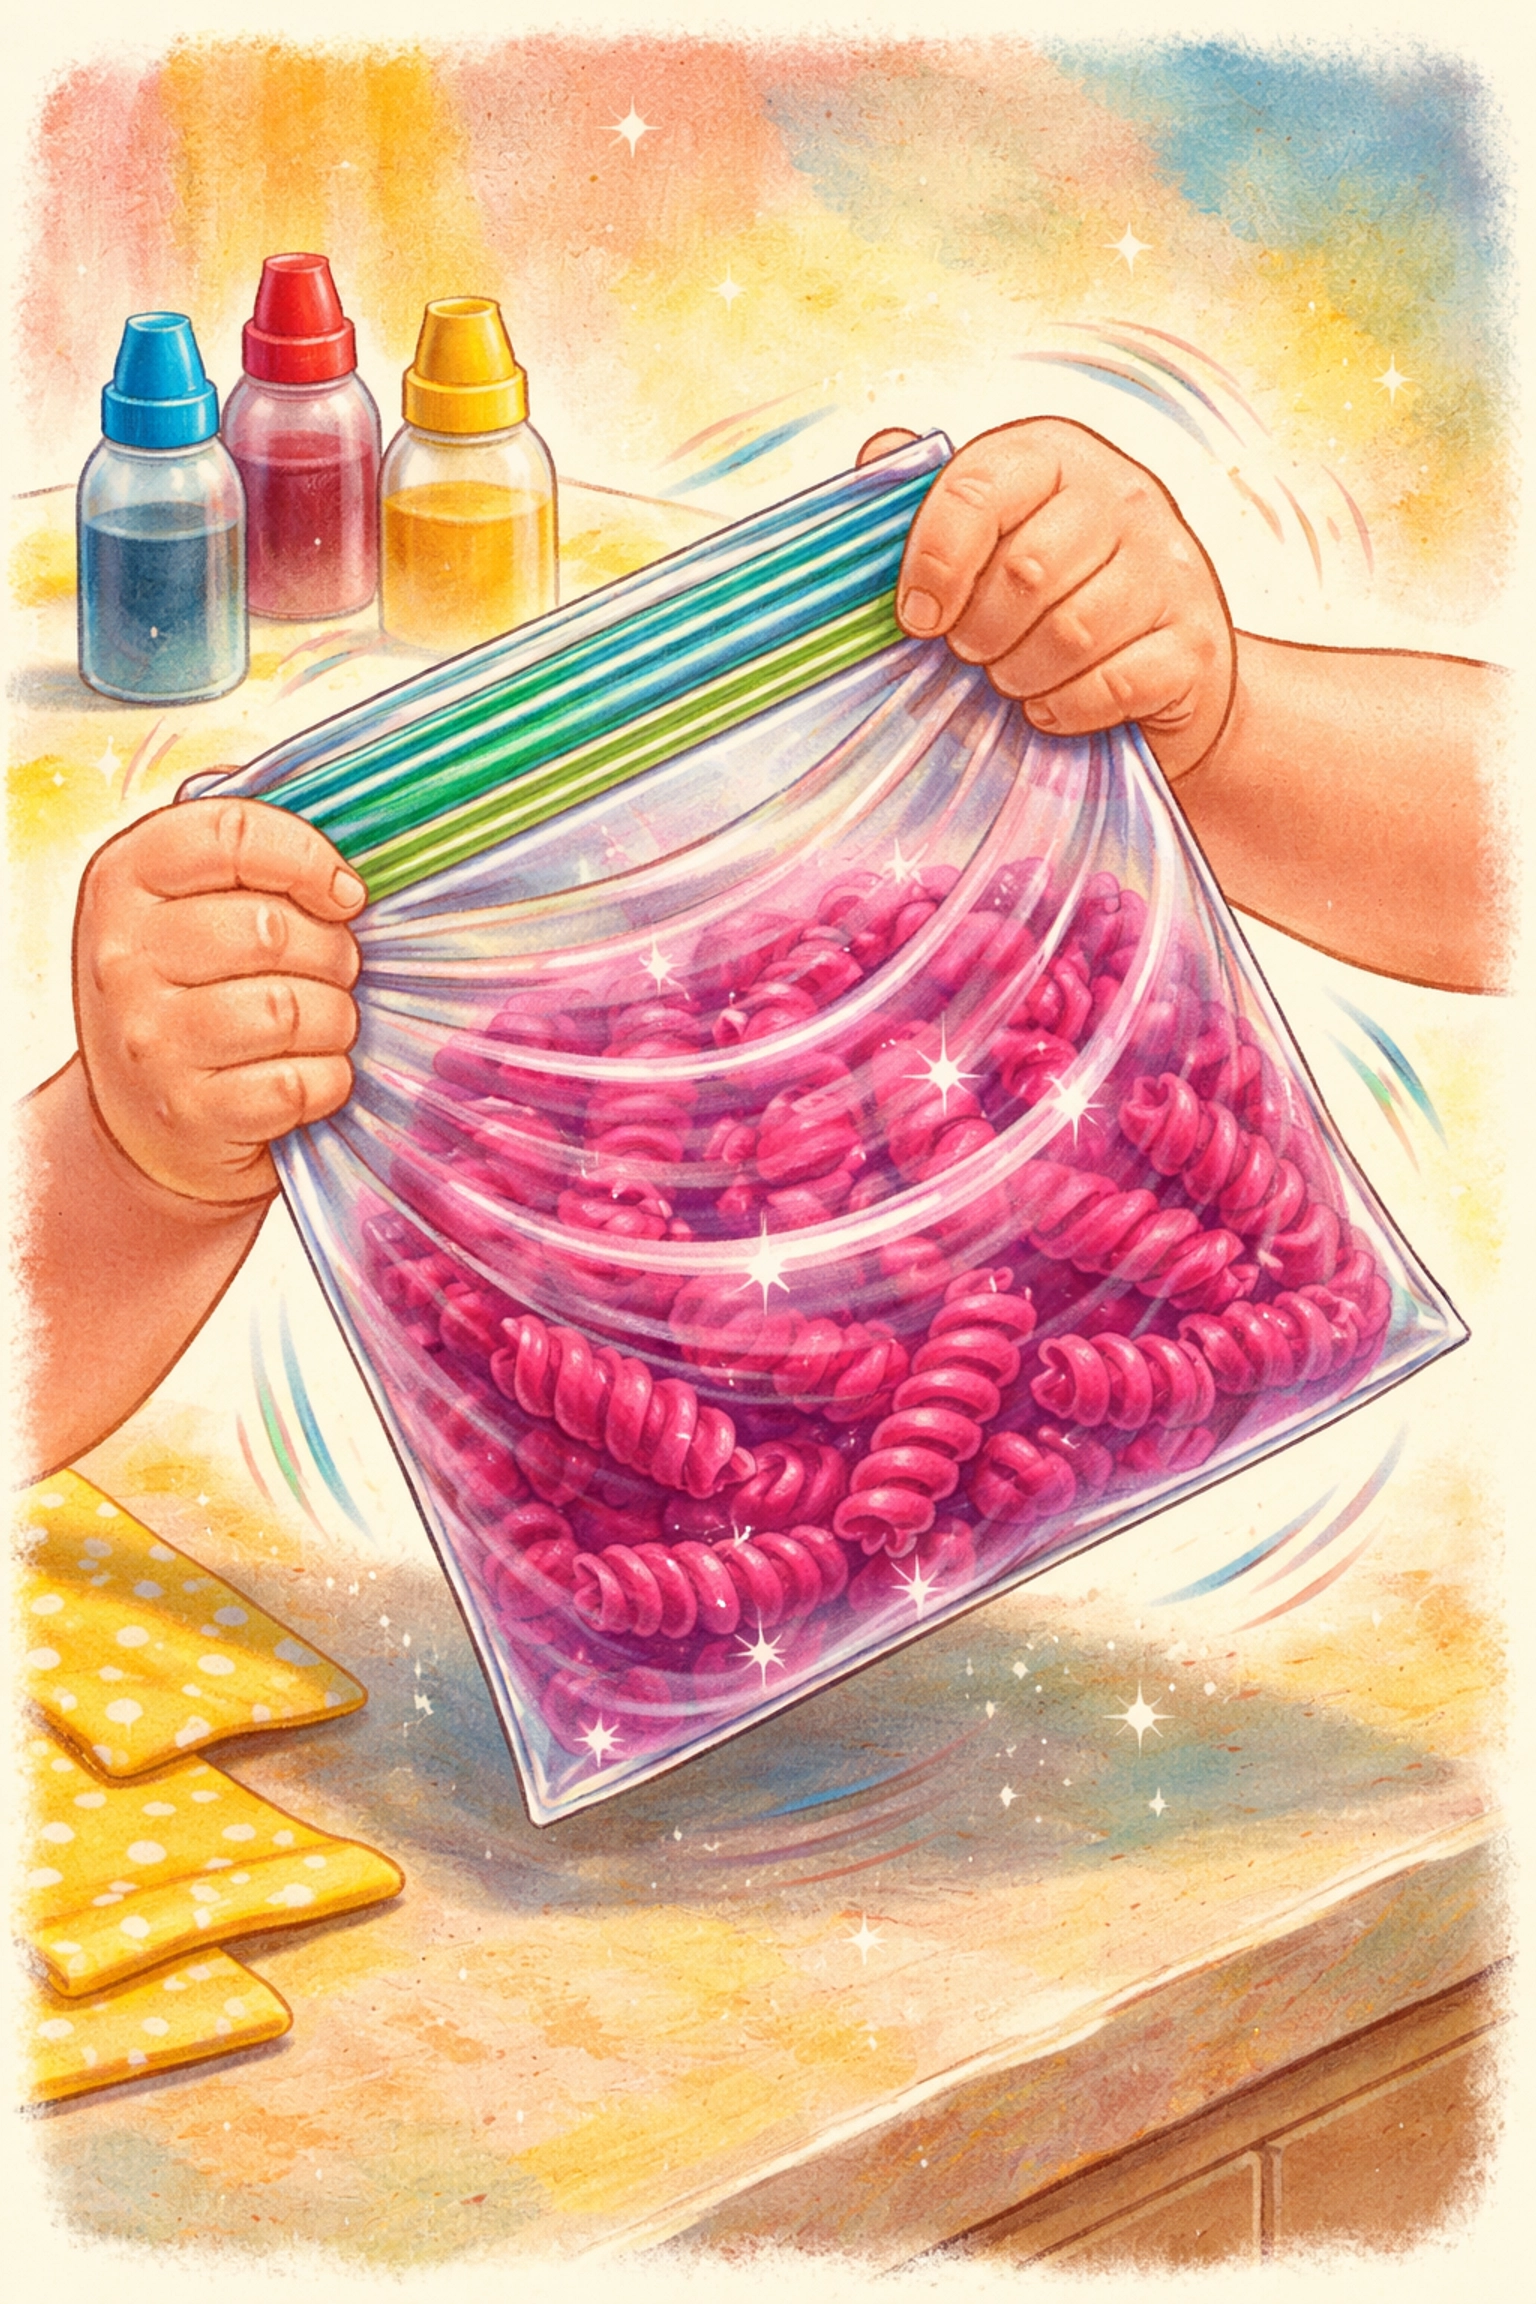
Step 3: Shake It Up
Seal the bag tightly (double-check that seal!) and shake vigorously. This is where kids can really get involved, shaking is the fun part. Keep going until every piece of pasta is coated in color. If you see white spots, add another drop or two of coloring and shake again.
Step 4: Spread and Dry
Pour the dyed pasta onto paper towels or parchment paper in a single layer. Make sure pieces aren't touching or stacked, as they can stick together.
Drying options:
- Air dry: 1-2 hours at room temperature
- Speed dry: Spread on a cookie sheet and place in an oven at 200-250°F for about 10 minutes (adult supervision required)
The pasta should feel completely dry to the touch before stringing. Tacky pasta will stick to fingers and transfer color.

Step-by-Step: How to String the Necklace
Step 1: Cut Your String
Measure a piece of yarn, string, or lanyard about 24-30 inches long. This gives enough length for a child-sized necklace plus room for tying.
Helpful trick: Wrap a small piece of tape around one end of the string to create a stiff "needle." This makes threading much easier for little hands and prevents the frustrating floppy-string situation.
Step 2: Create a Stopper
Tie a large knot at the non-taped end, or tie a piece of pasta to the bottom as a stopper. This prevents all your hard work from sliding right off the other end, a lesson some of us have learned the hard way.
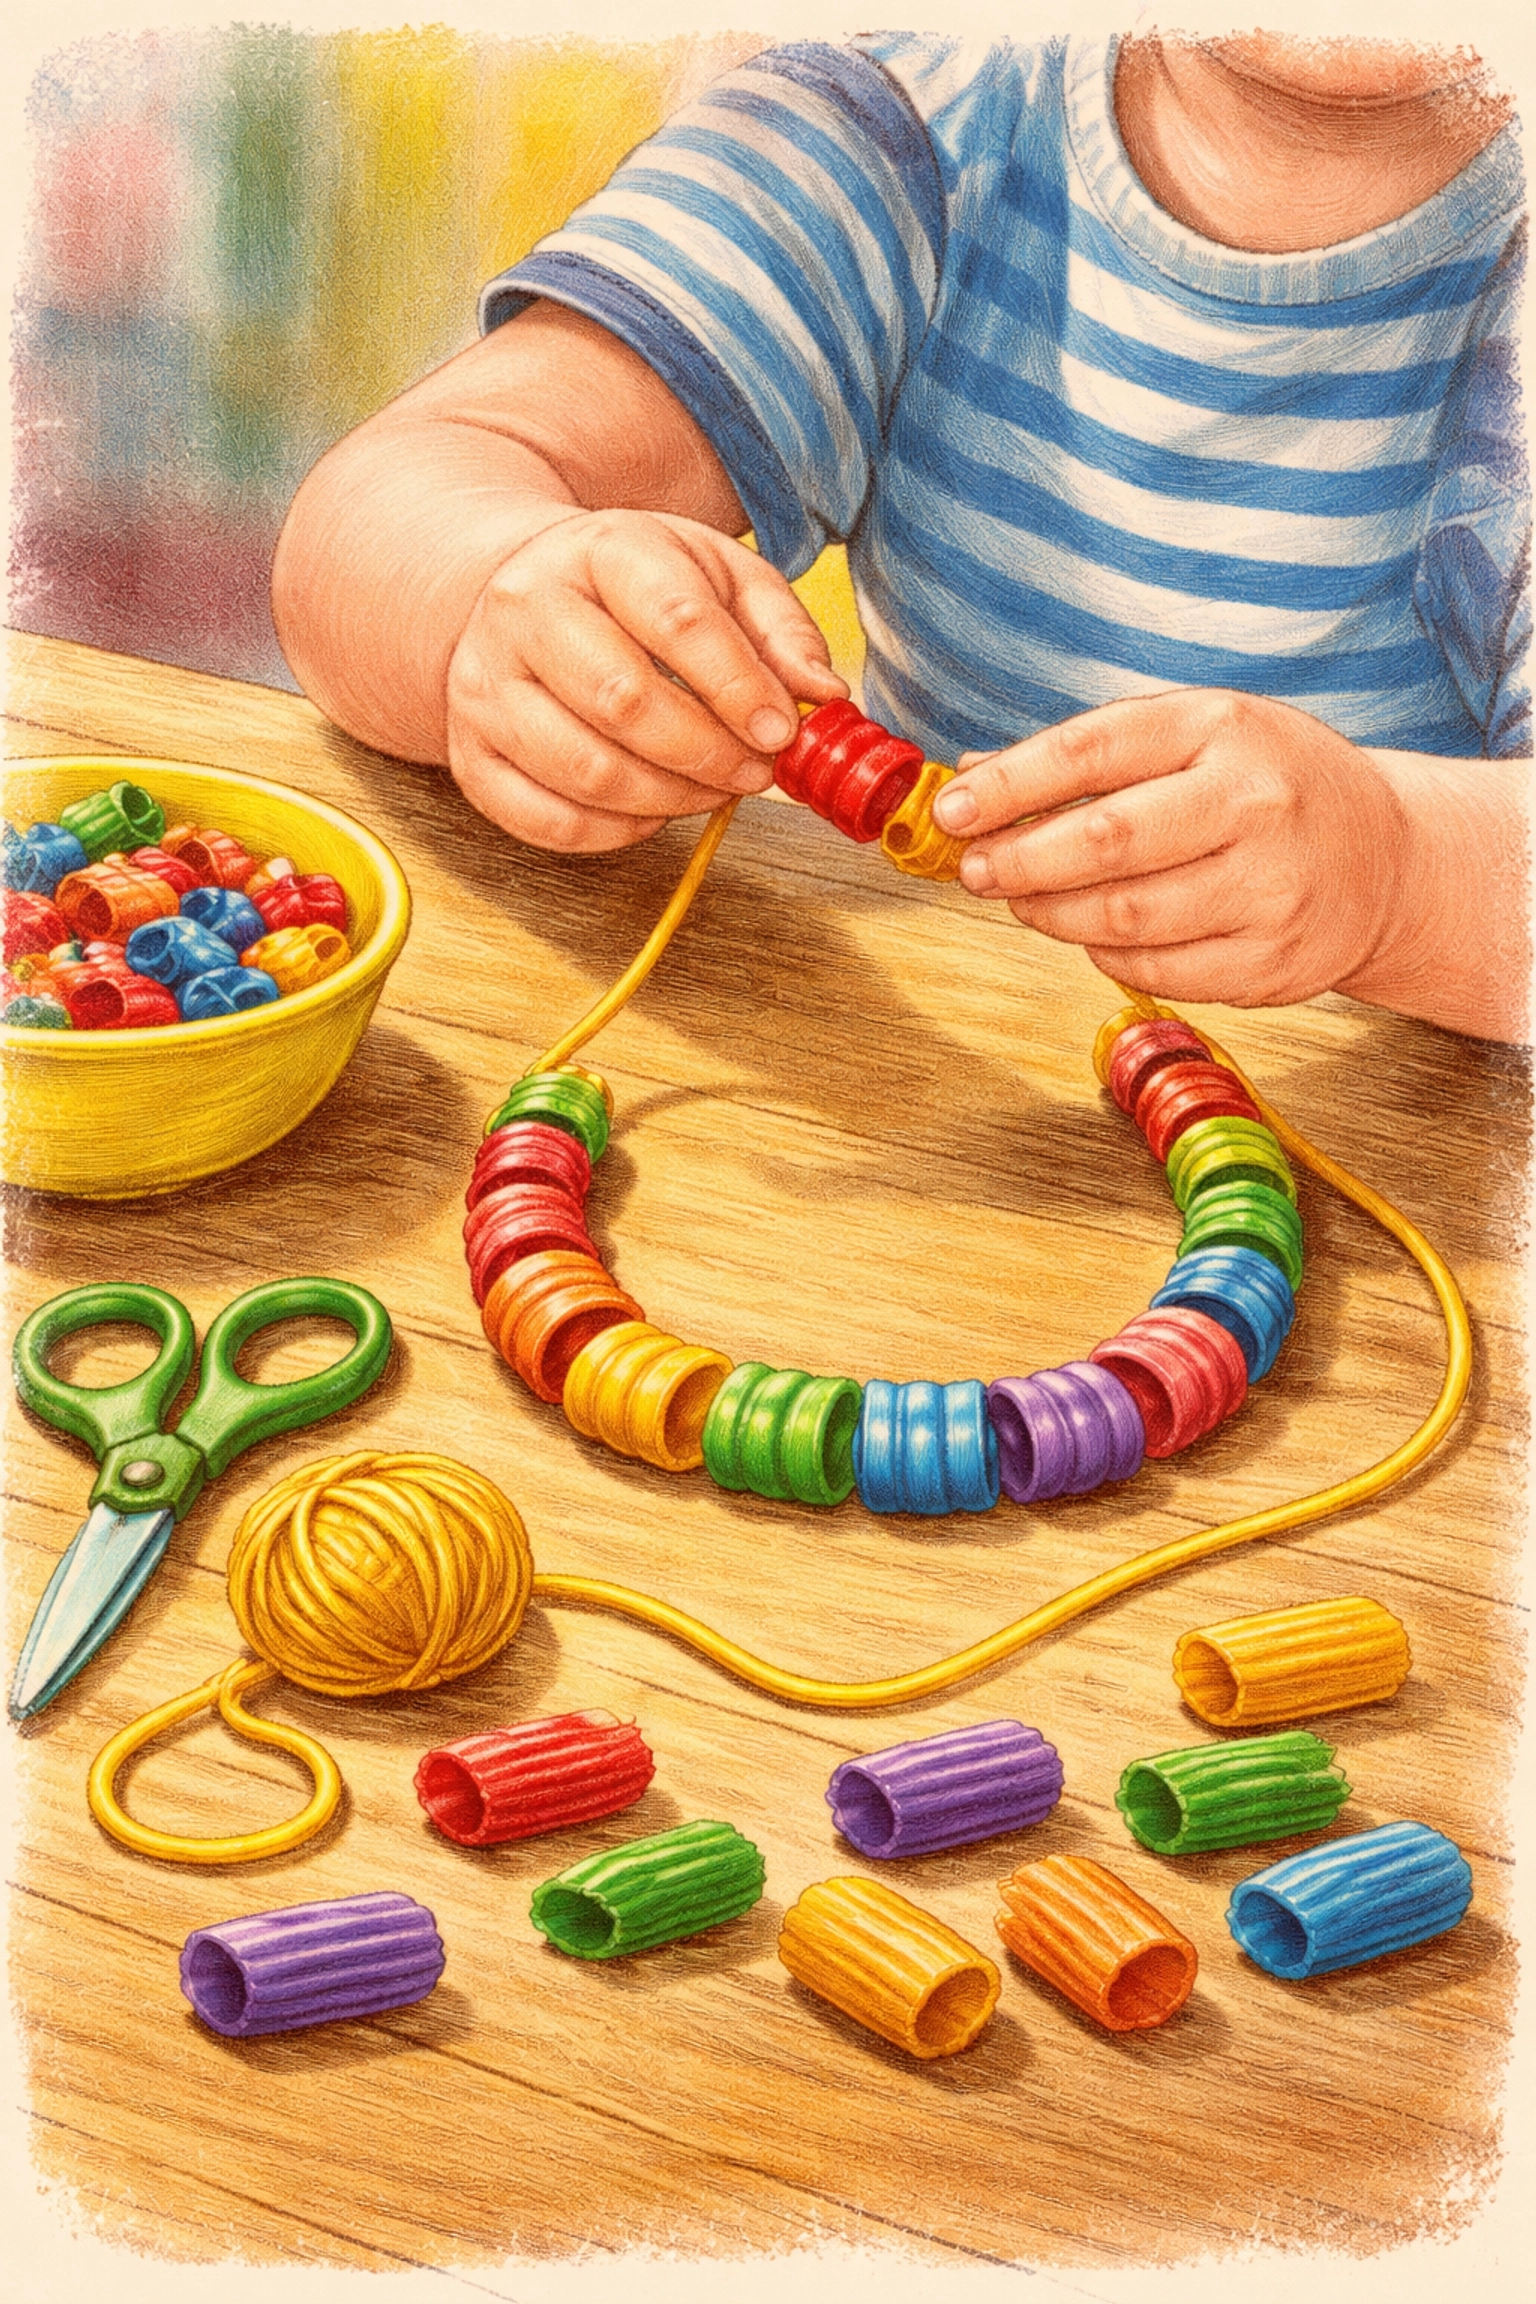
Step 3: String Away
Now comes the meditative (or chaotic, depending on your household) part. Have your child thread pasta pieces onto the string one at a time.
This is a great opportunity to practice:
- Color naming: "What color is that one?"
- Pattern recognition: "Can you do red, yellow, red, yellow?"
- Counting: "How many blue pieces do you have?"
- Sorting: Group by color before stringing
Step 4: Tie It Off
Once the necklace reaches the desired length, remove the tape and tie both ends together securely with a double knot. Trim any excess string.
Your child now has a wearable piece of art they made themselves, and likely a very strong opinion about which outfit it matches.
Tips for Success
Lanyard beats yarn for younger children. It's stiffer and easier to control than floppy string.
Make extra dyed pasta. Some pieces will break, some will mysteriously disappear, and some will become "snacks for the floor." Having backup is wise.
Consider doing the dyeing yourself for very young children, then letting them focus entirely on the creative stringing process.
Gel food coloring typically produces brighter, more saturated colors than liquid drops.
Cover your work surface. Food coloring and white tables are not friends.
Frequently Asked Questions
Is dyed pasta safe if a child puts it in their mouth?
While the pasta itself is food and food coloring is generally non-toxic, this craft is not intended for eating. The rubbing alcohol (if used) makes it unsuitable for consumption. Always supervise young children and redirect any taste-testing urges.
Can I use paint instead of food coloring?
Yes, acrylic paint or liquid watercolors can work. The texture may feel slightly different when dry, and drying time might increase. Paint can also flake off over time, while food coloring tends to soak into the pasta.
How long do dyed pasta necklaces last?
With reasonable care, they can last for months or even years. Store them flat rather than crumpled in a drawer to prevent breakage. Humidity can sometimes cause colors to fade or pasta to soften.
What's the best pasta shape for necklaces?
Tube shapes like penne, rigatoni, and ziti are the easiest to string. Wagon wheels and rotini can work but may be trickier for small hands. Avoid tiny shapes like orzo or ditalini: the holes are usually too small.
Can I dye pasta without rubbing alcohol or vinegar?
You can try using just food coloring and a tiny bit of water, though colors may be less vibrant and drying time will increase. The acidity of vinegar and the evaporation properties of alcohol help the dye set better.
How do I prevent colors from bleeding onto hands or clothes?
Make sure the pasta is completely dry before stringing. If colors still seem to transfer, a light spray of clear acrylic sealer (done by an adult, outdoors) can help lock the color in.
Can this be a group activity for parties or classrooms?
Absolutely. Pre-dye several batches of pasta in advance and set up stringing stations. It's a popular choice for birthday parties, scout meetings, and rainy-day classroom activities because the per-child cost is so low.
Looking for more budget-friendly craft ideas? Check out our Kids Crafts collection for projects that keep little hands busy without emptying your wallet.


