


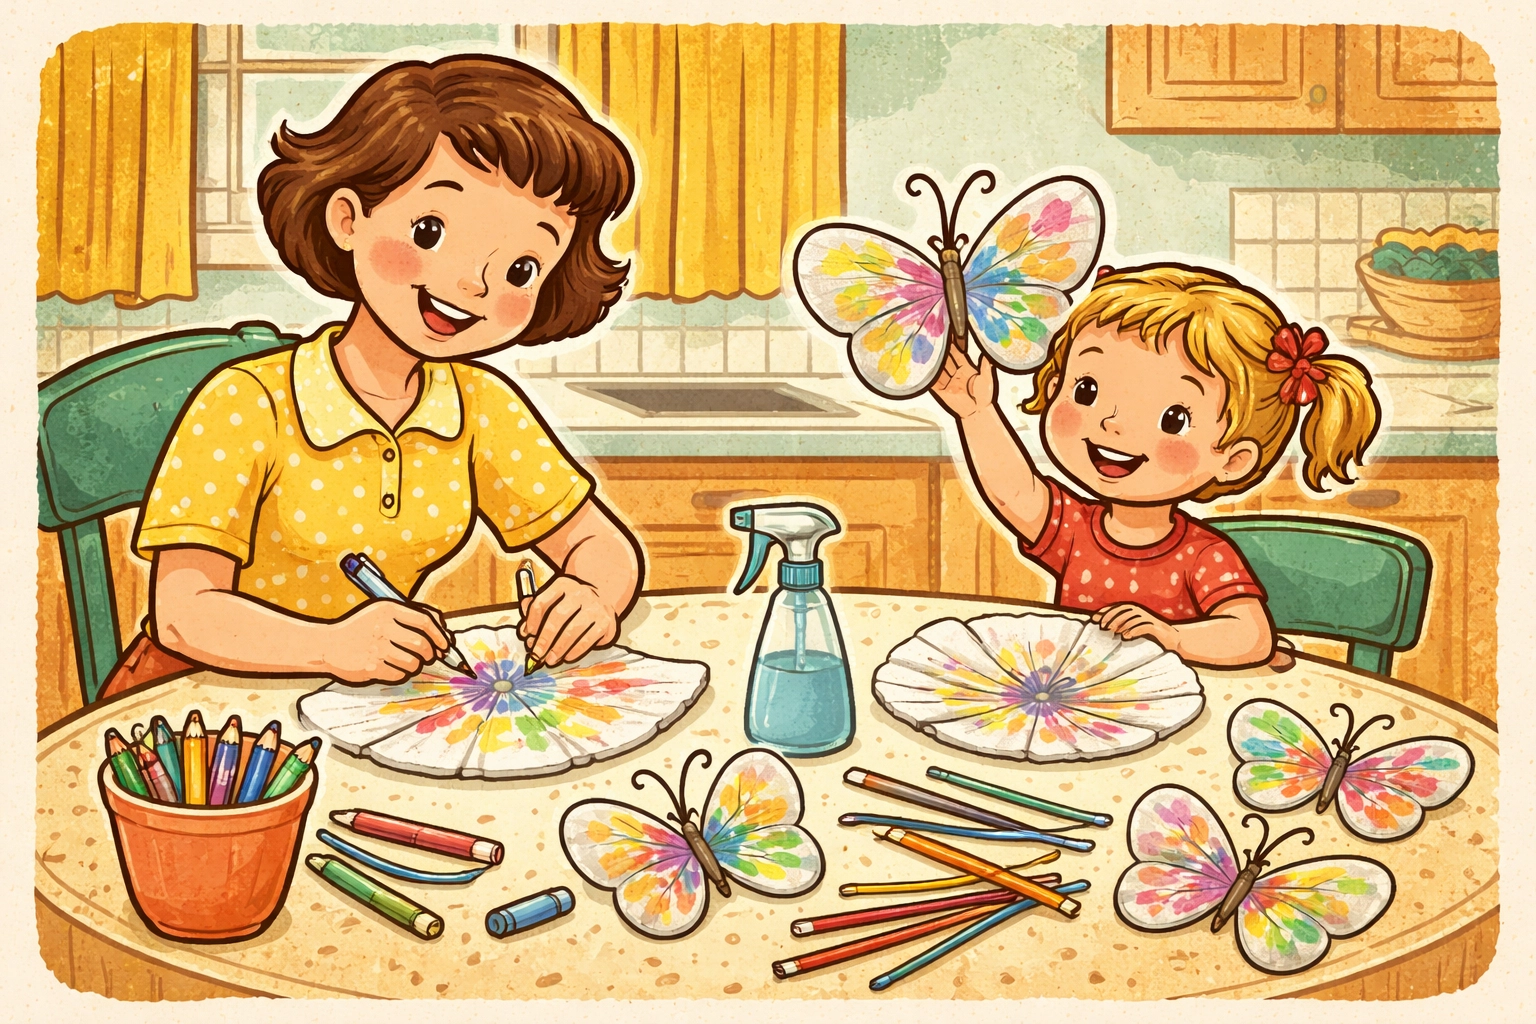
Coffee filter butterflies are made by coloring flat coffee filters with washable markers, misting them with water to create a watercolor bleeding effect, letting them dry, accordion-folding them, and securing the center with a pipe cleaner to form wings and antennae. The whole project typically takes about 20-30 minutes of active crafting time (plus drying), costs well under $10, and works wonderfully for kids ages 3 and up. It's one of those crafts that looks impressive but requires very little skill, making it a crowd-pleaser for mixed-age groups, classrooms, or a quiet afternoon at the kitchen table.
Why This Craft Works So Well for Families
There's something almost magical about watching marker colors bloom and blend across a damp coffee filter. Kids get that "wow" moment without any complicated techniques, and you're not stuck cleaning up glitter from every surface in your home for the next six months.
This project also hits a sweet spot for different developmental stages. Toddlers can scribble with markers and spray water. Older kids can experiment with color theory and create more intricate designs. And honestly? Adults tend to get pretty into it too.
Materials You'll Need
Here's everything required for this craft, and you likely have most of it tucked away in a junk drawer already.
| Material | Quantity Needed | Approximate Cost |
|---|---|---|
| White basket-style coffee filters | 2 per butterfly | ~$2 for 100 |
| Washable markers | 1 set (various colors) | ~$3-5 |
| Pipe cleaners / chenille stems | 1 per butterfly | ~$2 for 25+ |
| Spray bottle with water | 1 | ~$1 (or reuse one) |
| Googly eyes (optional) | 2 per butterfly | ~$1 for a pack |
| Pony beads (optional) | 2 per butterfly | ~$1 for a bag |
Total estimated cost: $5-8 (and you'll have plenty of supplies left over for future crafts)
Age Range & Time Estimate
| Factor | Details |
|---|---|
| Recommended age | 3 years and up |
| Skill level | Beginner-friendly |
| Adult involvement | Minimal for ages 5+; moderate for younger kids |
| Active craft time | 15-20 minutes |
| Drying time | 30-60 minutes (depending on humidity) |
| Total project time | About 1 hour start to finish |
Younger children (ages 3-4) may need help with the accordion folding and pipe cleaner twisting, but they can absolutely handle the coloring and spraying portions independently.
Step-by-Step Instructions
Step 1: Set Up Your Workspace
Lay down newspaper, a plastic tablecloth, or a large tray to catch any marker or water runoff. Washable markers are forgiving, but your dining table will thank you for the extra protection. If your kids are enthusiastic sprayers (and whose aren't?), consider moving this project outside or into a tiled area.
Have your little ones wear old clothes or smocks, even "washable" markers can leave temporary stains on fabric.
Step 2: Flatten and Color the Coffee Filters
Take two coffee filters per butterfly and flatten them out completely. Hand each child a filter and let them go wild with washable markers.
A few tips that tend to produce nice results:
- Encourage bold, saturated coloring rather than light strokes
- Leave tiny white gaps between different colors so they have room to bleed together
- Try grouping warm colors (reds, oranges, yellows) on one filter and cool colors (blues, purples, greens) on another for interesting contrast
There's no wrong way to do this part. Abstract scribbles, polka dots, stripes, and spirals all turn out beautifully once the water hits.

Step 3: Mist with Water and Watch the Magic
This is the part kids remember. Have them hold the spray bottle about 6-8 inches away from the colored filter and give it several good spritzes. You want the filter damp but not completely soaked through.
Watch as the colors start bleeding and swirling into each other. The markers create a watercolor effect that's genuinely pretty, and it happens fast enough to hold even a toddler's attention span.
Repeat with the second filter.
Step 4: Let Everything Dry Completely
Set the wet filters on a protected surface (or hang them on a clothesline if you're feeling fancy) and let them dry thoroughly. This usually takes 30-60 minutes depending on how wet they got and your room's humidity.
Important: Don't rush this step. Folding wet filters leads to tearing, color transfer onto hands, and general frustration. Go have a snack, read a book, or start coloring filters for a second butterfly while you wait.
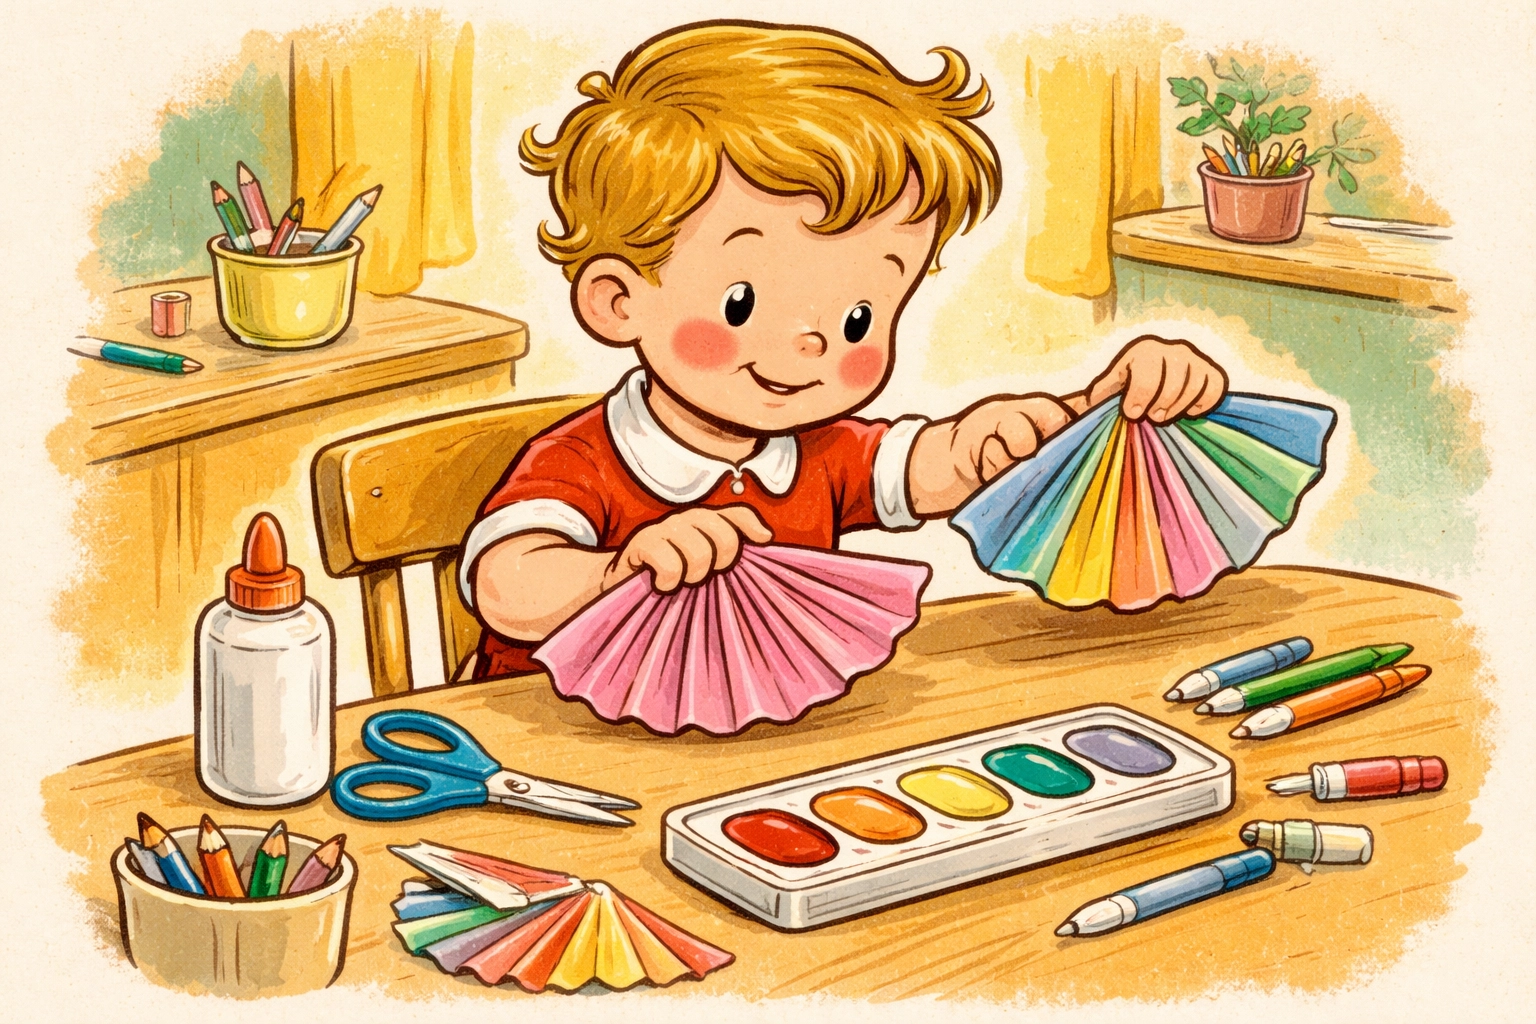
Step 5: Stack and Accordion-Fold
Once both filters are completely dry, stack them on top of each other. Starting at one edge, fold the stacked filters back and forth in approximately ½-inch pleats, like you're making a paper fan.
Keep folding until you reach the other end. You should have a flat, pleated strip that looks a bit like a bow tie waiting to happen.
Step 6: Secure with a Pipe Cleaner
Find the center of your folded strip and pinch it together. Take a pipe cleaner and wrap it around the pinched center 2-3 times, twisting firmly to secure. The two ends of the pipe cleaner should be pointing upward, forming a "V" shape above the wings.
This twisted section becomes the butterfly's body, and those upward-pointing ends will become the antennae.
Step 7: Shape the Antennae
Bend the pipe cleaner ends outward slightly, then curl or spiral the tips. You can wrap them around a pencil for neat coils, or just pinch and twist with your fingers for a more organic look.
If you're using pony beads, thread one onto each antenna before curling the ends to keep them in place.
Step 8: Fluff and Shape the Wings
Gently pull apart the accordion folds, fanning them out to create wing shapes. You can pinch the outer edges of each wing to help them hold their pleated texture, or let them relax into softer curves.
If you made two different colored filters, you'll see both colors layered together in the wings, which creates some really lovely depth.
Step 9: Add Optional Finishing Touches
Want to give your butterfly some personality? Glue a pair of small googly eyes onto the pipe cleaner body, just below where the antennae start. It's a small detail that kids find hilarious for some reason.
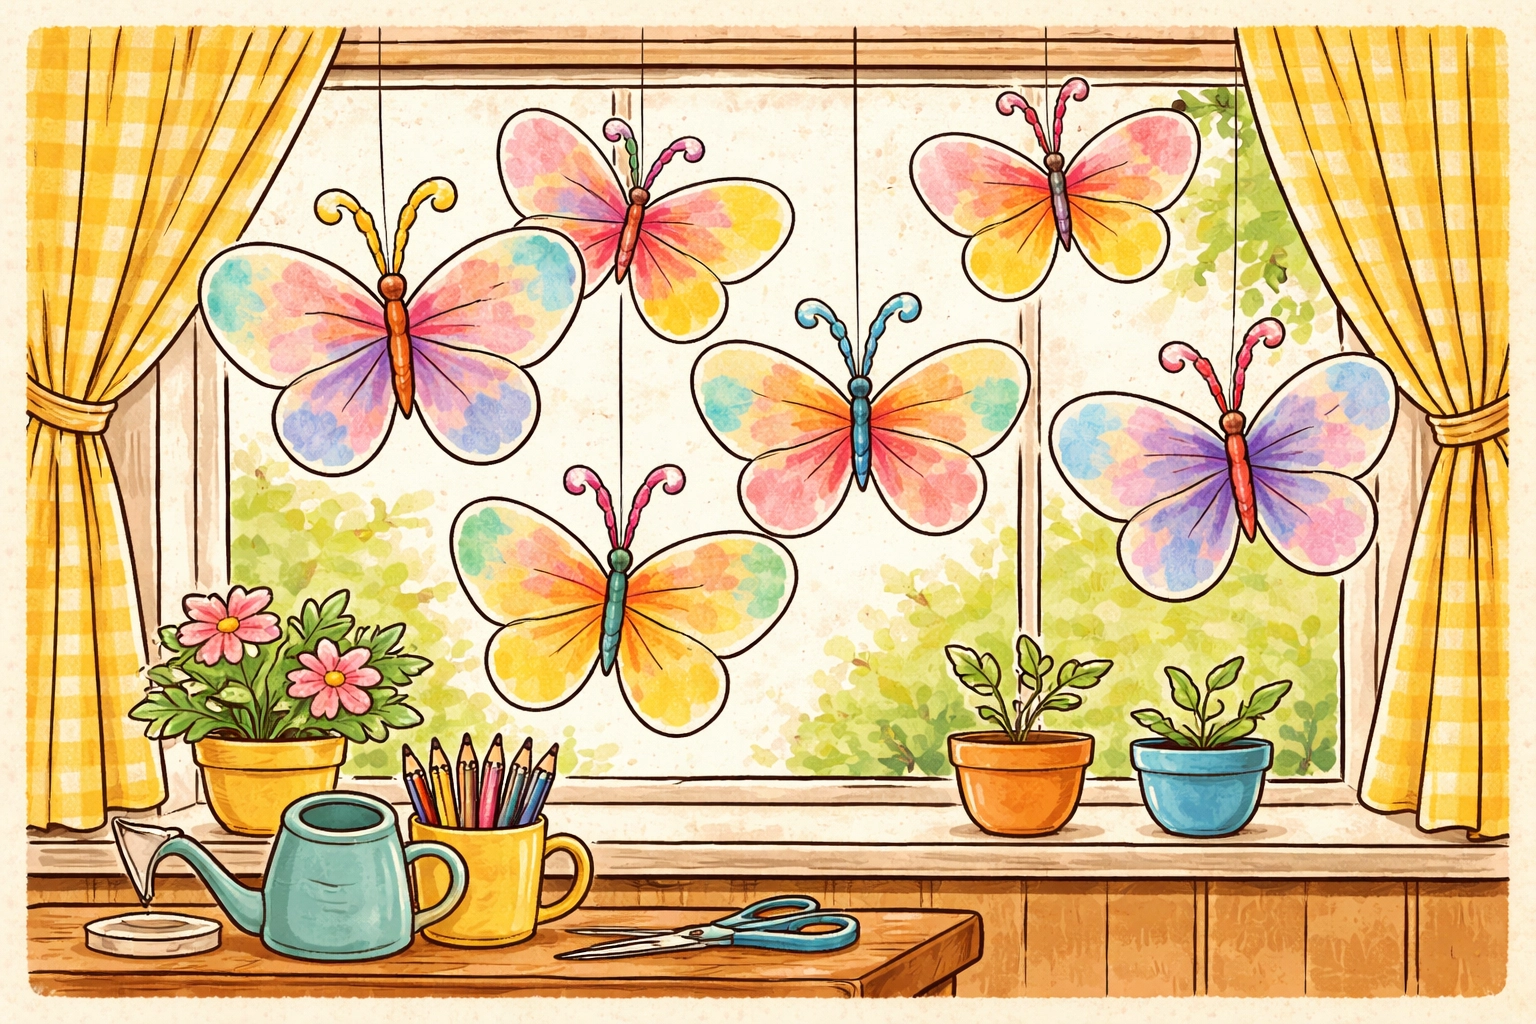
Display Ideas
These butterflies are too cute to shove in a drawer. Here are some ways to show them off:
- Hang from the ceiling with fishing line or thread for a "flying" effect
- Attach to a window with tape so light shines through the translucent wings
- Pin to a bulletin board or bedroom wall as seasonal décor
- Glue a magnet to the back and stick them on the fridge
- Tie onto gift packages as a reusable bow alternative
Frequently Asked Questions
Can I use regular paper instead of coffee filters?
You can try it, but the results are quite different. Coffee filters have a porous texture that allows the marker ink to spread and blend beautifully. Regular paper tends to absorb water unevenly and may tear more easily.
Do I have to use washable markers?
Washable markers work well for this particular craft because they reactivate with water and create that bleeding effect. Permanent markers won't bleed the same way, and crayons won't work at all. Watercolor paints are another option that produces similar results.
How long do the finished butterflies last?
These can last for years if stored carefully. The colors may fade slightly over time if displayed in direct sunlight, but they generally hold up well. Many families bring them out as seasonal decorations year after year.
What if my coffee filters tear while wet?
This usually happens when filters get too saturated. Use a lighter misting next time, and make sure to let them dry completely before folding. If a filter tears, you can often still use it, just handle it gently.
Can younger toddlers (under 3) do this craft?
With significant adult assistance, yes. The coloring and spraying portions are very toddler-friendly. You'll likely need to handle the folding and pipe cleaner work yourself, but they can still participate in the fun parts.
Is there a way to speed up the drying time?
A hairdryer on a low, cool setting can help speed things along. You can also place the filters near a fan or in a sunny window. Just avoid high heat, which can cause the filters to curl or the colors to fade.
What's a good number of butterflies to make per child?
Two to three butterflies per child tends to be a good amount for one crafting session. It's enough to experiment with different color combinations without the project dragging on too long.
Can this craft be adapted for a classroom or party?
Absolutely. It scales well for groups since the materials are inexpensive and the steps are simple. Just pre-cut pipe cleaners and set up several spray bottles to keep things moving efficiently.
For more hands-on projects like this one, explore the kids crafts section on our site: there's plenty of inspiration for rainy afternoons and weekend creativity sessions.
References:
- Research compiled from various craft education sources on coffee filter butterfly techniques and best practices for kid-friendly art projects.


