


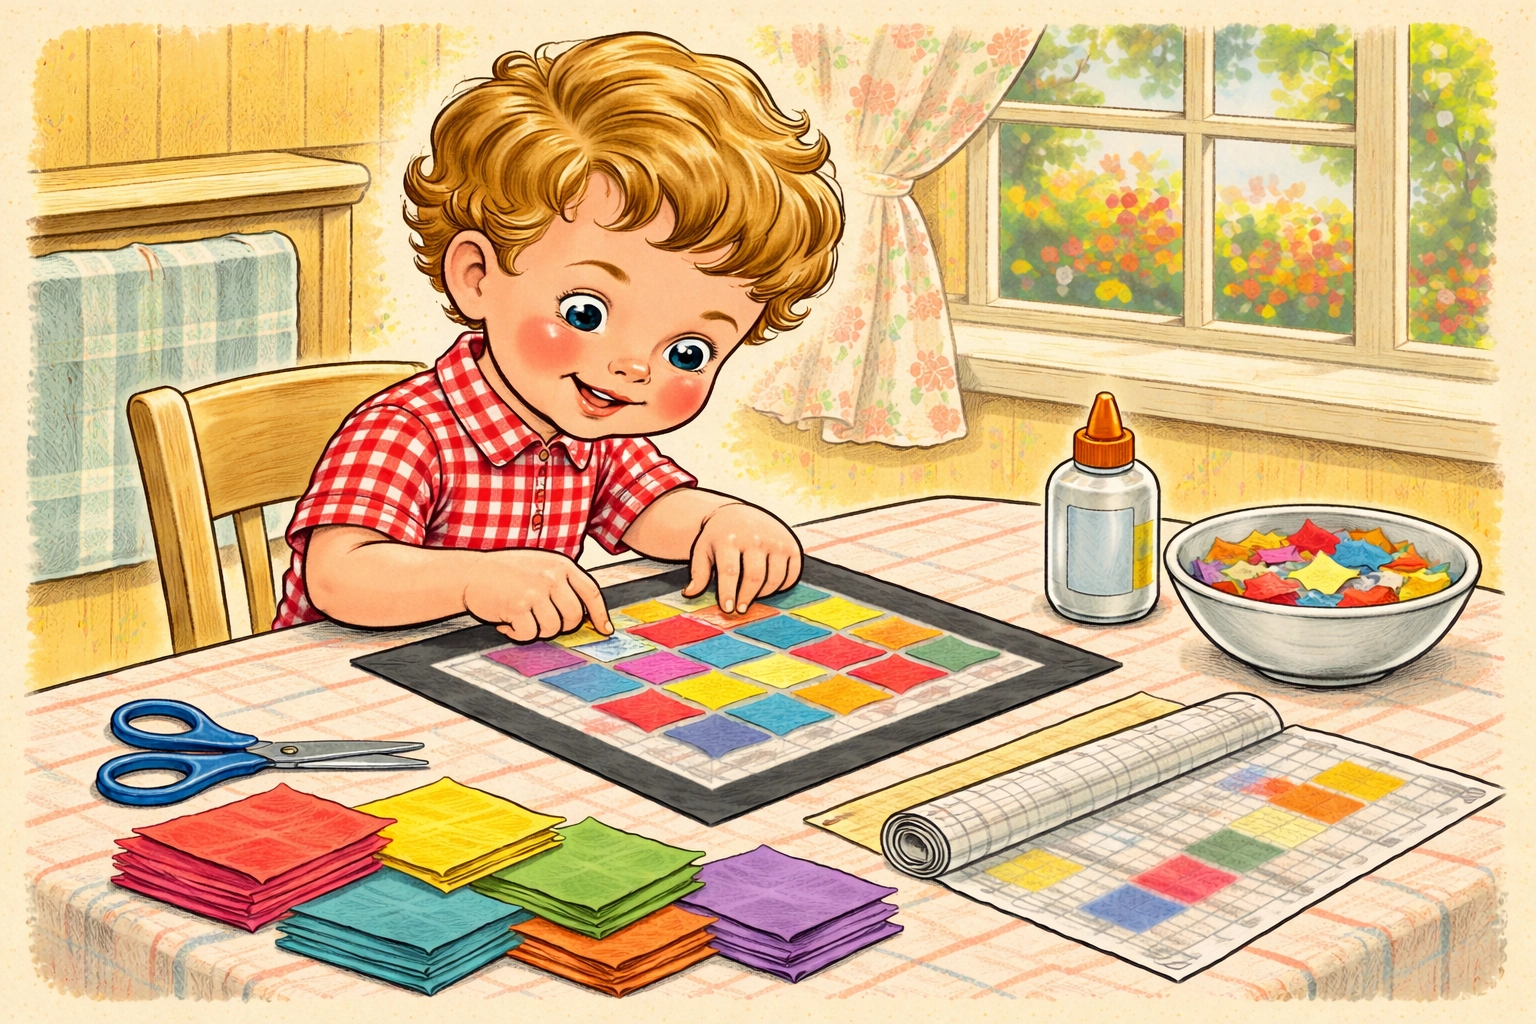
Tissue paper stained glass is a low-prep craft where kids layer colorful tissue paper behind black paper shapes to create glowing window art. The whole project typically takes about 30-45 minutes, costs less than $10 in supplies, and works well for children ages 3 and up with varying levels of complexity. When you hang the finished piece in a sunny window, the light shines through those layered colors and creates a beautiful, luminous effect that kids absolutely love.
This is one of those rare crafts that looks impressive but doesn't require a fine arts degree or a trip to a specialty store. You probably have most of the supplies sitting in a drawer right now.
Materials You'll Need (Under $10 Total)
| Material | Estimated Cost | Notes |
|---|---|---|
| Black construction paper or cardstock | $1-2 | Cardstock holds up better for frames |
| Colored tissue paper (assorted) | $1-3 | Dollar store packs work great |
| Wax paper OR Contact paper | $2-3 | Contact paper is easier for younger kids |
| Glue stick or white school glue | $1-2 | Liquid starch also works |
| Scissors | Already own | Child-safe scissors for little ones |
| Pencil | Already own | For sketching designs |
| Paintbrush (optional) | $1 | Only needed if using liquid glue or starch |
Total estimated cost: $6-10
Most families find they already have scissors, pencils, and glue on hand, which brings the actual out-of-pocket cost down even further.
Best Age Ranges for This Craft
Ages 3-4: Can place pre-cut tissue paper pieces onto sticky Contact paper with supervision. Keep designs simple: think basic shapes like circles, squares, and hearts.
Ages 5-7: Ready to cut their own tissue paper shapes and help create simple black paper frames. Geometric patterns and basic figures work well here.
Ages 8-12: Can handle more detailed designs, hand-cut intricate black paper frames, and experiment with color layering to create new shades.
Teens and adults: This craft scales up nicely for more complex traced designs and detailed silhouettes.
Time Estimate
- Prep time: 5-10 minutes
- Active crafting time: 20-35 minutes
- Drying time (if using glue): 15-30 minutes
- Total project time: 30-45 minutes for most kids
Younger children may finish faster with simpler designs, while older kids who get into detailed work might spend closer to an hour.
Step-by-Step Instructions
Method 1: The Contact Paper Technique (Easiest for Young Kids)
This method skips the glue entirely, which makes it ideal for toddlers and preschoolers.
Step 1: Prepare your workspace
Tape a piece of Contact paper to your table with the sticky side facing UP. Use painter's tape or masking tape at the corners to keep it from sliding around. Cut your Contact paper slightly larger than your intended final size.
Step 2: Cut your tissue paper
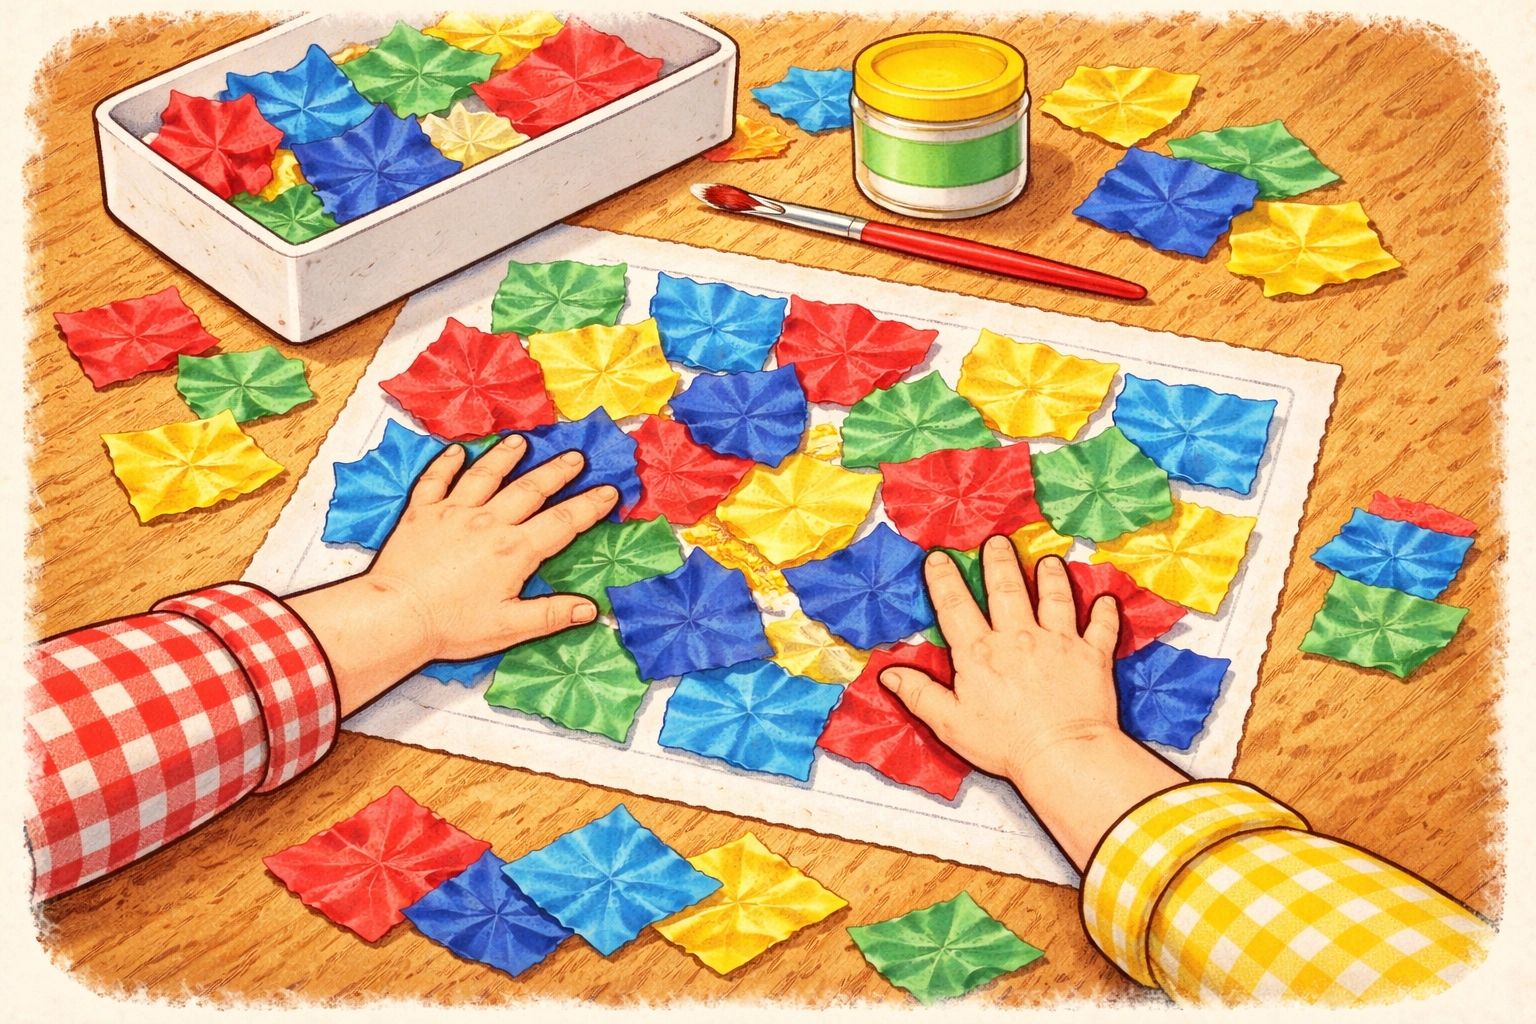
Cut or tear tissue paper into small pieces, strips, or shapes. For very young children, pre-cutting these shapes saves time and frustration. Tearing creates a nice organic look, while cutting gives cleaner edges.
Step 3: Create the design
Let your child place tissue paper pieces directly onto the sticky Contact paper surface. They can overlap colors to create new shades: yellow over blue makes green, red over yellow makes orange. There's no wrong way to do this part.
Step 4: Add the black paper frame
Cut a frame from black construction paper or cardstock. You can make a simple border (about 1/3 inch thick works well) or cut out shapes within the frame to create a design. Place this frame on top of the tissue paper.
Step 5: Seal and display
Place a second sheet of Contact paper or wax paper on top, sticky side down, to seal everything together. Trim any excess edges and hang in a sunny window.
Method 2: The Black Paper Frame Technique (More Traditional)
This method creates that classic stained glass look with defined "leading" lines.
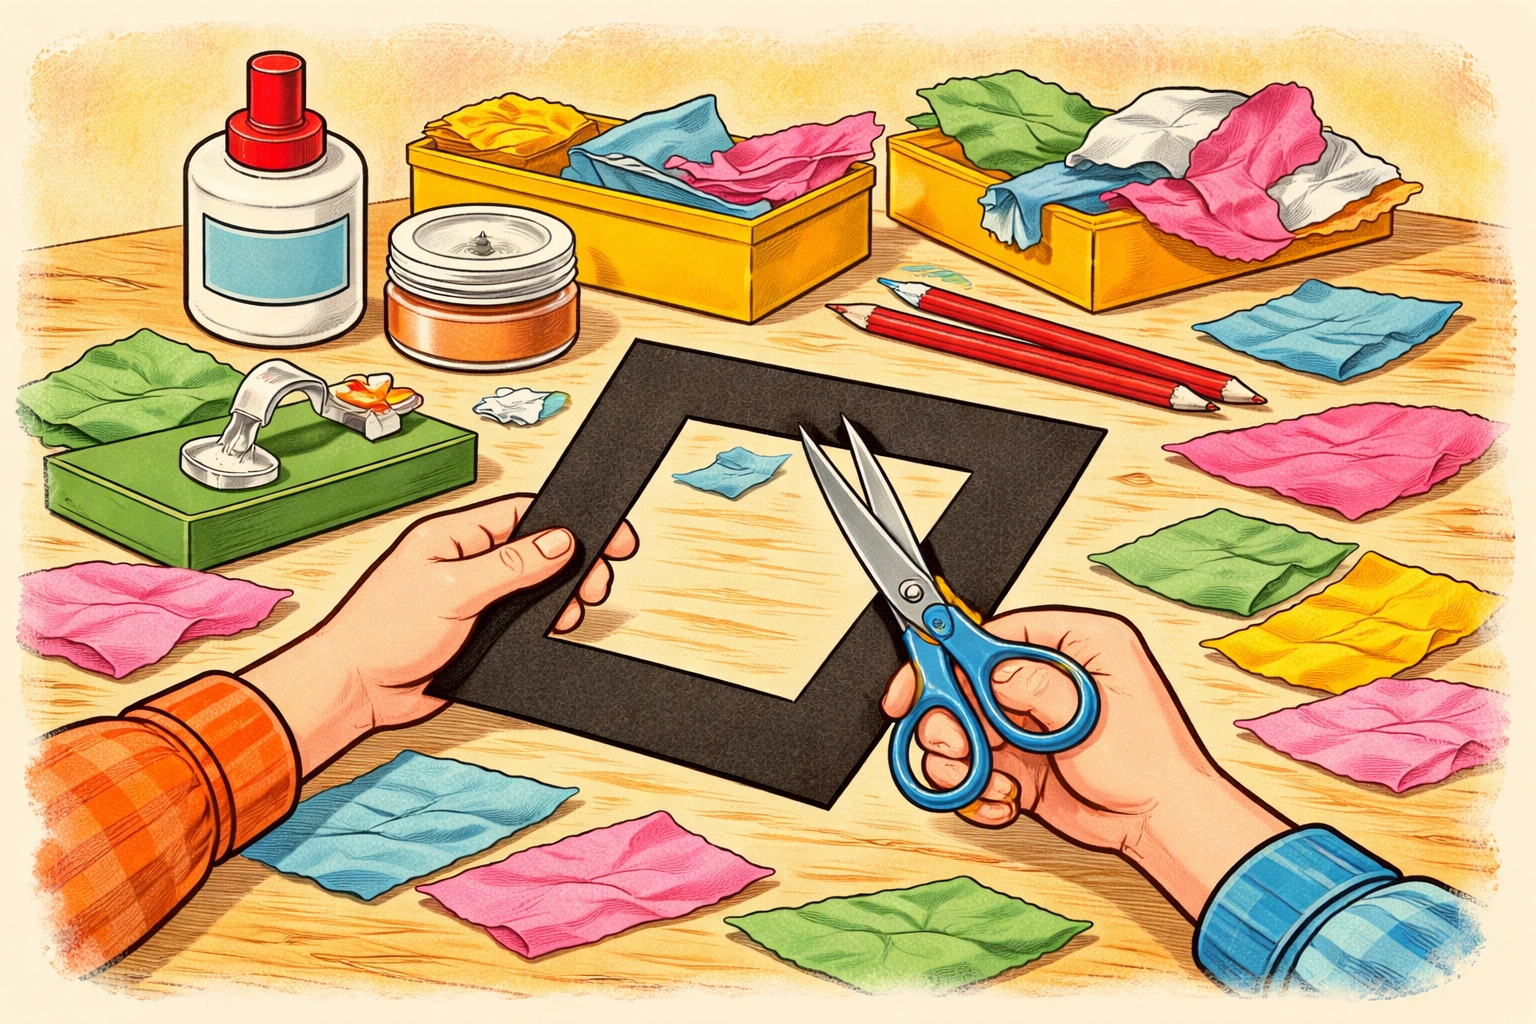
Step 1: Create your black paper design
Fold a piece of black cardstock in half. Draw half of your design along the folded edge: this creates symmetrical shapes when you cut it out. Cut out the interior shapes, leaving a frame and "leading" lines between sections.
For beginners, try simple geometric patterns. More advanced crafters can trace designs from coloring books or create freehand drawings.
Step 2: Prepare your tissue paper
Cut tissue paper pieces slightly larger than each opening in your black frame. You'll want about 1/4 inch overlap on each side to ensure good adhesion.
Step 3: Attach the tissue paper
Flip your black frame over so you're working on the back side. Using a glue stick, apply glue around each opening. Press tissue paper pieces over each hole, smoothing them down gently. You can layer multiple colors over the same opening for blended effects.
Step 4: Let it dry
If you used a glue stick, drying time is minimal: maybe 5-10 minutes. Liquid glue or starch may need 15-30 minutes to dry completely.
Step 5: Display your masterpiece
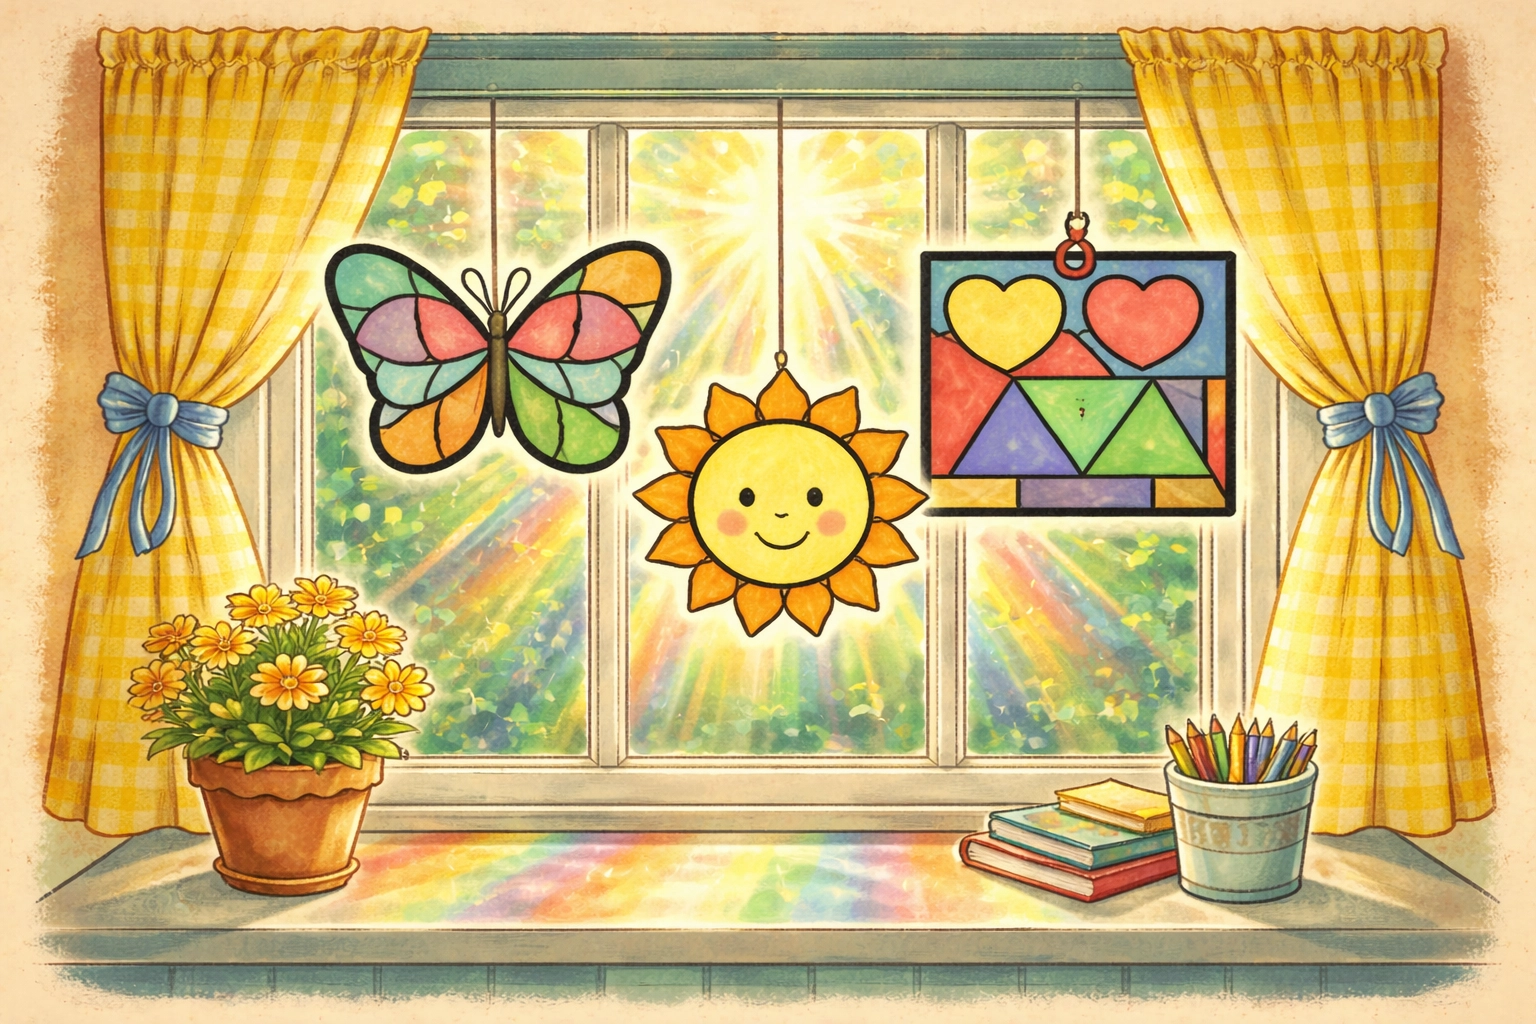
Tape or hang your finished piece in a window where natural light can shine through. South-facing windows typically provide the most consistent light throughout the day.
Tips for Better Results
Layer colors intentionally. When tissue paper colors overlap, they blend. This is a great opportunity to teach basic color theory: primary colors mixing to create secondary colors.
Keep black lines thick enough. If you're cutting a black paper frame, aim for lines at least 1/5 inch thick. Anything thinner tends to tear or buckle.
Use tissue paper, not crepe paper. Crepe paper (the stretchy kind used for streamers) doesn't let light through as nicely and may bleed color when wet.
Embrace imperfection. Uneven edges and overlapping colors add character. This isn't about precision: it's about the process and the glow.
Seasonal and Theme Ideas
- Spring: Butterflies, flowers, rainbows
- Summer: Suns, beach scenes, fish
- Fall: Leaves, pumpkins, harvest moons
- Winter: Snowflakes, holiday ornaments, winter trees
- Anytime: Abstract geometric patterns, hearts, stars, nature silhouettes
Frequently Asked Questions
Can I use regular paper instead of tissue paper?
Regular paper doesn't allow light to pass through the same way, so you'll lose that glowing effect. Tissue paper's translucency is what makes this craft special.
What if I don't have Contact paper?
Wax paper works as an alternative, though you'll need to use glue to attach the tissue paper. You can also skip the backing entirely and simply glue tissue paper directly to the back of a black paper frame.
How long do tissue paper stained glass projects last?
When displayed indoors away from moisture, these can last for months or even years. Direct sunlight may cause some color fading over time, but the effect remains beautiful.
Can toddlers really do this craft?
With the Contact paper method and pre-cut tissue pieces, children as young as 2-3 can participate successfully. It's essentially a sticker activity at that point: place colorful pieces on a sticky surface.
What's the best way to hang finished projects?
Clear tape works well for lightweight pieces. For heavier cardstock frames, consider using removable mounting strips or a small suction cup hook.
Can we use liquid watercolors instead of tissue paper?
That's a different (but also lovely) technique. Painting on coffee filters or wax paper with liquid watercolors creates a similar stained glass effect with a different process.
How do I store leftover tissue paper?
Keep it flat in a folder or large envelope to prevent wrinkling. Wrinkled tissue paper still works fine, but flat pieces are easier to cut precisely.
Is this craft messy?
Compared to paint projects, this one is relatively low-mess. The biggest cleanup is usually small tissue paper scraps, which sweep up easily.
Looking for more simple crafts to try with your kids? Browse our kids crafts collection for more hands-on project ideas that won't break the bank or require a degree in Pinterest perfection.


