


To make toilet paper roll binoculars, simply glue or staple two empty toilet paper rolls together side by side, punch holes on the outer edges, and thread ribbon or yarn through to create a neck strap. The whole project typically takes about 15-25 minutes and costs practically nothing since you’re upcycling materials you likely already have at home.
This classic craft has stood the test of time for good reason: it’s accessible, customizable, and opens up a world of imaginative play once complete. Whether your little ones want to become backyard explorers, pretend safari guides, or bird-spotting adventurers, these homemade binoculars deliver hours of entertainment from items destined for the recycling bin.
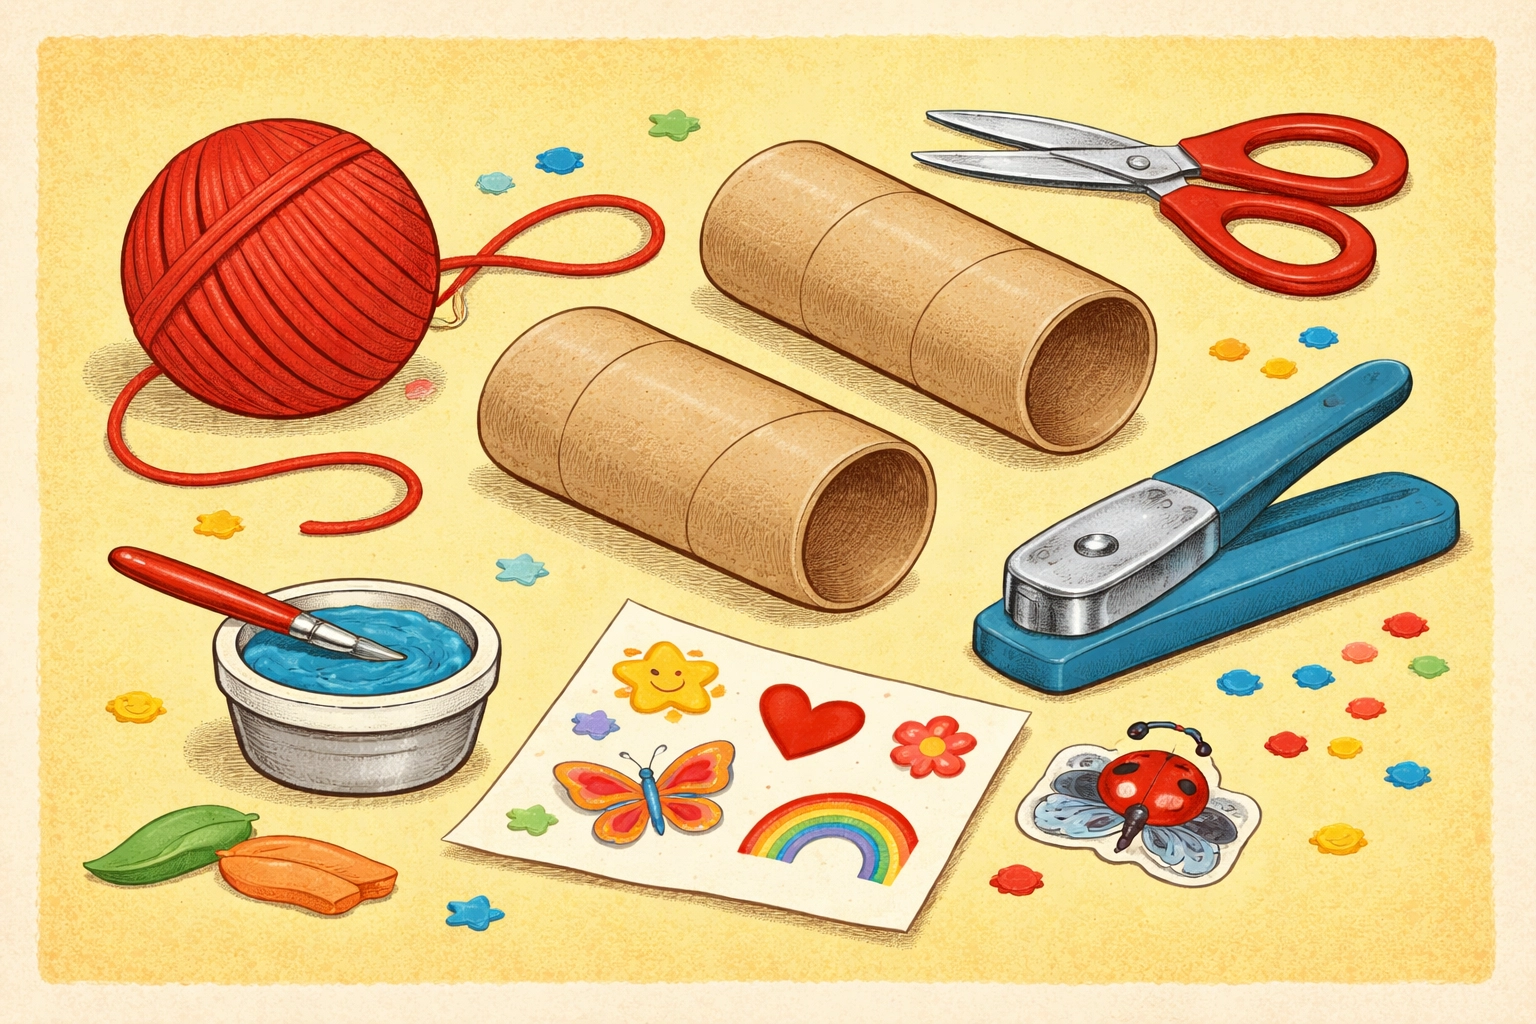
What You’ll Need: Materials List
One of the great things about this craft is that most families already have these supplies lying around. Here’s what you’ll want to gather before getting started:
| Material | Estimated Cost | Notes |
|---|---|---|
| 2 toilet paper rolls | Free | Or cut one paper towel roll in half |
| Glue or stapler | $0-3 | White school glue works well |
| Hole punch | $0-2 | Single-hole punch is easiest |
| Ribbon or yarn (2 feet) | $0-2 | String or shoelaces work too |
| Paint or markers | $0-3 | Optional for decorating |
| Stickers or washi tape | $0-2 | Optional embellishments |
Total estimated cost: Under $10 (and often free if you raid your craft supplies)
Age Range: Who Can Make These Binoculars?
This project works surprisingly well across a wide age range, though the level of independence varies:
Ages 2-3: Little ones can participate in painting, adding stickers, and holding pieces together. They’ll likely need adult help with the stapler, hole punch, and tying knots. The finished product tends to be their favorite part: expect lots of “I see you!” games.
Ages 4-6: This age group can handle most steps with light supervision. They might still need assistance with the hole punch and securing knots, but decorating becomes much more elaborate and intentional.
Ages 7+: Older kids can typically complete the entire project independently. They often enjoy adding creative modifications like telescope extensions or camouflage designs.
Enjoyment range: Honestly, kids from toddlerhood through about age 8 or 9 seem to get the most mileage out of pretend-play binoculars. Even some tweens enjoy making them for younger siblings or as part of themed party activities.
Time Estimate
Basic version: 15-20 minutes
Decorated version with paint: 25-35 minutes (including drying time)
Elaborate version with multiple embellishments: 30-45 minutes
If you’re working with multiple children or a particularly enthusiastic decorator, budget a bit more time. Rushed crafts rarely end up as satisfying as ones where kids can take their time personalizing.
Step-by-Step Instructions
Step 1: Gather and Prep Your Rolls
Collect two empty toilet paper rolls. If you only have paper towel rolls, simply cut one in half with scissors. Make sure the rolls are clean and dry: nobody wants craft supplies that smell like the bathroom.
Give each roll a quick inspection for any tears or crushed spots. Minor damage is fine, but heavily squished rolls can be tricky to work with.
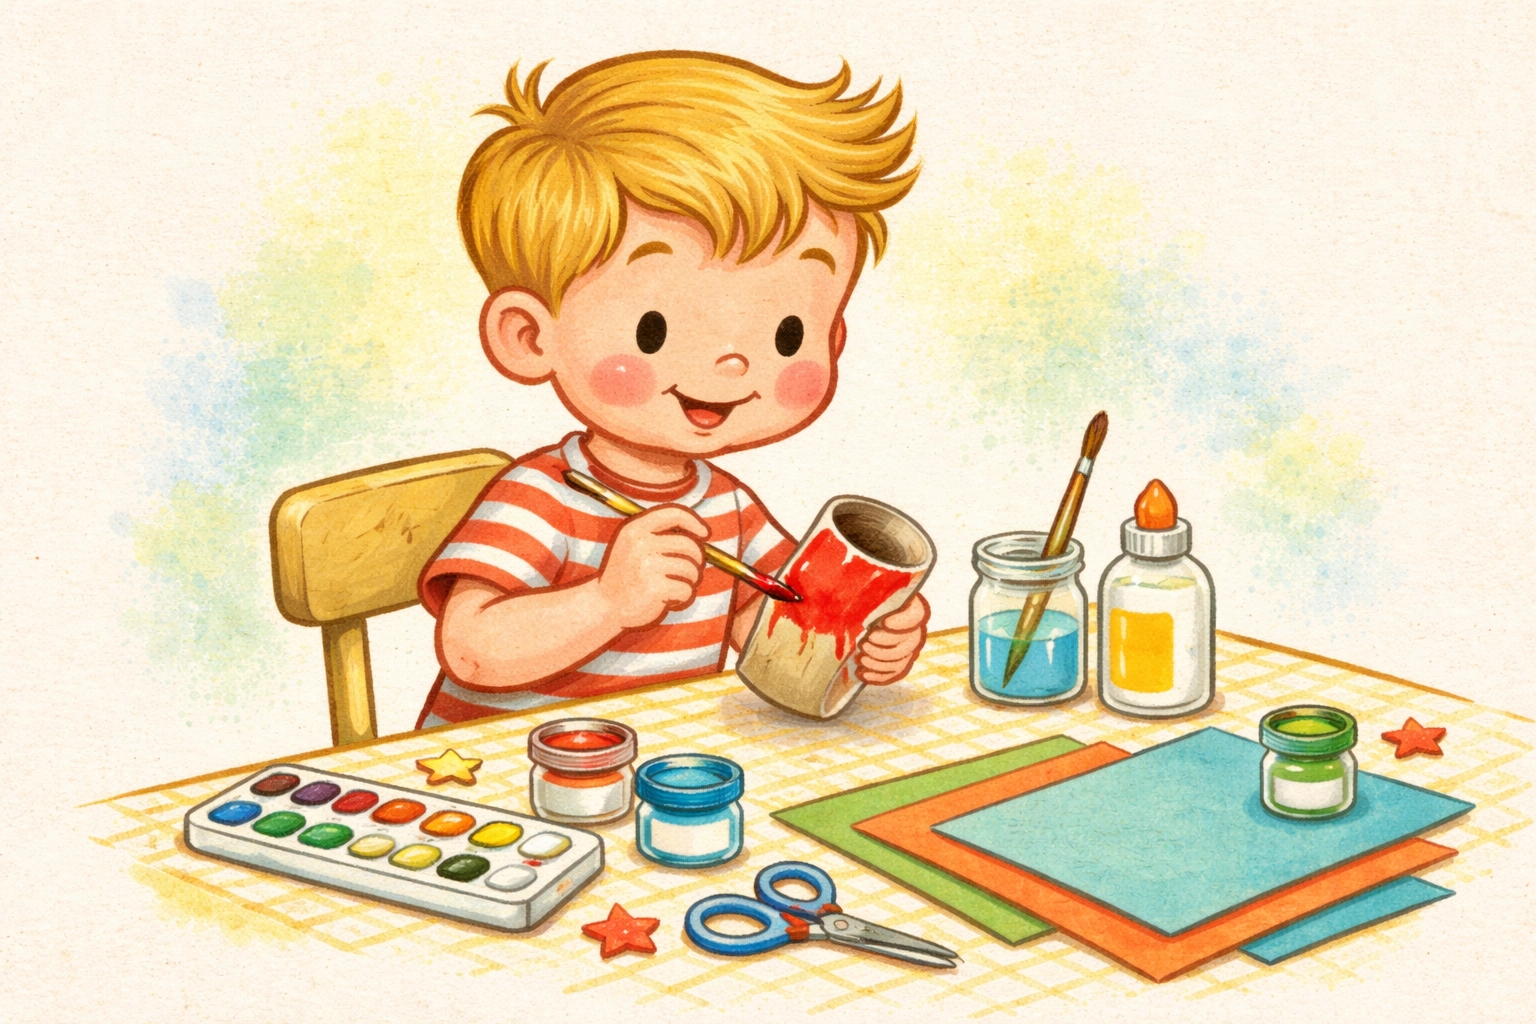
Step 2: Decorate Each Roll (Optional but Recommended)
Before joining the rolls together, it’s much easier to decorate them while they’re still separate. This is where your child’s creativity can really shine.
Painting option: Use acrylic craft paint, tempera, or even watercolors. Apply a thin coat and let it dry completely: rushing this step often leads to smeared masterpieces and frustrated kiddos. Drying typically takes 10-15 minutes for thin coats.
No-mess options: Washi tape, stickers, or wrapping the rolls in colorful paper works great for families who want to skip the paint cleanup. Markers and crayons also work directly on the cardboard.
Theme ideas:
- Safari print (brown and tan spots)
- Rainbow stripes
- Night sky with star stickers
- Camouflage for “nature explorers”
- Favorite colors or patterns
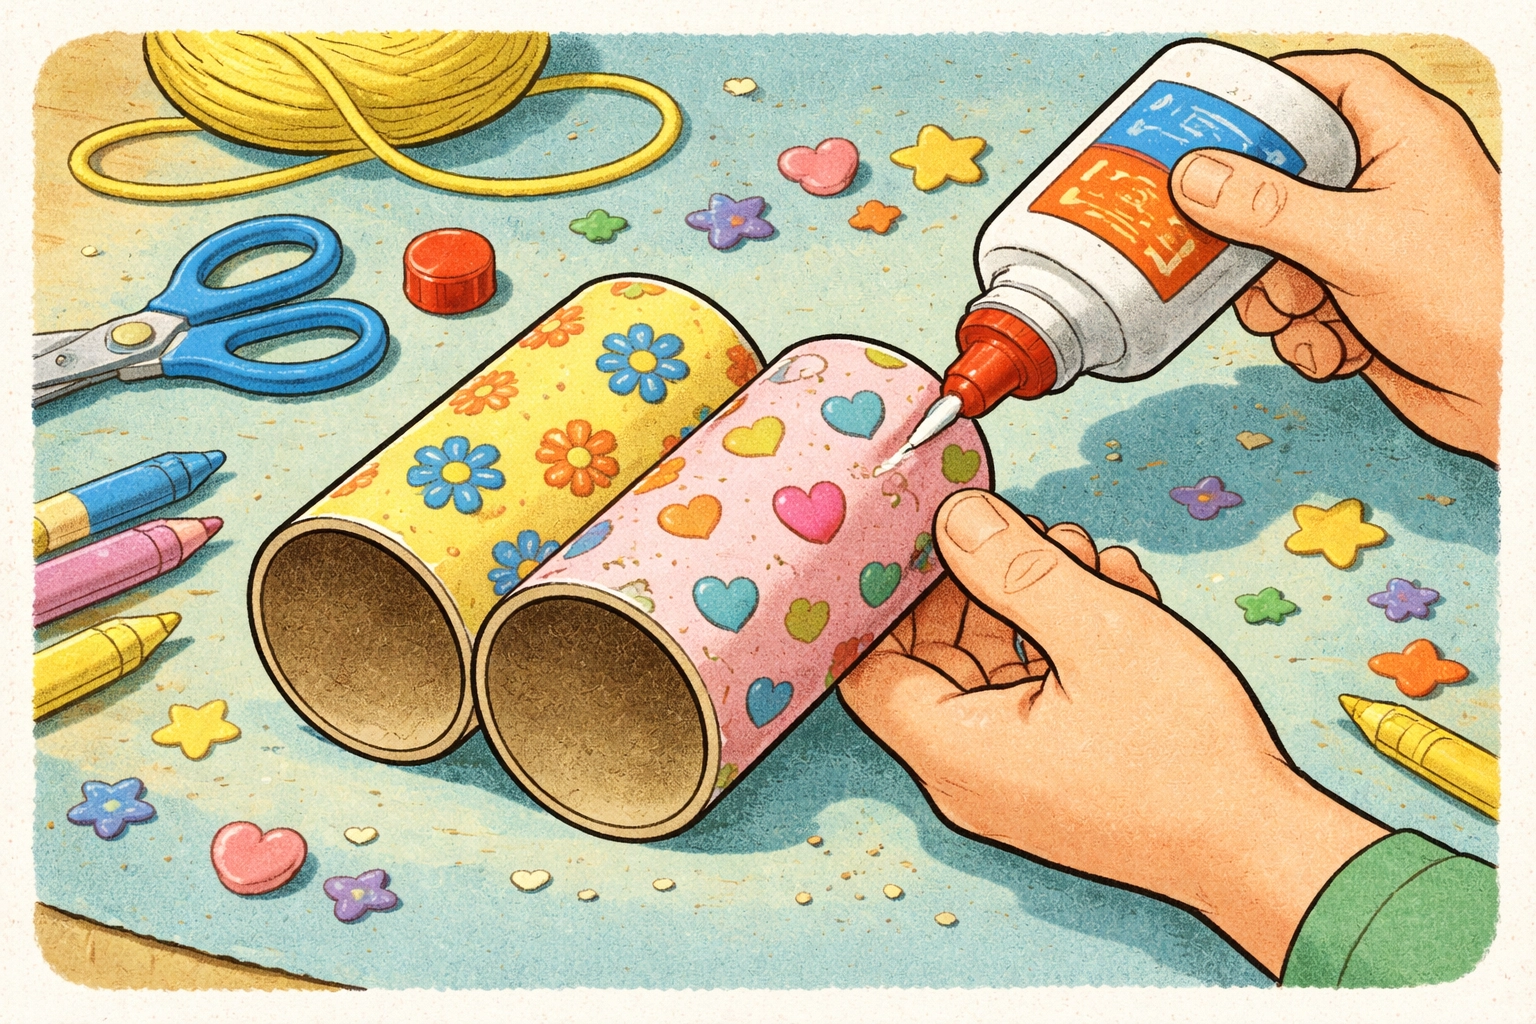
Step 3: Join the Two Rolls Together
Once your decorated rolls are dry, it’s time to attach them side by side. You have two main options:
Glue method: Apply a generous line of white school glue or craft glue along one side of each roll. Press them together firmly and hold for about 30 seconds. Set aside to dry for 5-10 minutes before handling. This method is gentler for little hands but requires patience.
Stapler method: Line up the rolls and staple them together at the top and bottom. This creates an instant bond but requires adult supervision for younger children. Make sure staple ends face outward, away from where little faces will press against the binoculars.
Some families use a combination: a staple at each end for immediate stability, plus glue along the seam for long-term durability.
Step 4: Punch Holes for the Strap
Using a single-hole punch, create one hole on the outer side of each roll. Position these holes about 1/4 inch from the edge to prevent tearing during use. The holes should be near the top of the rolls (the end that will face away from your child’s eyes).
Pro tip: Punch through both layers of cardboard if possible: this creates a stronger anchor point for the strap.
Step 5: Attach the Neck Strap
Cut a piece of ribbon, yarn, or string approximately 24-30 inches long. The exact length depends on your child’s size: you want the binoculars to hang comfortably at chest level when worn around the neck.
Thread one end through the hole on the left side and tie a secure knot. Repeat on the right side. Double knots tend to hold up better during active play.
Optional enhancement: Before tying the second knot, thread some beads or cut pieces of colorful straws onto the strap for extra decoration and a fun rattling sound.
Step 6: Test and Adjust
Have your child try on their new binoculars. The strap should allow them to lift the binoculars to their eyes comfortably without being so long that they trip over it. Adjust the knots if needed.
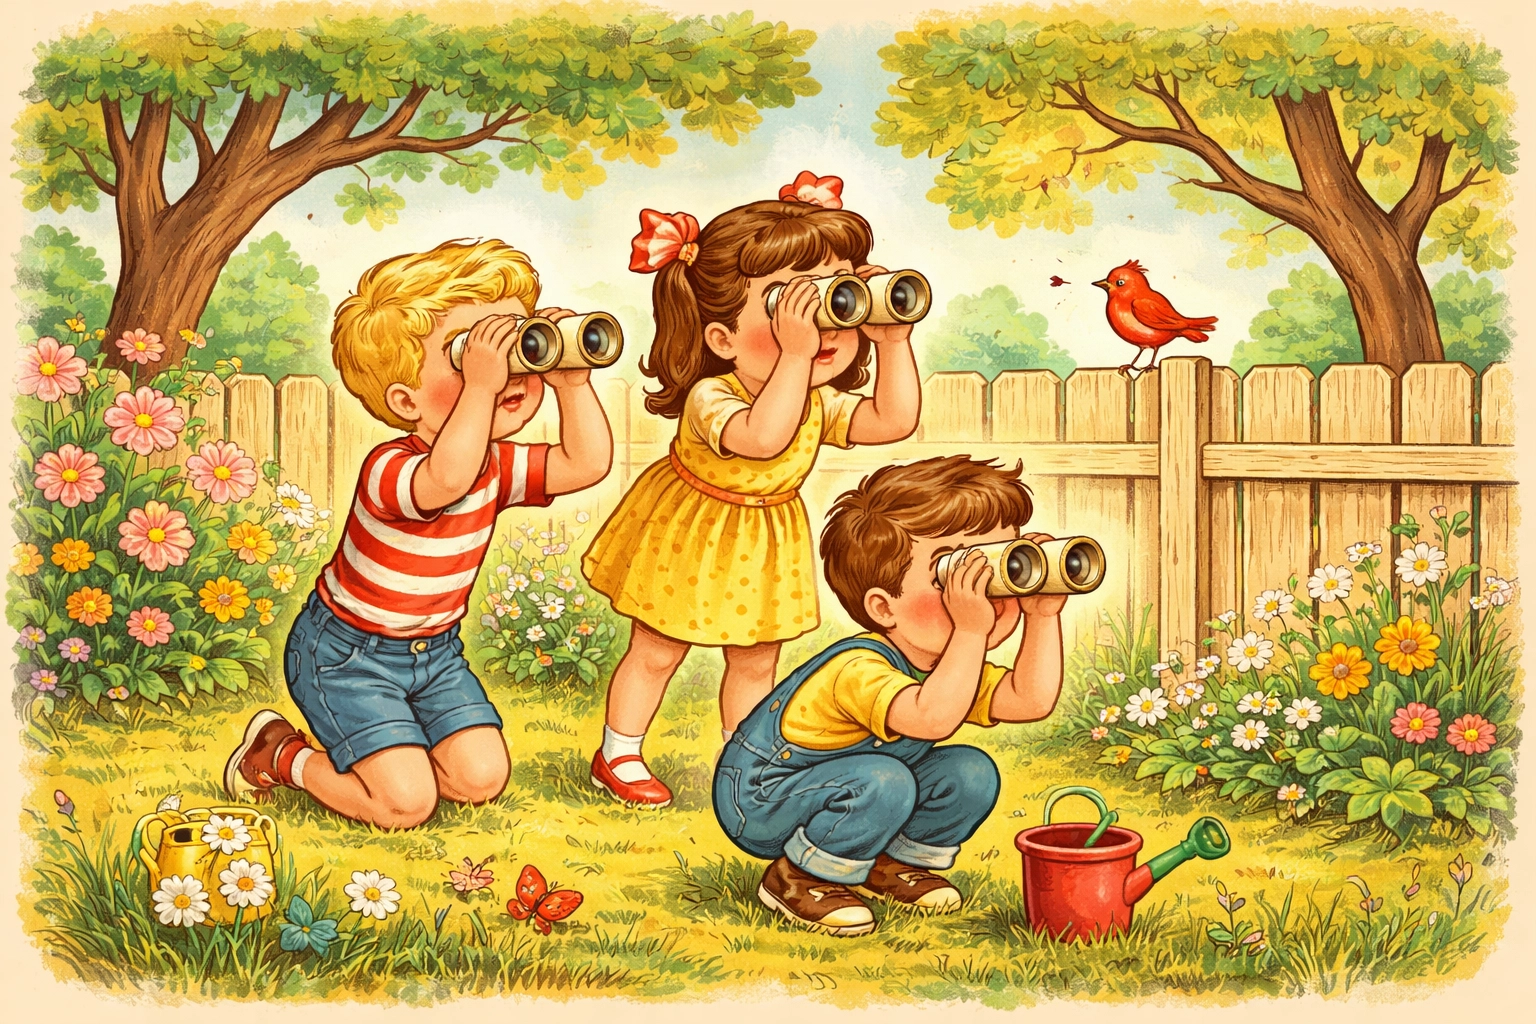
Ways to Use Your Finished Binoculars
The crafting is really just the beginning. Here are some activities that pair wonderfully with homemade binoculars:
- Backyard bird watching: Even without magnification, kids love “spotting” birds and pretending to be naturalists
- I-Spy games: Perfect for road trips, waiting rooms, or rainy day indoor play
- Nature walks: Binoculars make ordinary walks feel like expeditions
- Scavenger hunts: Create a list of things to find and “zoom in” on
- Pretend play: Safari guides, ship captains, explorers, and spies all need binoculars
If your family enjoys outdoor activities, you might also like our guide on creating a DIY worm composting bin with children for another hands-on project.
Frequently Asked Questions
Can I use paper towel rolls instead of toilet paper rolls?
Yes! Simply cut one paper towel roll in half to create two pieces of roughly equal length. Paper towel rolls tend to be slightly sturdier, which can be nice for enthusiastic little explorers.
How do I make the binoculars more durable?
Consider wrapping the finished binoculars in clear packing tape or applying a coat of Mod Podge over decorated surfaces. Reinforcing the strap holes with small pieces of tape also helps prevent tearing.
What if my child wants binoculars that actually magnify?
These pretend binoculars don’t offer real magnification, and that’s part of their charm for imaginative play. If your child is interested in actual magnification, inexpensive kid-friendly binoculars are available, but for creative play purposes, these work wonderfully.
Is this craft safe for toddlers?
With supervision, toddlers can participate in age-appropriate steps like painting and sticking on stickers. Adults should handle stapling and hole punching. The finished product is generally safe, though very young children should be supervised during play to prevent chewing on cardboard.
How long do toilet paper roll binoculars typically last?
With reasonable care, these can last several weeks of regular play. Heavy outdoor use, rain, or rough handling will shorten their lifespan: but that’s okay since they’re easy and inexpensive to remake.
Can this be a party activity?
This craft works great for birthday parties, scout meetings, or classroom activities. Set up a decorating station with various supplies and let each child personalize their own pair.
What’s the best glue to use?
White school glue (like Elmer’s) works well and is non-toxic. Hot glue creates a stronger bond but requires adult handling. Glue sticks can work in a pinch but may not hold as securely over time.
My child decorated before the paint dried and now everything is smudged. Help?
It happens to everyone! You can usually paint over smudges once dry, add stickers to cover problem areas, or embrace the “abstract art” look. Part of crafting with kids is accepting imperfection.
References
- Various parenting and craft resources on toilet paper roll crafts
- Research on age-appropriate craft activities for children
Looking for more kid-friendly craft ideas? Browse our Kids Crafts category for additional projects the whole family can enjoy together.


