


To make a cardboard marble maze with kids, you'll need a shallow cardboard box, cardboard strips or straws for walls, a hot glue gun (adult-supervised), scissors, a pencil, ruler, and a marble. Draw your maze design on the box base, cut wall pieces to size, glue them along your drawn lines, and let everything dry before testing with your marble. The whole project typically takes 30 to 60 minutes and costs under $10 using supplies you likely already have at home.
This is one of those crafts that hits the sweet spot: it's simple enough for little hands but engaging enough that older kids (and let's be honest, adults too) get genuinely invested in the engineering challenge. Plus, once it's built, you've got a toy that provides hours of tilting, rolling, and problem-solving fun.
Materials You'll Need
Good news: this project won't break the bank. You probably have most of these items lying around already.
| Material | Estimated Cost | Notes |
|---|---|---|
| Cardboard box (shallow) | Free | Shoe boxes, cereal boxes, or pizza box lids work well |
| Cardboard strips, straws, or craft sticks | $1-3 | For building maze walls |
| Marble | $1-2 | Or use a small bouncy ball |
| Hot glue gun + sticks | $3-5 | Low-temp recommended for younger helpers |
| Scissors | Free | From your craft supplies |
| Pencil & ruler | Free | For planning your design |
| Construction paper (optional) | $1-2 | For decoration |
Total estimated cost: Under $10 (and often free if you're resourceful with recycling)
Age Ranges: Who Can Do What?
This project adapts nicely across different age groups. Here's a rough breakdown:
Ages 3-5 (Skill Level: Helper)
Little ones can help design the maze path, place wall pieces where you've applied glue, decorate with stickers or markers, and of course: test the finished maze. Keep them away from scissors and the hot glue gun.
Ages 6-8 (Skill Level: Active Participant)
Kids in this range can handle safety scissors, help measure and cut cardboard strips, and make design decisions about where dead ends should go. Adults should still manage the hot glue gun.
Ages 9-12 (Skill Level: Independent Builder)
Older kids can often tackle this project with minimal supervision, especially if you provide a low-temperature glue gun. They might even start engineering multi-level mazes or adding challenge holes.
Time Estimate
Plan for 30 to 60 minutes from start to finish, depending on:
- How elaborate your maze design gets
- How many decorations you add
- How patient your little builders are feeling that day
You can also split this into two sessions: design and prep one day, assembly the next: if attention spans are running short.
Step-by-Step Instructions
Step 1: Prepare Your Base
Find a shallow cardboard box: a shoe box lid, the top of a pizza box, or a cereal box with one side cut away all work great. You want four sides and a flat bottom.
If your box feels flimsy, reinforce the corners and edges with a few strips of tape. The base needs to be sturdy enough to handle tilting without collapsing.
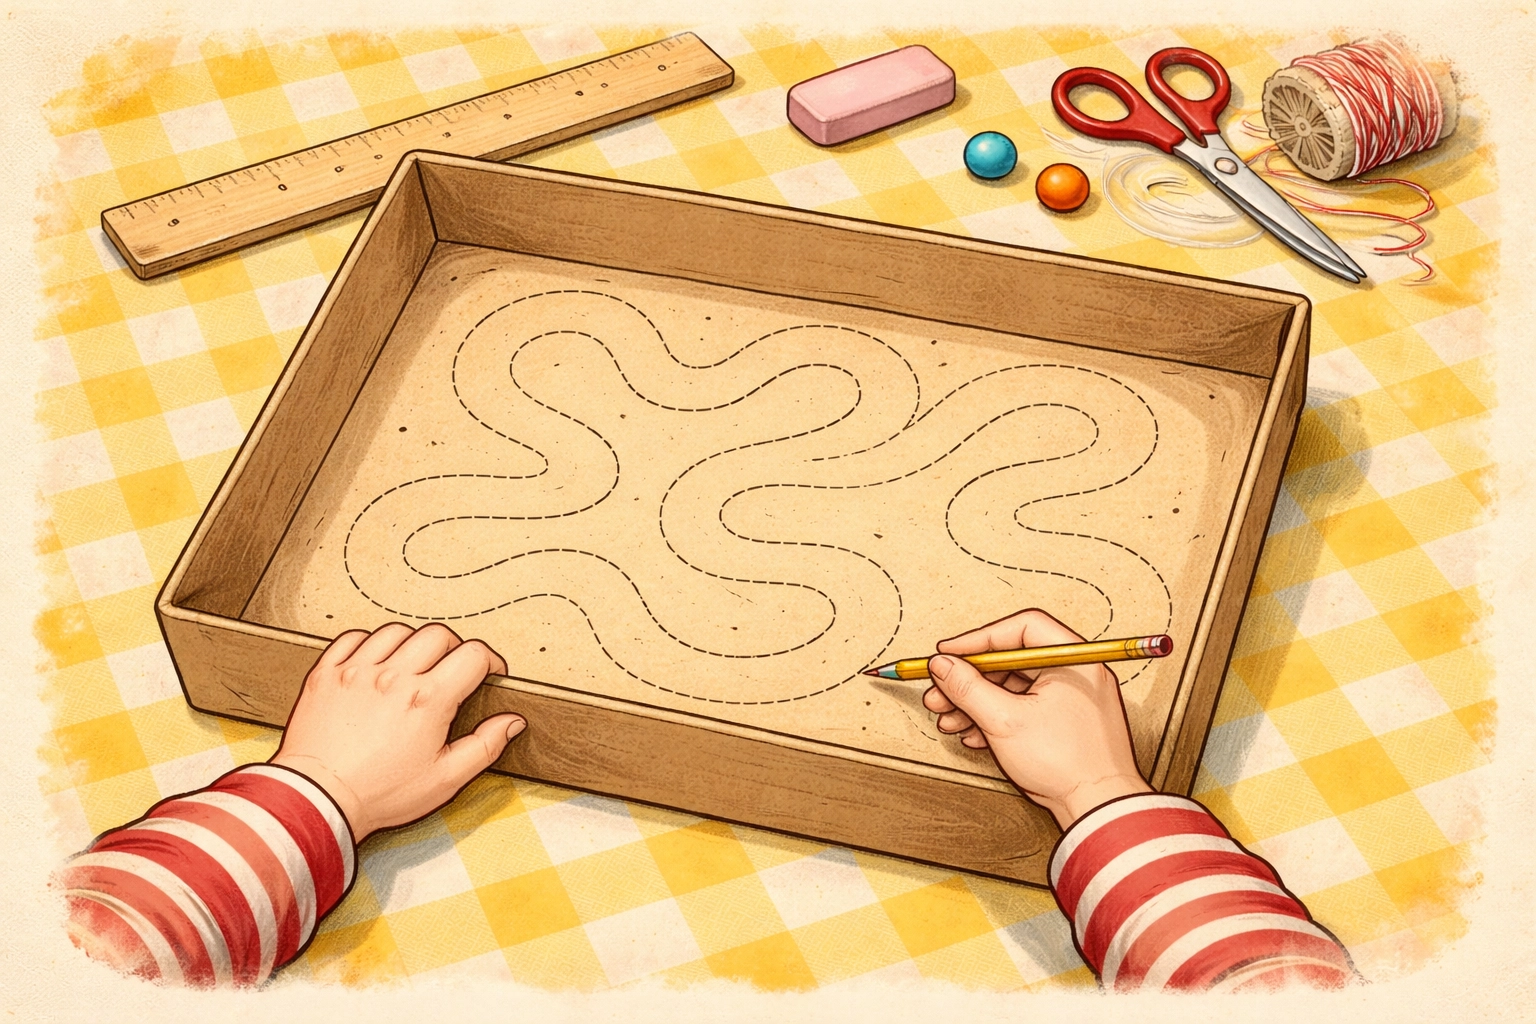
Step 2: Plan Your Maze Design
Here's where the real thinking happens. Grab a pencil and lightly sketch your maze directly onto the cardboard base.
Start by marking:
- Entry point (where the marble begins)
- Exit point (where you're trying to get it)
- The path connecting them
Then add the fun stuff: dead ends, wrong turns, and tricky passages. The key is making sure your pathways are wide enough for your marble to roll through comfortably. A good rule of thumb: leave about twice the marble's width for each corridor.
Don't stress about making it look polished. This sketch is just your guide.
Step 3: Cut Your Wall Pieces
Now you'll create the walls that form your maze pathways. You've got options here:
- Cardboard strips: Cut from cereal boxes or spare cardboard. These are sturdy and easy to work with.
- Drinking straws: Great for quick assembly and create a clean look.
- Craft sticks or popsicle sticks: Uniform size makes measuring easier.
Cut pieces to match the wall lengths in your design. It helps to work in batches: cut several short pieces, several medium ones, and a few longer strips.
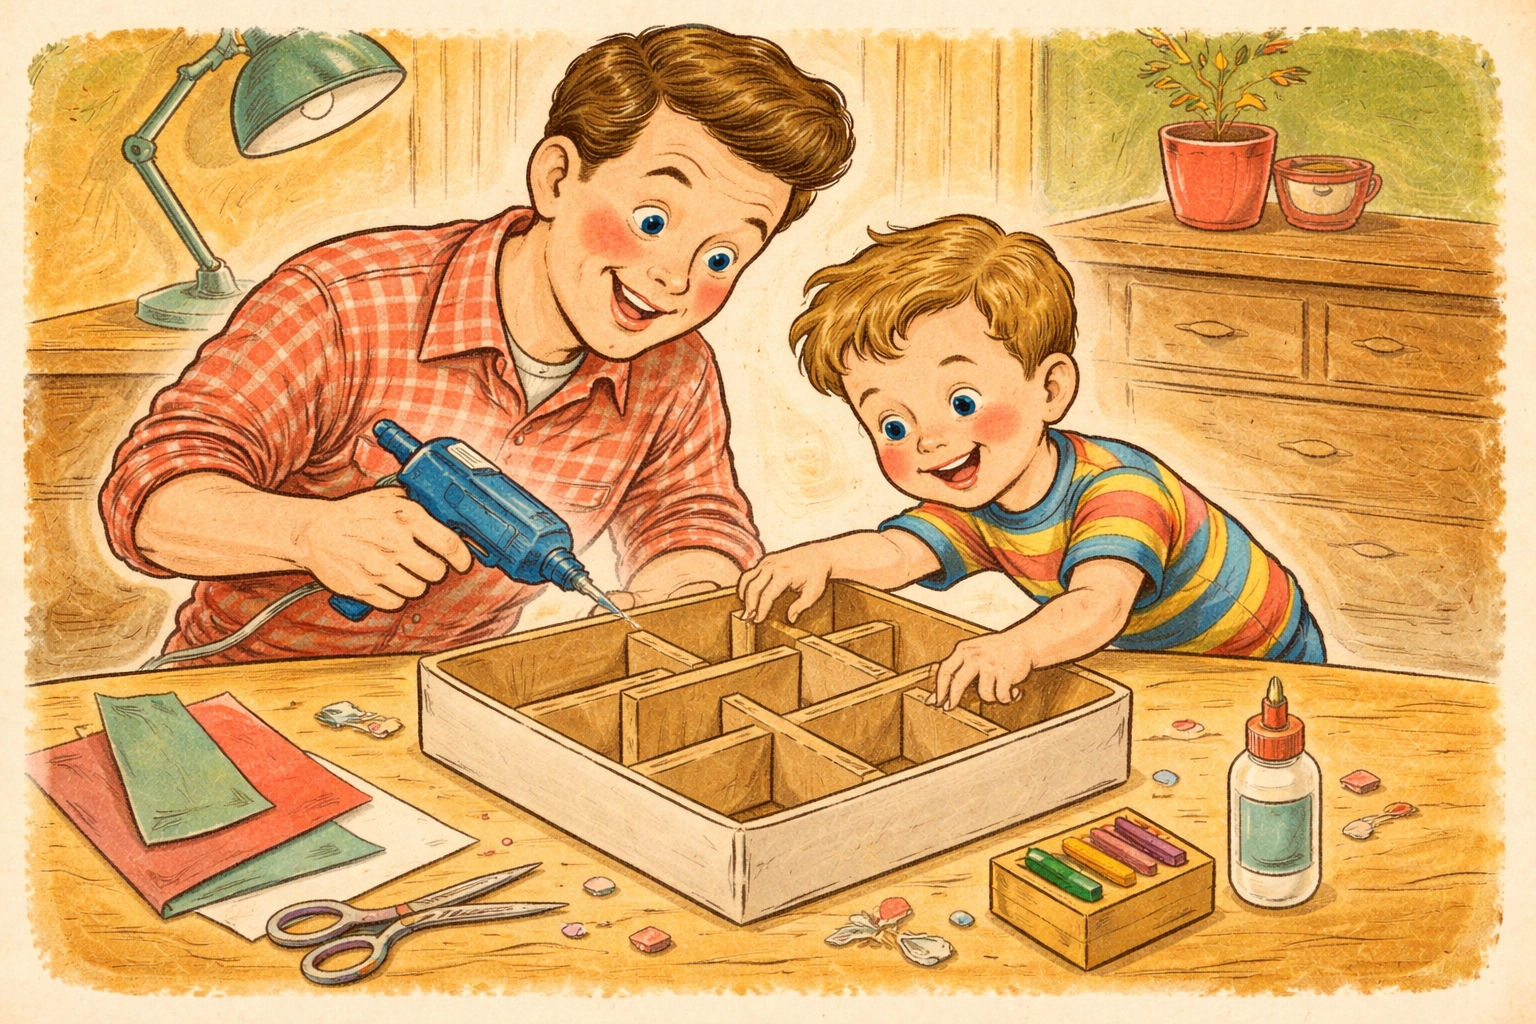
Step 4: Glue Walls in Place
Time for assembly. Working one section at a time, apply a line of hot glue along the bottom edge of each wall piece and press it firmly onto your drawn maze lines.
Tips for easier gluing:
- Start from the outer edges and work your way toward the center
- Hold each piece for a few seconds until the glue sets
- Leave small gaps at corners so your marble can actually turn
- Don't rush: let sections dry before moving to adjacent areas
This is where adult help matters most. Hot glue works quickly and creates strong bonds, but it can burn little fingers. If you're working with younger kids, let them point to where walls should go while you handle the glue gun.
Step 5: Add Challenge Holes (Optional)
Want to make things trickier? Cut small holes in the base that act as "traps." If the marble falls through, the player has to start over.
Trace around a nickel or small coin to get the right size: big enough for the marble to fall through, but not so large that they're unavoidable. Use scissors or have an adult carefully cut with a craft knife.
Place these strategically near the exit or along tempting shortcuts.
Step 6: Decorate (Optional but Fun)
Once all the walls are secure and dry, let kids go wild with decoration. Construction paper, markers, stickers, and paint can transform a plain cardboard maze into a space station, enchanted forest, or racetrack.
Just make sure decorations don't block the marble's path or make walls too slippery for the glue to hold.
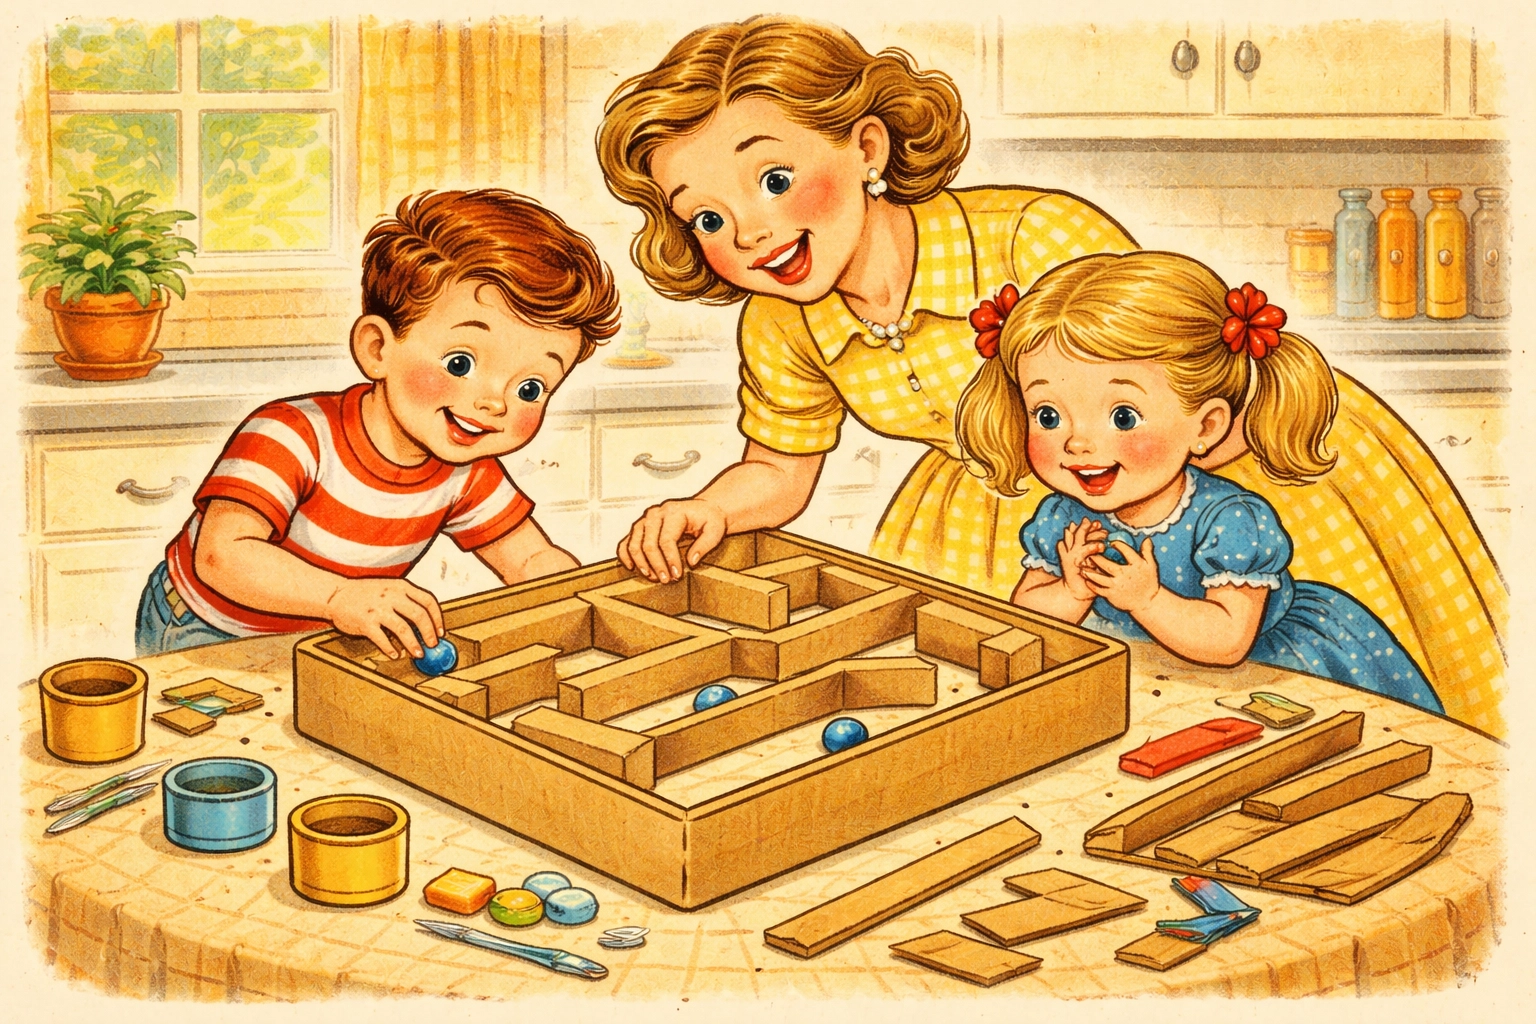
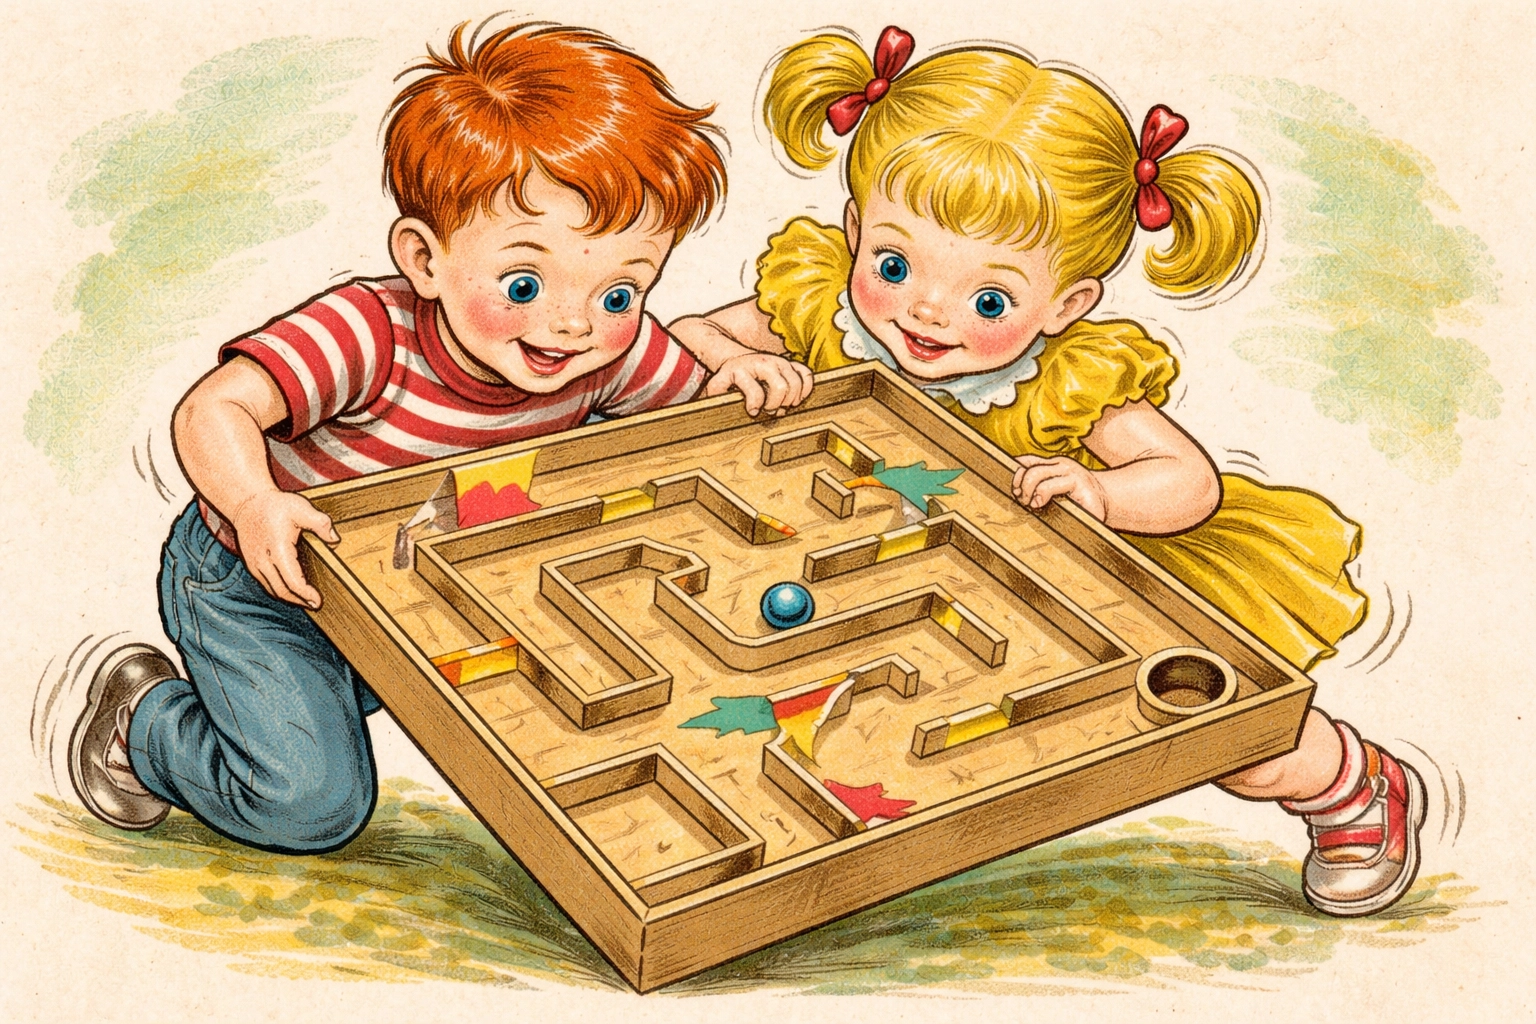
Step 7: Test and Play
Drop your marble at the starting point, pick up the maze, and start tilting. Guide that little ball through your creation by angling the box side to side, forward and back.
If certain sections seem too easy or too hard, you can always add more walls or widen problem areas. That's the beauty of cardboard: it's forgiving.
Tips for Marble Maze Success
- Test your marble fit before gluing. Roll it through planned pathways to make sure corridors aren't too tight.
- Lower walls work fine. You don't need tall barriers: half an inch to an inch is usually plenty.
- Keep one corner open. If you add trap holes, consider cutting a small retrieval hole in one corner of the base so fallen marbles don't get lost inside.
- Embrace imperfection. Wobbly walls and uneven glue lines add character. This is a kid craft, not a museum piece.
Frequently Asked Questions
What age is appropriate for making a cardboard marble maze?
Kids as young as 3 can participate with heavy adult assistance, while children around 8 or 9 can often build one mostly independently. The project scales well: just adjust who handles cutting and gluing.
How long does it take to make a marble maze?
Most families finish in 30 to 60 minutes. More elaborate designs with decorations and multiple challenge holes might take longer, especially with younger builders.
What can I use instead of hot glue?
White school glue works but requires longer drying time (sometimes overnight). Glue dots or strong double-sided tape can also work for lighter wall materials like straws.
What if I don't have a marble?
Small bouncy balls, large beads, or even a rolled-up ball of aluminum foil can substitute. Just make sure your pathways are sized appropriately.
How do I make the maze harder?
Add trap holes, create more dead ends, narrow the pathways slightly, or try building ramps and multi-level sections for advanced builders.
Can I make a marble maze without a box?
You can use a flat piece of sturdy cardboard as your base, but you'll need to add raised edges around the perimeter to keep the marble from rolling off.
What's the best cardboard for this project?
Cereal boxes and shoe boxes offer a nice balance: sturdy enough to hold together but thin enough for kids to cut. Corrugated shipping boxes work too, especially for the base.
How do I store a finished marble maze?
Flat on a shelf works well. Avoid stacking heavy items on top, as the walls can get crushed. Most mazes hold up for weeks or months of regular play.
Looking for more hands-on projects to try with your kids? Check out our Kids Crafts collection for dozens of budget-friendly ideas that keep little hands busy and curious minds engaged.


