


Food print stamping is a hands-on art activity where kids use cut fruits and vegetables as stamps to create colorful patterns and designs on paper. It's one of those projects that transforms ordinary kitchen scraps into creative tools, and most families can pull it together with items already sitting in the fridge. The textures and shapes of different produce, from the star-like cross-section of okra to the natural rings inside an onion, create prints that are often more interesting than traditional stamps. Plus, it's a sneaky way to get kids curious about vegetables they might otherwise ignore at dinnertime.
Quick Project Facts
| Detail | Info |
|---|---|
| Best Age Range | 2–8 years (toddlers with help, older kids independently) |
| Time to Complete | 20–45 minutes |
| Difficulty | Easy |
| Mess Level | Moderate (washable paint recommended) |
| Total Cost | Under $10 (often free with pantry items) |
Materials You'll Need
Most of these supplies are likely already in your kitchen or craft drawer. Here's what to gather before you start:
| Material | Estimated Cost | Notes |
|---|---|---|
| Fruits and vegetables | $0–$5 | Use produce past its prime, celery ends, soft apples, sprouted potatoes |
| Washable tempera or finger paint | $3–$6 | Dollar store options work well |
| White or colored paper | $1–$3 | Construction paper, cardstock, or printer paper |
| Paper plates or shallow dishes | $1 | For holding paint |
| Paper towels | $0–$1 | Creates a stamp pad effect |
| Plastic tablecloth or newspaper | $0–$2 | Protects your work surface |
| Art smock or old shirt | $0 | Optional but helpful |
Budget tip: This project is a fantastic way to use vegetables that are past their eating prime. That bendy celery, the potato with eyes, or the pepper that's getting wrinkly? They all stamp beautifully.
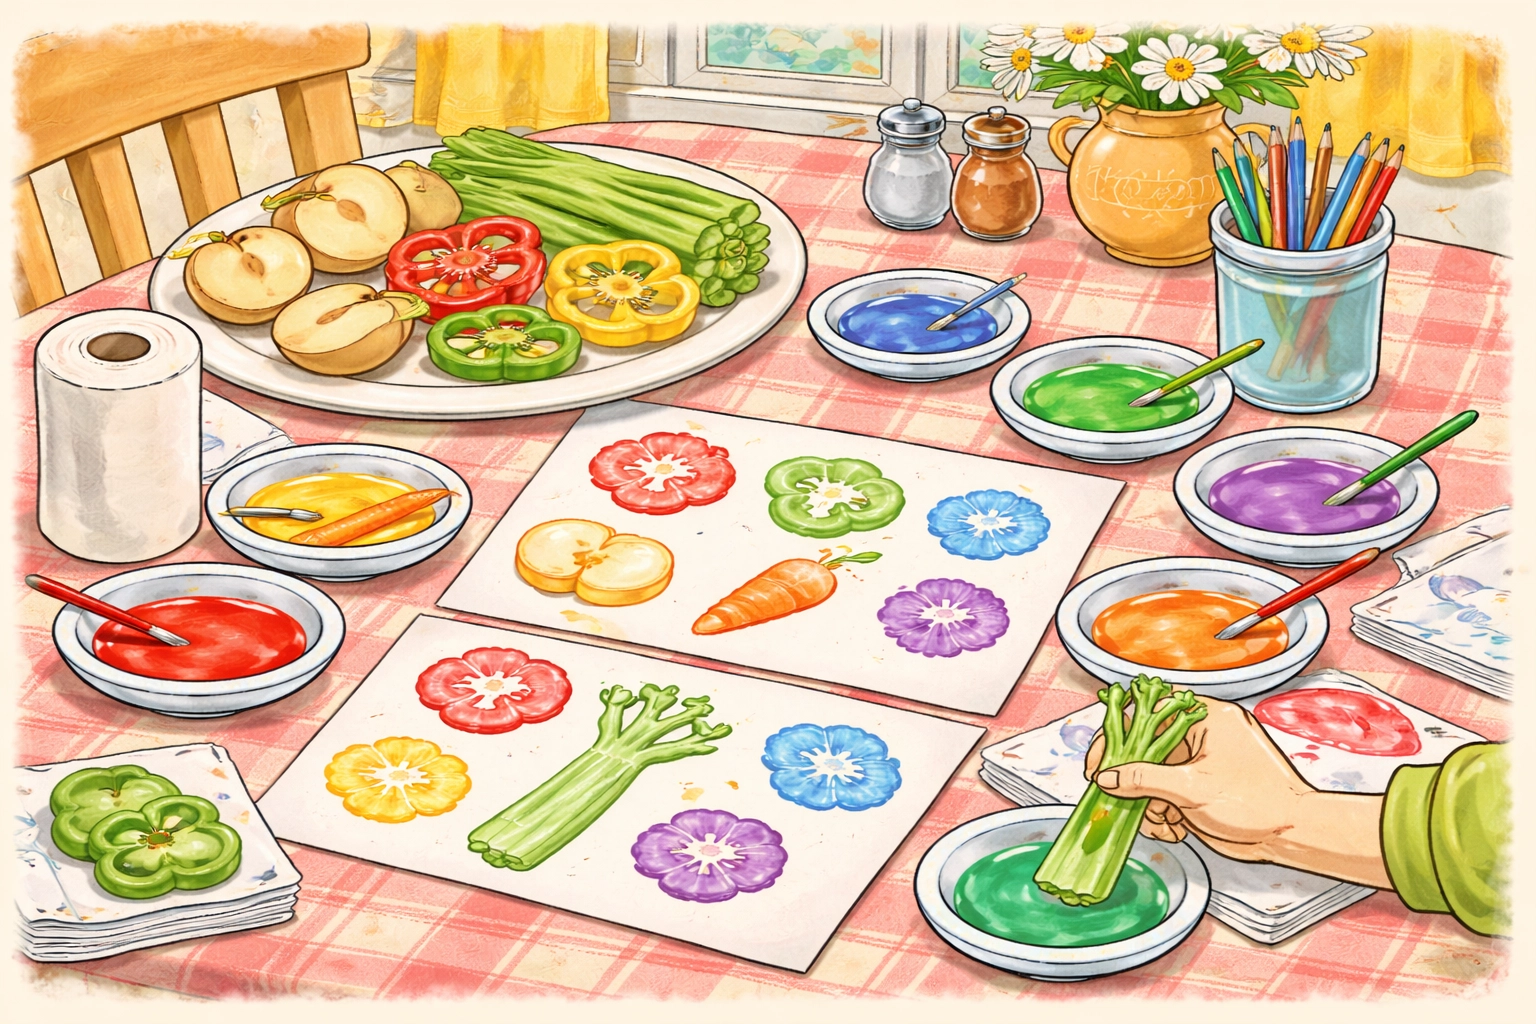
Which Fruits and Vegetables Work Well?
Not all produce stamps the same way, and that's part of the fun. Here's a quick guide to help you choose:
Vegetables
- Celery stalks (base): Creates a rose-like flower pattern when you cut across the bottom bunch
- Bell peppers: Slice crosswise and remove seeds for a clover or flower shape
- Carrots: Cut lengthwise for ovals, crosswise for circles
- Potatoes: Smooth surface that's easy to carve into custom shapes
- Onions: Natural ring patterns when sliced
- Okra: Makes star-shaped prints
- Broccoli florets: Creates tree-like textures
- Corn on the cob: Roll it for a bumpy, textured effect
Fruits
- Apples: Cut in half for a classic apple shape with visible seed pockets
- Lemons or oranges: Citrus segments create interesting patterns
- Strawberries: Slice lengthwise for heart-like shapes
The key is having a relatively flat surface that can hold paint and transfer it to paper. Watery vegetables like cucumbers or tomatoes can work, but you'll want to pat them dry first.
Step-by-Step Instructions
Step 1: Set Up Your Workspace
Lay down a plastic tablecloth, newspaper, or an old shower curtain liner to protect your table. Food print stamping is moderately messy, not disaster-level, but paint does tend to migrate when little hands are involved.
Set out your paper plates and squeeze a thin layer of paint onto each one. For a more traditional stamp pad feel, fold a paper towel, place it on the plate, and pour paint over it. This helps distribute paint more evenly on your veggie stamps.
Have paper towels nearby for wiping hands and vegetables between colors.
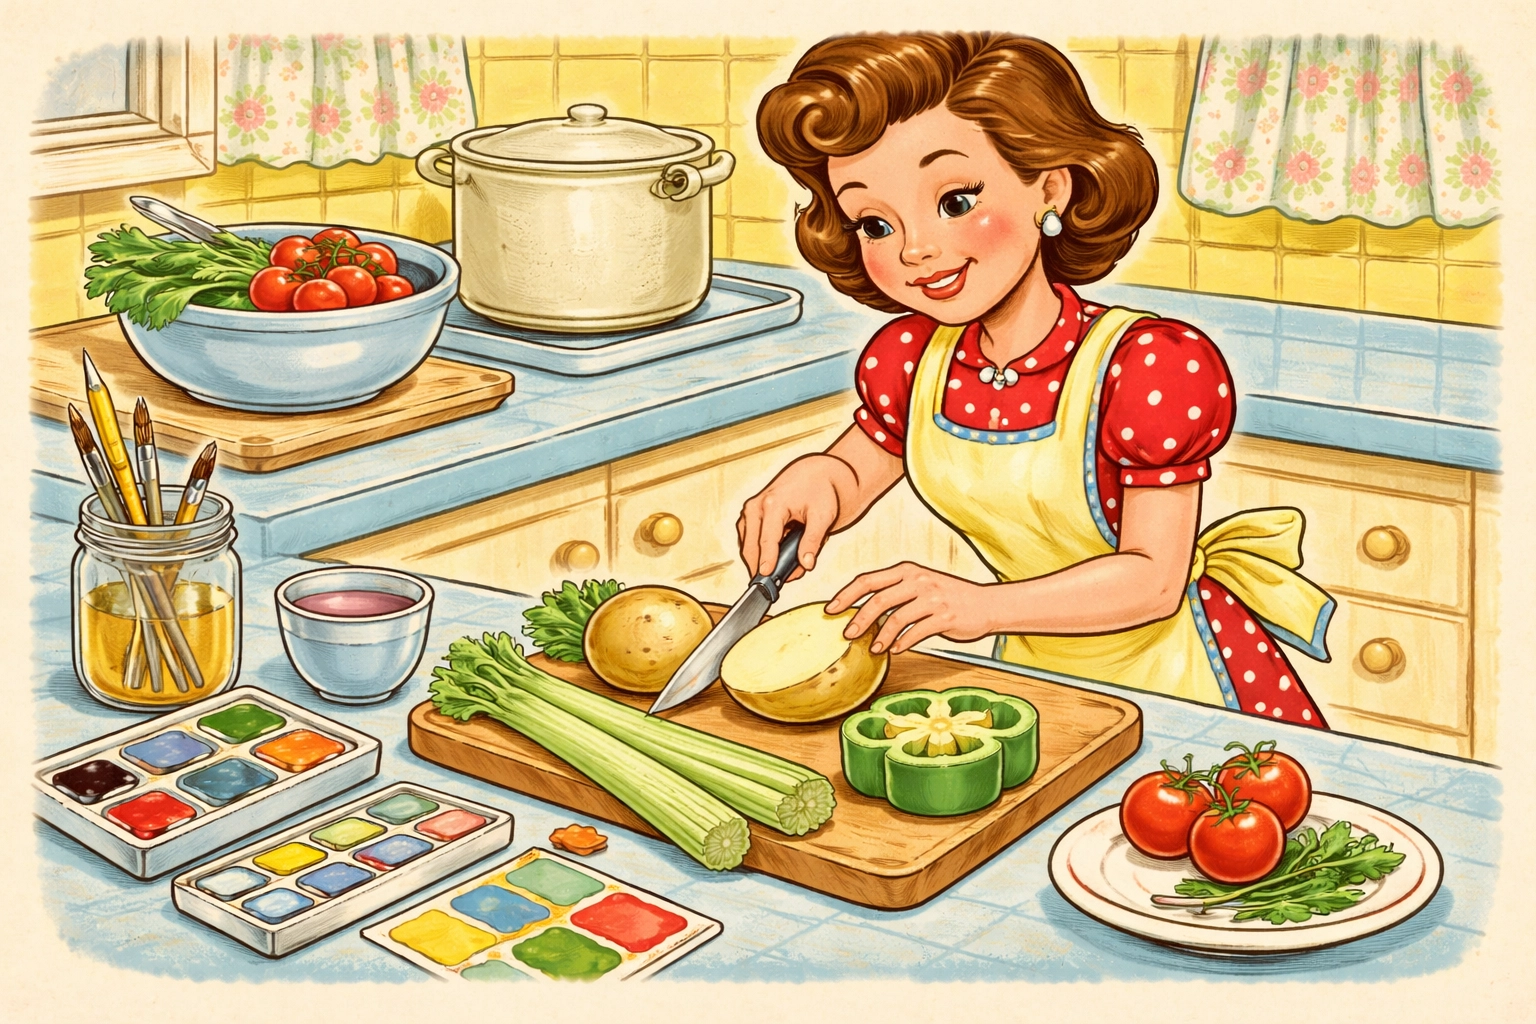
Step 2: Prepare Your Produce
Using a sharp knife (adults only for this step), cut your fruits and vegetables to create flat stamping surfaces:
- For bell peppers: Slice crosswise about an inch from the bottom, remove seeds and membranes
- For celery: Cut straight across the base of a full bunch
- For potatoes: Cut in half, or carve simple shapes into the flat surface
- For apples: Slice in half through the core
- For carrots: Cut into 2–3 inch pieces, then slice lengthwise
Pat all cut surfaces with a paper towel to remove excess moisture. Wet vegetables don't hold paint as well and can create blurry prints.
Step 3: Demonstrate the Technique
Before handing stamps to the kids, show them the basic motion:
- Press the flat side of the vegetable into the paint (or onto the painted paper towel pad)
- Lift straight up
- Position over the paper
- Press down firmly and evenly
- Lift straight up without wiggling
That "lift straight up" part is important. Sliding or twisting creates smears instead of clean prints. But honestly? Smears and experiments are part of the process, so don't stress about perfect technique.
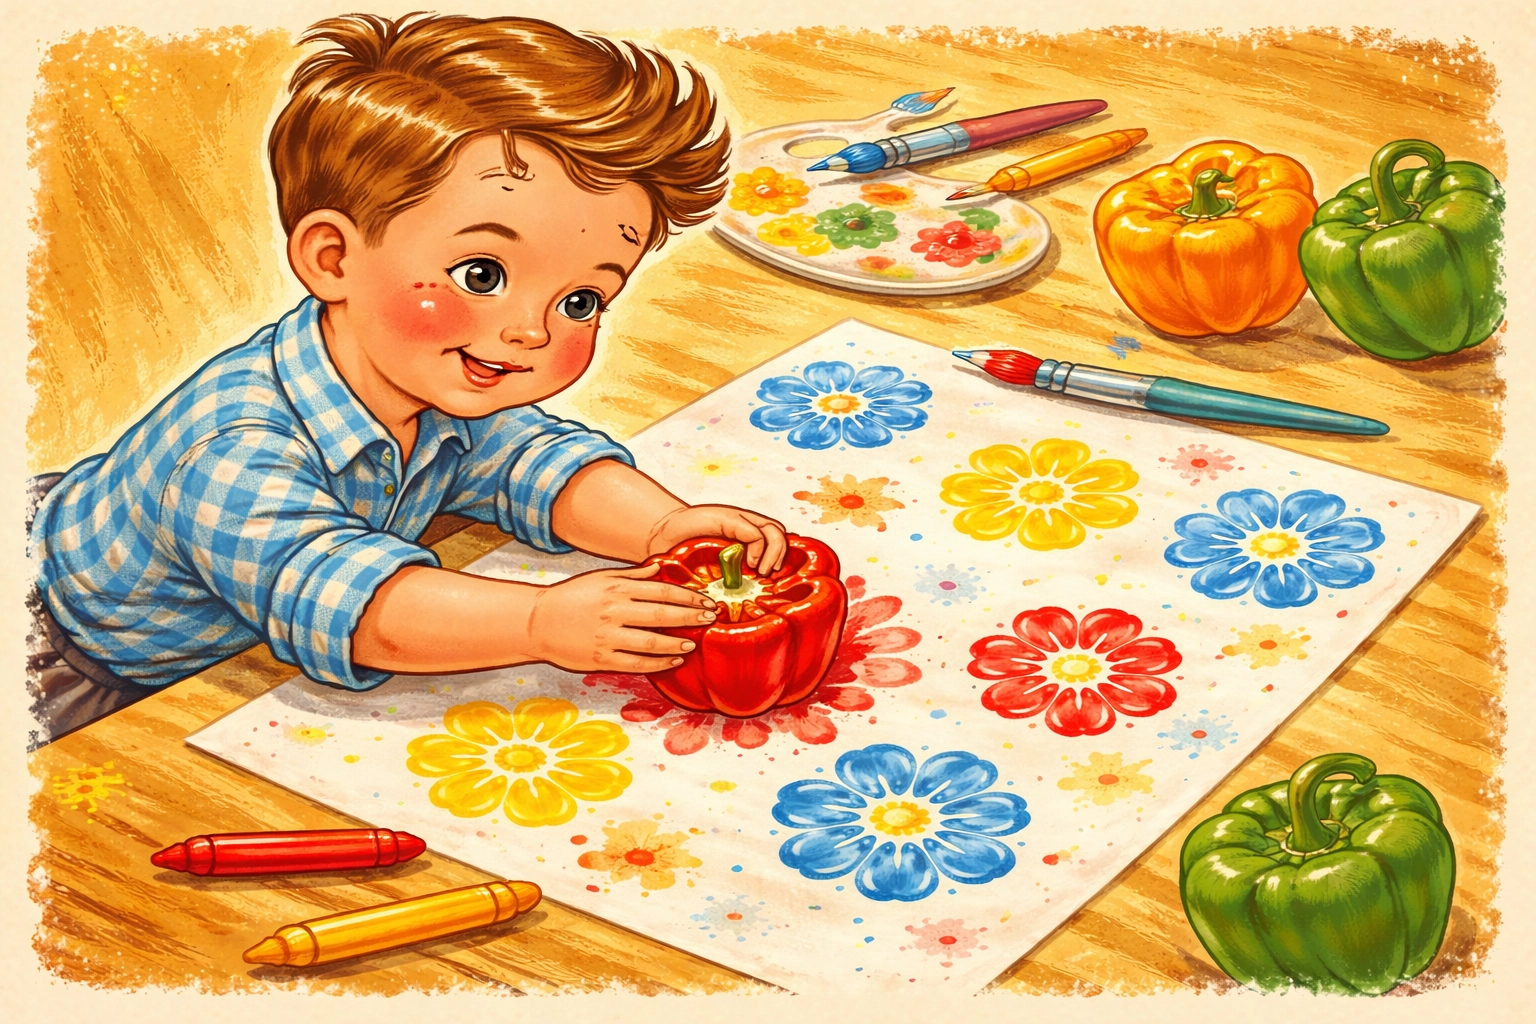
Step 4: Let Kids Explore
Now comes the fun part. Let children choose their vegetables and colors, and encourage them to experiment:
- Try stamping in patterns or rows
- Overlap different vegetable prints
- Mix colors by not cleaning stamps between dips
- Use vegetables as paintbrushes by dragging them across paper
- Create scenes (broccoli becomes trees, carrots become suns)
Younger children often prefer the sensory experience of stamping repeatedly in one spot. Older kids might enjoy creating more intentional designs or pictures. Both approaches are valid.
Step 5: Try Some Variations
Once kids have the basics down, you can introduce some creative challenges:
- Pattern making: Can they create an ABAB pattern with two different vegetables?
- Color mixing: What happens when they stamp red over yellow?
- Texture comparison: Which vegetable makes the smoothest print? The bumpiest?
- Potato carving: For older kids, use a butter knife or popsicle stick to carve simple shapes into a potato half before stamping
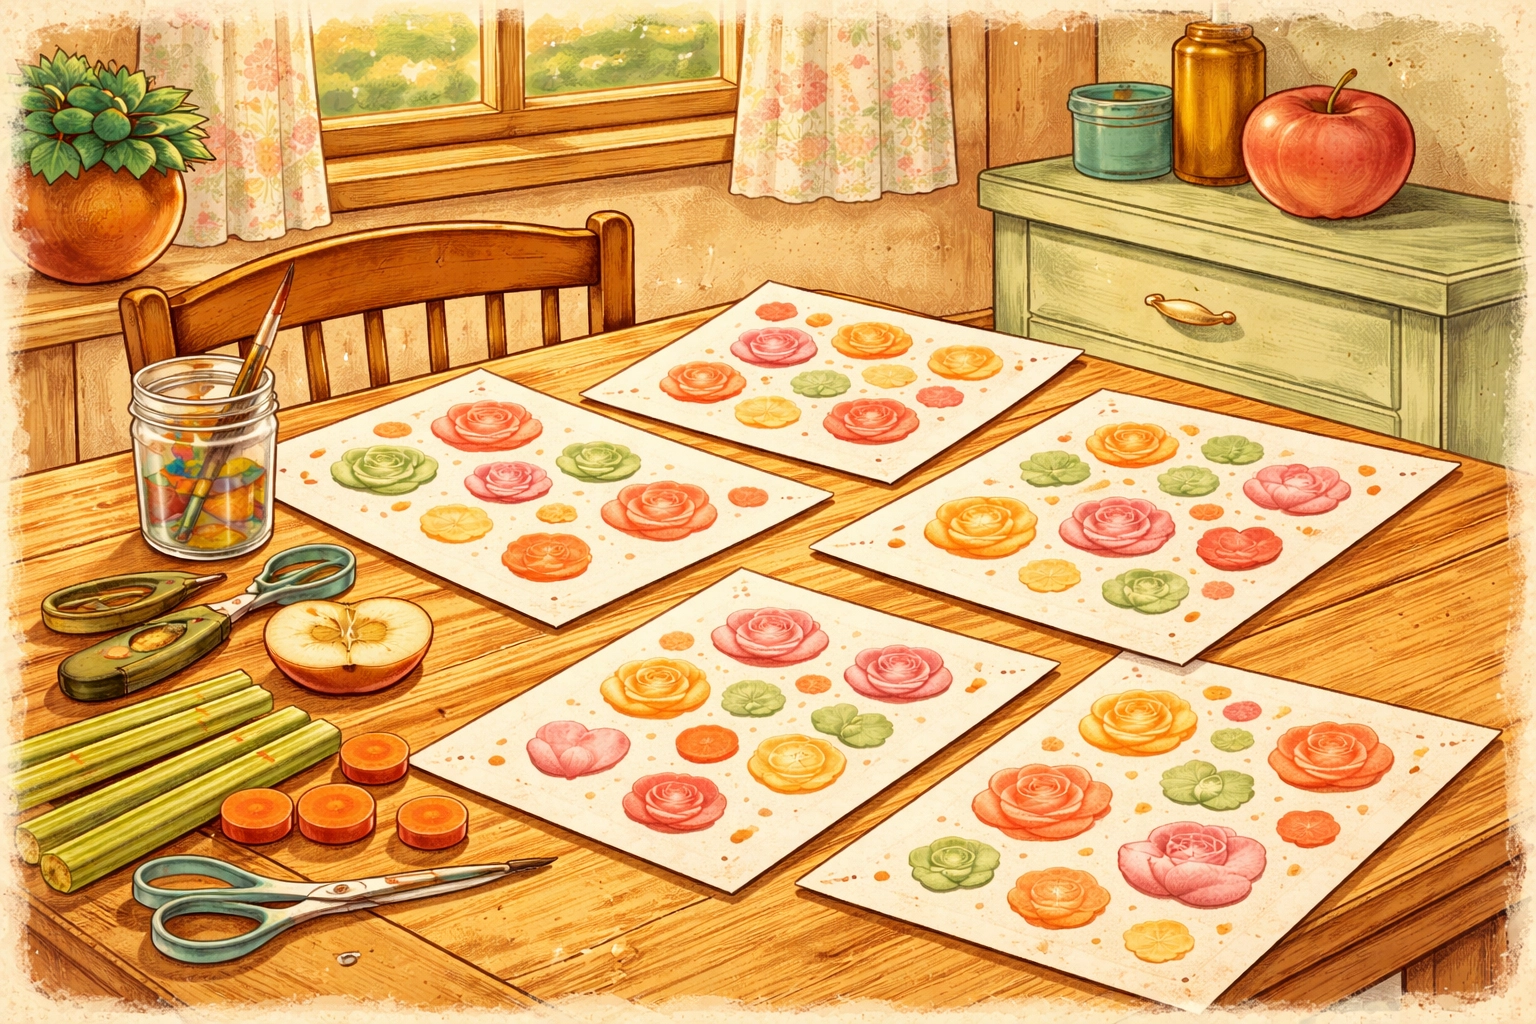
Step 6: Dry and Display
Lay finished artwork flat to dry completely, usually about 30 minutes to an hour depending on how much paint was used. These prints make great:
- Homemade wrapping paper
- Greeting cards
- Framed artwork
- Book covers
- Backgrounds for other art projects
Tips for Success
Keep expectations loose. The charm of food print stamping is in its imperfection. Prints won't be identical, and that's what makes them interesting.
Start with fewer options. Three or four vegetables and two paint colors are plenty to begin. You can always add more once kids are engaged.
Re-cut as needed. After several stamps, the vegetable surface can get mushy. Slice off a thin layer to refresh the stamping surface.
Think beyond paper. Fabric paint on cotton tote bags or plain t-shirts creates wearable art. Just follow the paint manufacturer's instructions for heat-setting.
For more hands-on art activities, check out our kids crafts collection for additional project ideas.
What Kids Learn from Food Print Stamping
This activity packs in more developmental benefits than you might expect:
- Fine motor skills: Gripping vegetables, pressing with controlled force, and lifting without smearing all build hand strength and coordination
- Cause and effect: Kids quickly learn that more paint means darker prints, and that different vegetables create different patterns
- Sensory exploration: The textures, smells, and temperatures of various produce engage multiple senses
- Creativity: Open-ended stamping encourages experimentation without a "right" answer
- Food familiarity: Handling vegetables in a non-mealtime context can reduce food aversions for picky eaters
Frequently Asked Questions
Is food print stamping safe for toddlers?
Generally, yes. Stick with washable, non-toxic paints, and supervise closely. Toddlers may try to taste the painted vegetables, so keep wet wipes handy and redirect gently.
Can we eat the vegetables after stamping?
It's not recommended. Once produce has been pressed into paint: even non-toxic paint: it should go in the compost bin rather than back in the kitchen.
What's the best paint for this activity?
Washable tempera paint tends to work well because it's thick enough to transfer cleanly but washes out of clothes and off skin easily. Finger paint works too, though it can be slightly more drippy.
How do I prevent the paper from getting soggy?
Use thicker paper like cardstock or construction paper. Also, encourage kids to press and lift rather than dragging vegetables across the page.
Can we do this activity outside?
Outdoor stamping is a great option when weather permits. Less worry about mess, and natural light shows off the colors beautifully.
What vegetables should I avoid?
Very watery produce like tomatoes, cucumbers, and watermelon can work but tend to create blurry prints. Leafy greens like lettuce don't stamp well at all.
How do I store leftover cut vegetables?
If you want to reuse them for another stamping session, wrap them tightly in plastic wrap and refrigerate. They'll usually last a day or two before getting too soft.
What age is this activity best for?
Kids as young as 18 months can enjoy stamping with assistance, while children up to age 8 or so often find it engaging. Older kids might prefer the potato carving variation for more creative control.
Food print stamping is one of those rare activities that's genuinely fun for a wide age range, uses materials you probably already have, and results in artwork that's actually worth displaying. Plus, it might just make your kids a little more curious about vegetables: and that's a win all around.


