


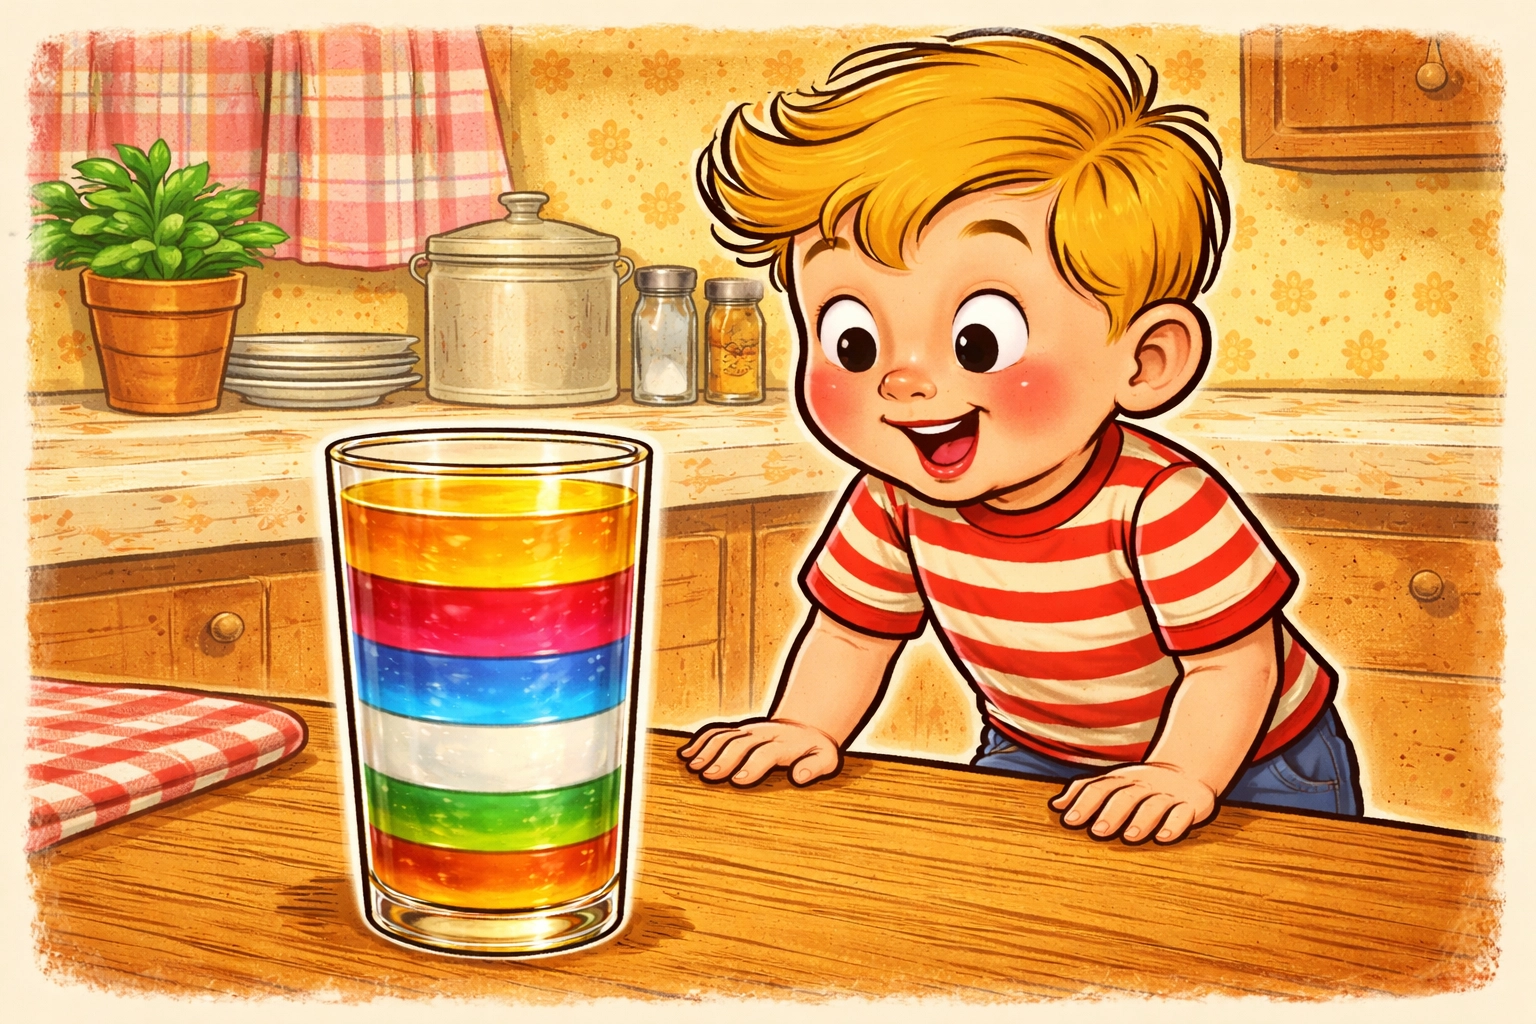
What Is a Layered Drink Density Experiment?
A layered drink density experiment is a hands-on science activity where kids pour different household liquids into a single clear container and watch them stack into colorful, separate layers. The magic happens because each liquid has a different density, meaning some liquids are heavier per drop than others. The denser liquids sink to the bottom while the lighter ones float on top, creating a rainbow tower right in your kitchen.
This experiment typically takes about 15 to 25 minutes from start to finish, and it works well for children ages 4 to 10. Younger kids (4-6) enjoy the visual wow factor and can help with pouring, while older kids (7-10) often get excited about predicting which liquids will sink or float and understanding the science behind it.
Why Kids Go Wild for This Experiment
There's something almost magical about watching liquids refuse to mix. Kids expect everything poured into a glass to blend together like juice and water, so when honey sits stubbornly at the bottom while oil floats cheerfully on top, their eyes get wide. It's the kind of "wait, what?" moment that sparks real curiosity.
Beyond the spectacle, this experiment introduces foundational science concepts like mass, volume, and density in a way that actually sticks. When a child sees corn syrup slide beneath dish soap, they're witnessing physics in action, no textbook required.
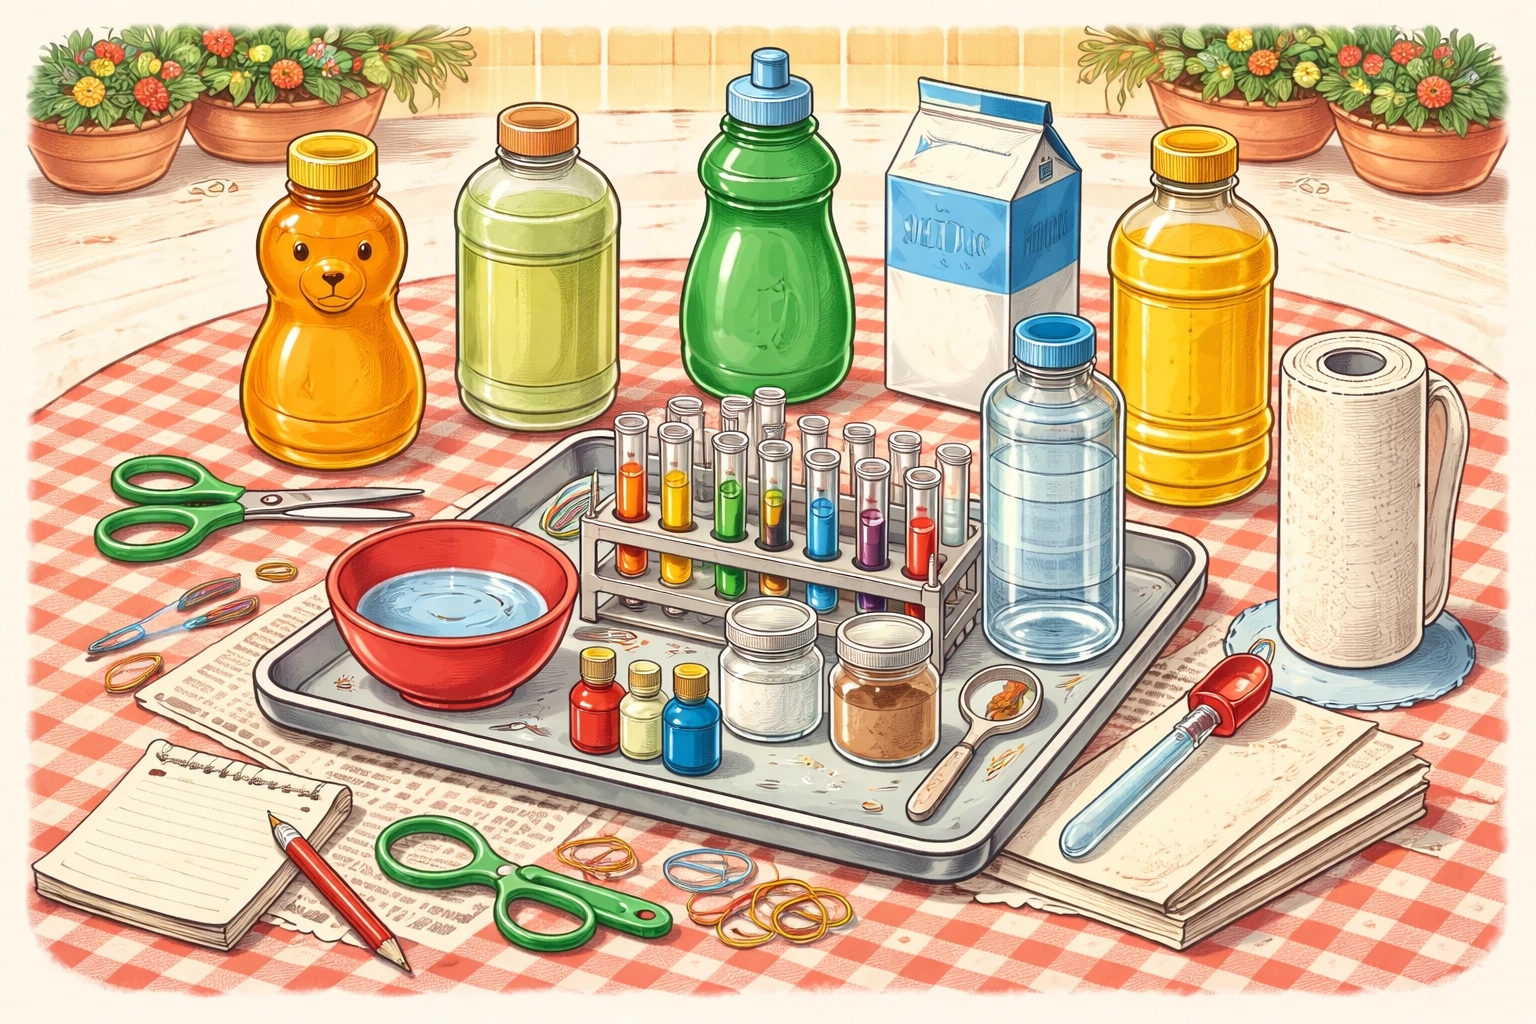
Materials You'll Need
Good news: you likely have most of these items in your pantry right now. Here's what to gather:
| Material | Approximate Cost | Notes |
|---|---|---|
| Honey | $3-4 | A small squeeze bottle works fine |
| Light corn syrup | $2-3 | Found in the baking aisle |
| Dish soap | $1-2 | Any colored variety |
| Whole milk | $1 | Just a splash needed |
| Water | Free | From the tap |
| Vegetable oil | $2-3 | Canola or olive oil works too |
| Food coloring | $1-2 | For coloring the water layer |
| Tall clear glass or jar | $0-2 | Mason jars or drinking glasses work great |
| Turkey baster or dropper | $1-2 | Optional but helpful for slow pouring |
Total estimated cost: Under $10 (and likely under $5 if you raid your kitchen first)
Age Range and Time Breakdown
| Age Group | Skill Level | Enjoyment Level | Adult Help Needed |
|---|---|---|---|
| 4-5 years | Beginner | High | Significant |
| 6-7 years | Intermediate | Very High | Moderate |
| 8-10 years | Comfortable | Very High | Minimal |
Time estimate: 15-25 minutes for setup and layering, plus extra time for exploration and dropping objects
Step-by-Step Instructions
Step 1: Set Up Your Workspace
Cover your table or counter with newspaper, a plastic tablecloth, or paper towels. Honey and corn syrup can get sticky, and food coloring loves to stain. Having a designated "splash zone" makes cleanup much easier and lets kids pour without stress.
Gather all your materials before you begin. Line up your liquids in order from densest (honey) to least dense (vegetable oil) so you're ready to layer.
Step 2: Pour the Honey First
Start with honey at the very bottom of your clear container. Pour slowly, about an inch worth is plenty. Honey is one of the densest liquids you'll use, so it creates a solid foundation for everything else.
If you're using a turkey baster, this is a great time to introduce it. Show your child how to squeeze and release to control the flow.
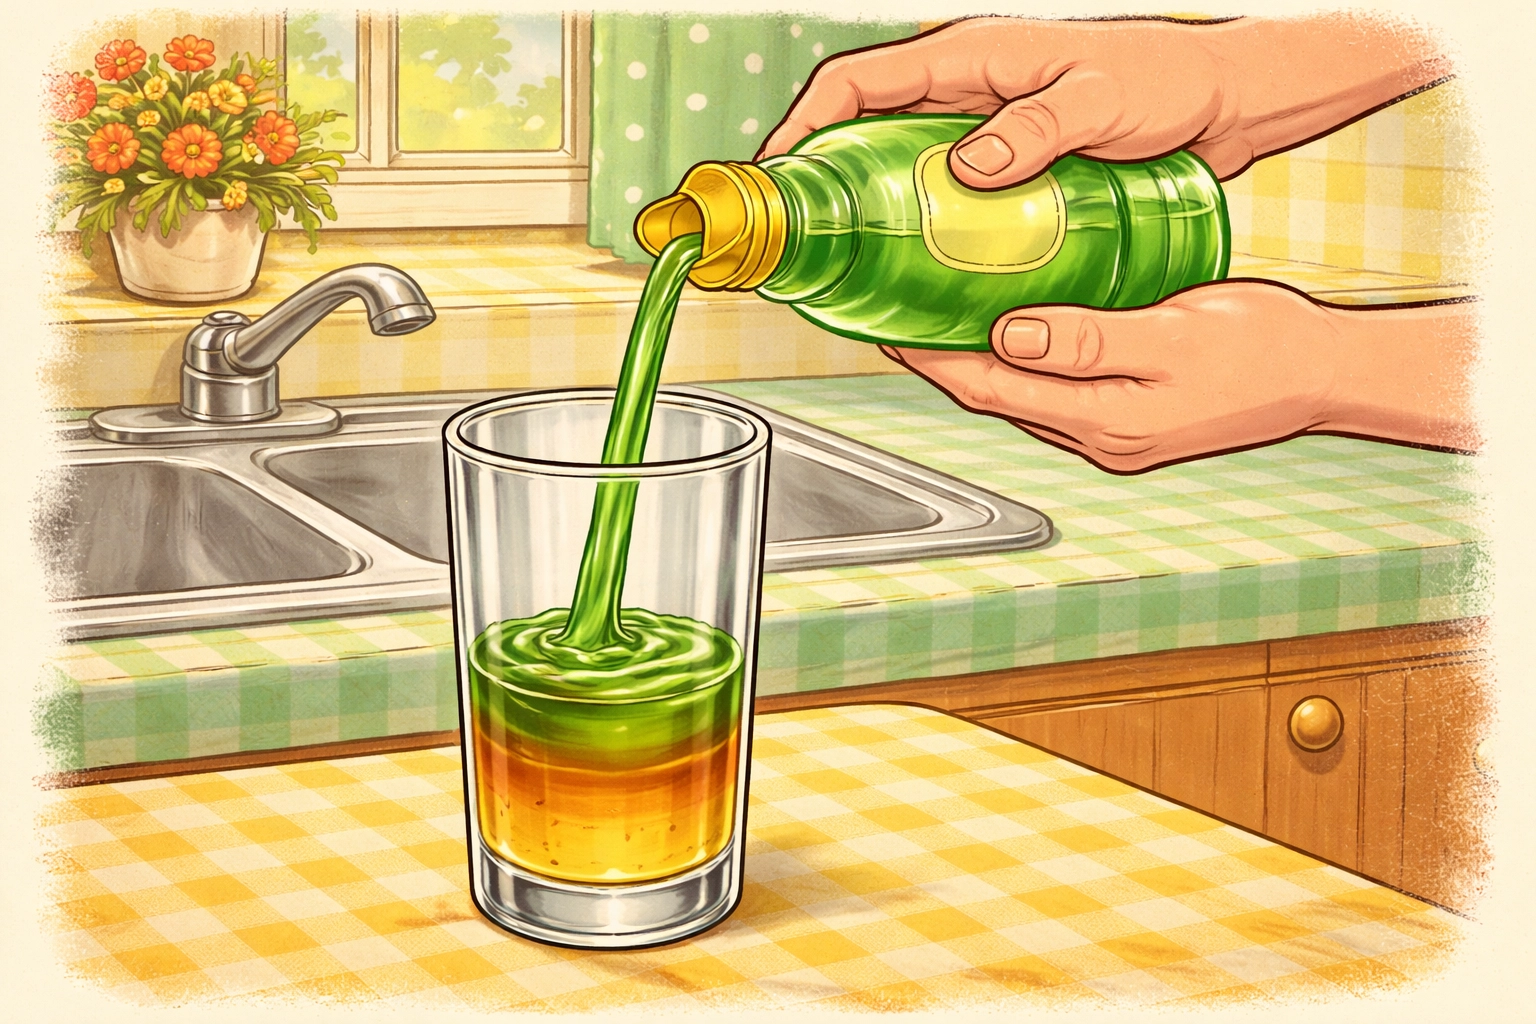
Step 3: Add the Corn Syrup Layer
Next comes light corn syrup. Here's where technique matters: pour very slowly down the inside edge of the glass rather than directly onto the honey. This gentle approach helps prevent the layers from mixing.
Aim for another inch of corn syrup. You'll notice it settles right on top of the honey and stays put.
Step 4: Layer in the Dish Soap
Colored dish soap makes a beautiful middle layer. Again, pour slowly along the side of the container. The soap should float on the corn syrup without blending in.
This is often where kids start getting excited, the layers are becoming visible, and the rainbow effect is taking shape.
Step 5: Add Milk Carefully
Pour a small amount of whole milk using your baster or by trickling it very slowly down the glass edge. Milk sits in the middle of the density spectrum, so it should settle above the dish soap.
Don't worry if tiny wisps of milk drift into other layers, some minor mixing is normal and doesn't ruin the experiment.
Step 6: Create Your Colored Water Layer
In a separate cup, mix water with a few drops of food coloring. Blue or green works nicely since it contrasts with the other layers. Use your baster to add this colored water to the container, again pouring along the inside edge.
The water layer usually looks quite thin but adds important visual pop to your density tower.
Step 7: Finish with Vegetable Oil
Your final layer is vegetable oil. Pour it gently on top of everything else. Oil is less dense than water, so it floats beautifully at the very top, creating a golden cap on your rainbow tower.
Step back and admire your work, you've just built a liquid layer cake using nothing but science and kitchen supplies.
Tips for Layering Success
Go slow. Rushing is the number one reason layers mix together. Pouring in a thin stream down the side of the glass gives each liquid time to find its place.
Use a baster or dropper. These tools give you much more control than pouring directly from bottles. They're especially helpful for kids who are still developing fine motor skills.
Let layers settle. Wait 30 seconds to a minute between adding each new liquid. This patience pays off with cleaner separation.
Room temperature works well. Cold liquids from the fridge can behave slightly differently, so room temperature ingredients tend to layer more predictably.
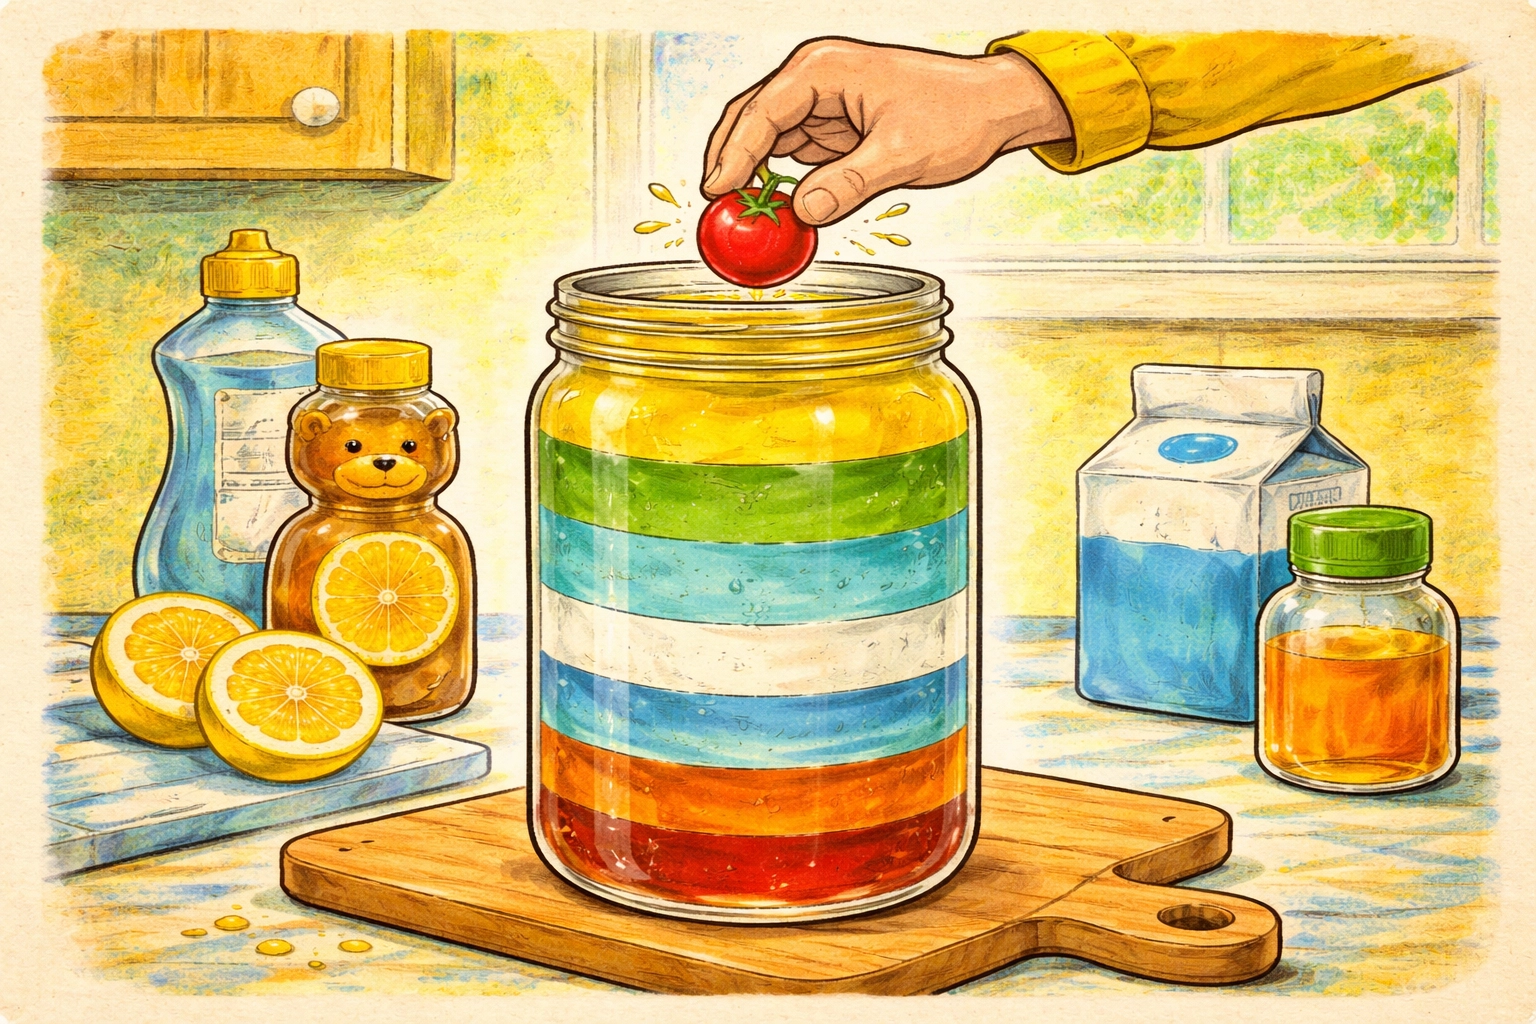
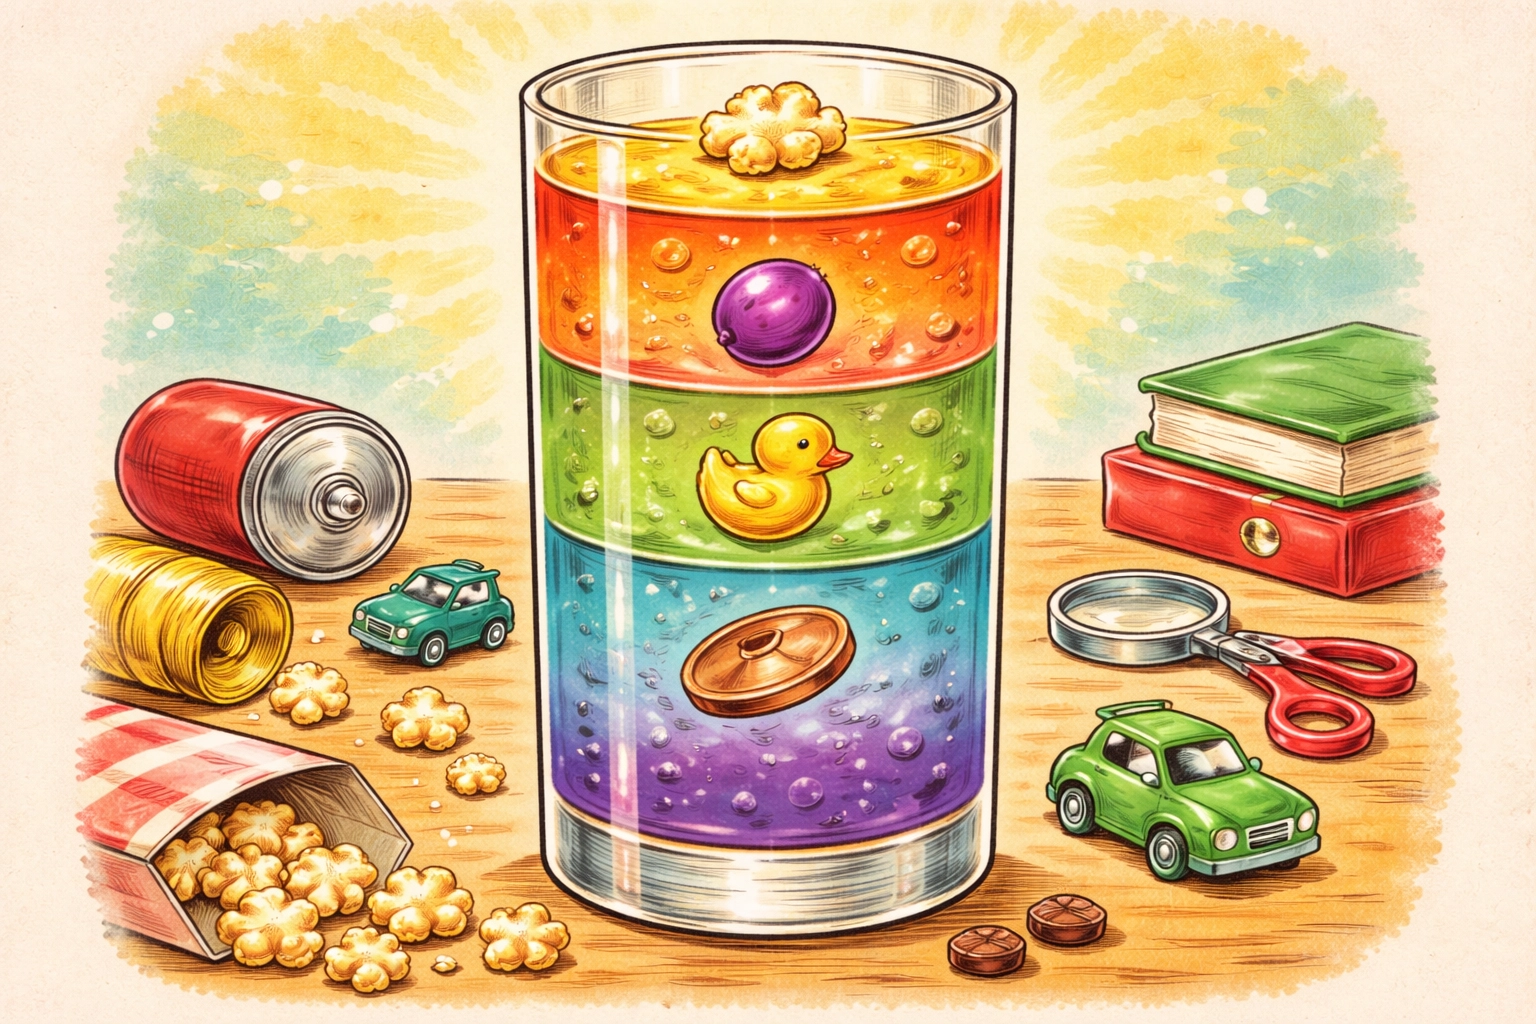
Extension Activity: The Floating Object Test
Once your density tower is complete, the fun doesn't have to stop. Gather small household objects and have your child predict where each one will float or sink:
- Cherry tomatoes
- Grapes
- Small plastic toys
- Coins
- Popcorn kernels
- Raisins
Drop each item in gently and watch where it settles. Objects find their "home" based on their own density compared to the liquids around them. A grape might sink through oil and water but float on the corn syrup layer, leading to great conversations about why.
Frequently Asked Questions
Can I use different liquids than the ones listed?
Yes, you can experiment with maple syrup, rubbing alcohol (with adult supervision), or even lamp oil for additional layers. Just research which liquids are denser to determine the pouring order.
Why did my layers mix together?
Pouring too quickly or directly into the center of the container usually causes mixing. Try again with slower, gentler pours along the glass edge.
Is this experiment safe for toddlers?
Supervision is essential for any age group. While most ingredients are food-safe, dish soap and rubbing alcohol shouldn't be ingested. Keep the experiment as a visual activity for very young children.
How long will the layers stay separated?
The layers can remain distinct for several hours or even overnight. Eventually, some blending may occur, especially with milk and water.
Can we drink the density tower?
This particular experiment isn't meant for drinking since it includes dish soap. For an edible version, try layering fruit juices and syrups with different sugar concentrations.
What's the science behind this?
Density measures how much mass fits into a specific volume. Honey packs more mass into each drop than oil does, so honey sinks while oil floats.
Do I need exact measurements?
Not at all. Rough estimates work fine: aim for layers about an inch thick so they're clearly visible.
Can we reuse the liquids?
Unfortunately, once mixed in the container, the liquids can't easily be separated for reuse. Consider this a one-time experiment per batch.
What if I don't have a turkey baster?
A drinking straw works as a simple dropper. Cover one end with your finger, dip into the liquid, then release slowly over your container.
For more hands-on learning activities, explore our kids crafts collection filled with budget-friendly projects the whole family can enjoy together.


