


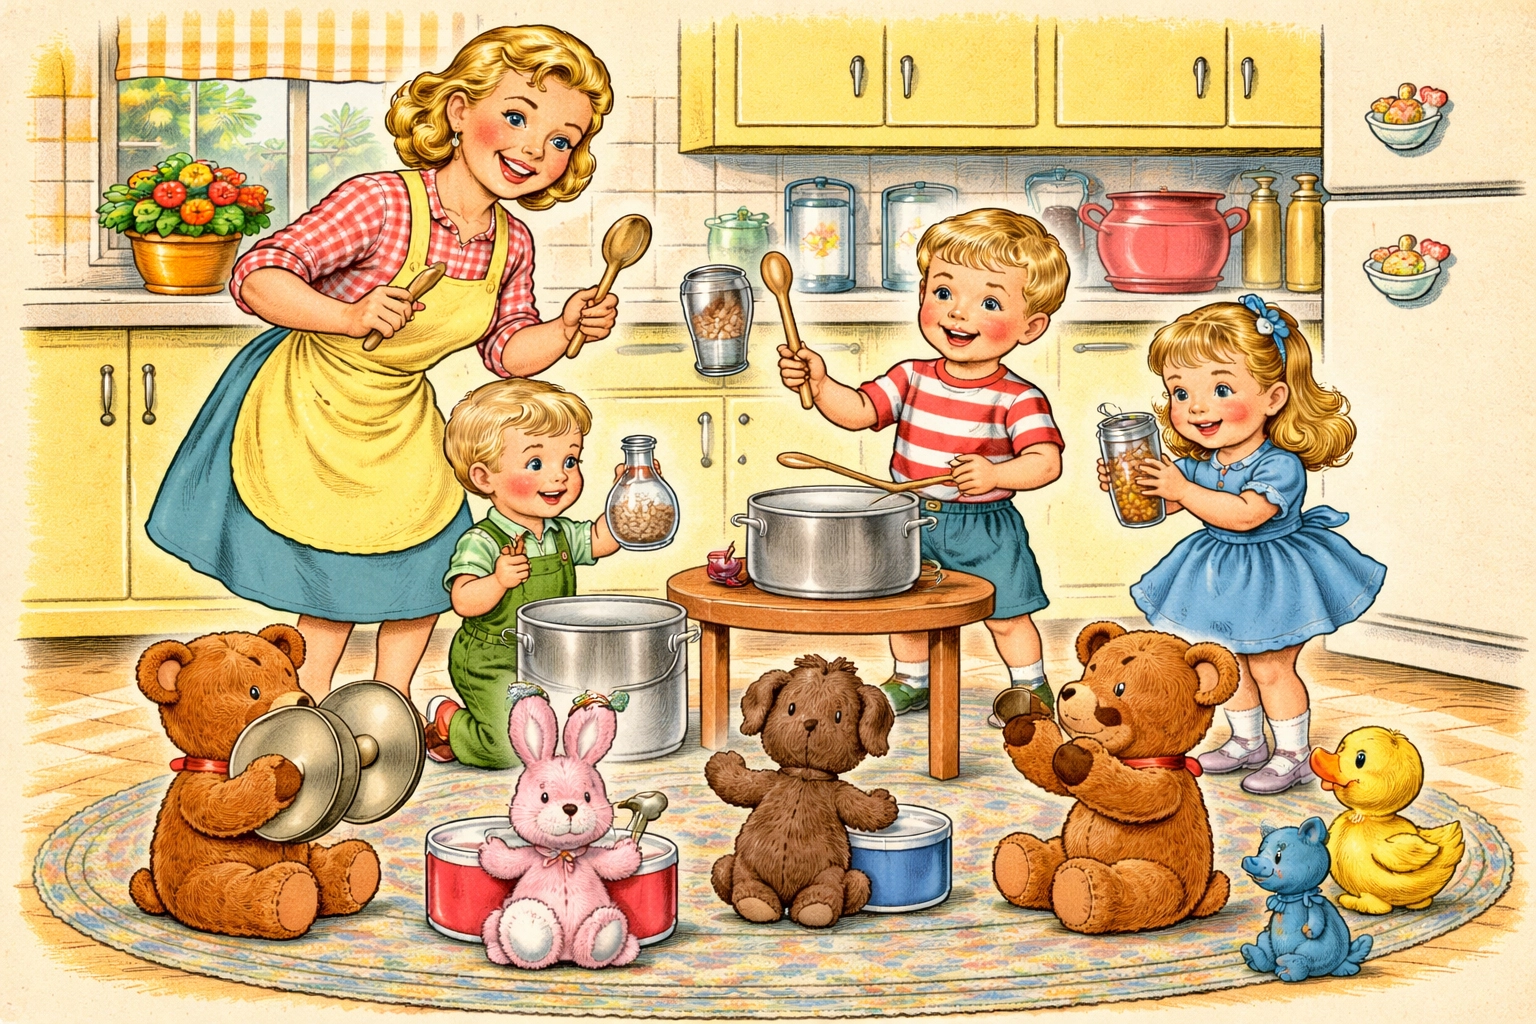
What Is a Kitchen Sound Orchestra?
A kitchen sound orchestra is a homemade band created entirely from pots, pans, wooden spoons, and other everyday kitchen items your family likely already owns. It's one of the simplest ways to introduce children to rhythm, music, and creative expression, without spending a dime on fancy instruments or leaving your house.
The beauty of this activity lies in its accessibility. You don't need musical training, special equipment, or even a particularly tidy kitchen. You just need a few willing participants, some household items that make interesting sounds, and about 30 to 45 minutes of uninterrupted fun.
Quick Facts
| Detail | Information |
|---|---|
| Recommended Ages | 3–12 years |
| Time to Complete | 30–45 minutes |
| Difficulty Level | Easy |
| Estimated Cost | Usually free (under $10 if buying extras) |
| Skills Developed | Rhythm, listening, motor coordination, creativity |
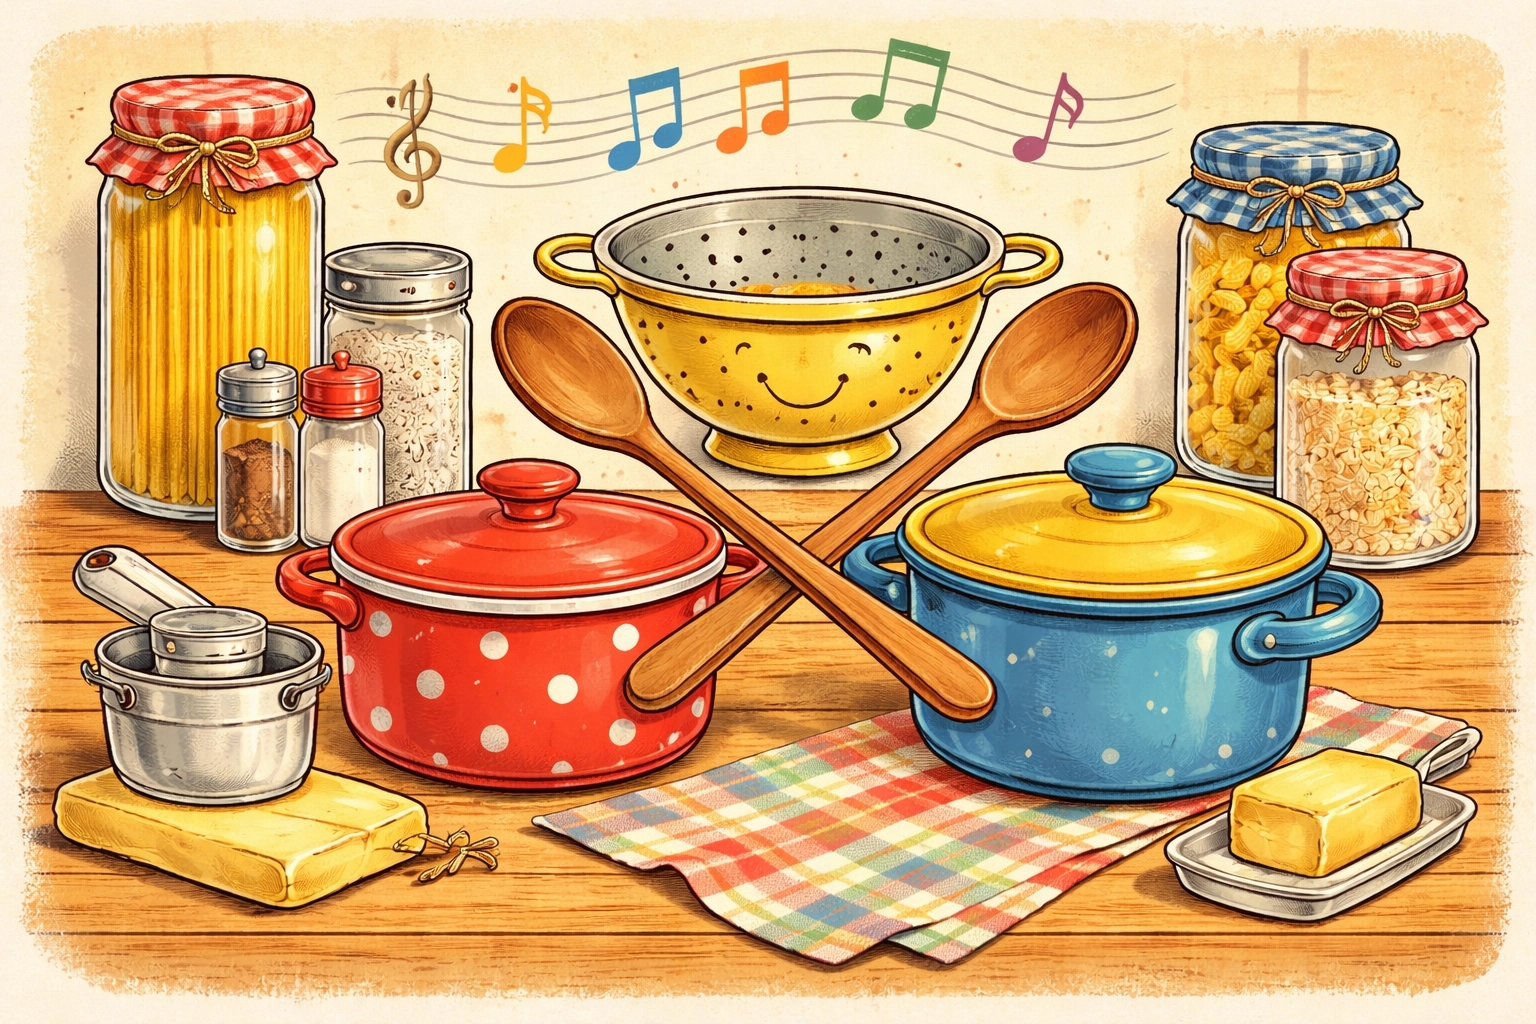
Materials You'll Need
Most of these items are probably sitting in your kitchen right now. If you need to purchase anything, the total should stay well under $10.
| Material | Purpose | Estimated Cost |
|---|---|---|
| Pots and pans (various sizes) | Drums and gongs | Free (from home) |
| Wooden spoons | Drumsticks and beaters | Free or ~$2 |
| Metal spoons | Different tonal quality | Free (from home) |
| Plastic containers with lids | Shakers when filled | Free (from home) |
| Dried beans, rice, or pasta | Shaker filling | ~$1–2 |
| Whisks | Unique scraping sounds | Free (from home) |
| Colander | Textured drum surface | Free (from home) |
| Rubber bands + empty box | DIY string instrument | Free (from home) |
| Measuring cups (metal) | Chimes when hung together | Free (from home) |
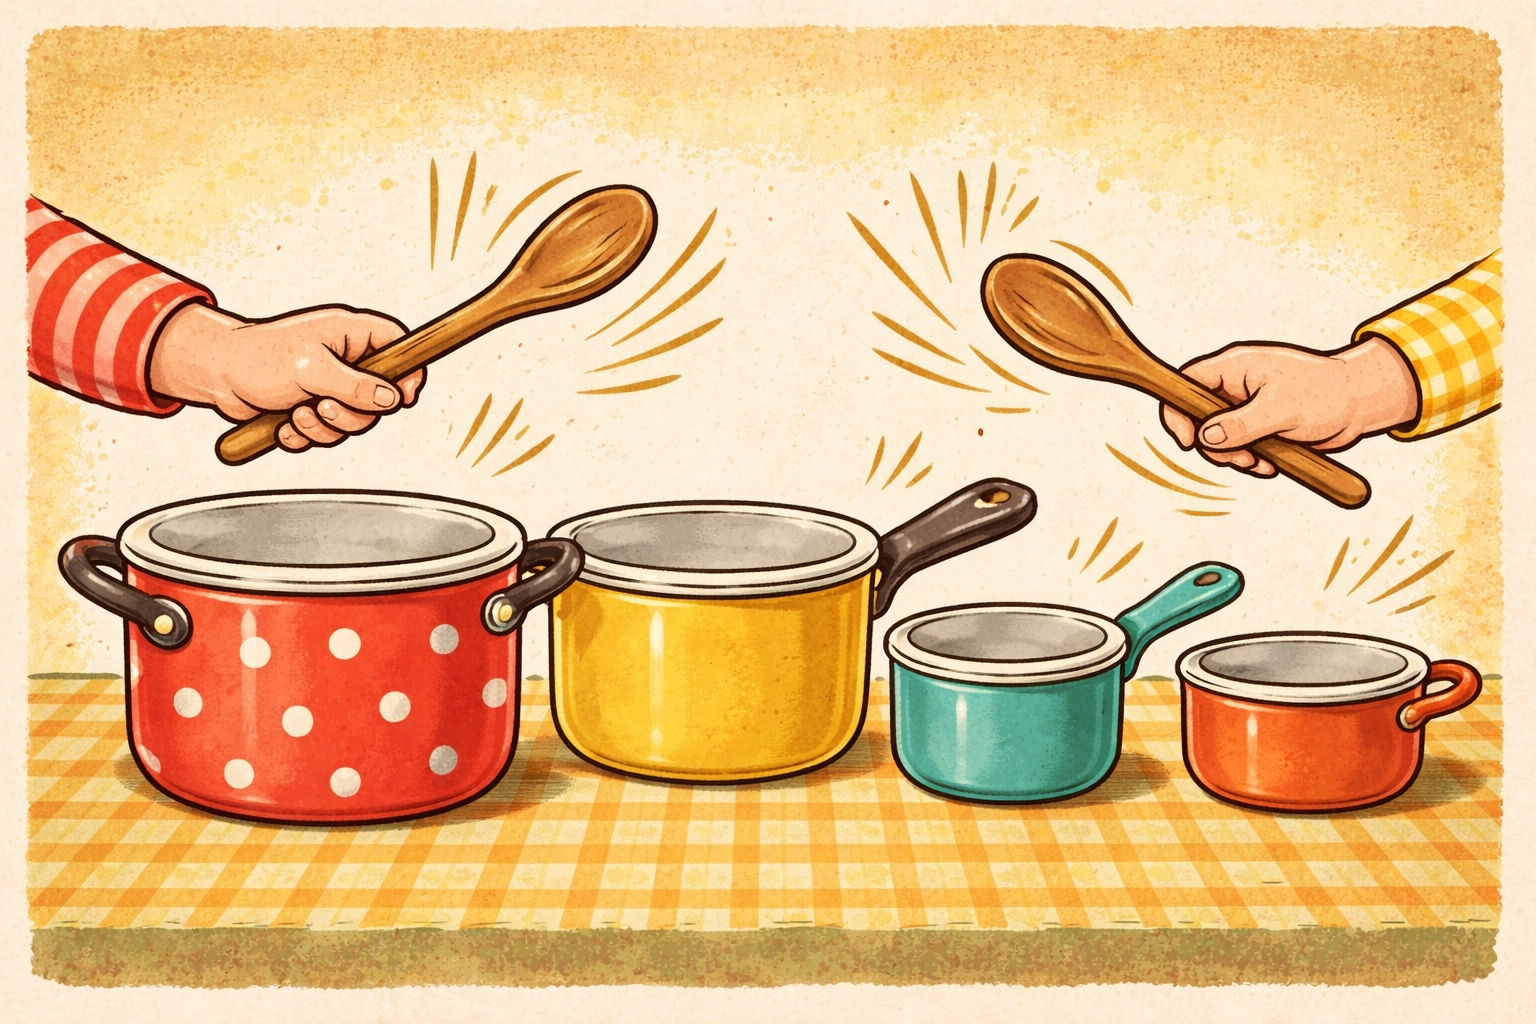
Pro tip: Wooden spoons tend to create softer, more manageable sounds than metal utensils, something your ears may appreciate after 30 minutes of enthusiastic drumming.
Step-by-Step Instructions
Step 1: Go on a Sound Treasure Hunt (5–10 Minutes)
Before you start organizing instruments, let your kids lead a sound exploration through the kitchen. This builds excitement and gets their creative minds working.
Ask open-ended questions like:
- "What do you think this pot will sound like?"
- "Can you find something that makes a quiet sound?"
- "What happens if you tap this with a wooden spoon versus your fingers?"
Let each child gather 3–5 items that interest them. There's no wrong answer here, if it makes noise, it counts as an instrument.
Step 2: Test and Sort Your Instruments (10 Minutes)
Once everyone has their collection, sit together and test each item. This is where the real discovery happens.
Discuss what you hear:
- Is the sound high or low?
- Is it loud or soft?
- Does it ring out, or does it stop quickly?
- What does it remind you of?

You might find that an upside-down metal bowl sounds like a bell, while tapping a wooden cutting board creates a satisfying thunk. A whisk dragged across a colander makes an interesting scratchy rhythm. Plastic containers filled with dried pasta become instant maracas.
Group similar sounds together, drums in one pile, shakers in another, and anything that rings or chimes in a third.
Step 3: Learn Some Basic Rhythms (10–15 Minutes)
Now comes the musical part. Start simple and build from there.
Try these rhythm games:
Echo Rhythms: You tap out a short pattern (like TAP-tap-tap-TAP), and your child copies it back.
Soft-Soft-Loud: Create patterns using volume changes. This teaches dynamics and control.
Fast-Slow Experiments: Play the same rhythm at different speeds to hear how it changes the feel.
Call and Response: One person plays a "question" rhythm, another plays an "answer."
For younger children (ages 3–5), keep patterns short, just 3 or 4 beats. Older kids can handle longer, more complex sequences and may enjoy creating their own patterns for others to follow.
Step 4: Assign Parts and Practice Together (10 Minutes)
Choose a simple song everyone knows, "Twinkle Twinkle Little Star," "Happy Birthday," or even a favorite nursery rhyme works well.
Assign different rhythm parts to each family member:
- One person keeps a steady beat on a pot
- Another adds accents with a shaker on certain words
- Someone else plays only on the chorus
Practice a few times until everyone feels comfortable with their part. It doesn't need to be perfect, the goal is collaborative fun, not a flawless performance.
Step 5: Put on Your Kitchen Concert (10–15 Minutes)
This is the grand finale. Give your band a silly name (The Spatula Superstars? The Pot Lid Philharmonic?) and prepare for your debut performance.
Make it special:
- Designate a conductor who signals when each instrument plays
- Create a simple "stage" area in the kitchen or living room
- Invite stuffed animals or pets as your audience
- Take turns being the bandleader
If you want to extend the activity, let kids design concert posters or tickets using crayons and paper. Some families even record their performances to watch later, it makes for genuinely heartwarming home videos.
Age-Specific Tips
Ages 3–5
Focus on exploration and cause-and-effect. Young children are often fascinated simply by the fact that hitting something makes noise. Keep rhythm patterns very short (2–3 beats), and don't worry about staying perfectly on beat. The sensory experience matters more than precision at this age.
Ages 6–8
Introduce more structure. These kids can handle longer patterns, take turns being the conductor, and start understanding concepts like tempo and dynamics. Challenge them to create a rhythm that sounds like rain, a galloping horse, or a ticking clock.
Ages 9–12
Let them take creative ownership. Older children may enjoy composing their own songs, experimenting with how different materials change sounds, or even teaching younger siblings. They might also appreciate recording their creations or adding sound effects to stories they've written.
What Kids Learn from This Activity
Beyond the obvious fun factor, kitchen orchestras offer some real developmental benefits:
- Fine and gross motor skills from gripping, tapping, and shaking
- Listening skills and auditory discrimination
- Pattern recognition that supports early math concepts
- Turn-taking and cooperation during group play
- Creative expression and confidence building
- Phonological awareness that supports reading readiness
It's the kind of activity that feels like pure play but quietly builds important skills in the background.
Frequently Asked Questions
How loud will this activity get?
It depends on your instrument choices. Wooden spoons on plastic containers stay relatively quiet, while metal spoons on metal pots can get quite loud. Set expectations beforehand and consider having a "quiet instruments only" option available.
What if my child just wants to bang randomly?
That's completely normal, especially for younger children. Free exploration is part of the process. After a few minutes of unstructured play, gently introduce simple rhythm games to add structure.
Can I do this with just one child?
Definitely. You become the other half of the band. Taking turns between playing and conducting keeps things engaging for solo kids.
How do I store kitchen orchestra materials?
You don't really need to, everything goes back in the kitchen drawers when you're done. If you've made shakers from containers, those can live in a craft bin for future use.
Is this activity safe for toddlers?
With supervision, yes. Avoid small items that could be choking hazards (like loose beans outside of sealed containers), and stick with wooden utensils rather than metal ones that could pinch little fingers.
What if I'm not musical at all?
You don't need to be. This activity is about exploration and rhythm, not perfect pitch. If you can clap your hands, you can lead a kitchen orchestra.
How can I extend this activity?
Try adding movement: march around the kitchen while playing, or create a "freeze dance" version where everyone stops when the music pauses. You could also incorporate storytelling, using sounds to illustrate different parts of a tale.
Will this damage my cookware?
Wooden spoons on most pots and pans shouldn't cause damage. Avoid using metal utensils on non-stick surfaces, and skip any delicate or sentimental pieces.
For more hands-on activities to try with your kids, explore our Kids Crafts collection for ideas that keep little hands busy and curious minds engaged.


