


To set up an ice excavation activity for kids, freeze small toys or objects inside a container of water overnight, then provide children with tools like spoons, droppers, and warm water to chip, drip, and melt their way to the hidden treasures. This simple sensory activity typically costs under five dollars, keeps little hands busy for 30 minutes or more, and transforms your kitchen table into an arctic dig site that feels like pure magic to young explorers.
Quick Activity Snapshot
| Detail | Info |
|---|---|
| Best Ages | 2–7 years (with supervision) |
| Skill Focus | Fine motor skills, problem-solving, patience, sensory exploration |
| Prep Time | 10–15 minutes (plus overnight freezing) |
| Play Time | 20–45 minutes |
| Mess Level | Moderate (towels recommended) |
| Total Cost | Under $10 using household items |
Why Kids Go Wild for Ice Excavation
There's something almost hypnotic about watching a child work away at a block of ice. The cold sensation, the dripping water, the anticipation of what's frozen inside, it hits all the sensory buttons at once. This activity encourages kids to slow down, experiment with different techniques, and practice patience in a world that usually moves pretty fast.
Plus, it's genuinely educational without feeling like a lesson. Kids naturally start asking questions: Why does salt make ice melt faster? How come warm water works better than cold? What happens if I chip here instead of there? You're basically running a mini science lab disguised as playtime.
Materials You'll Need
Good news: you likely have most of these items already. Here's what to gather before you start:
| Material | Purpose | Estimated Cost |
|---|---|---|
| Plastic container or bowl | Mold for ice block | $0 (use what you have) |
| Small toys or objects | Treasures to excavate | $0–$3 |
| Water | Forms the ice | $0 |
| Spoons and forks | Chipping tools | $0 |
| Droppers or squeeze bottles | Warm water delivery | $1–$2 |
| Old toothbrush | Scrubbing and detail work | $0 |
| Table salt | Accelerates melting (optional) | $0–$1 |
| Towels or baking sheet | Catches melting water | $0 |
| Food coloring (optional) | Adds visual interest | $1–$2 |
Total estimated cost: Free to $8, depending on what you already own.
What to freeze inside: Plastic dinosaurs, insects, beads, shells, small figurines, coins, buttons, plastic gems, alphabet letters, or nature items like leaves and flowers. Avoid anything that might be damaged by water or has sharp edges.
Step-by-Step Setup Instructions
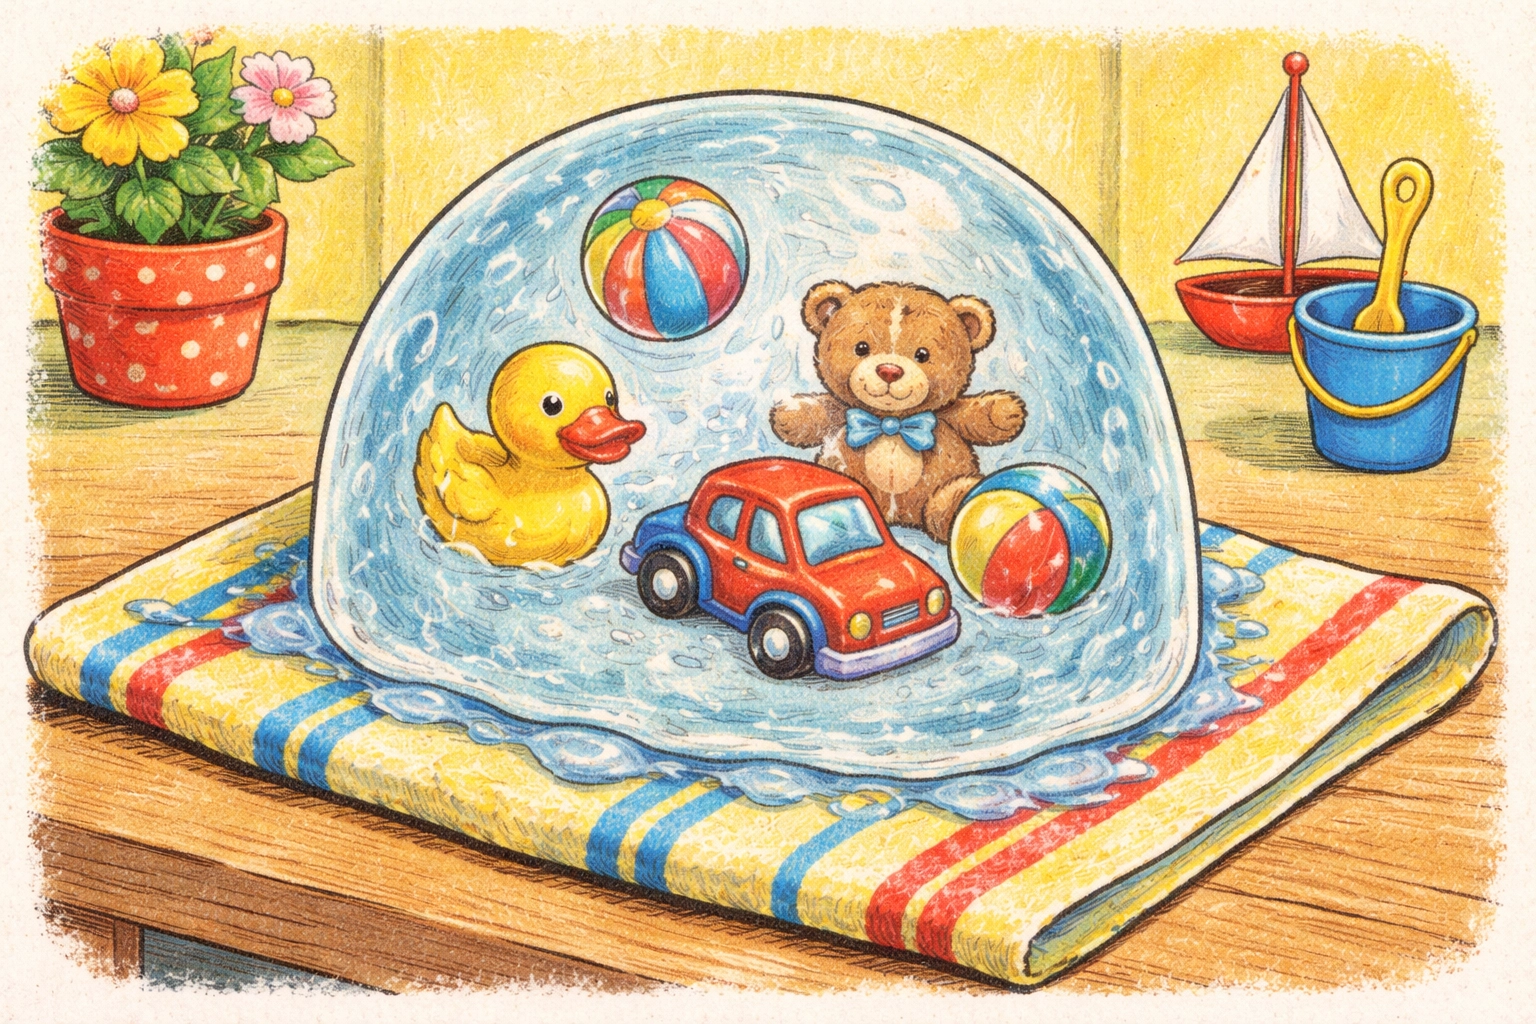
Step 1: Choose Your Container
Select a plastic container, large bowl, or even a water balloon. Bigger containers create more impressive ice blocks but take longer to freeze and excavate. For younger kids, smaller containers (think yogurt cups or muffin tins) often work better because they can actually finish the activity before losing interest.
Balloons create fun rounded ice shapes, but they're a bit trickier to fill. If you go that route, stretch the balloon opening and drop toys in first, then fill with water.
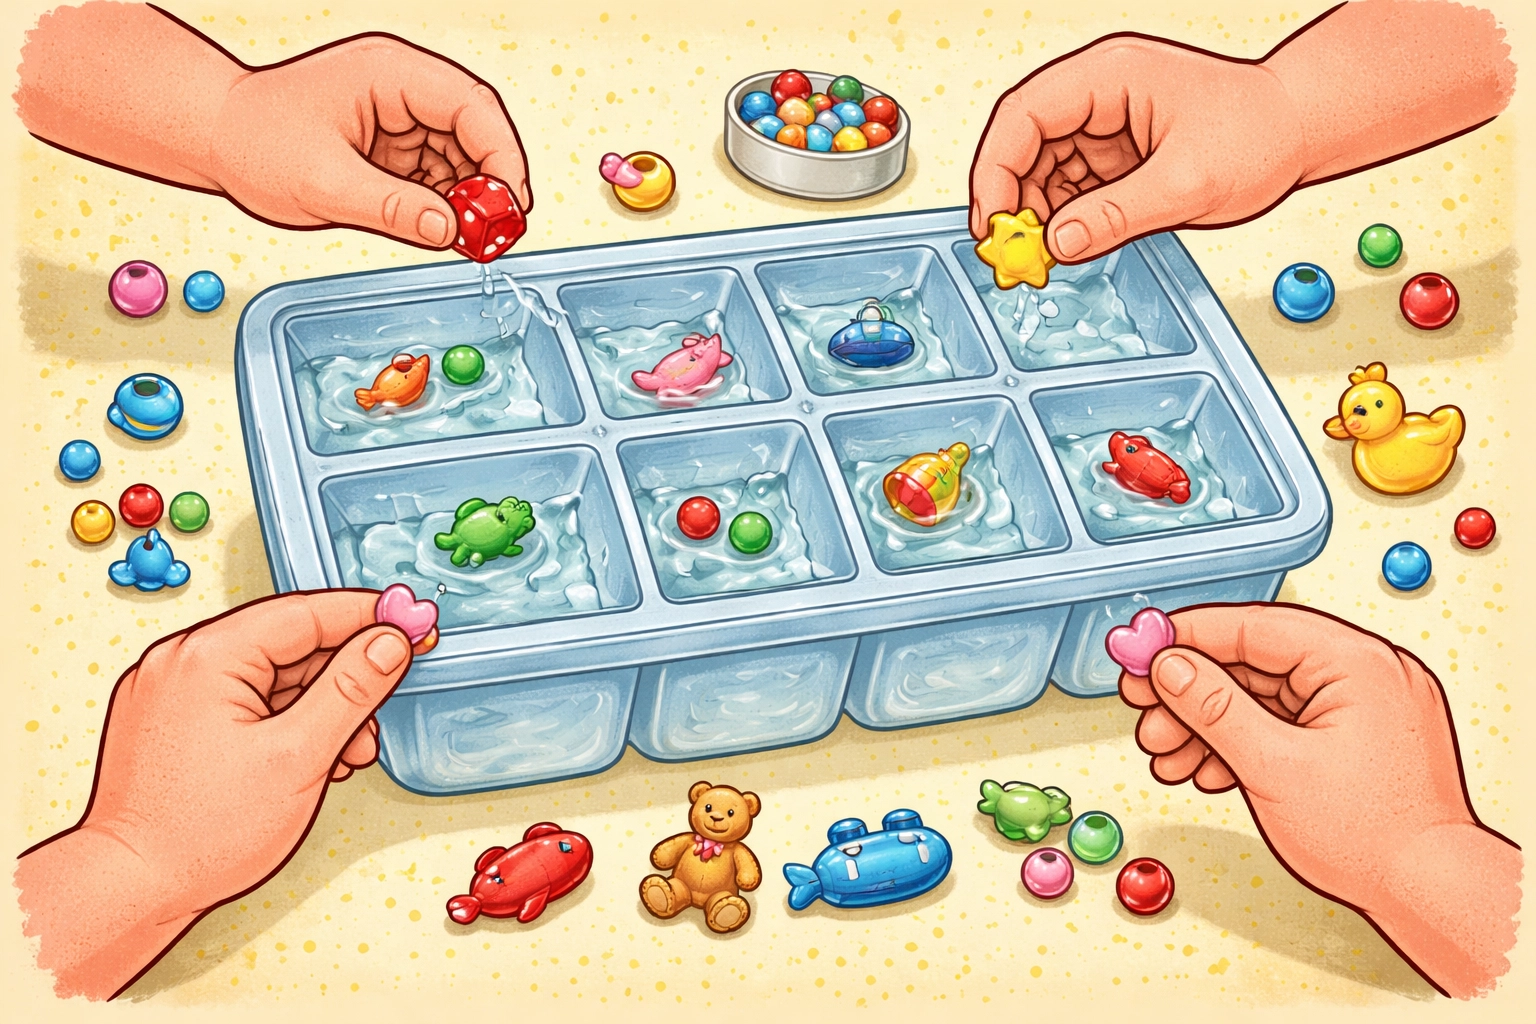
Step 2: Arrange Your Treasures
Drop your chosen objects into the container. Here's a little trick: if you want treasures scattered throughout the ice block rather than floating to the top, freeze in layers. Fill the container partway, add some objects, freeze for a few hours, then add more water and objects, and freeze again.
For a simpler approach, just toss everything in at once. The objects will settle at different levels naturally, giving kids surprises throughout the excavation.
Step 3: Add Water and Freeze
Fill the container with water, leaving about half an inch of space at the top (water expands when it freezes). Pop it in the freezer for at least 8–12 hours. Overnight usually does the trick for medium-sized blocks.
Optional twist: Add a few drops of food coloring to the water before freezing. Blue creates an "arctic" vibe, while multiple colors can create tie-dye effects.
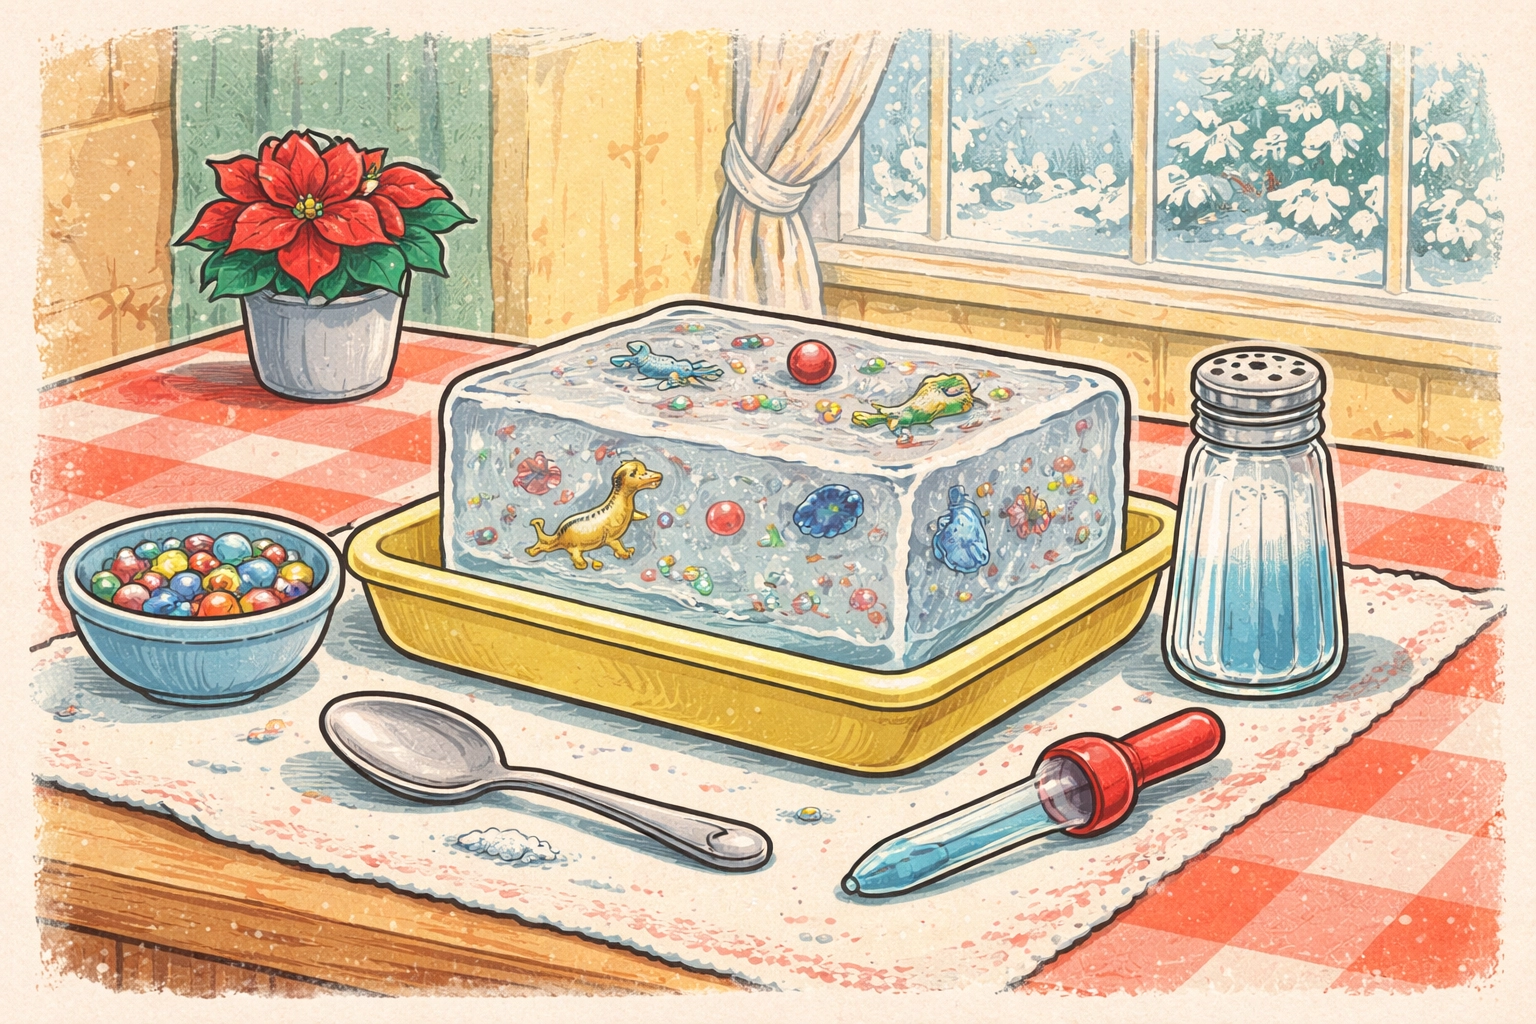
Step 4: Prepare Your Excavation Station
Before releasing the ice block, set up your workspace:
- Lay down old towels or place a rimmed baking sheet on the table
- Fill a small bowl or squeeze bottle with warm water
- Gather your excavation tools (spoons, droppers, toothbrushes, plastic forks)
- Have a small dish ready for rescued treasures
- Keep extra towels nearby for drips and wet hands
Step 5: Release the Ice Block
Run warm water over the outside of the container to loosen the ice, then flip it onto your prepared surface. If using a balloon, simply cut or peel away the rubber to reveal a smooth ice egg.
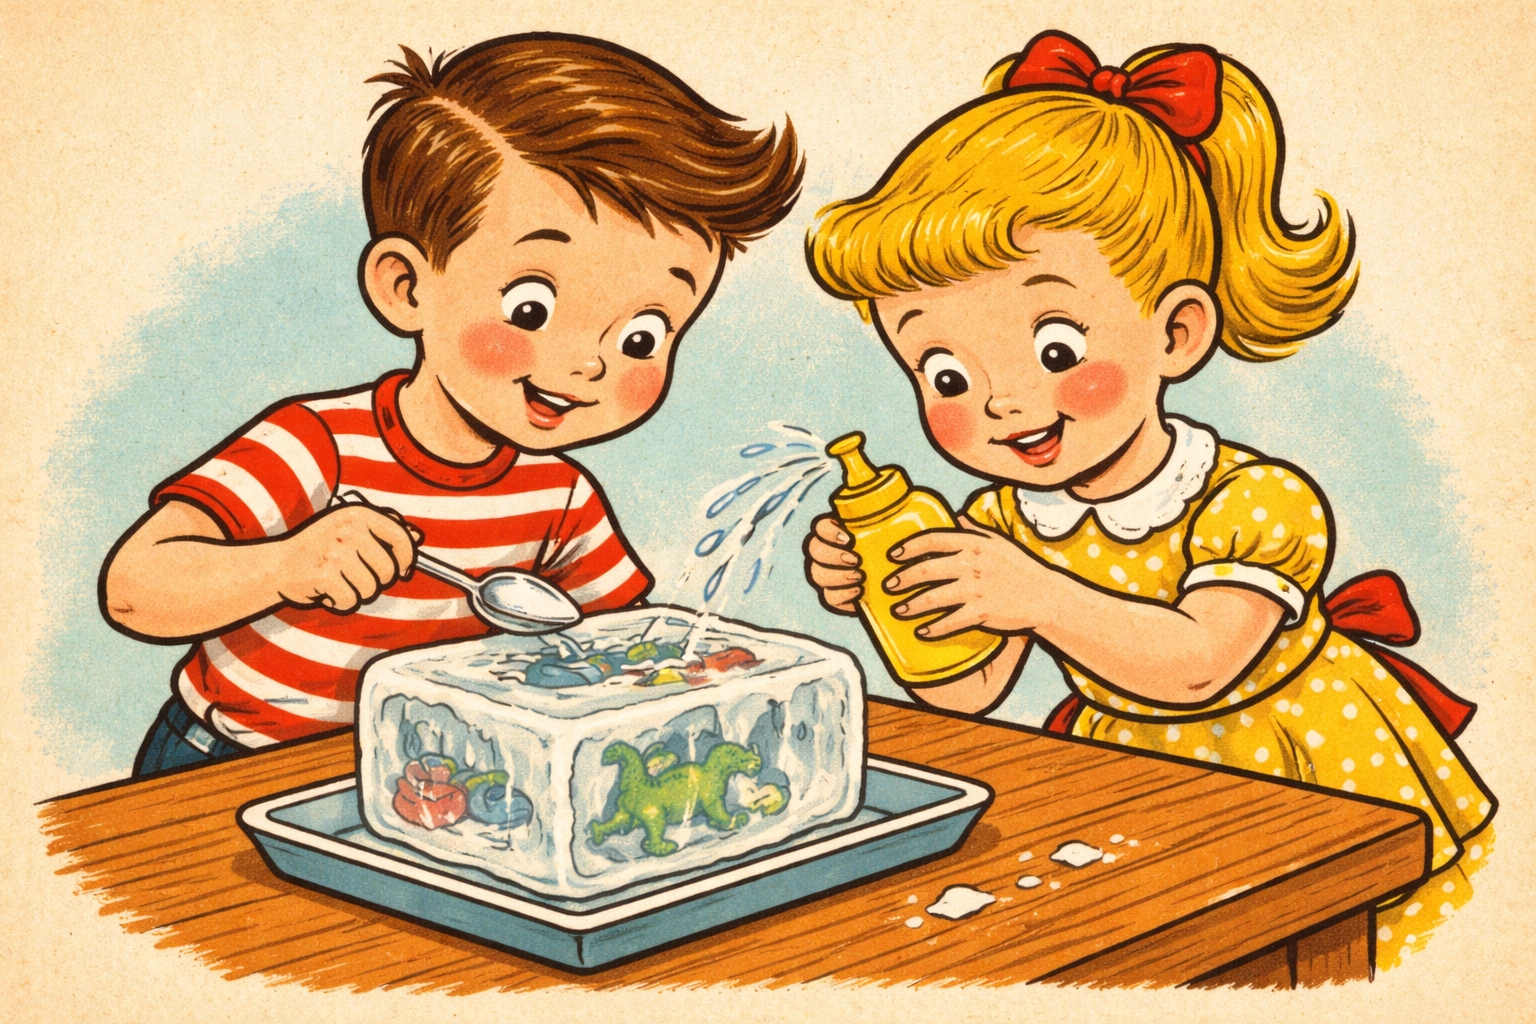
Step 6: Let the Digging Begin
Hand over the tools and let your little archaeologist get to work. Most kids naturally experiment with different approaches:
- Dripping warm water onto specific spots to melt channels
- Sprinkling salt to create fizzing, crackling melt holes
- Scrubbing with toothbrushes to wear away ice gradually
- Gentle tapping with spoons to chip off chunks
Resist the urge to direct too much. Half the fun is watching them figure out what works and what doesn't.
Tips for Different Age Groups
Toddlers (2–3 years): Use very small ice blocks, large objects that aren't choking hazards, and focus on the sensory experience rather than tool use. They'll likely just want to touch, lick, and watch things melt.
Preschoolers (3–5 years): Perfect age for this activity. They can handle droppers and spoons, understand the concept of "freeing" the toys, and have enough patience to work through a medium-sized block.
Early Elementary (5–7 years): Add challenges like timed excavations, specific tool restrictions, or science journal prompts about what they observe.
Creative Variations to Try
Dinosaur Dig: Freeze only plastic dinosaurs and pretend you're paleontologists uncovering fossils.
Alphabet Hunt: Freeze letter beads or foam letters and have kids spell words with what they find.
Color Mixing Exploration: Freeze ice with primary colors and let kids excavate onto white paper to see what happens when colors melt together.
Treasure Map Adventure: Draw a simple map showing where certain objects might be hidden, adding a storytelling element.
Nature Block: Freeze flowers, leaves, and small sticks for a botanical excavation (best done outside where mess doesn't matter).
Frequently Asked Questions
How long does it take for the ice block to freeze completely?
Most medium-sized containers freeze solid in 8–12 hours. Larger blocks may need 24 hours. You can test by touching the top, if it's completely hard with no liquid underneath, you're good to go.
Is this activity safe for toddlers?
With supervision, yes. Use large objects that can't be swallowed, skip the salt (it makes ice painfully cold to hold), and keep sessions short since little hands get cold quickly.
What's the best way to speed up melting during play?
Warm water dripped from squeeze bottles or droppers works fastest. Salt also accelerates melting significantly but makes the ice and water extremely cold to touch.
Can I refreeze the water and do this again?
Absolutely. Once the activity is done, collect the toys, dump the meltwater, and set it all up again. The objects can be reused many times.
How do I minimize the mess?
A rimmed baking sheet catches most of the water. Place it on top of a towel for extra protection. Some families do this activity in the bathtub or outside on warm days.
What if my child gets frustrated?
Offer a "hint" by dripping warm water on a spot where something is close to the surface. Smaller ice blocks also help kids feel successful faster.
Can I add scents to the ice?
A few drops of child-safe essential oils or extracts like vanilla create a multi-sensory experience. Peppermint works especially well for "arctic" themes.
How do I store the ice block if we're not ready to use it right away?
Keep it in the freezer in its container until you're ready. It'll stay frozen for weeks.
Wrapping Up Your Excavation Adventure
Ice excavation hits that sweet spot where learning and play become the same thing. Kids build fine motor control, practice scientific thinking, and develop patience: all while feeling like they're on a treasure-hunting adventure.
The best part? Once you've done it once, you'll find yourself dreaming up new themes. Frozen ocean creatures for shark week. Spooky Halloween trinkets in October. Heart-shaped ice blocks for Valentine's Day. The basic technique stays the same, but the possibilities keep expanding.
For more hands-on activities that turn everyday materials into extraordinary fun, explore our kids crafts collection for inspiration that actually works.


