


Cereal pattern bracelets are made by threading loop-shaped cereal onto string or pipe cleaners in repeating color sequences, then tying or twisting the ends together to create a wearable (and edible) accessory. This simple kitchen-table activity typically takes 10 to 20 minutes, costs just a few dollars, and sneaks in valuable lessons about patterns, counting, and fine motor coordination, all while keeping little hands happily busy.
If you've ever needed a rainy-day rescue or a quick project that doesn't require a craft store run, cereal bracelets deliver. The materials are probably sitting in your pantry right now, and cleanup is as easy as sweeping up a few stray loops.
Why Cereal Pattern Bracelets Work So Well for Kids
There's something almost magical about turning breakfast food into jewelry. Kids get genuinely excited about wearing their creations, and let's be honest, the fact that they can nibble on their bracelet afterward doesn't hurt either.
Beyond the fun factor, this activity builds real skills:
- Fine motor development – Threading small cereal pieces onto string strengthens the same hand muscles kids need for writing and buttoning clothes
- Pattern recognition – Arranging colors in sequences introduces early math concepts
- Focus and patience – Completing a bracelet from start to finish encourages kids to stick with a task
- Color sorting – Pre-sorting cereal by color adds an extra learning layer
It's the kind of project that feels like play but quietly teaches quite a bit.
Materials You'll Need
Good news: this craft comes in well under budget and uses items most families already have on hand.
| Material | Approximate Cost | Notes |
|---|---|---|
| Loop cereal (Fruit Loops, Cheerios, or similar) | $3–$5 | One box makes dozens of bracelets |
| String, yarn, or pipe cleaners | $1–$3 | Pipe cleaners tend to be easier for younger kids |
| Scissors | $0 | Household item |
| Small bowls for sorting | $0 | Any containers work |
| Tape (optional) | $0 | Wrapping tape around string ends makes threading easier |
Estimated total cost: $4–$8
You likely won't need to buy anything at all if you have cereal and string in the house already.
Age Range and Time Estimate
| Age Group | Skill Level | Enjoyment Level | Notes |
|---|---|---|---|
| 2–3 years | Beginner | High | Use pipe cleaners and skip complex patterns |
| 4–5 years | Intermediate | Very High | Can handle simple two-color patterns |
| 6–8 years | Advanced | High | Ready for complex sequences and helping siblings |
Time to complete: 10–20 minutes per bracelet, depending on length and pattern complexity.
Younger children may need more help with tying knots, while older kids often race to see who can create the longest or most intricate pattern.
Step-by-Step Instructions
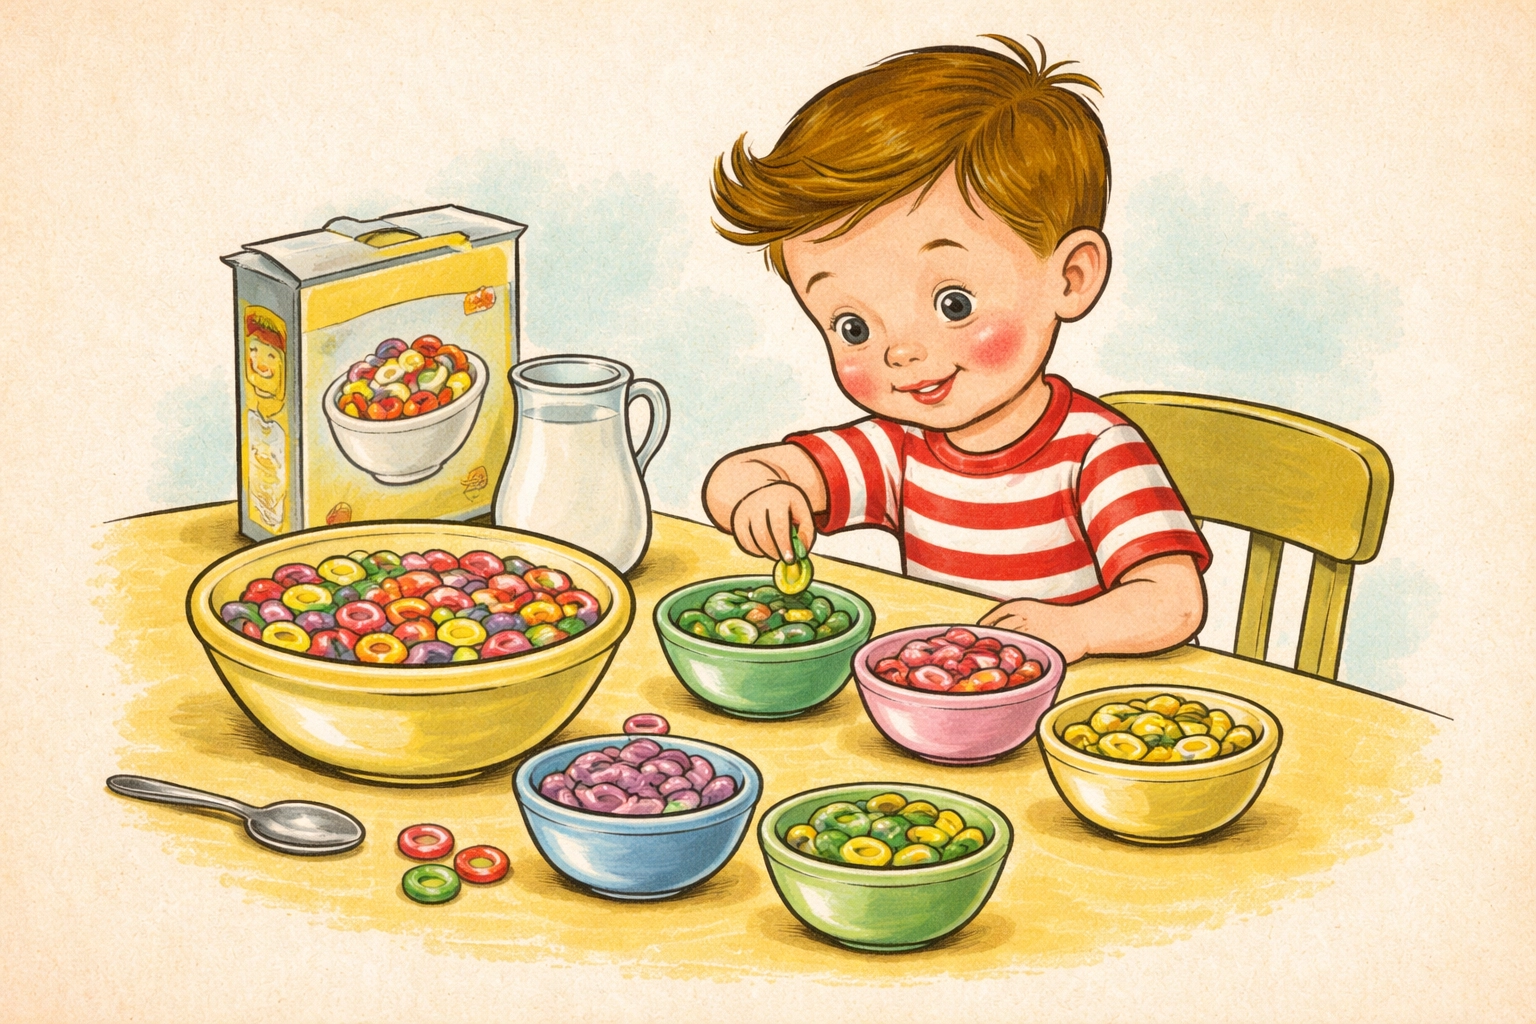
Step 1: Gather and Sort Your Cereal
Pour a generous amount of loop cereal into a large bowl or directly onto a clean table surface. If you're working with colored cereal like Fruit Loops, have your child sort the pieces by color into separate small bowls or cup sections.
This sorting step isn't required, but it makes pattern-making much easier and adds an extra few minutes of learning to the activity.
Step 2: Prepare Your String
Cut a piece of string or yarn about 12 to 14 inches long. This gives you enough length for a child-sized bracelet plus room to tie a secure knot at the end.
Pro tip: Wrap a small piece of tape around one end of the string to create a stiff "needle." This makes threading significantly easier for small fingers. Alternatively, tie the string around a toothpick to serve the same purpose.
If you're using pipe cleaners, you can skip this step entirely, their ends are already firm enough for easy threading.
Step 3: Secure the Starting End
Thread one or two cereal pieces onto the string and tie a simple knot around them. This "stopper" prevents the rest of your cereal from sliding off as your child works.
For pipe cleaners, simply bend the bottom inch into a small loop or curl to keep pieces from escaping.
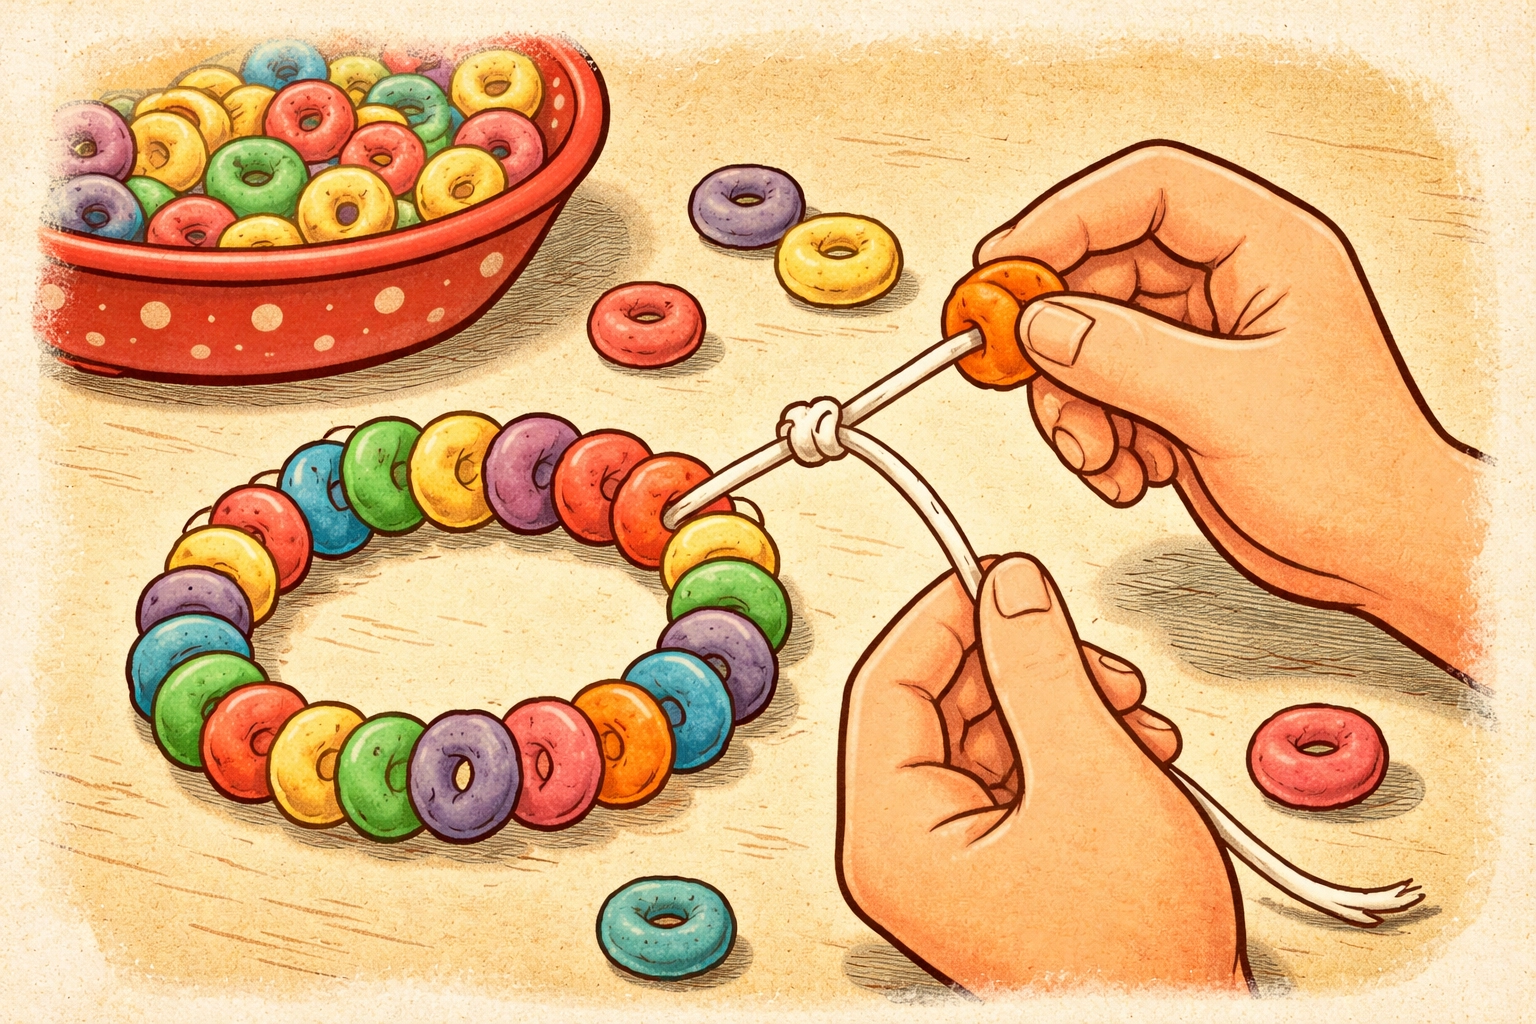
Step 4: Create Your Pattern
Now comes the fun part. Help your child decide on a pattern before threading begins. Here are a few ideas to get started:
- Simple alternating: Red, yellow, red, yellow
- ABC pattern: Red, yellow, orange, red, yellow, orange
- Doubles: Red, red, blue, blue, red, red, blue, blue
- Rainbow sequence: Red, orange, yellow, green, blue, purple, repeat
For very young children, don't worry too much about strict patterns. Letting them thread freely still builds motor skills and keeps frustration low.

Step 5: Thread the Cereal
Have your child pick up one cereal piece at a time and slide it down the string. Encourage them to push each piece all the way down before adding the next one.
This is where patience comes in. Some kids zip through this step, while others take their time examining each piece. Both approaches are perfectly fine.
Step 6: Check the Fit
Once your child has threaded enough cereal to wrap around their wrist (usually 15 to 25 pieces depending on wrist size), have them hold the bracelet around their arm to check the fit. Add or remove pieces as needed.
Leave about two inches of string free on each end for tying.
Step 7: Tie It Off
For string or yarn, tie the two ends together in a double knot. You may need to help younger children with this step.
For pipe cleaners, simply twist the two ends together securely. This method tends to be easier for little ones to manage independently.
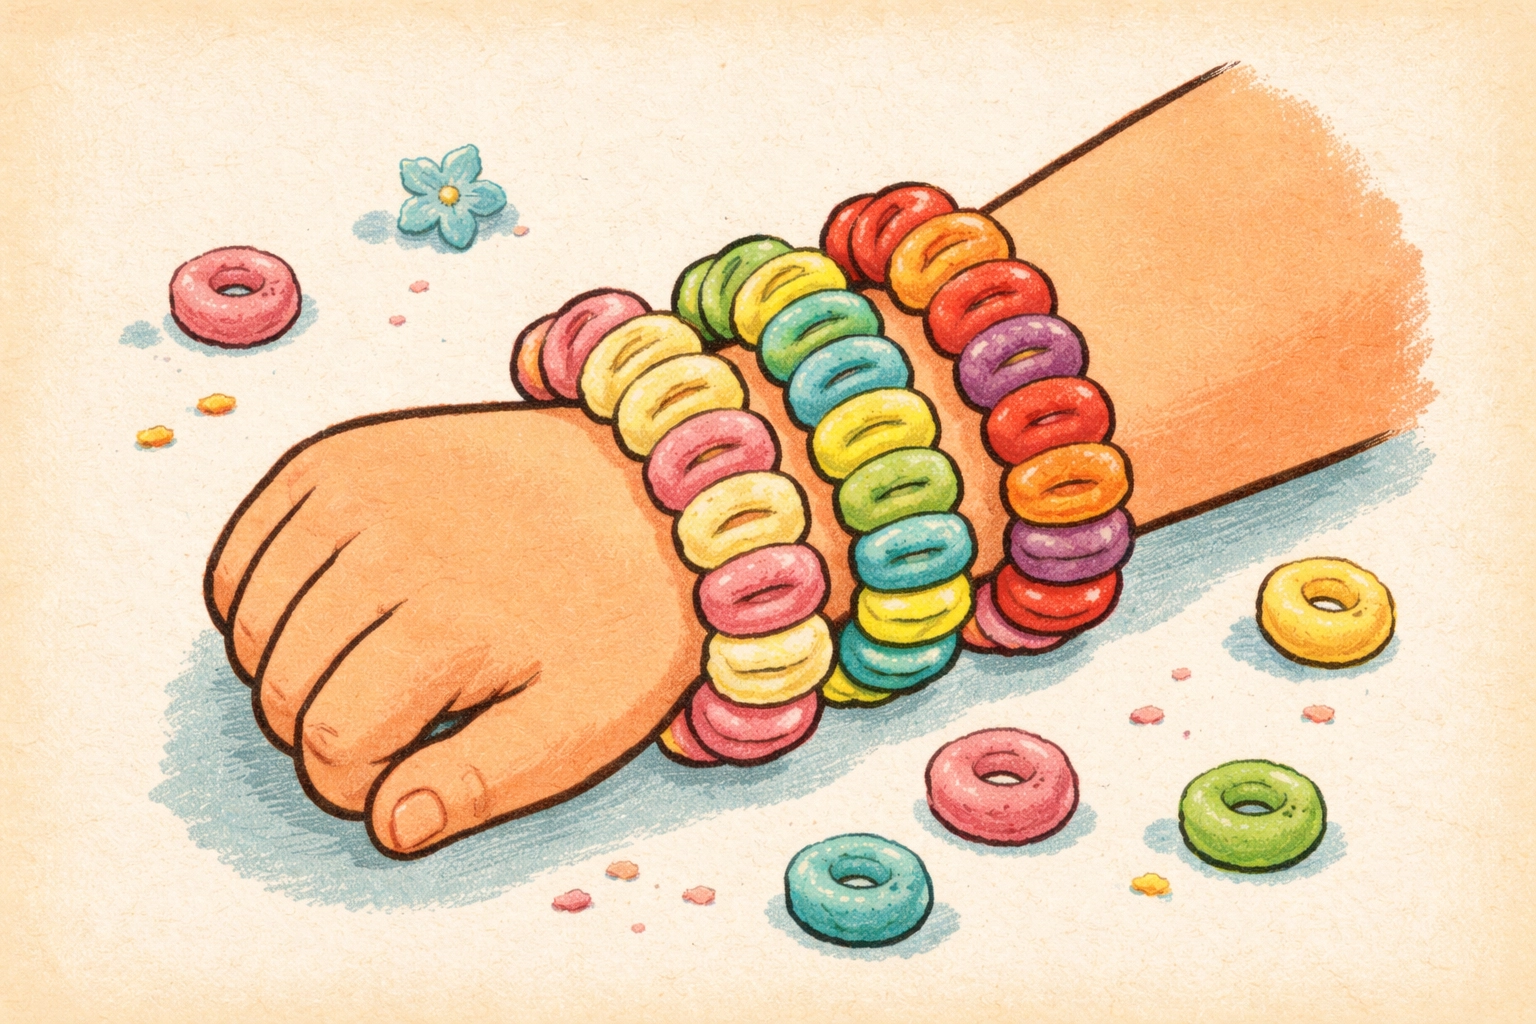
Step 8: Wear and Enjoy
Slip the finished bracelet onto your child's wrist and celebrate their creation. These bracelets make fun accessories for a few hours of play, and yes, they're completely edible when snack time rolls around.
Tips for a Smoother Experience
Start with pipe cleaners for beginners. The firm, pointed ends eliminate threading frustration and the twist closure skips tricky knot-tying.
Use larger-hole cereal for tiny hands. Fruit Loops and similar cereals tend to have bigger holes than plain Cheerios, making them easier to thread.
Make it a matching game. Create a sample pattern card and challenge kids to replicate it on their bracelet.
Set up a bracelet station. If you have multiple children or want to extend the activity, set out bowls of sorted cereal and pre-cut strings so kids can make several bracelets independently.
Don't stress about perfection. A bracelet with a "creative" pattern is still a successful bracelet. The process matters more than the outcome.
Frequently Asked Questions
What kind of cereal works for cereal bracelets?
Any cereal with a hole through the center works well. Fruit Loops, Cheerios, Apple Jacks, and generic loop cereals are all popular choices. Colored varieties offer more pattern possibilities.
Are cereal bracelets safe to eat?
Yes, as long as you're using food-safe string or pipe cleaners designated as non-toxic. Many families use unwaxed cotton string or food-grade twine. The cereal itself is obviously edible: that's part of the fun.
What age is appropriate for this activity?
Children as young as two can participate with help and simplified materials like pipe cleaners. Kids ages four and up typically handle the activity more independently and enjoy creating actual patterns.
How long do cereal bracelets last?
If kept dry, they can last several days as a wearable accessory. However, most kids prefer to eat theirs within a few hours of making them.
Can this activity teach math skills?
Definitely. Pattern recognition is an early math concept, and you can extend the learning by having kids count their cereal pieces, compare bracelet lengths, or predict how many pieces they'll need.
What if my child gets frustrated with threading?
Switch to pipe cleaners, which are much easier to use. You can also thread the first few pieces yourself to get them started, then hand over the bracelet for them to continue.
Can we make necklaces instead of bracelets?
Absolutely. Just use a longer piece of string (about 24 to 30 inches) and thread more cereal. Necklaces take longer but follow the same basic process.
How do I keep cereal from breaking during threading?
Handle pieces gently and avoid forcing the string through. If a piece cracks, just set it aside for snacking and grab another one.
For more hands-on activities your kids can enjoy, explore our kids crafts collection for projects that keep little ones learning and creating all year long.


