


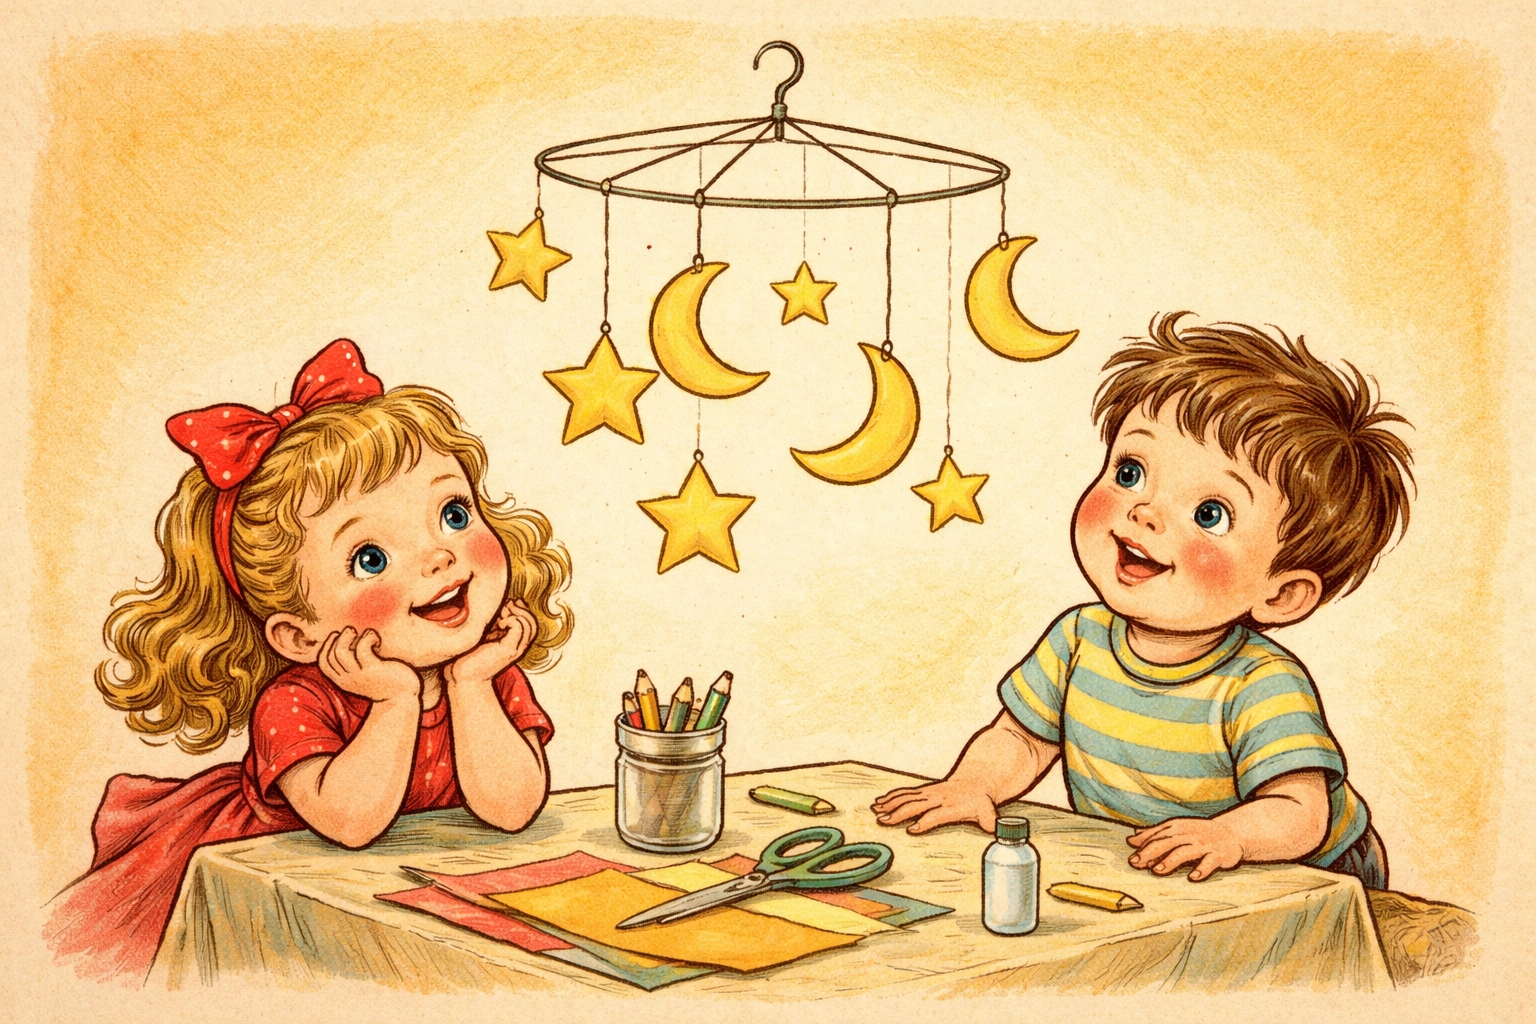
What's the Easiest Way to Make a Balancing Mobile with a Hanger?
The simplest way to make a balancing mobile from a hanger is to suspend lightweight paper or cardboard shapes from different points along the hanger using string, then adjust each shape's position until the hanger hangs level. The key is building from the bottom up: balance your lowest hanging pieces first, then work your way toward the hanger itself. Most families can complete this project in about 30 to 45 minutes using supplies they likely already have at home.
This classic craft combines creativity with a gentle introduction to physics concepts like balance, weight distribution, and gravity. Kids get to design their own hanging artwork while discovering why some arrangements tip sideways and others float peacefully in mid-air.
Why Balancing Mobiles Make a Surprisingly Great Learning Activity
There's something almost magical about watching a mobile drift and spin above a bed or in a sunny window. But beyond the visual appeal, this project sneaks in some valuable lessons without feeling like schoolwork.
When kids hang shapes and watch the hanger tip one direction, they're observing cause and effect in real time. Moving a shape closer to the center versus the edge changes everything. Heavier decorations need to be balanced by either more weight on the opposite side or by positioning them closer to the center pivot point.
You don't need to explain the physics formally: just let kids experiment. They'll figure out pretty quickly that two small stars can balance one big moon if they're positioned in the right spots. That hands-on discovery tends to stick better than any textbook explanation.
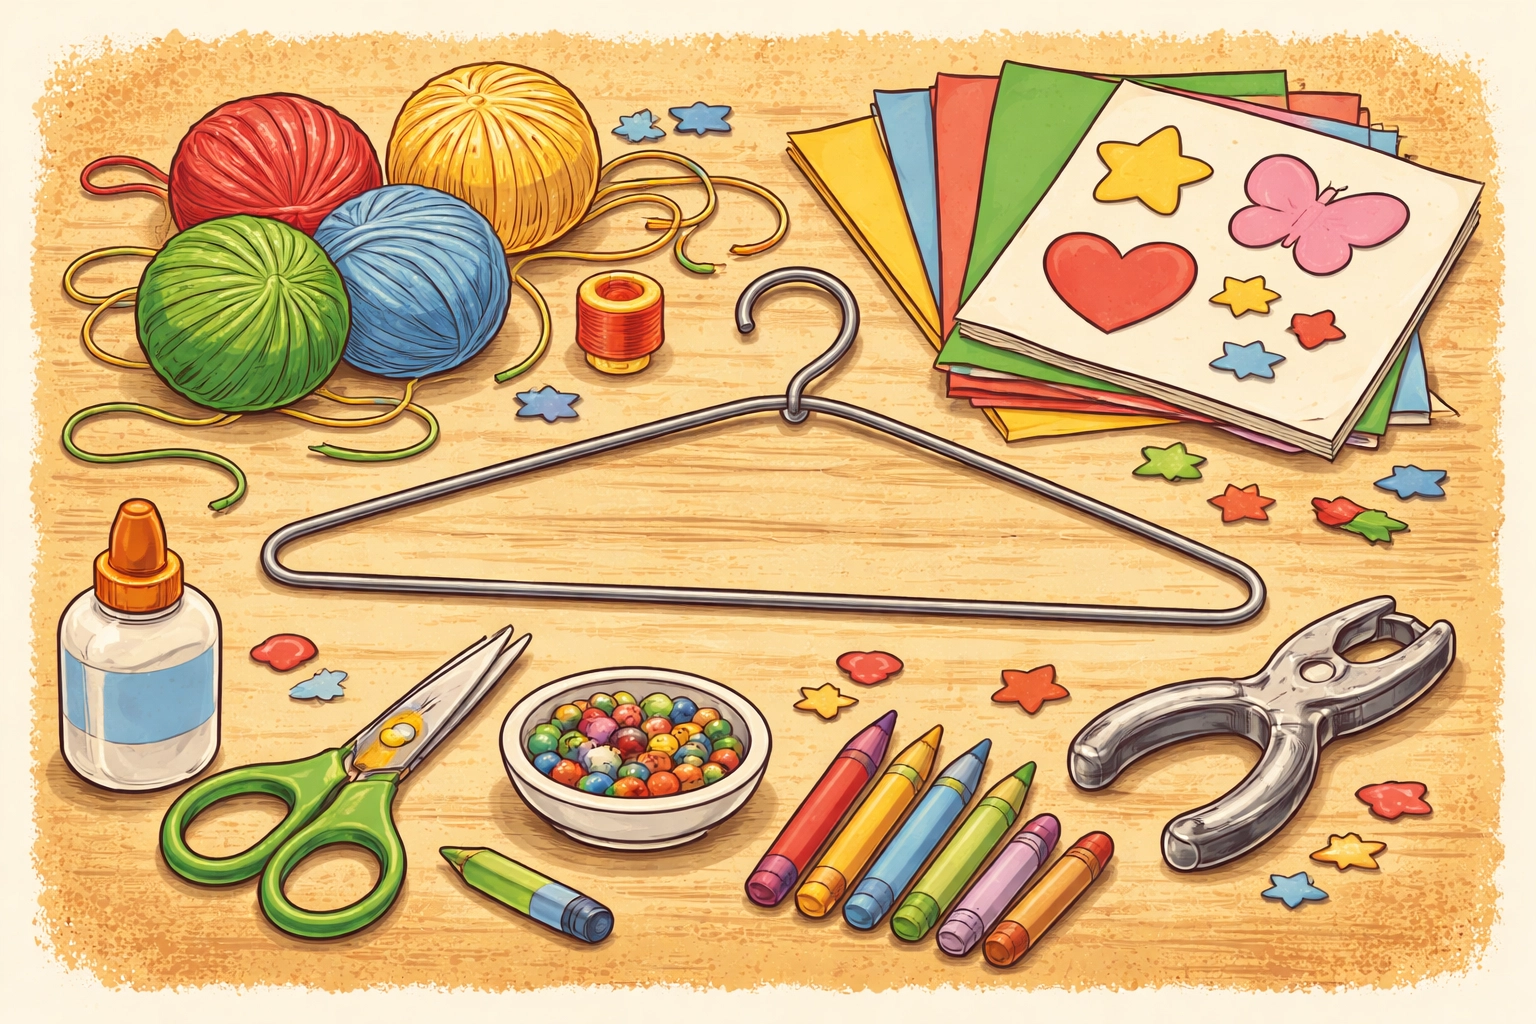
Materials You'll Need
| Item | Estimated Cost | Notes |
|---|---|---|
| Wire hanger (or plastic hanger) | Free – $1 | Most households have extras in closets |
| String or yarn | $1 – $3 | Cut into 8-12 inch lengths |
| Cardstock or construction paper | $1 – $3 | For cutting shapes |
| Scissors | Already owned | Kid-safe scissors work fine |
| Hole punch | Already owned | Or poke holes with a pencil tip |
| Crayons, markers, or paint | $1 – $3 | For decorating shapes |
| Optional: stickers, glitter, ribbon | $1 – $2 | Extra decoration options |
Total estimated cost: Under $10 (and often free if you raid your craft supplies)
Age Range and Time Estimate
Recommended ages: This project tends to work well for kids ages 4 and up, though the experience differs by age group.
- Ages 4-5: Great for decorating shapes and helping decide where to hang them. An adult will likely handle the tying and fine-tuning of balance.
- Ages 6-8: Can manage most steps with some guidance. May need help with knots and initial balancing concepts.
- Ages 9+: Often able to complete the project fairly independently and may enjoy experimenting with more complex multi-level designs.
Time needed: Approximately 30 to 45 minutes, depending on how elaborate your decorations become and how much experimenting your family enjoys.
Step-by-Step Instructions
Step 1: Gather and Prepare Your Hanger
Find a wire hanger or lightweight plastic hanger from your closet. Wire hangers tend to work slightly better because you can bend them into different shapes if desired, but plastic hangers work just fine for a standard mobile.
If using a wire hanger, you might want to gently bend the bottom bar into a slight curve or leave it straight: whatever looks appealing to your family.
Step 2: Design and Cut Your Shapes
This is where creativity takes over. Have kids draw and cut out shapes from cardstock or construction paper. Popular options include:
- Stars, moons, and suns for a celestial theme
- Hearts and flowers for something sweet
- Abstract shapes and swirls for modern art vibes
- Animals, butterflies, or fish for nature lovers
- Seasonal shapes like snowflakes, leaves, or raindrops
Aim for 4 to 8 shapes total for a first mobile. Too many shapes can make balancing tricky for beginners.
Pro tip: Cardstock holds up better than thin construction paper, especially if the mobile will hang near a window or vent where air movement might cause wear over time.
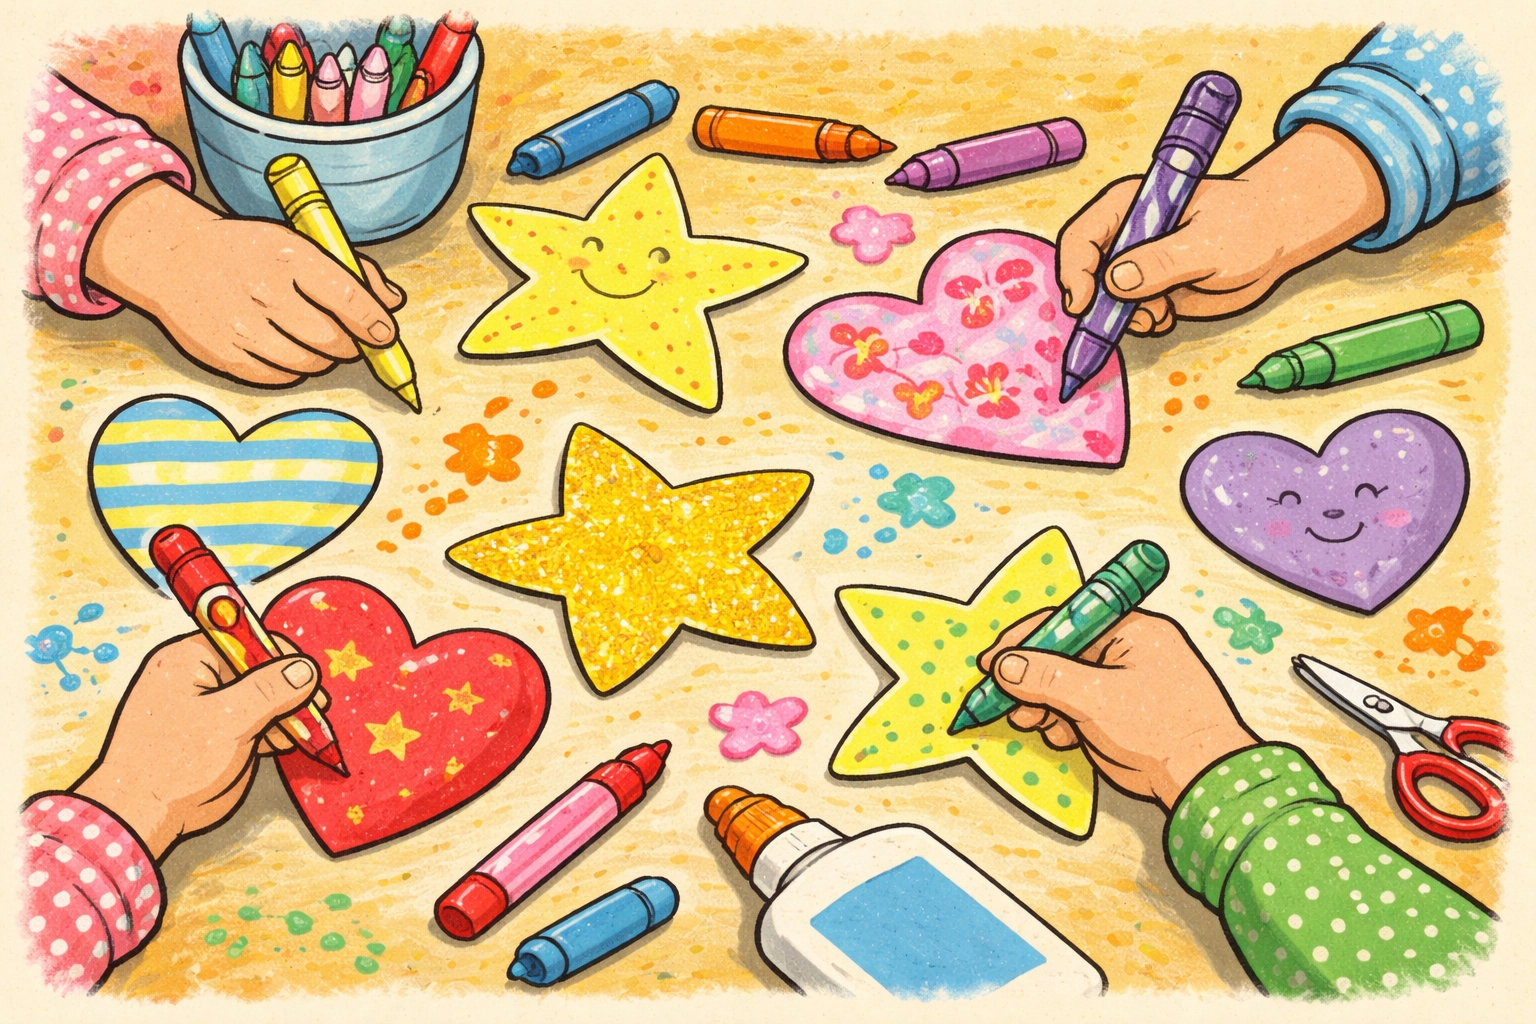
Step 3: Decorate Your Shapes
Break out the crayons, markers, paint, or whatever craft supplies your family enjoys. Decorate both sides of each shape since they'll spin and twist, showing all angles.
This step can take anywhere from five minutes to half an hour depending on your young artists' enthusiasm. There's no rush: let them create something they're proud of.
Step 4: Punch Holes and Attach Strings
Use a hole punch to create a hole near the top of each shape. If you don't have a hole punch, a sharp pencil tip can poke through cardstock carefully (adults should handle this for younger kids).
Cut pieces of string or yarn approximately 8 to 12 inches long. Thread one end through each shape's hole and tie a secure knot. Varying string lengths creates a more interesting visual effect when the mobile hangs.
Step 5: Tie Shapes to the Hanger (Bottom-Up Method)
Here's where the physics fun begins. Rather than trying to hang everything at once and hope it balances, work from the bottom up.
For a simple single-level mobile:
- Tie your first shape to one end of the hanger's bottom bar
- Tie a second shape to the opposite end
- Hold the hanger by its hook and observe which side tips down
- Slide the heavier side's string closer to the center, or add another shape to the lighter side
- Continue adjusting until the hanger hangs roughly level
For a multi-level mobile:
- Create small "arms" by tying two shapes to opposite ends of a drinking straw or small stick
- Balance that arm first by sliding strings until it hangs level
- Attach the balanced arm to the main hanger
- Repeat with additional arms if desired
- Adjust the main hanger's balance last

Step 6: Fine-Tune and Hang
Once your mobile looks fairly balanced, find a spot to hang it. Good locations include:
- Above a bed or crib (hang high enough to be safely out of reach for little ones)
- In front of a window where light can shine through
- From a ceiling hook in a reading nook
- On a curtain rod or plant hook
Give it a gentle spin and watch how it moves. You may need to make small adjustments after hanging: that's completely normal and part of the process.
Tips for Balancing Success
Start simple. A mobile with four shapes is much easier to balance than one with twelve. Once kids master the basics, they can always make more elaborate versions.
Heavier shapes need strategic placement. If one shape is noticeably heavier than others, position it closer to the center of the hanger where it has less leverage.
Patience pays off. Balancing takes trial and error. If kids get frustrated, take a snack break and come back with fresh eyes.
Consider weight distribution when decorating. Globs of glue, heavy stickers, or thick paint on one shape can throw off balance unexpectedly.
Frequently Asked Questions
Can we use a plastic hanger instead of wire?
Plastic hangers work reasonably well for this project. They're often lighter, which means your hanging shapes should also be lightweight. The main difference is that you can't bend plastic hangers into custom shapes like you can with wire.
What if our mobile keeps tipping to one side?
This usually means one side is heavier than the other. Try moving the heavier shapes closer to the center hook, or add another lightweight shape to the lighter side. Small adjustments often make a big difference.
How many shapes should we include?
For beginners, 4 to 6 shapes tends to be manageable. More experienced crafters might enjoy 8 to 10 shapes, potentially arranged on multiple levels using straws or sticks as additional hanging bars.
What's the best string length for hanging shapes?
Varying lengths between 6 and 14 inches creates visual interest. Shapes at different heights catch light and air differently, making the mobile more dynamic.
Can toddlers participate in this project?
Toddlers can absolutely help with decorating shapes using chunky crayons or stickers. The cutting, tying, and balancing steps are generally better suited for older kids or adults.
Why does moving a shape change the balance so much?
This relates to leverage: objects farther from the center pivot point have more "pull" on that side. It's the same reason a seesaw tips when someone sits at the very end versus close to the middle.
How do we make a multi-level mobile?
Create separate balanced arms using straws or small sticks first, then attach those balanced arms to the main hanger. Always balance the lowest level before adding it to the level above.
What materials work besides paper?
Lightweight items like felt shapes, small pompoms, ribbon bows, or even dried pasta (painted and sealed) can work well. Avoid anything too heavy, as it makes balancing much harder.
For more hands-on family projects, explore our kids crafts collection for ideas that keep little hands busy and curious minds engaged.


