


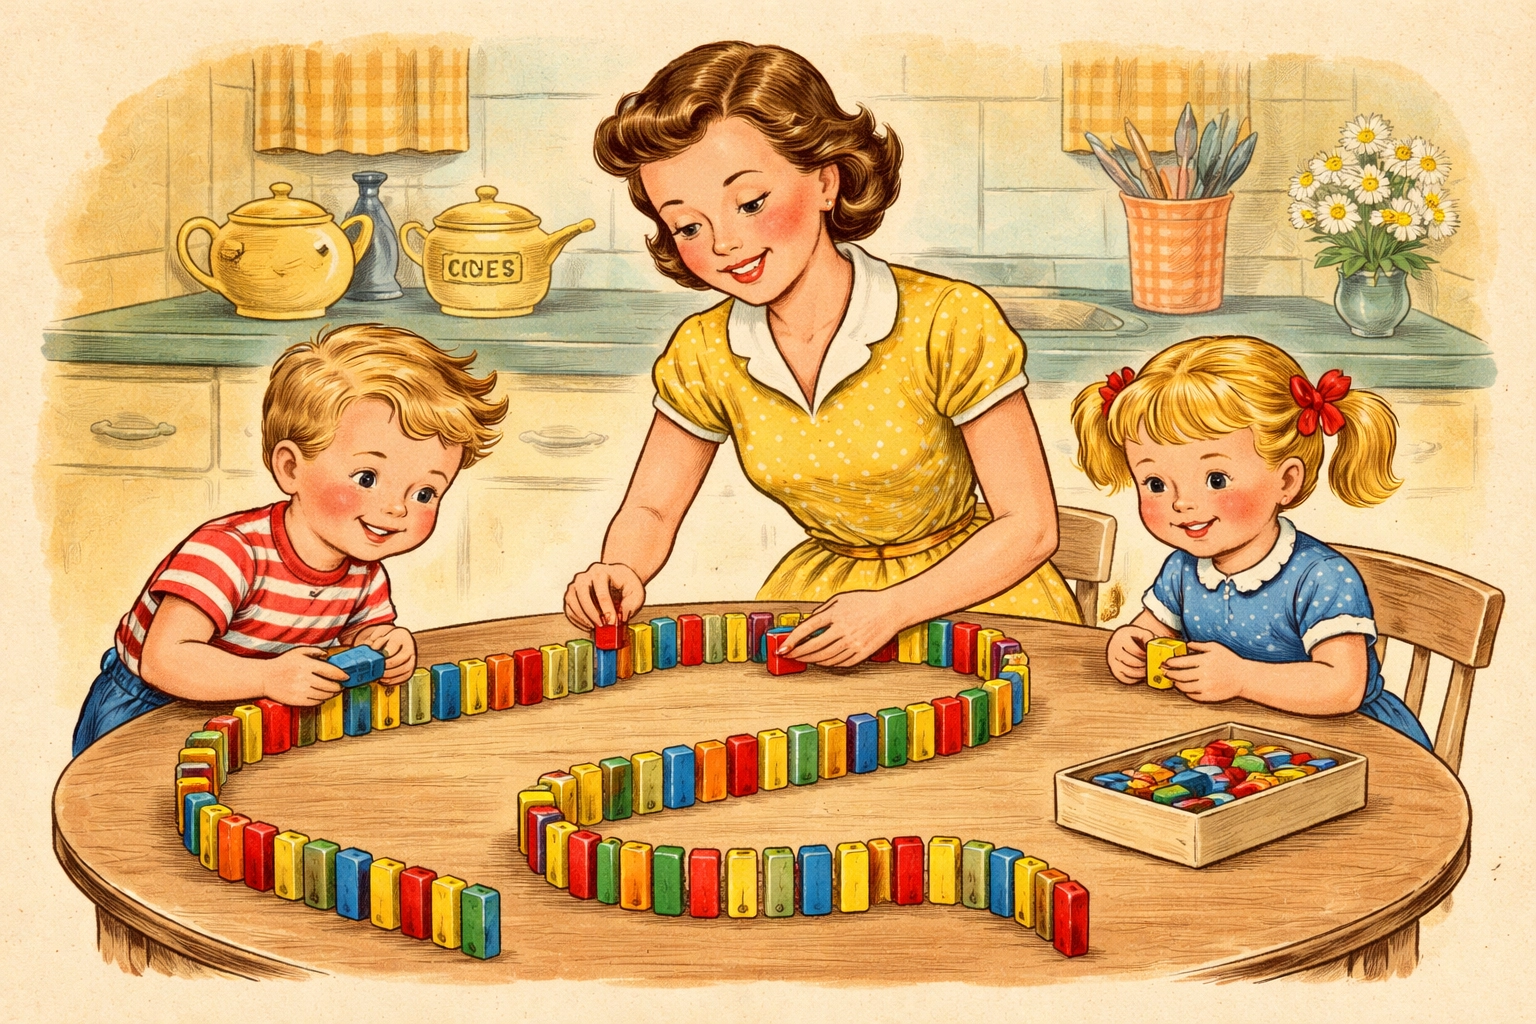
To set up domino chain reactions with kids, arrange dominoes upright in a line on a flat surface, spacing them about half a domino-length apart, then give the first one a gentle push and watch physics come alive. This simple activity teaches kids about energy transfer, cause and effect, and patience: all while delivering that deeply satisfying click-click-click-crash that never gets old, no matter your age.
Domino chain reactions are one of those rare activities that captivate toddlers and teenagers alike. There's something almost magical about watching a tiny tap transform into a cascading wave of motion. And the best part? You probably already have everything you need, or can grab supplies for just a few dollars.
Quick Facts
| Detail | Info |
|---|---|
| Best Age Range | 3–12 years (with varying complexity) |
| Time to Complete | 20–45 minutes per session |
| Difficulty | Easy to start, endlessly expandable |
| Mess Level | Virtually none |
| Total Cost | Under $10 |
What You'll Need
| Material | Estimated Cost | Notes |
|---|---|---|
| Dominoes (set of 100+) | $5–$8 | Dollar stores often carry basic sets |
| Flat surface | Free | Table, hardwood floor, or large cutting board |
| Painter's tape (optional) | $3–$4 | For marking paths or securing ramps |
| Index cards (optional) | $1–$2 | For building ramps and bridges |
| Small toys or marbles (optional) | Free–$2 | For advanced chain reaction elements |
Total estimated cost: Under $10 (often under $5 if you have dominoes at home)
Why Kids Love Domino Chain Reactions
There's real science hiding inside this classic pastime. When you push that first domino, you're converting potential energy (the stored energy of a standing domino) into kinetic energy (the energy of motion). Each falling domino transfers just enough force to topple the next one, creating a chain reaction that demonstrates physics principles in the most hands-on way possible.
But let's be honest: kids don't care about the physics vocabulary. They care about the whoosh. They care about building something with their own hands and then watching it do something spectacular. And that's exactly why this activity works so beautifully for family time.
Step-by-Step: Building Your First Chain Reaction
Step 1: Choose Your Surface
Start with a hard, flat surface. Hardwood floors, kitchen tables, and large cutting boards all work well. Carpet tends to be too soft and uneven, which can cause frustrating mid-chain collapses.
If you're working with younger kids, a table height surface often works better since they can see the action at eye level without crawling around on the floor.
Step 2: Practice Standing Dominoes
Before building anything elaborate, let kids practice standing dominoes upright. This seems simple, but it requires fine motor control that younger children are still developing. Give them a few minutes to get comfortable with the feel of balancing each piece.
Pro tip: Show kids how to hold the domino near the bottom and set it down gently rather than trying to balance it from the top.
Step 3: Create a Simple Straight Line
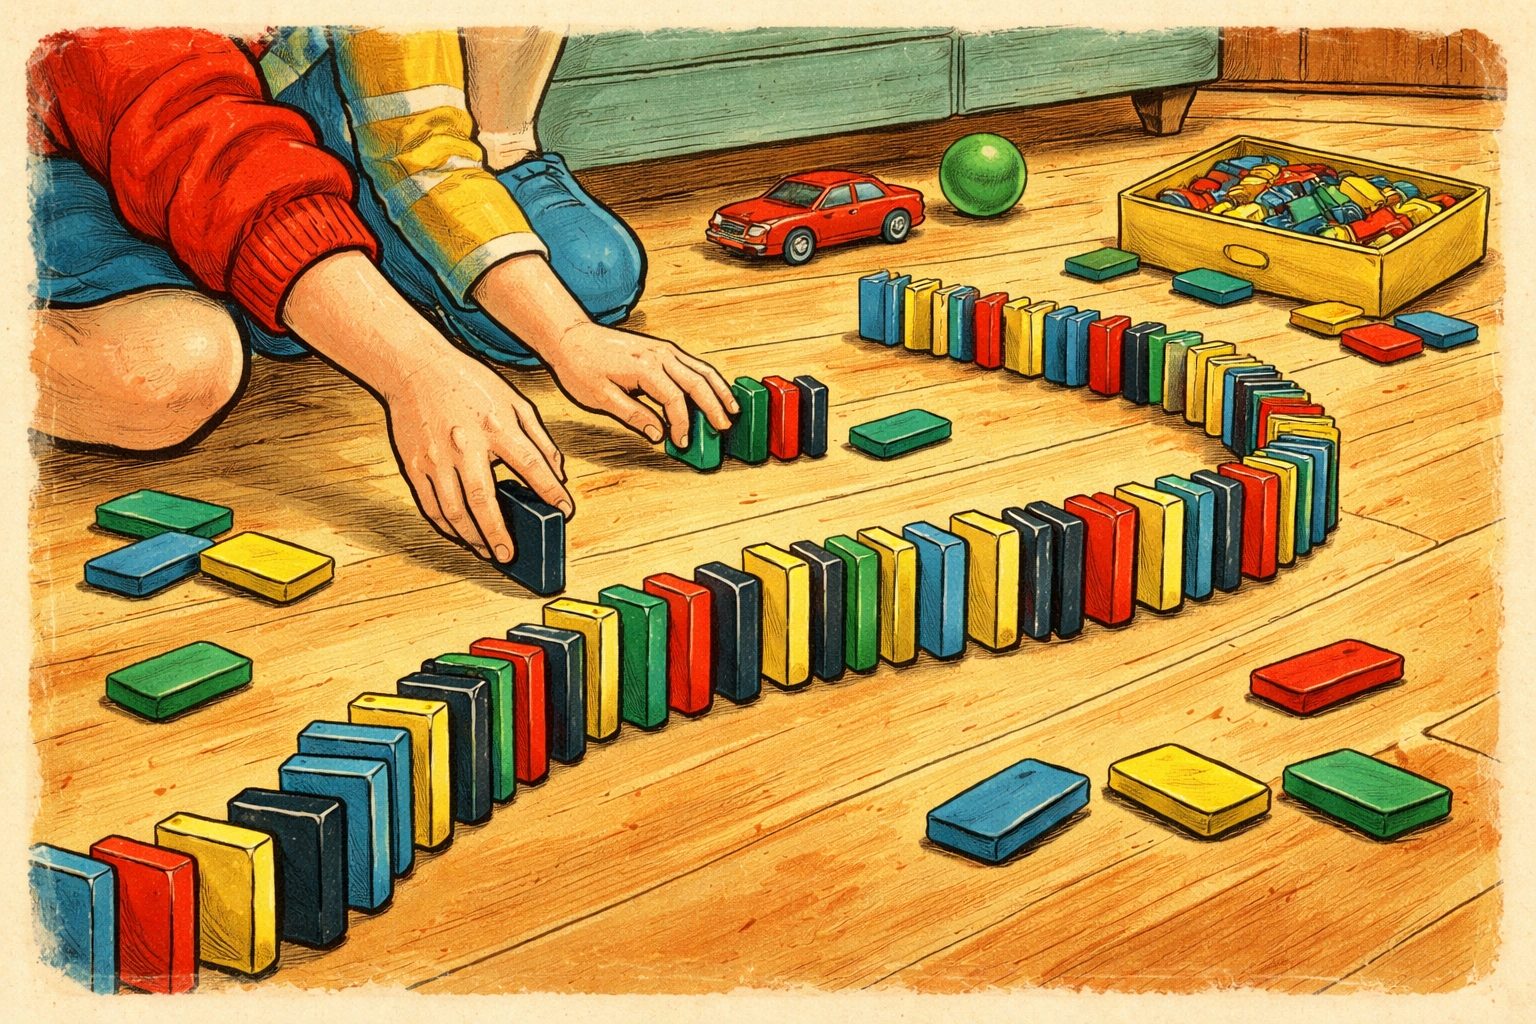
Start with a basic straight line of 10–15 dominoes. Space them approximately half a domino-length apart: close enough that each falling piece will hit the next, but not so close that they knock each other over while you're still building.
This first line is really about learning the rhythm of placement. Once kids get the spacing down, they'll build much faster.
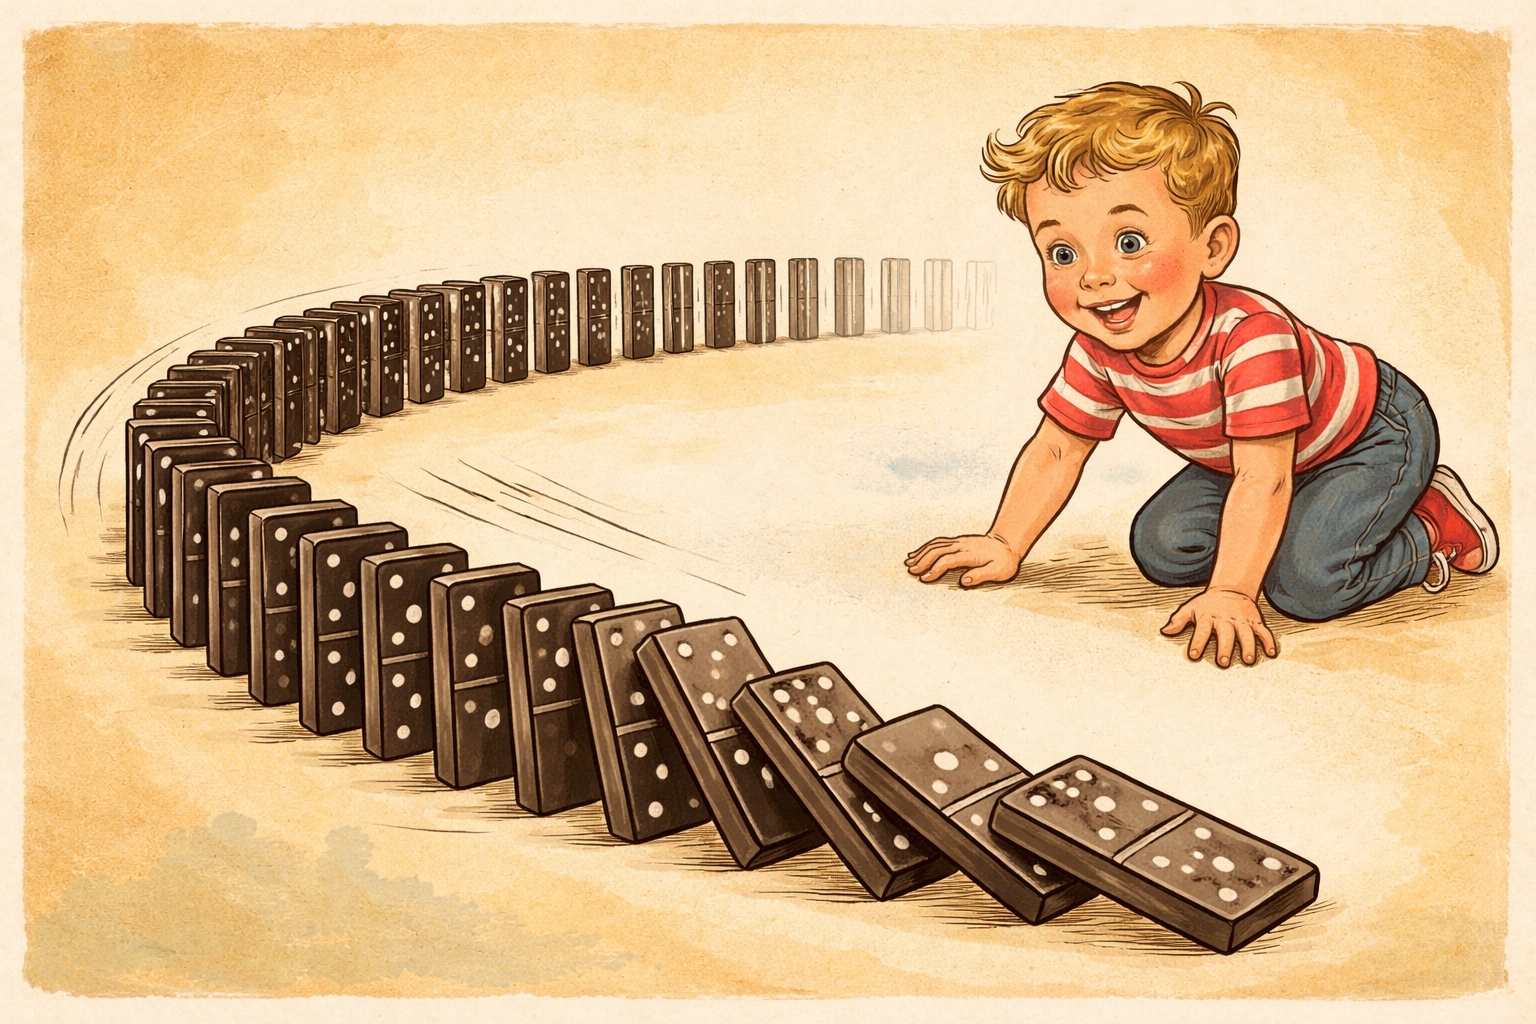
Step 4: Test Your Chain
Here comes the fun part. Have your child give the first domino a gentle push. Watch as the energy transfers down the line, knocking each domino into the next.
Did the whole line fall? Celebrate! Did it stop somewhere in the middle? That's actually a great learning moment. Walk over together and figure out what happened. Was the gap too wide? Did a domino get bumped crooked? Problem-solving is half the fun.
Step 5: Add Curves and Corners
Once straight lines feel easy, introduce curves. Curves require slightly closer spacing on the inside of the turn and slightly wider spacing on the outside. This is where kids start developing real intuition about how dominoes interact.
Try making an S-curve, a spiral, or a zigzag pattern. Each shape teaches something slightly different about momentum and direction.
Step 6: Build Vertical Elements
Ready to level up? Stack two or three dominoes on their sides to create "gates" that the falling chain passes through. Or build small towers that get knocked down by the chain reaction.
You can also create simple ramps using index cards propped against books. A falling domino can send a marble rolling down a ramp, which then knocks over the next section of dominoes.
Step 7: Design Your Masterpiece
Once kids understand the basics, let them design their own elaborate setups. Provide a general work area and let their creativity run wild. You might be surprised by the complex patterns they dream up.
Some kids prefer long, winding paths. Others want dramatic moments: a tower that crashes, a split that sends dominoes in two directions, or a finale where everything meets back together.
Tips for Domino Success
Use "safety gaps" strategically. When building long or complex chains, leave occasional gaps so an accidental bump doesn't ruin everything. Once the full design is ready, fill in those gaps before the big topple.
Tape down ramps and supports. If you're incorporating ramps, bridges, or other structures, use painter's tape to secure them. Nothing's more frustrating than a perfectly good chain reaction derailed by a wobbly ramp.
Work in sections. For elaborate designs, build and test in sections before connecting everything. This makes troubleshooting much easier.
Embrace the failures. Accidental knockdowns happen: frequently. Use these moments to laugh together and talk about what went wrong. Resilience is a valuable skill, and dominoes teach it gently.
Age-Appropriate Variations
| Age Group | Suggested Approach |
|---|---|
| 3–4 years | Simple lines of 5–10 dominoes; focus on standing and pushing |
| 5–7 years | Longer lines, gentle curves, and basic problem-solving |
| 8–10 years | Complex patterns, splits, and simple ramps or obstacles |
| 11+ years | Elaborate multi-stage chain reactions with marble runs and vertical elements |
Frequently Asked Questions
How many dominoes do I need to get started?
A set of 100 dominoes is usually plenty for beginners and allows for reasonably impressive chain reactions. As kids get more experienced, sets of 200–500 open up more elaborate possibilities.
What if my child gets frustrated when dominoes fall accidentally?
This is common, especially with younger children. Try working in smaller sections and celebrating small successes. You can also use the "safety gap" technique to limit how much gets knocked down by accidents.
Can toddlers participate in domino chain reactions?
Toddlers can certainly watch and push the first domino, but building requires fine motor skills that typically develop around age 3–4. For younger kids, consider building the chain yourself and letting them do the satisfying push.
What's the best surface for domino chain reactions?
Hard, flat surfaces work best. Hardwood floors, laminate, tile, and smooth tables are all great options. Avoid carpet, tablecloths, or uneven surfaces.
How do I make domino chain reactions more challenging for older kids?
Introduce additional elements like marbles, ramps, small toys, or split paths. Challenge them to design reactions that change direction, climb obstacles, or trigger other mechanical events.
Are there educational benefits beyond just fun?
Absolutely. Domino chain reactions teach concepts related to potential and kinetic energy, cause and effect, spatial reasoning, patience, and problem-solving. They also develop fine motor skills and foster creative thinking.
How long should a domino session last?
Most kids stay engaged for 20–45 minutes, though some will happily build for hours. Follow your child's lead and stop before frustration sets in.
Can I use things other than dominoes?
Yes! Books stood on end, wooden blocks, and even playing cards folded into tents can all create chain reactions. Mixing materials adds variety and new challenges.
References
- Science learning resources on energy transfer and chain reactions
- STEM education guidelines for hands-on physics activities
Looking for more hands-on activities to keep little ones busy? Check out our Kids Crafts collection for dozens of simple, budget-friendly projects the whole family can enjoy.


