


The Quick Answer
Tissue paper suncatchers are made by pressing colorful tissue paper pieces between two sheets of clear contact paper, then cutting out a shape and hanging it in a sunny window. The whole project typically takes about 20-30 minutes, costs under $10, and works wonderfully for kids ages 2 and up. When sunlight streams through the layered tissue, it creates a beautiful stained-glass effect that can brighten up any room for weeks.
This is one of those crafts that looks impressive but is genuinely simple, no fancy skills required. Just sticky paper, colorful tissue, and a window that catches some light.
What You'll Need
Here's the good news: you can pull this project together for pocket change, and you might already have some of these supplies lying around.
| Material | Approximate Cost | Notes |
|---|---|---|
| Clear contact paper | $4-6 | One roll makes dozens of suncatchers |
| Tissue paper (multi-color pack) | $1-3 | Bright colors show up nicely |
| Scissors | Already own | Kid-safe scissors work fine |
| Yarn or string | $1-2 | For hanging |
| Hole punch (optional) | Already own | Makes threading yarn easier |
| Marker (optional) | Already own | For tracing shapes |
Total cost: Usually under $8
You can often find tissue paper at dollar stores, and a single roll of contact paper will last through many, many craft sessions.
Age Range and Time Estimate
Best for ages: 2-8 years old (with varying levels of help)
| Age | What They Can Do | Adult Help Needed |
|---|---|---|
| 2-3 years | Tear tissue, stick pieces down | Cutting, peeling contact paper, assembly |
| 4-5 years | Tear or cut tissue, arrange pieces, help peel backing | Cutting final shape, hanging |
| 6-8 years | Most steps independently | Supervision, final touches |
Time to complete: 20-30 minutes (plus drying time if using the glue method)
Younger kids tend to work faster because they're less concerned with precision, and honestly, that spontaneous approach often creates the most vibrant results.
Step-by-Step Instructions
Step 1: Prepare Your Workspace
Cover your table with newspaper or an old tablecloth. Contact paper is sticky (that's the point), and tissue paper tends to drift around like colorful confetti. A little prep saves cleanup headaches later.
Gather all your materials before you start. There's nothing like peeling contact paper and realizing your tissue paper is in another room.
Step 2: Cut Your Contact Paper
Cut two squares or rectangles of contact paper, roughly 5-6 inches on each side. They should be the same size, these will sandwich your tissue paper creation.
If you want a specific shape (heart, star, butterfly, flower), you can lightly trace it on the backing of one piece with a marker. This gives kids a guide to follow when placing their tissue.
Step 3: Tear or Cut the Tissue Paper
Here's where little hands really shine. Have kids tear tissue paper into small pieces, roughly ½ inch to 1 inch in size. Tearing works great for younger children and creates nice organic edges. Older kids might prefer cutting shapes with scissors.
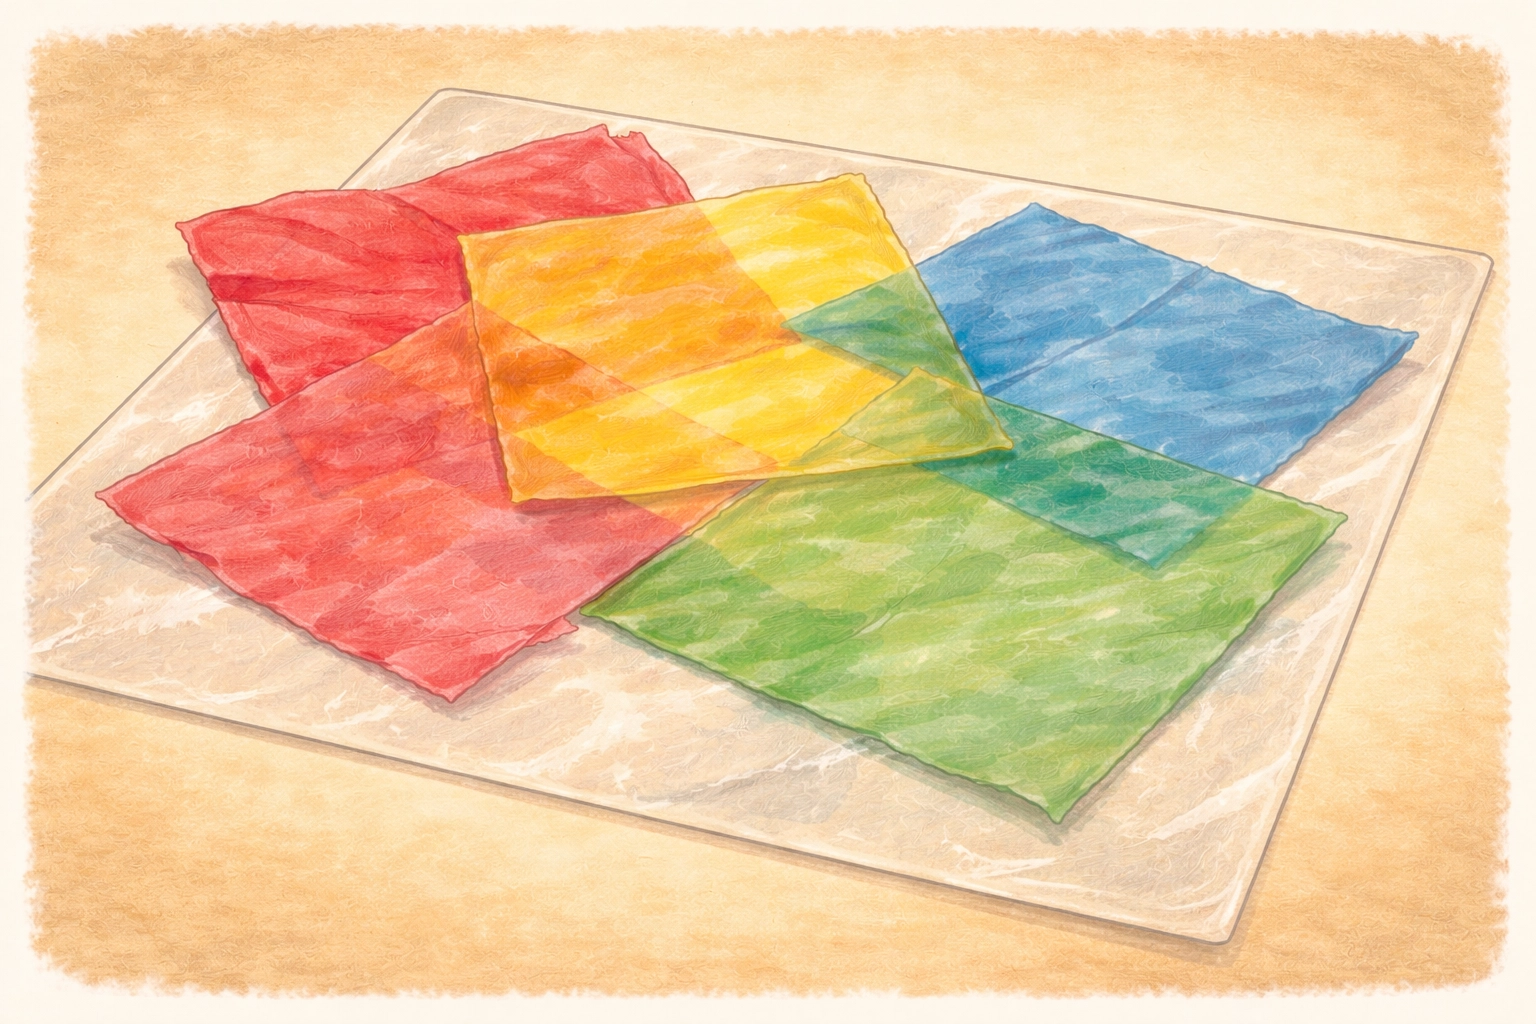
Pro tip: When tissue paper pieces overlap, they blend into new colors. Red over yellow makes orange. Blue over yellow makes green. This is a sneaky way to work in a little color theory.
Step 4: Peel and Stick
Carefully peel the backing off ONE piece of contact paper. Place it sticky-side up on your work surface. You can tape the corners down if it keeps curling.
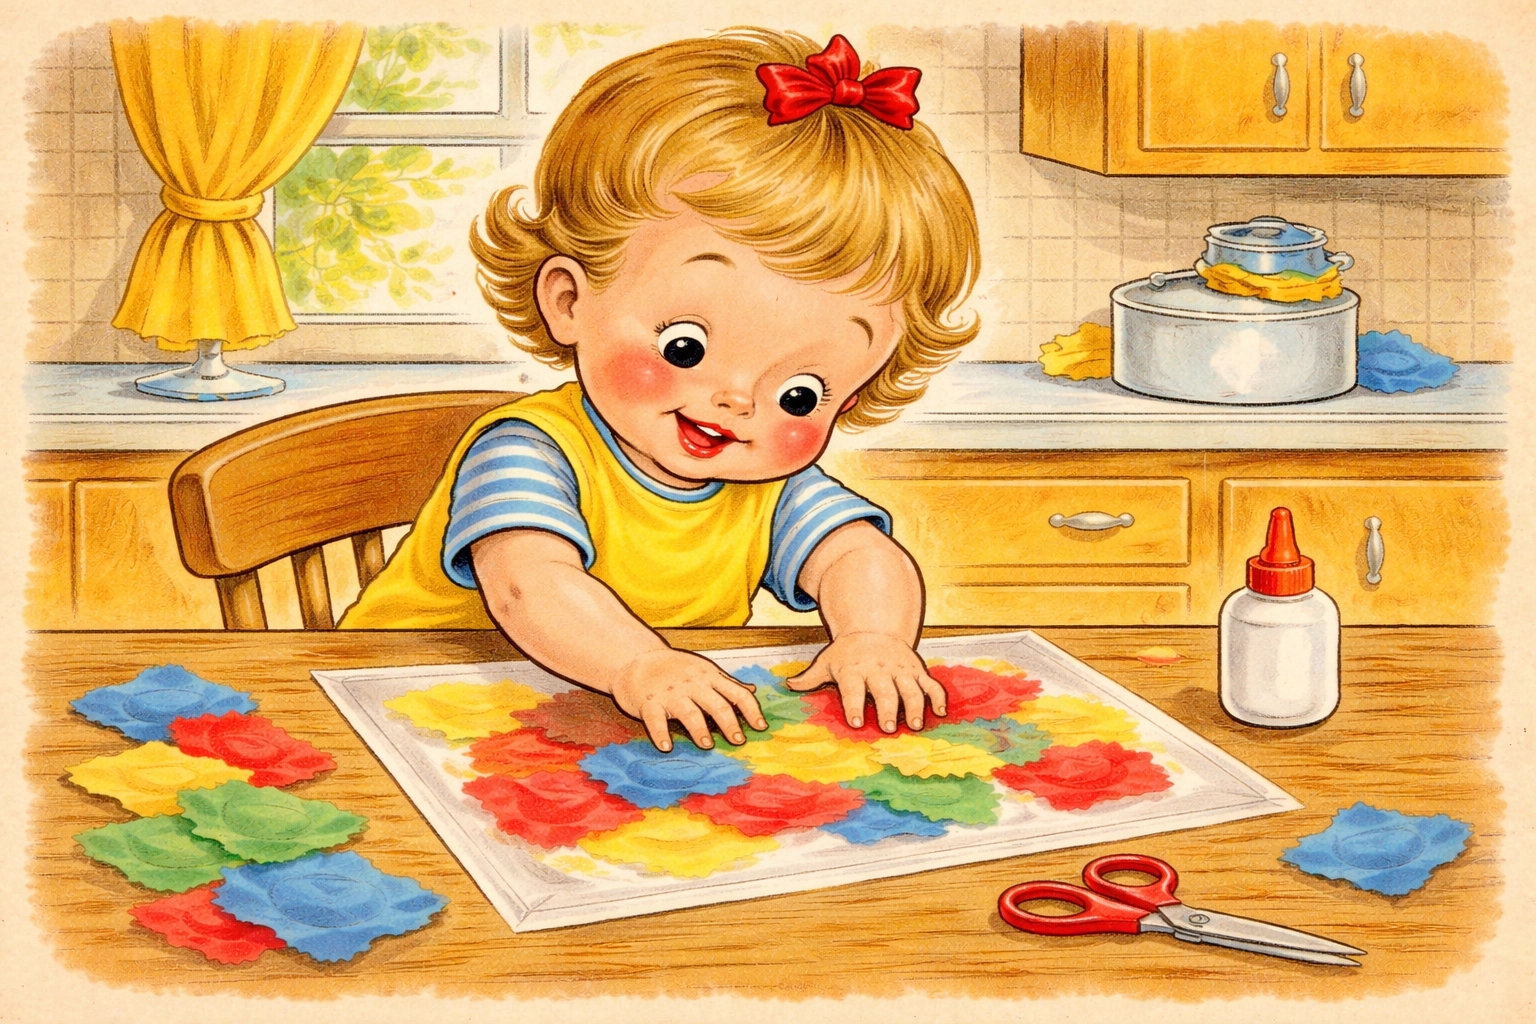
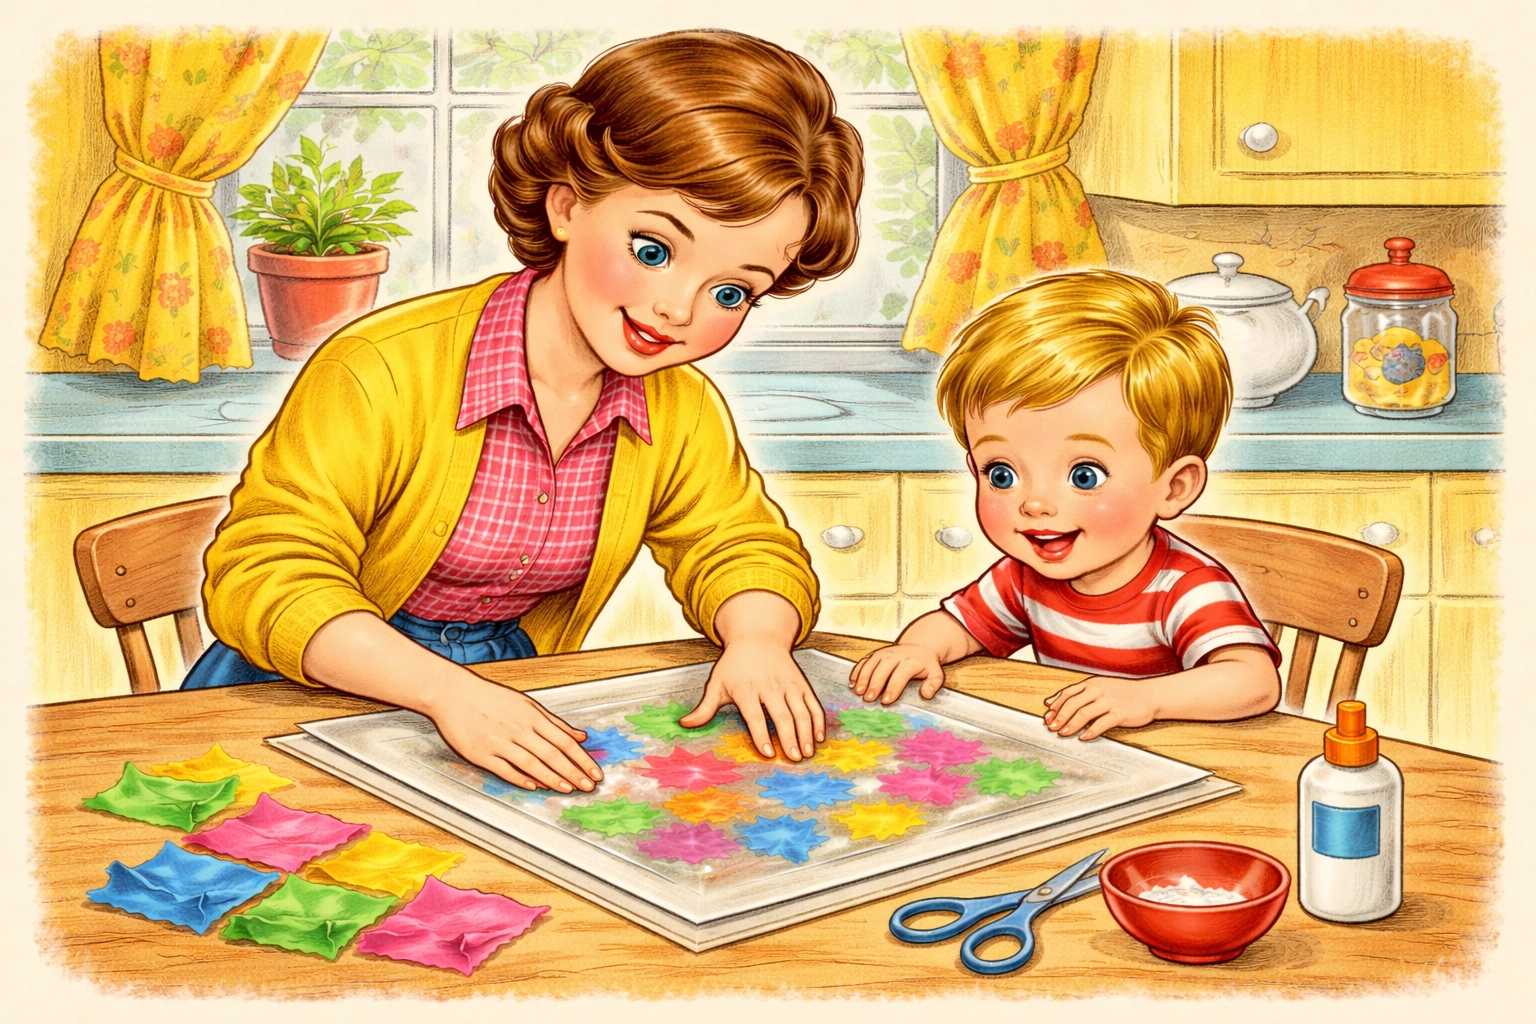
Now let kids press their tissue paper pieces onto the sticky surface. They can cover the whole thing or fill in a traced shape, whatever feels right. Overlapping pieces creates that lovely layered stained-glass look.
Encourage them to cover any gaps, but don't stress about perfection. Light will shine through even imperfect suncatchers beautifully.
Step 5: Seal It Up
Once your child is happy with their tissue arrangement, carefully peel the backing from the second piece of contact paper. Line it up and press it down, sticky-side facing the tissue paper, so the tissue is sandwiched between both sticky surfaces.
Smooth out any air bubbles by pressing gently from the center outward. Little bubbles are fine, they won't affect how it looks in the window.
Step 6: Cut Out Your Shape
Now cut around your design. If you traced a shape earlier, follow that line. If not, you can cut a simple circle, square, or freeform blob. All of these look charming when the light hits them.
Leave a small border of sealed contact paper around the edge, this keeps everything stuck together.
Step 7: Add a Hanger
Punch a hole near the top of your suncatcher (about ¼ inch from the edge so it doesn't tear). Thread a piece of yarn or string through and tie a loop for hanging.
No hole punch? A pencil point can poke a small hole, or you can simply tape the suncatcher directly to the window.
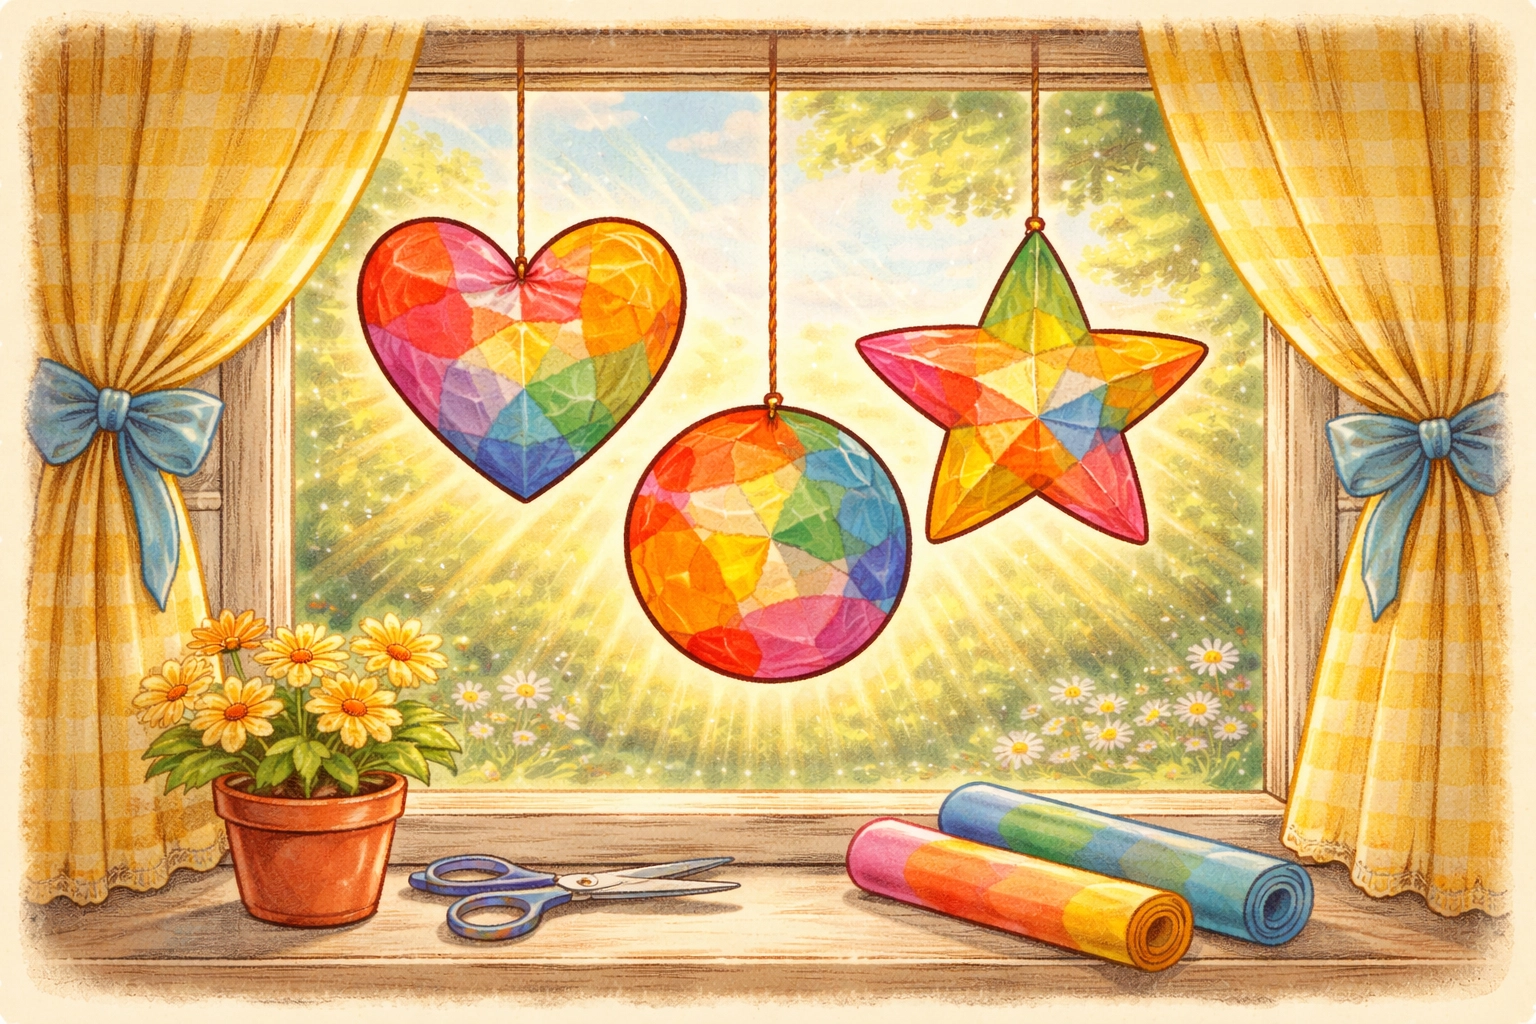
Step 8: Find the Sunniest Spot
Hang your suncatcher in a window that gets good light. South-facing windows tend to catch the most sun during the day. Watch your child's face when the colors start glowing, it's pretty magical.
These suncatchers can stay up for weeks or even months. They're surprisingly durable.
Tips for Success
Keep tissue pieces small. Bigger pieces tend to wrinkle and fold over on themselves. Smaller pieces lay flatter and catch light more evenly.
Work on a flat surface. Contact paper gets tricky if it starts folding or sticking to itself. A smooth, flat table makes the whole process easier.
Embrace the mess. Tissue paper gets everywhere. That's part of the fun. Deep breaths.
Try themed colors. Rainbow suncatchers are classic, but you could also do seasonal themes, orange and yellow for fall, red and pink for Valentine's Day, pastels for spring.
Layer for depth. Two or three overlapping tissue pieces in one spot create richer, more interesting colors than a single layer.
Why Kids Love This Craft
Beyond just being fun, tissue paper suncatchers help children develop fine motor skills through all that tearing, placing, and pressing. The overlapping colors introduce basic color-mixing concepts in a hands-on way. And watching light transform their creation into something glowing teaches a little about transparency and how light behaves.
Plus, there's something deeply satisfying about making something that gets displayed prominently. Every time your child walks past that window, they see their own artwork catching the sun.
For more hands-on projects you can do together, check out our Kids Crafts collection for inspiration.
Frequently Asked Questions
Can I use wax paper instead of contact paper?
Wax paper can work if you use the diluted glue method, paint watered-down white glue onto wax paper, add tissue pieces, and let it dry completely. The contact paper method is less messy and doesn't require drying time, which is why many families prefer it.
What if my tissue paper bleeds or stains?
Some tissue paper releases dye when it gets wet. With the contact paper method, this usually isn't an issue since you're not adding any liquid. If using glue, the colors might bleed slightly, which can actually create interesting effects.
How long do tissue paper suncatchers last?
They can last for months if kept in a window. Eventually, the colors may fade slightly from sun exposure, but most families replace them with new creations before that becomes noticeable.
Can toddlers really do this craft?
Absolutely. Toddlers can tear tissue paper and press pieces onto sticky contact paper. An adult handles the cutting and assembly. The sticky surface is very forgiving, pieces can be repositioned if needed.
What shapes work well for beginners?
Simple shapes like circles, hearts, and basic flowers are easiest to fill in. Complicated shapes with narrow sections can be tricky for younger kids to cover evenly.
Do I need to use a hole punch for hanging?
Nope. You can tape the suncatcher directly to the window, use a suction cup hook, or poke a small hole with a pencil tip. The hole punch just makes a neater hole.
Can we make suncatchers without contact paper?
Yes: the wax paper and glue method works well. You can also use clear plastic page protectors or laminating sheets if you have access to a laminator.
Why do the colors look different when light shines through?
Light passing through the tissue paper is filtered by the color. Overlapping colors blend because you're seeing light that passed through multiple filters. It's the same principle behind stained glass windows.
How do I store leftover tissue paper?
Keep it in a large ziplock bag or a shallow box. Tissue paper wrinkles easily, but those wrinkles don't affect how it works in suncatchers.
References
- Various crafting resources on tissue paper suncatcher methods
- Research on contact paper and wax paper crafting techniques
- Fine motor skill development through arts and crafts activities


