


The Quick Answer
Upcycling holiday cards into art with kids is as simple as cutting out the prettiest images, shapes, and patterns from old cards and transforming them into new collages, ornaments, gift tags, or bookmarks. It's a budget-friendly craft that gives those beautiful cards a second life while teaching little ones about creativity and sustainability. Most families can complete a handful of projects in under an hour using supplies they likely already have at home.
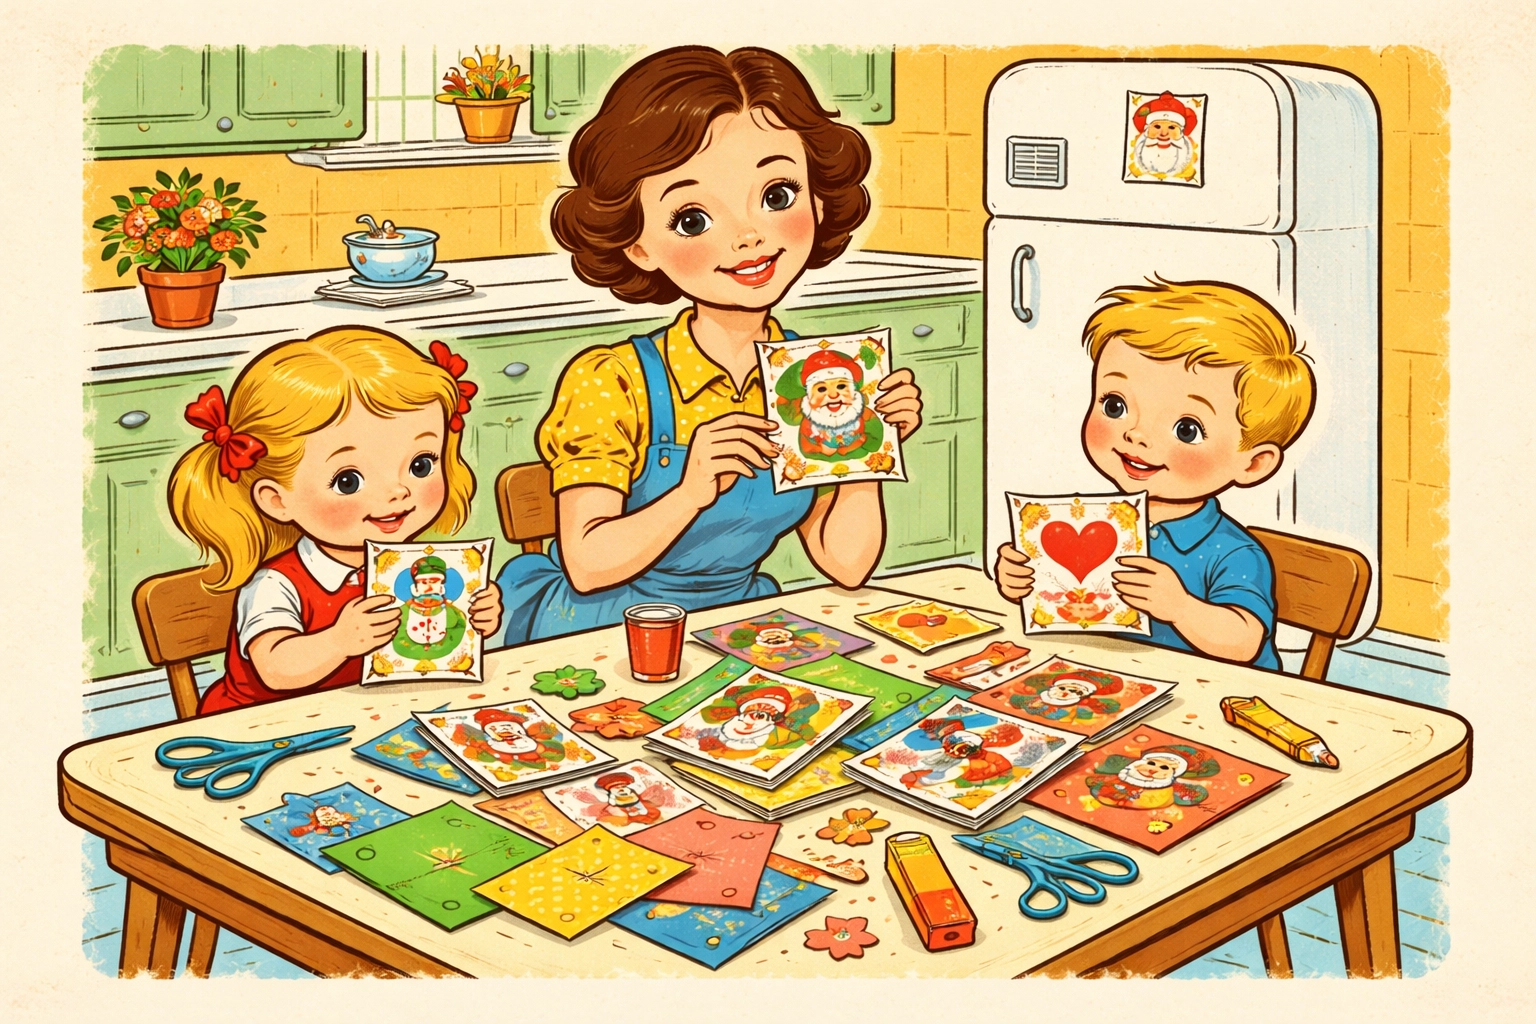
Instead of tossing that gorgeous stack of holiday cards into the recycling bin, why not turn craft time into a mini art studio session? Kids tend to love the treasure-hunt feeling of sorting through cards and picking their favorite images to repurpose. And honestly, it feels pretty good to squeeze extra joy out of those lovely cards someone took the time to send.
What You'll Need
Here's the good news: this craft typically costs next to nothing if you've saved your holiday cards. For any supplies you might need to pick up, you can usually stay well under $10.
| Material | Estimated Cost | Notes |
|---|---|---|
| Old holiday cards | Free | The star of the show! |
| Child-safe scissors | $2–$4 | Rounded tips work great for little hands |
| Glue sticks or white glue | $1–$3 | Glue sticks are less messy for younger kids |
| Cardstock or construction paper | $1–$3 | For backing collages or making gift tags |
| Hole punch | $1–$2 | Single-hole or shaped punches both work |
| Ribbon, yarn, or string | $1–$2 | For hanging ornaments or threading bookmarks |
| Optional: Glitter, buttons, stickers | $1–$3 | Fun embellishments if you want extra sparkle |
Total: Usually under $10 (and often free if you raid your craft drawer!)
Age Range & Time Estimate
Best for ages: 3–10 years old
- Toddlers (3–4): Can tear paper, glue pre-cut shapes, and help sort cards by color
- Preschoolers (4–6): Ready to practice cutting skills and arrange their own collages
- Early elementary (6–10): Can handle more detailed cutting, layering, and designing ornaments or bookmarks independently
Time needed: 20–45 minutes per project, depending on complexity and how many giggles get in the way
Step-by-Step: Four Easy Upcycled Card Projects
Project 1: Holiday Card Collage Art
This is probably the simplest starting point and works wonderfully for mixed-age groups.
Steps:
Sort and select. Spread out your holiday cards and let kids pick their favorites. Look for pretty illustrations, sparkly designs, cute animals, or interesting textures.
Cut out the good stuff. Help younger children cut around images, or let older kids go to town with scissors. Don't worry about perfection, wobbly edges add charm.
Arrange on a background. Grab a piece of cardstock or construction paper. Let kids play with arranging their cutouts before gluing anything down. Overlapping pieces often looks great.
Glue everything in place. Once they're happy with the layout, glue each piece down. Press firmly and let dry.
Add extras if desired. A sprinkle of glitter on the edges, a few sticker stars, or some drawn details can make the collage pop.
Display proudly. Frame it, tape it to the fridge, or mail it to Grandma as a handmade card!

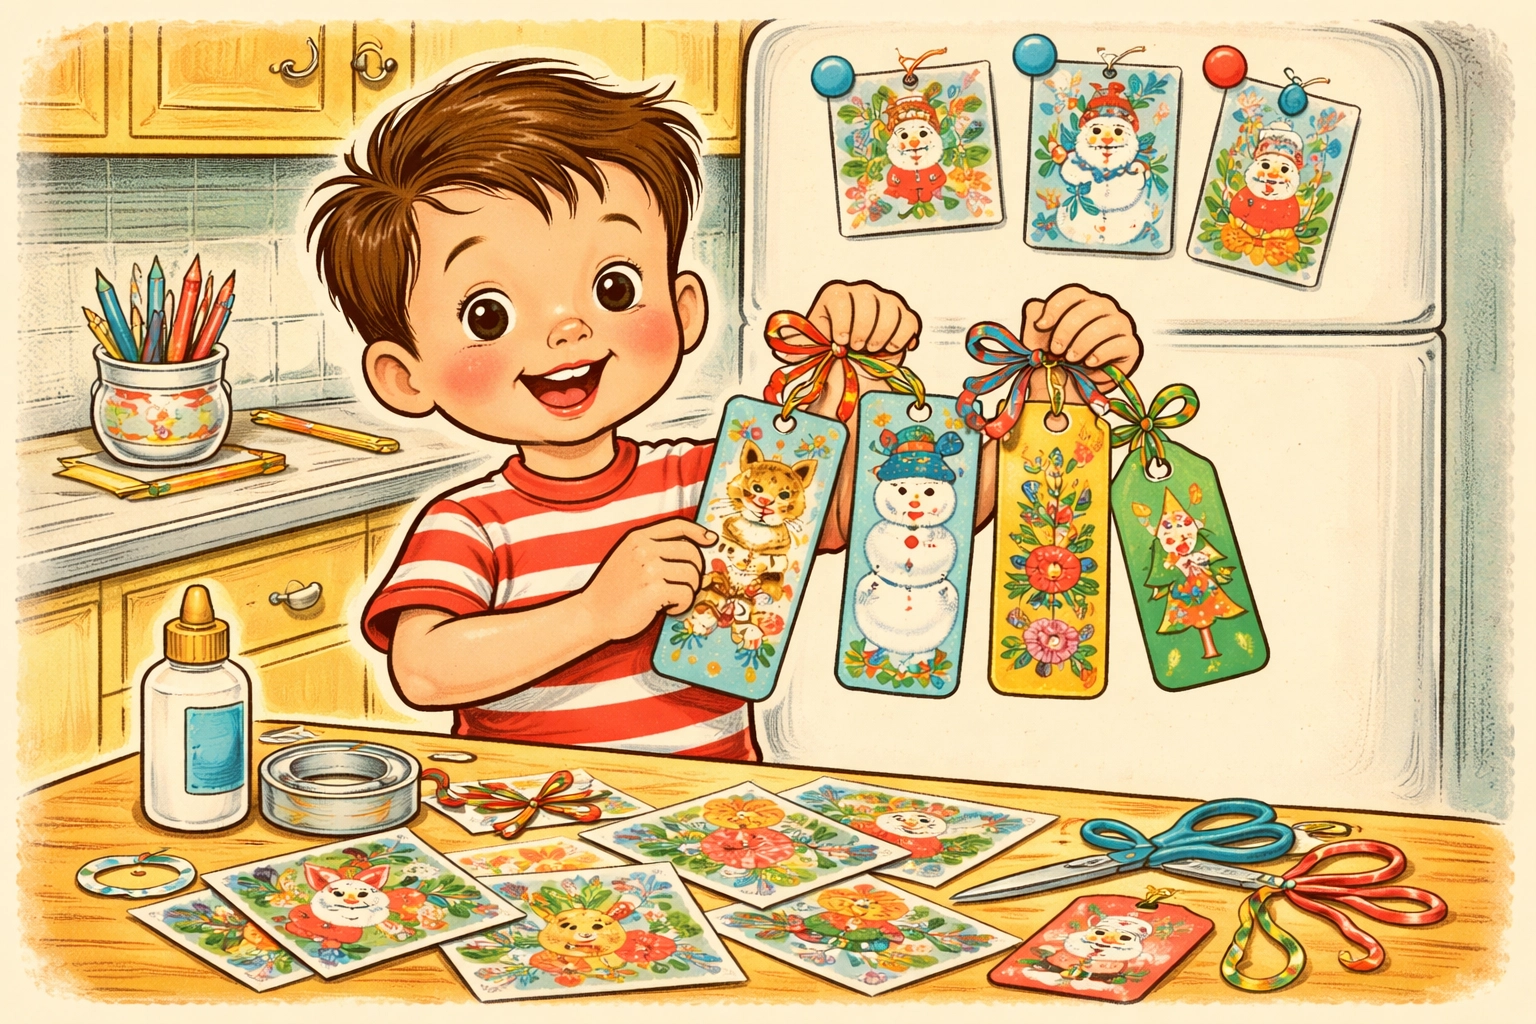
Project 2: Upcycled Gift Tags
Why buy gift tags when you can make adorable ones from cards you already have?
Steps:
Find the prettiest sections. Look for images that would fit nicely on a 2×3 inch rectangle (or thereabouts).
Cut into tag shapes. Rectangles with one pointed end work great, but simple rectangles or circles are just as useful.
Punch a hole. Use a hole punch near the top of the tag.
Thread ribbon or string. Cut a 6-inch piece of ribbon, fold it in half, push the loop through the hole, and pull the ends through the loop to secure.
Write on the back. Leave the back blank for "To" and "From" notes, or glue a small piece of white paper there if the card back is too busy.
Pro tip: Make a whole batch at once and store them for birthdays, thank-you gifts, or next year's holidays!
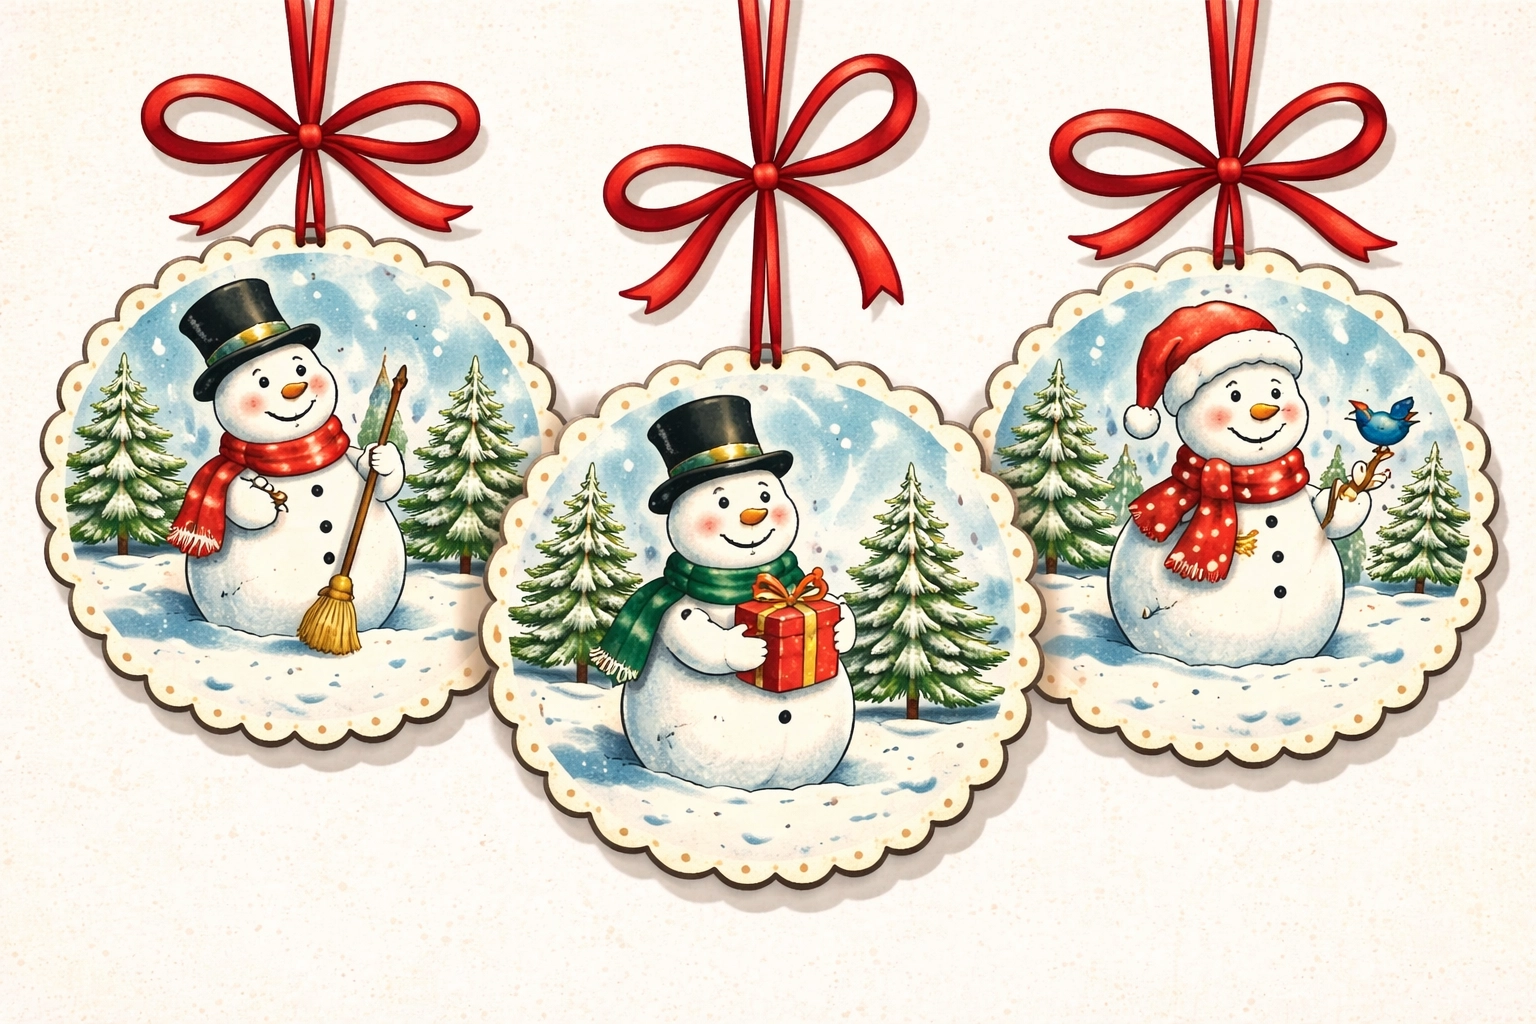
Project 3: Hanging Ornaments
These make sweet keepsakes or decorations for a kid's bedroom any time of year.
Steps:
Punch or cut shapes. Use a large circle punch, or cut freehand circles, stars, hearts, or trees from the card fronts.
Optional: Layer two pieces. Glue a smaller shape on top of a larger one for a dimensional look.
Punch a hole at the top. Make sure it's close to the edge but not so close it'll tear.
Add a ribbon loop. Thread ribbon through and tie a loop for hanging.
Embellish if you like. Add a button "ornament topper," draw designs with a metallic marker, or outline with liquid glue and sprinkle glitter.
Project 4: Bookmark Buddies
Perfect for little readers (or kids who want to make gifts for the bookworms in their lives).
Steps:
Cut a long rectangle. Aim for roughly 2 inches wide and 6 inches tall.
Glue a cutout image to one end. A snowman peeking over the top, a cardinal perched on the edge, or a pretty wreath all work nicely.
Punch a hole at the top. Thread a short piece of ribbon or yarn through for a tassel.
Decorate the rest. Kids can draw patterns, add stickers, or glue on smaller cutout shapes.
Laminate for durability (optional). If you have access to a laminator or self-adhesive laminating sheets, this helps bookmarks last longer.
Tips for a Smoother Crafting Session
Pre-cut for little ones. If you're working with toddlers, do the cutting ahead of time so they can focus on gluing and arranging.
Set out a "scrap bowl." Toss unusable bits into a bowl as you go, it keeps the workspace tidier.
Embrace imperfection. Crooked cuts and glue globs are part of the fun. The goal is creativity, not gallery-quality art.
Save the envelopes too. Some holiday envelopes have pretty linings or stamps that can be incorporated into collages.
Make it a yearly tradition. After each holiday season, set aside an afternoon to transform that year's cards into keepsakes.
Frequently Asked Questions
What types of holiday cards work well for upcycling?
Cards with bold images, sparkly finishes, or textured paper tend to work nicely. Photo cards can be trickier since cutting around faces gets complicated, but the decorative borders often have usable elements.
Can we use cards from other holidays too?
Definitely! Birthday cards, Valentine's Day cards, and thank-you notes can all become collage material or gift tags.
How do I store leftover card pieces for future projects?
A gallon zip-lock bag or a shoebox works great. Sort by color or theme if you're feeling ambitious.
What if my child wants to keep every card intact?
That's sweet! Let them choose a few favorites to keep whole and upcycle the rest. Or photograph the cards before cutting so they have a digital memory.
Is this craft safe for toddlers?
With supervision, yes. Use child-safe scissors, skip small embellishments that could be choking hazards, and opt for glue sticks instead of liquid glue to reduce mess.
Can kids make these as gifts?
Absolutely. Handmade gift tags, bookmarks, and ornaments make thoughtful presents for grandparents, teachers, or neighbors.
How do I add glitter without making a huge mess?
Work over a paper plate or inside a shallow box lid. Shake off excess glitter back into the container. Accept that some glitter will escape anyway: it's the craft world's confetti.
What's a good way to display finished collages?
Inexpensive frames, clipboards hung on the wall, or a dedicated art wall with washi tape all work beautifully.
Looking for more budget-friendly crafts to try with your crew? Check out our Kids Crafts collection for ideas that keep little hands busy without breaking the bank.


