


What's the Easiest Way to Make a Superhero Cape and ID Badge with Kids?
The quickest method involves cutting an old pillowcase into a cape shape (takes about 5-10 minutes), adding ribbon or fabric ties, and crafting a simple cardstock ID badge. The whole project typically costs under $10 and could keep kids entertained for an entire afternoon while sneaking in some valuable lessons about creativity, identity, and personal values.
Here's the thing, this isn't just about dress-up. When kids design their own superhero persona, they're actually exploring who they want to be. What powers would they choose? What problems would they solve? It's character-building disguised as crafting, and honestly, that's the best kind.
Let's get into it.
What Materials Do You Need for This Project?
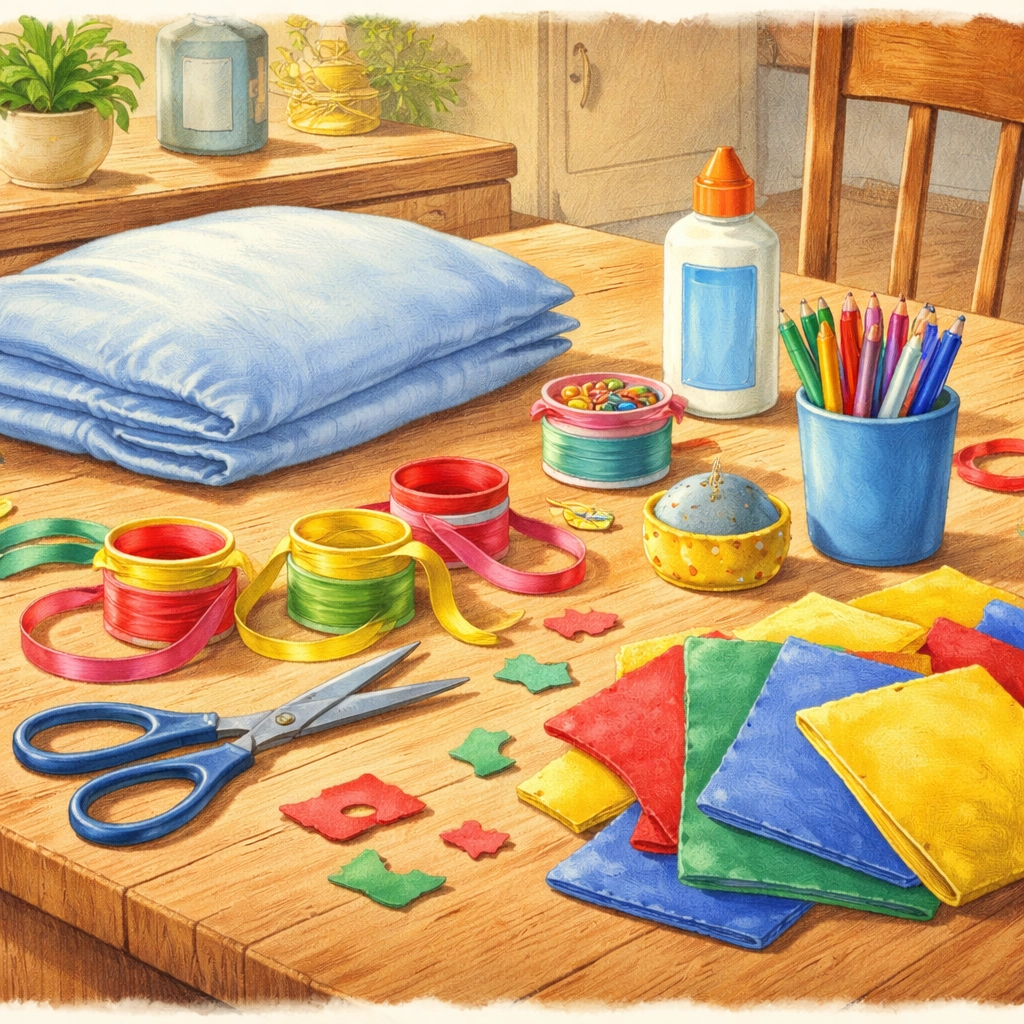
Good news: you probably have most of this stuff lying around already. Here's what you might need:
| Material | Estimated Cost | Notes |
|---|---|---|
| Old pillowcase | $0-$2 | Check thrift stores or use one from home |
| Ribbon or fabric strips | $1-$2 | About 24 inches for neck ties |
| Cardstock or index cards | $1 | For superhero ID badges |
| Markers or crayons | $0-$2 | Use what you have |
| Felt scraps | $1-$2 | Optional, for cape decorations |
| Fabric glue or safety pins | $1-$2 | No-sew options work great |
| Scissors | $0 | Kid-safe scissors recommended |
| Hole punch | $0 | For ID badge lanyard holes |
| Yarn or string | $0-$1 | For wearing the ID badge |
Total estimated cost: $5-$10
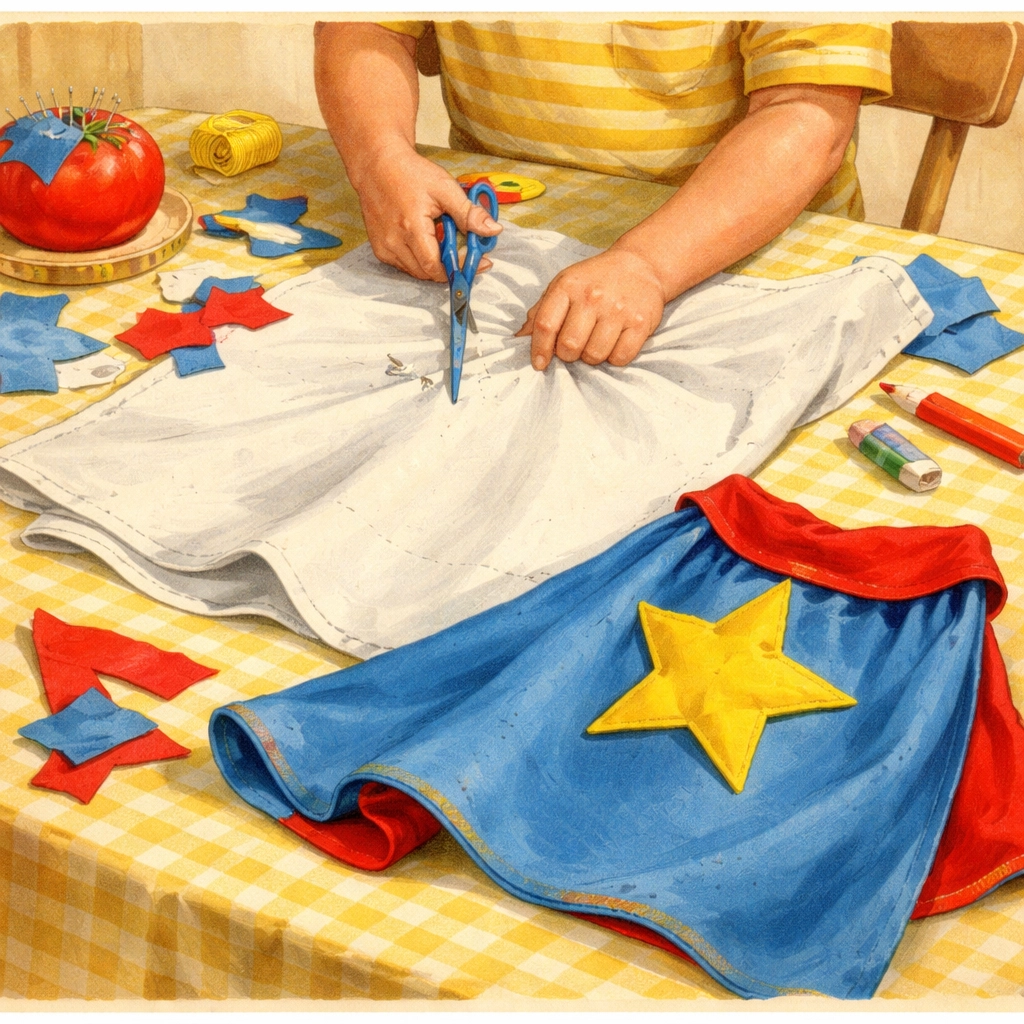
How Do You Make a No-Sew Pillowcase Cape?
This method works beautifully for younger kids and craft-averse grown-ups alike. No sewing machine required.
Step 1: Choose Your Pillowcase
Solid colors tend to work best for decorating later, but a patterned pillowcase could become part of the superhero's signature look. Thrift stores often have pillowcases for around a dollar.
Step 2: Cut the Pillowcase Open
Lay your pillowcase flat. Cut along one of the long seams, then across the bottom, so you end up with two rectangular pieces of fabric. You'll typically only need one piece for the cape, save the other for a sibling or future project.
Step 3: Create the Neck Opening
At the top of your rectangle (the end that had the folded hem), find the center. Cut a small semi-circle, about 4-5 inches wide, just big enough for a child's head to fit through comfortably. Start small; you can always make it bigger.
Step 4: Add Ties or Straps
Cut two strips from your leftover pillowcase fabric (or use ribbon). Each strip should be about 12 inches long. Attach these to either side of the neck opening using fabric glue, safety pins, or a few quick stitches.
Safety tip: Velcro closures might be safer than tied ribbons for younger children, since they'll release if the cape gets caught on something.
Step 5: Decorate!
This is where the magic happens. Let your kiddo go wild with:
- Cut-out felt shapes (lightning bolts, stars, initials)
- Fabric markers
- Iron-on patches
- Glued-on sequins or buttons
How Do You Make Superhero ID Badges?
Every hero needs credentials. These simple ID cards help kids think through their superhero identity, and they're surprisingly fun to create.
Step 1: Cut Your Badge Base
Use cardstock or a sturdy index card. A rectangle about 3×4 inches works well, though your little hero might prefer a shield shape or star.
Step 2: Design the ID Layout
Help your child include:
- Hero Name: What does their superhero call themselves?
- Special Powers: Flight? Super strength? The ability to make vegetables taste like candy?
- Mission: What problem does this hero solve?
- Secret Symbol: A logo or emblem that represents them
Step 3: Add a Photo or Self-Portrait
Kids can draw themselves in superhero mode, or you could snap a photo and print it small. The drawing option often leads to more creative interpretations.
Step 4: Punch and String
Use a hole punch at the top of the badge, then thread yarn or string through to create a lanyard. Now they can wear their official credentials around their neck.
Step 5: Optional Lamination
If you want the badge to survive more than one adventure, cover it with clear packing tape on both sides or use a laminating pouch.

Why Does This Project Matter for Character Building?
When kids create a superhero identity, they're doing more than playing pretend. They're actually practicing some pretty important developmental skills:
Values exploration: Asking "What would your superhero fight for?" opens conversations about what matters to your child. Justice? Kindness? Protecting animals? These discussions could reveal a lot about their developing worldview.
Problem-solving: Designing a costume and ID requires making decisions, working within constraints (limited materials), and seeing a project through to completion.
Self-expression: The colors, symbols, and powers they choose reflect their inner world. A child who picks "the power to make sad people happy" is telling you something meaningful.
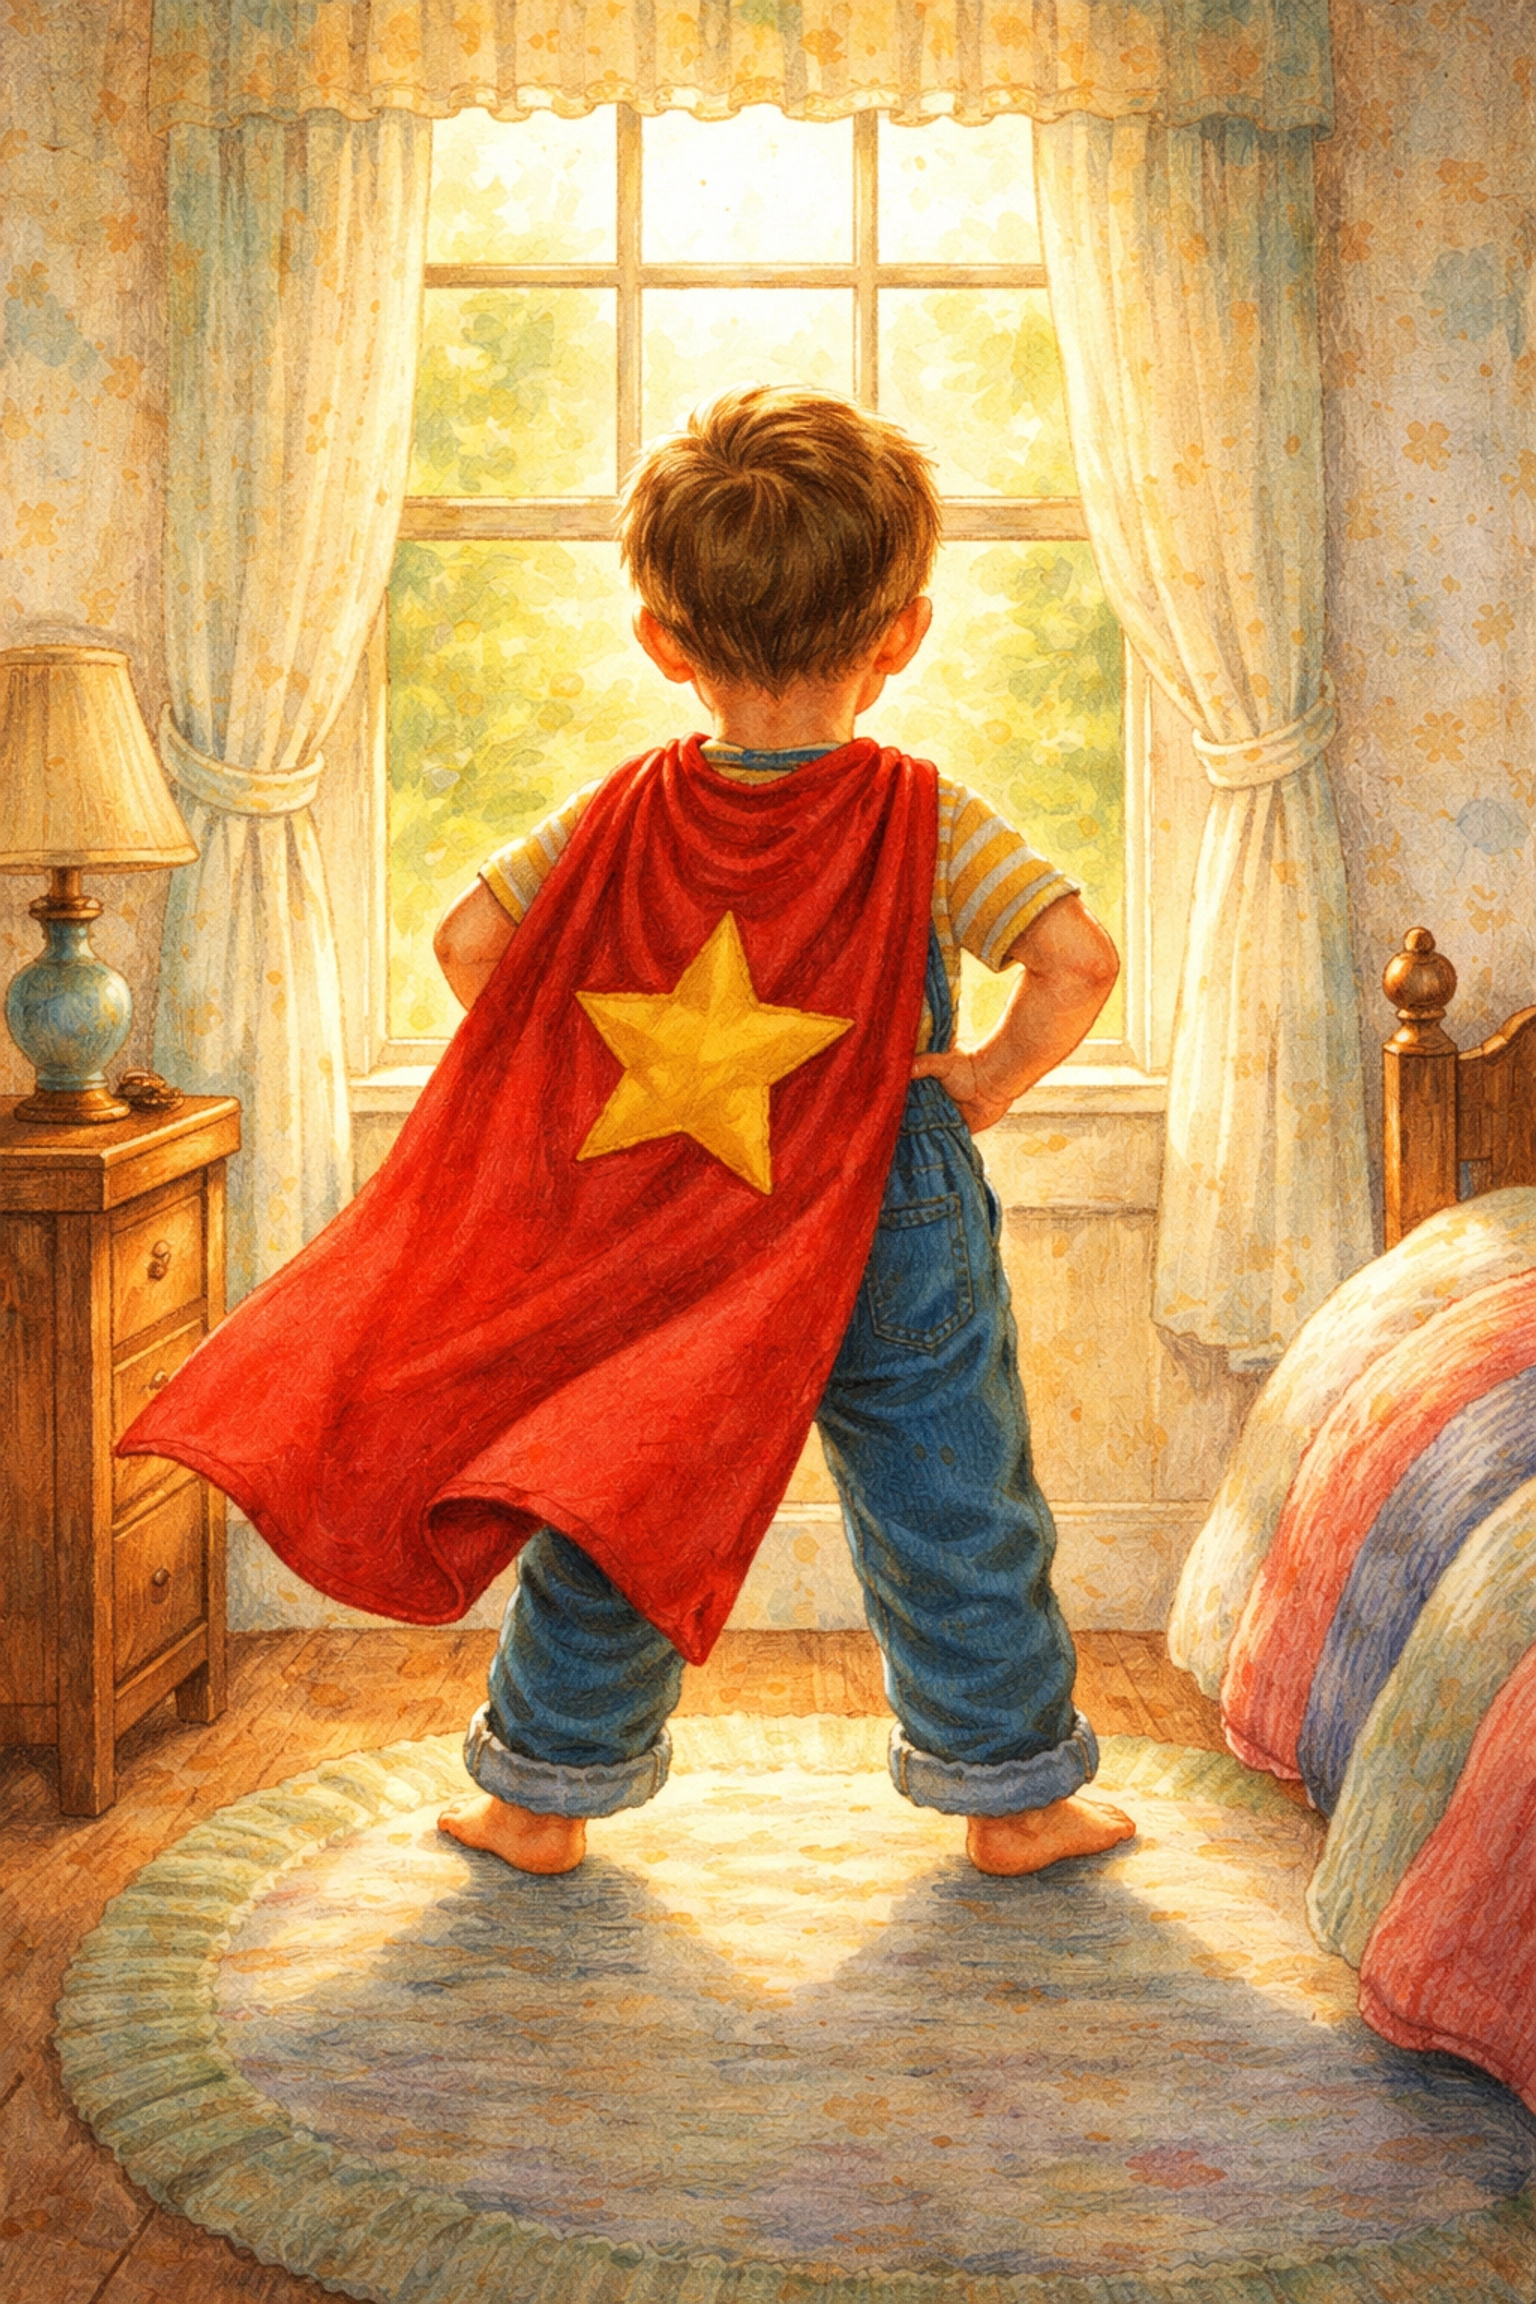
Confidence: Wearing something they made themselves, something that represents their ideal self, might give kids a little extra courage to try new things.
Frequently Asked Questions
What Age Is This Project Best For?
This activity typically works well for kids ages 4-10. Younger children might need more help with cutting, while older kids often enjoy adding elaborate details to their designs.
Can You Use Something Other Than a Pillowcase?
Absolutely. An old t-shirt, a piece of fabric from a craft store, or even a large bandana could work. Pillowcases just happen to be the perfect size and usually have finished edges already.
How Do You Make the Cape Safer for Young Children?
Velcro closures are generally safer than tied ribbons because they'll pop open if tugged. You might also keep the cape shorter (hitting mid-back rather than ankle-length) to reduce tripping hazards.
What If My Child Can't Decide on a Superhero Name?
Try prompts like: "What's your favorite animal? What's your favorite color? What do you wish you could do?" Combine the answers. "Blue Cheetah" or "Captain Kindness" might emerge naturally.
How Long Does This Project Usually Take?
The basic cape takes about 15-20 minutes. Add another 15-30 minutes for decorating and ID badge creation. Some kids will happily spend hours on elaborate designs.
Can Multiple Kids Do This Together?
This project works great for birthday parties, playdates, or sibling activities. Set up a "hero station" with shared supplies and let everyone create their own identity.
What Should You Do With the Cape Afterward?
Many families keep dress-up capes in a costume box for ongoing imaginative play. Some kids like to wear theirs during "helping" activities, cleaning up toys becomes more fun when you're a superhero doing it.
Ready to Raise Some Tiny Heroes?
This project costs almost nothing, uses materials you likely already have, and could spark conversations about values, creativity, and identity that stick with your child long after the cape comes off.
Looking for more budget-friendly family projects? Check out our guide on how to make a DIY mini greenhouse with plastic bottles or explore kitchen scrap regrow gardens for another hands-on adventure.
Now go make some capes. The world needs more tiny heroes.
Tierney Family Farms Disclaimer: The information provided in this blog post is for educational and entertainment purposes only. Adult supervision is recommended for all craft activities involving scissors or small materials. Every child is different, so please adjust activities to suit your family's needs and safety requirements. Tierney Family Farms is not responsible for any injuries, messes, or spontaneous superhero origin stories that may result from this project.
References
- Various DIY craft resources on pillowcase cape construction methods
- Child development research on imaginative play and identity formation


