


Can You Really Grow Food in Just One Week?
Yes: microgreens are one of the fastest foods you can grow indoors, and many varieties are ready in about 7 days (especially cress, radish, and broccoli). If you want the shortest path to “we grew this!” with kids, this is it.

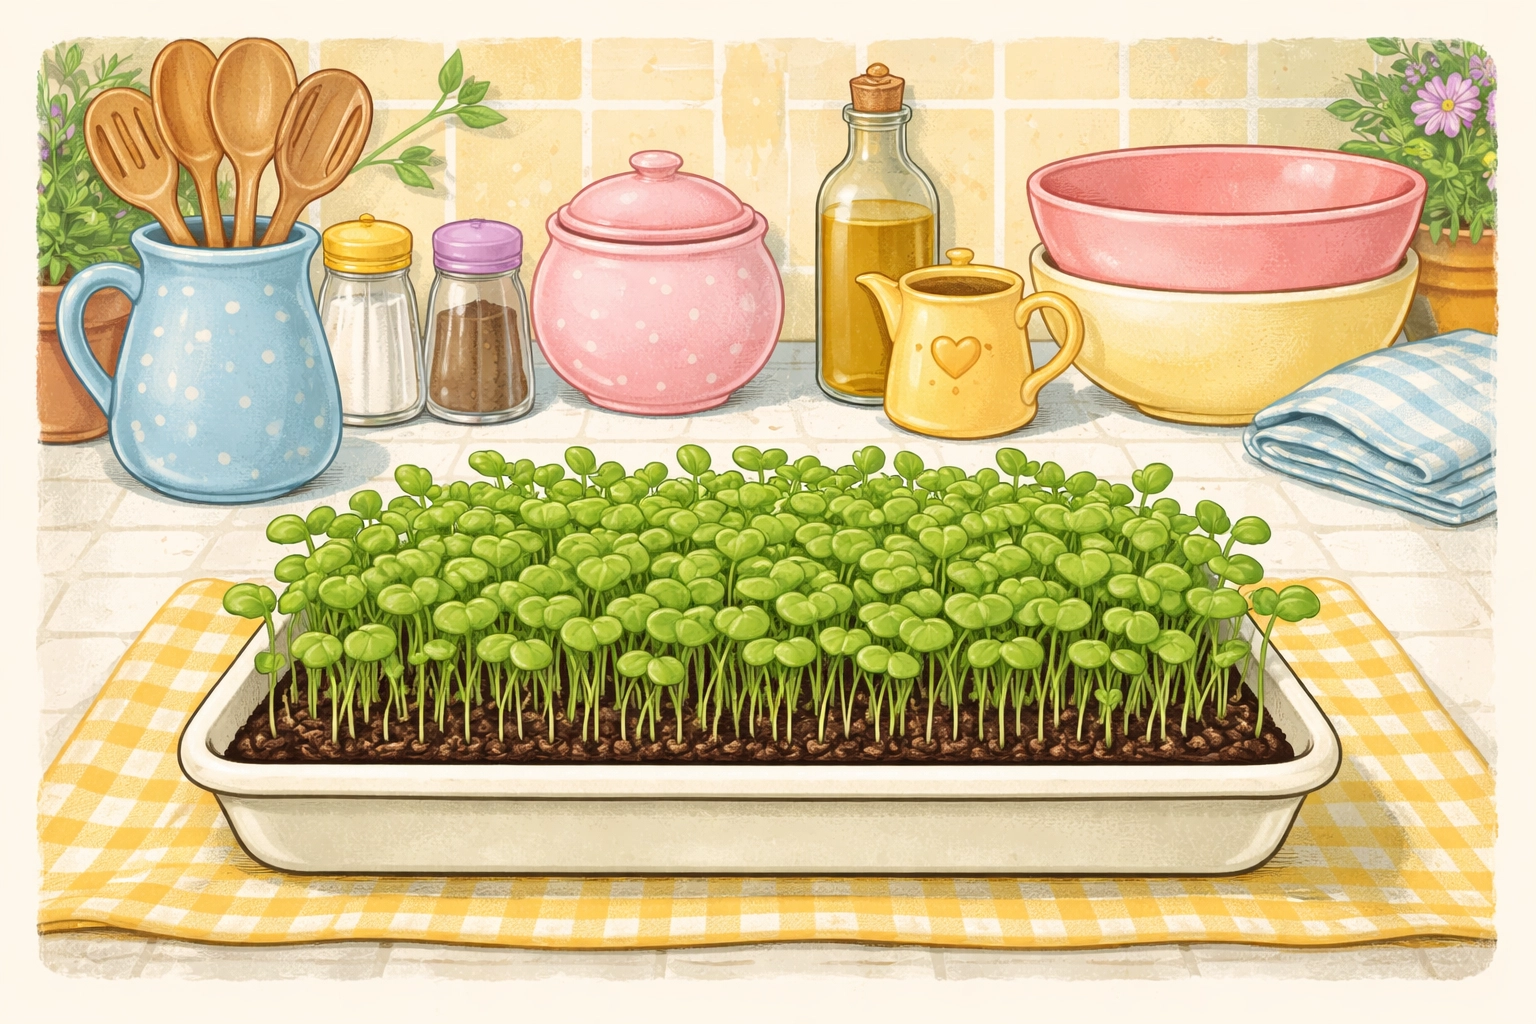
Microgreens are the fastest food you can grow, taking only 7 days from seed to plate. That's not a typo. While your outdoor garden sleeps under snow and your tomato dreams are still months away, you can grow a tiny forest of nutritious greens right on your kitchen counter: and your kids can help with every single step.
If you've been looking for the perfect winter gardening project that delivers quick results and keeps little hands busy, microgreens are your answer. They require almost no space, cost just a few dollars to start, and give kids the satisfaction of eating something they grew themselves before the weekend is over.
Let's get growing.
What Exactly Are Microgreens (And How Are They Different From Sprouts)?
Before we dig in, let's clear up some confusion. Sprouts and microgreens are related, but they're not the same thing.
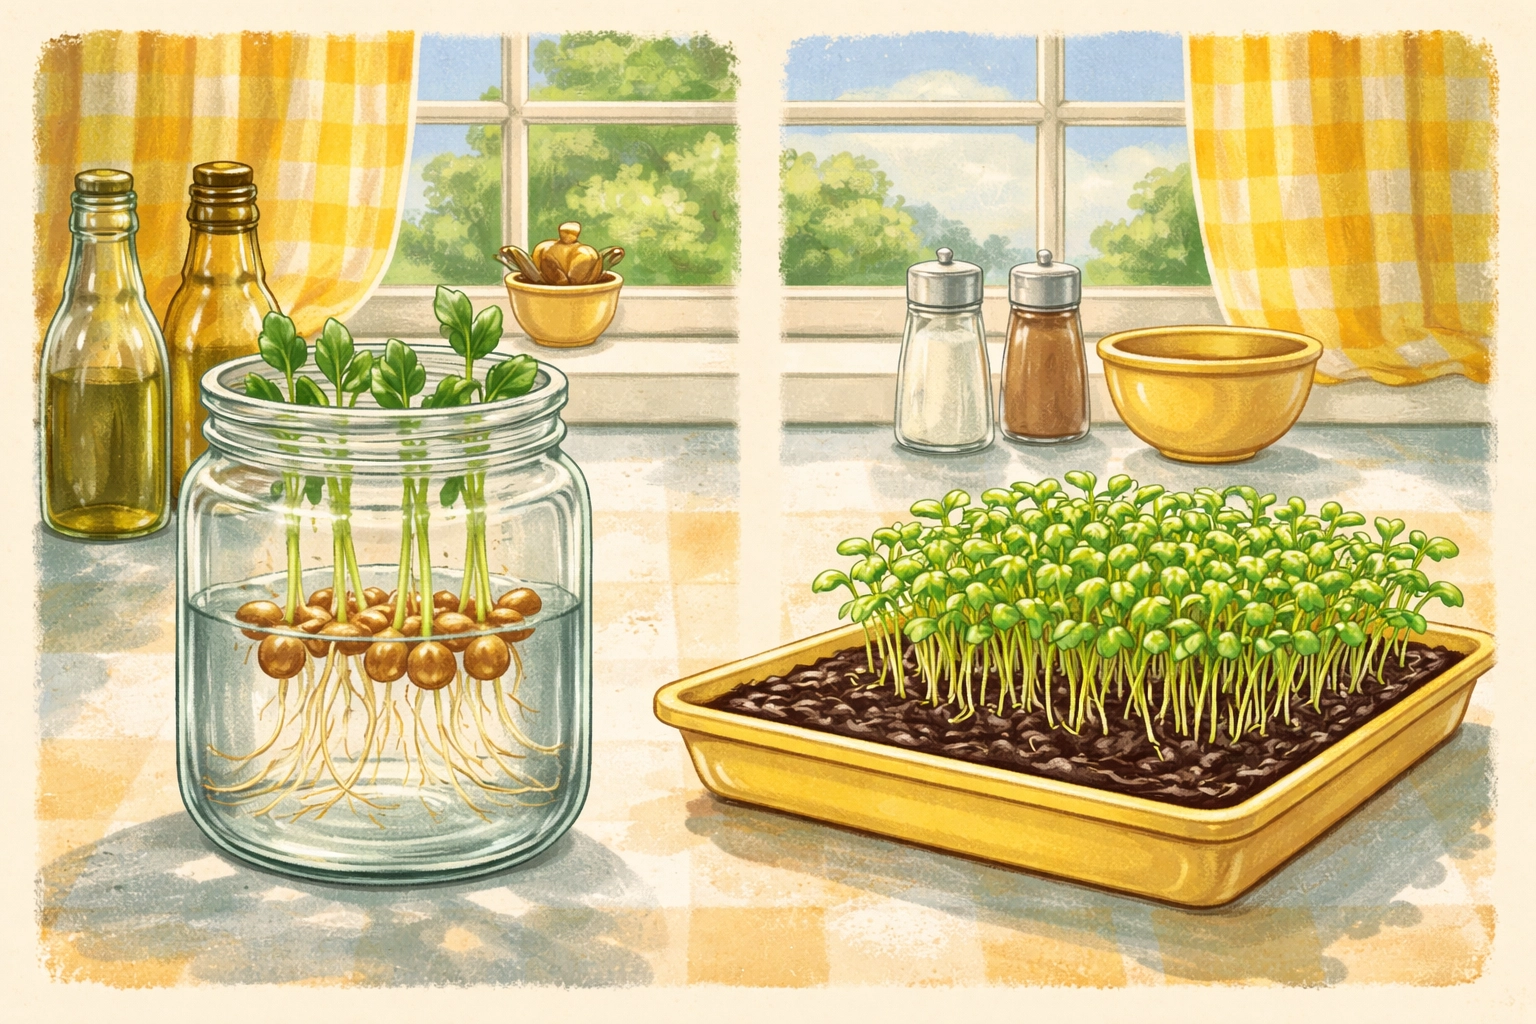
Sprouts are seeds that have just begun to germinate. You eat the whole thing: seed, root, and tiny stem: usually after just 2-4 days. They're grown in water, rinsed frequently, and never see soil.
Microgreens are the next stage of growth. They're baby plants with their first set of leaves (called cotyledons), grown in soil or a growing medium, and harvested by snipping the stems just above the soil line. You eat the leaves and stems, but not the roots.
For this project, we're focusing on microgreens because they're easier for kids to manage, less fussy about rinsing schedules, and honestly? They look like a tiny magical garden, which is way more exciting for young growers.

Why Microgreens Are Perfect for Winter (And for Kids)
Here's why microgreens belong in every family's winter toolkit:
They're fast. Most varieties are ready to harvest in 7-14 days. Fast-growing options like cress, radish, and broccoli microgreens can hit your plate in about a week.
They're tiny but mighty. Research shows that microgreens can contain 4-40 times more nutrients than their mature counterparts. That little tray of greens packs a serious nutritional punch.
They're forgiving. Unlike finicky seedlings that need perfect conditions, microgreens are tough. Forget to mist for a day? They'll probably forgive you.
Kids can do almost everything. Sprinkling seeds, misting water, watching growth, and harvesting with kid-safe scissors: every step is hands-on and age-appropriate for children as young as 3.
They taste interesting. Different microgreens have wildly different flavors. Radish microgreens are spicy, sunflower microgreens are nutty, and pea shoots taste like sweet, fresh spring. It's a flavor adventure.
What You'll Need: The Simple Supply List
One of the best things about microgreens is how little you need to get started. Here's your shopping list:
Supplies
- A shallow tray or container (1-2 inches deep with drainage holes: recycled berry containers, takeout containers with holes poked in the bottom, or proper growing trays all work)
- Growing medium (potting soil, seed-starting mix, or even a few layers of damp paper towels for some varieties)
- Microgreen seeds (look for seeds specifically sold for microgreens, or use regular vegetable seeds: just make sure they're untreated)
- A spray bottle (for gentle misting)
- A sunny windowsill or kitchen counter with bright light
Best Beginner Seeds for 7-Day Success
Not all microgreens grow at the same speed. For your first project with kids, choose fast growers:
| Variety | Days to Harvest | Flavor | Kid Appeal |
|---|---|---|---|
| Cress | 5-7 days | Peppery | ⭐⭐⭐⭐⭐ |
| Radish | 6-8 days | Spicy | ⭐⭐⭐⭐ |
| Broccoli | 7-10 days | Mild | ⭐⭐⭐⭐⭐ |
| Pea shoots | 10-14 days | Sweet | ⭐⭐⭐⭐⭐ |
| Sunflower | 10-12 days | Nutty | ⭐⭐⭐⭐ |
For a guaranteed 7-day harvest, stick with cress, radish, or broccoli.
Step-by-Step: Growing Your Kitchen Counter Microgreens
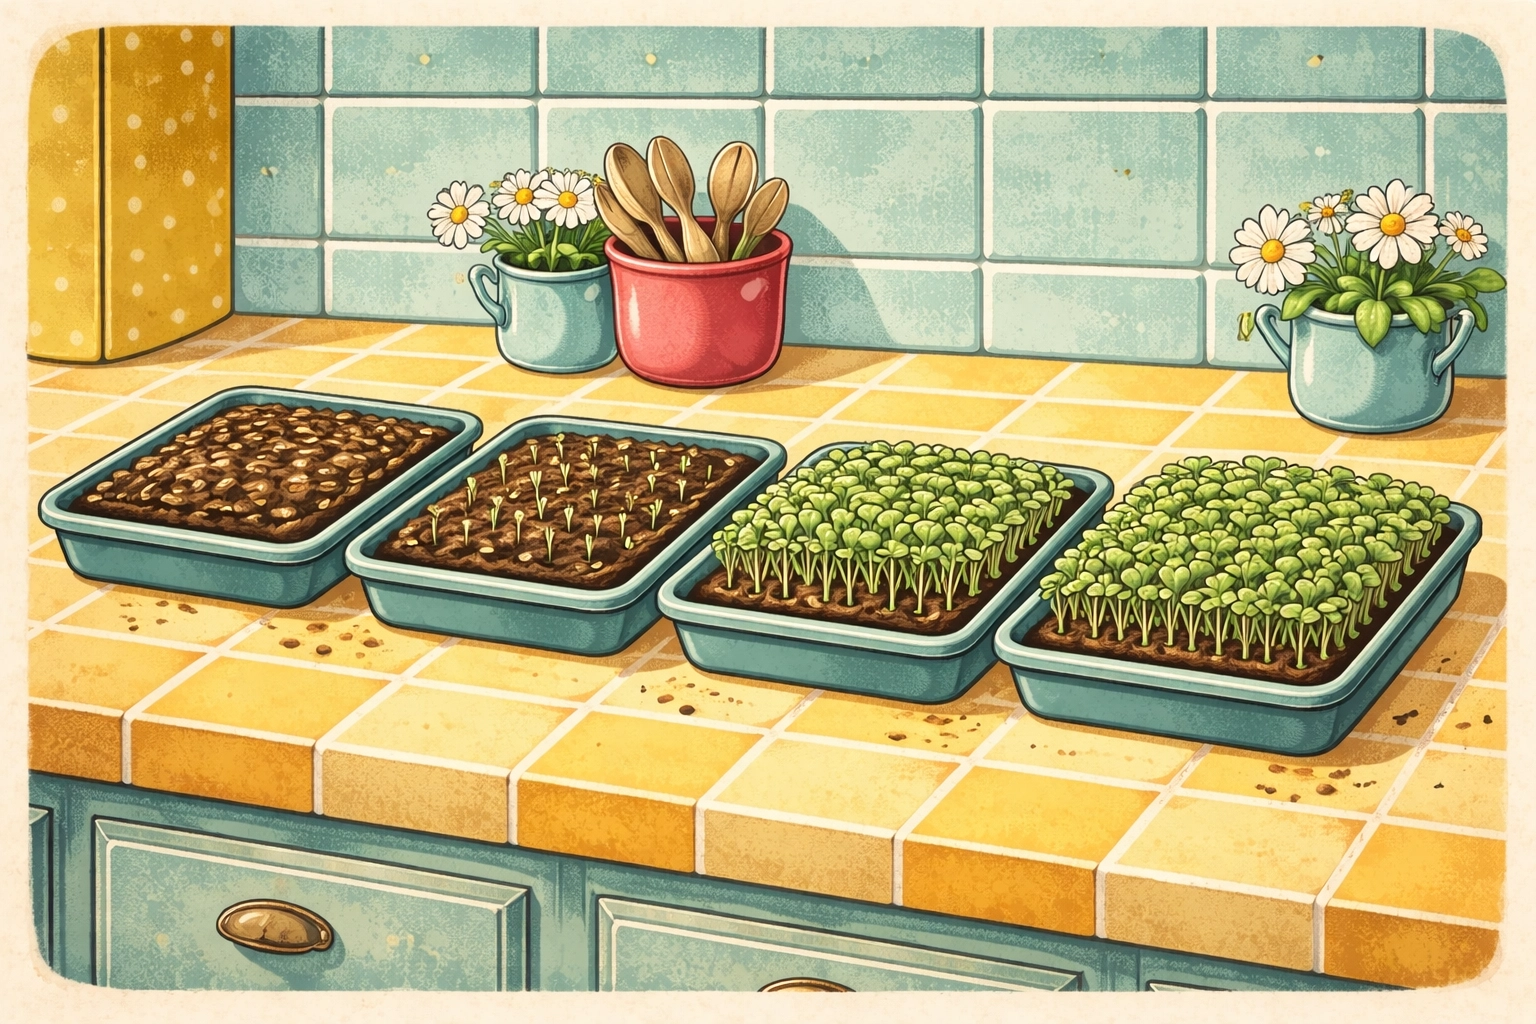
Day 1: Setup and Planting
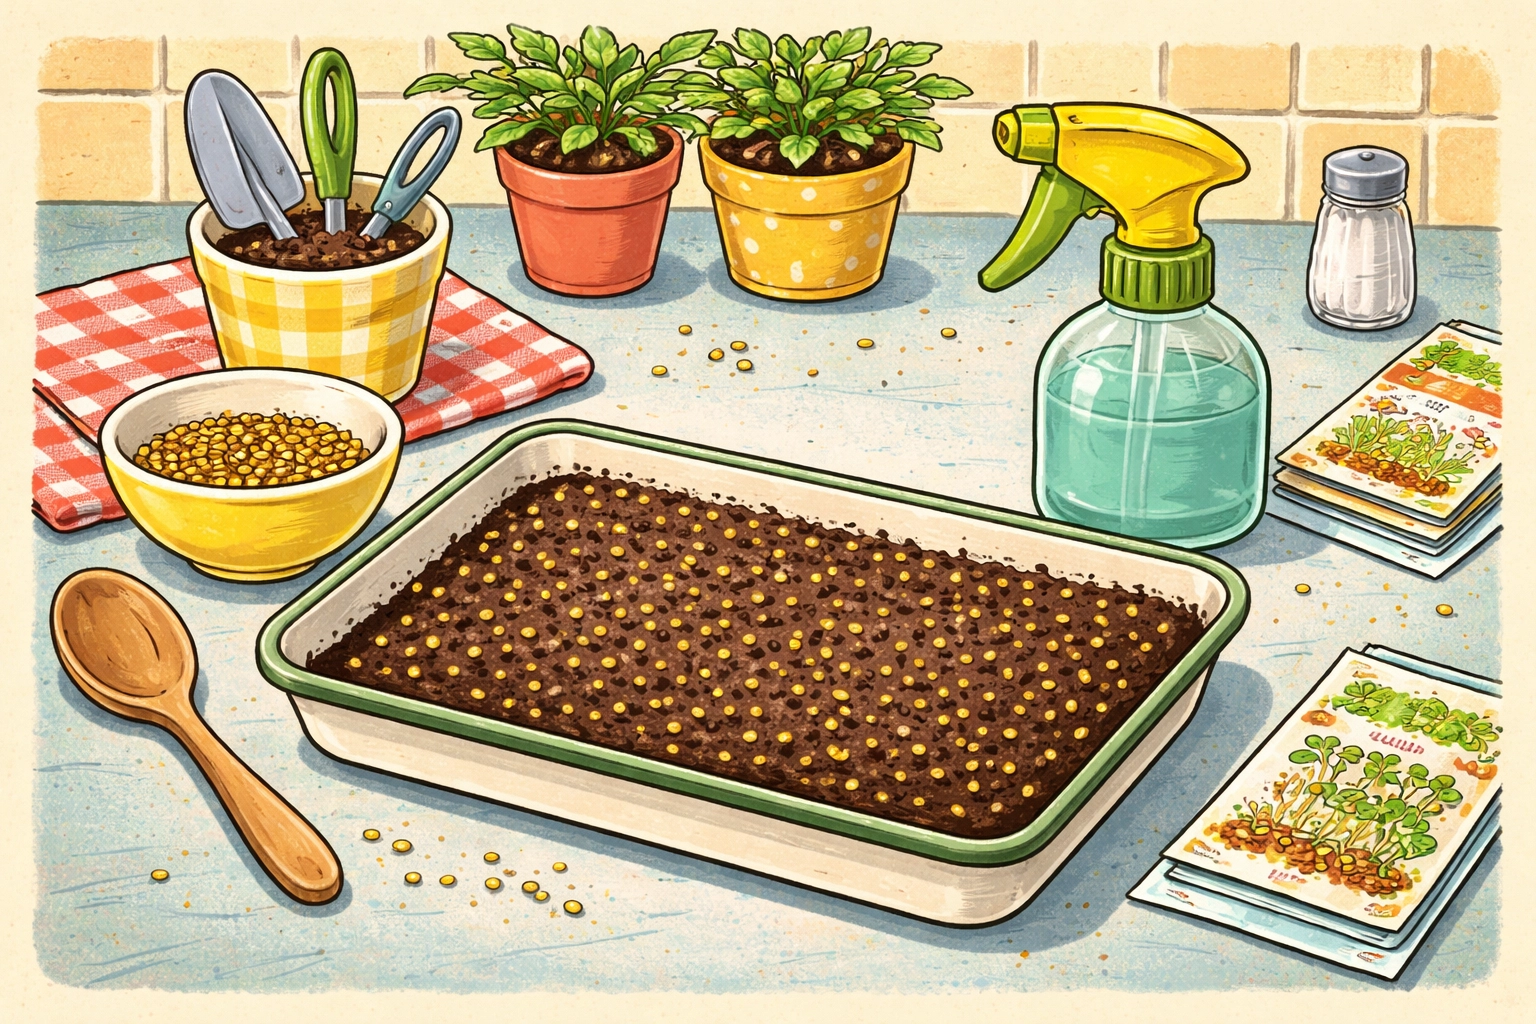
Step 1: Fill your tray with 1-2 inches of moist potting soil. The soil should be damp like a wrung-out sponge: wet enough to hold together, but not dripping.
Step 2: Smooth the soil surface gently with your hand or a small piece of cardboard.
Step 3: Sprinkle seeds densely across the surface. Microgreen seeds should be close together (almost touching) but not piled on top of each other. This is a great job for kids: they can use their fingers or a small spoon.
Step 4: Gently press the seeds into the soil with your palm. Don't bury them: most microgreen seeds need light to germinate.
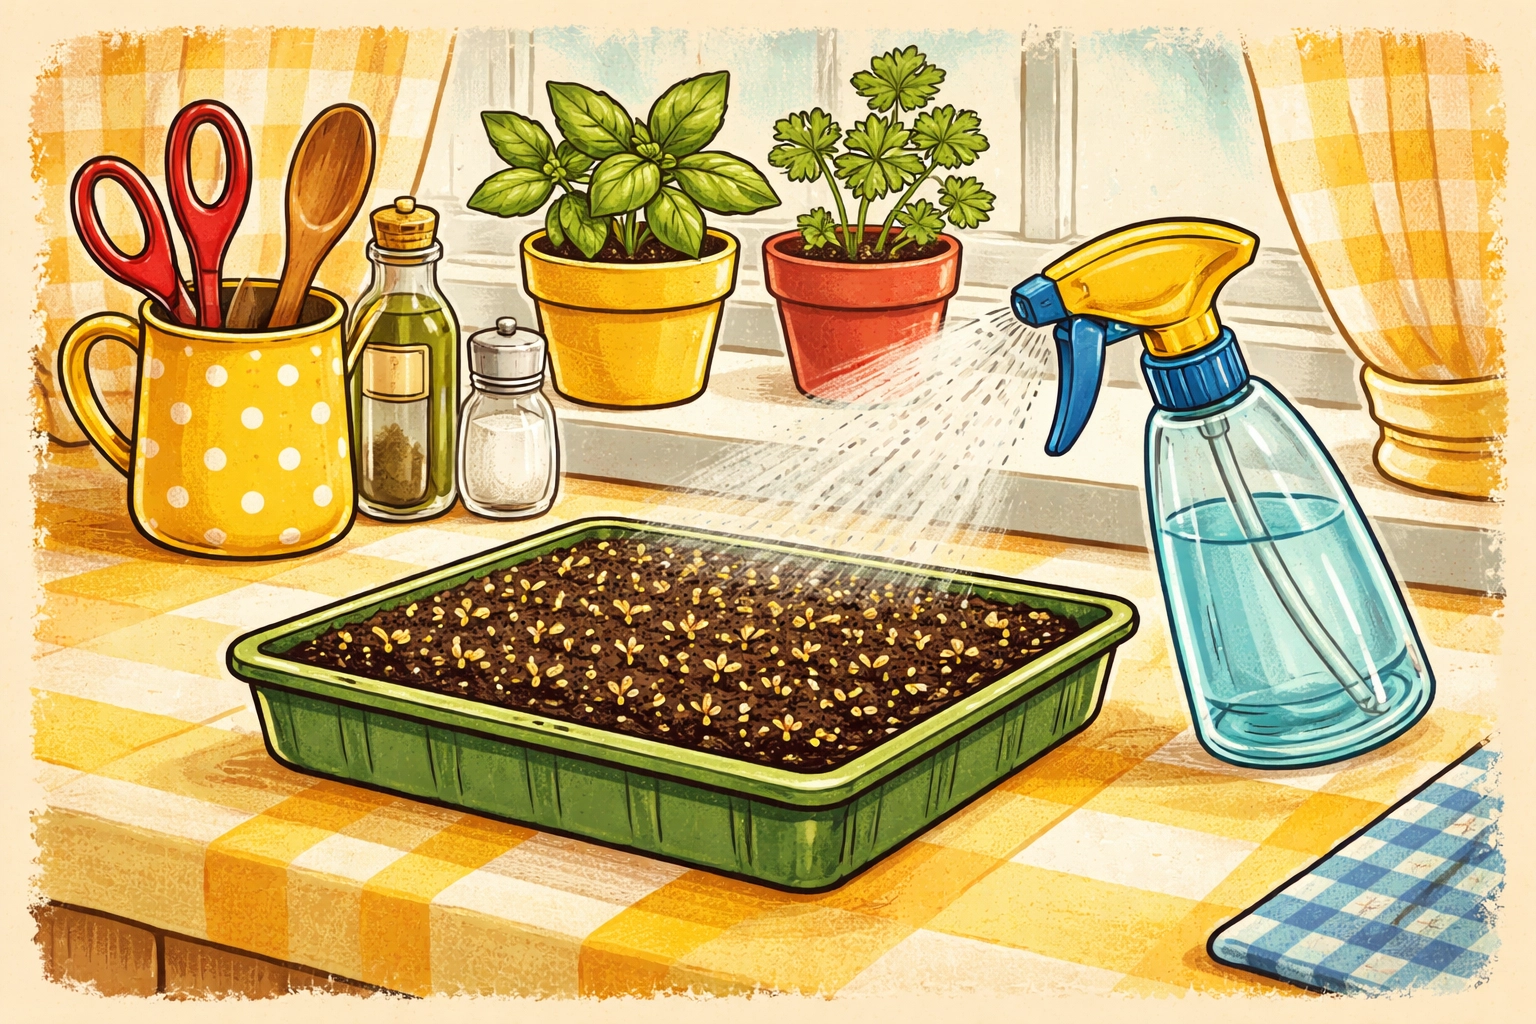
Step 5: Mist thoroughly with your spray bottle until the surface is evenly moist.
Step 6: Optional: Cover the tray with another tray, a piece of cardboard, or a damp paper towel for the first 2-3 days. This creates a humid "blackout" period that helps germination.
Days 2-3: The Waiting Game
Keep the tray in a warm spot (around 65-75°F is ideal). Mist once or twice daily to keep the surface moist. If you're using a cover, peek underneath to check for sprouting.
This is a great time to start a growth journal with your kids. Draw the tray. Predict when you'll see the first green. Make it a science investigation.
Days 3-4: First Signs of Life
Remove any cover once you see tiny sprouts pushing up. Move the tray to a bright location: a sunny windowsill is perfect. Continue misting twice daily.
Your kids will want to check the tray approximately 47 times per day at this stage. This is normal and encouraged.
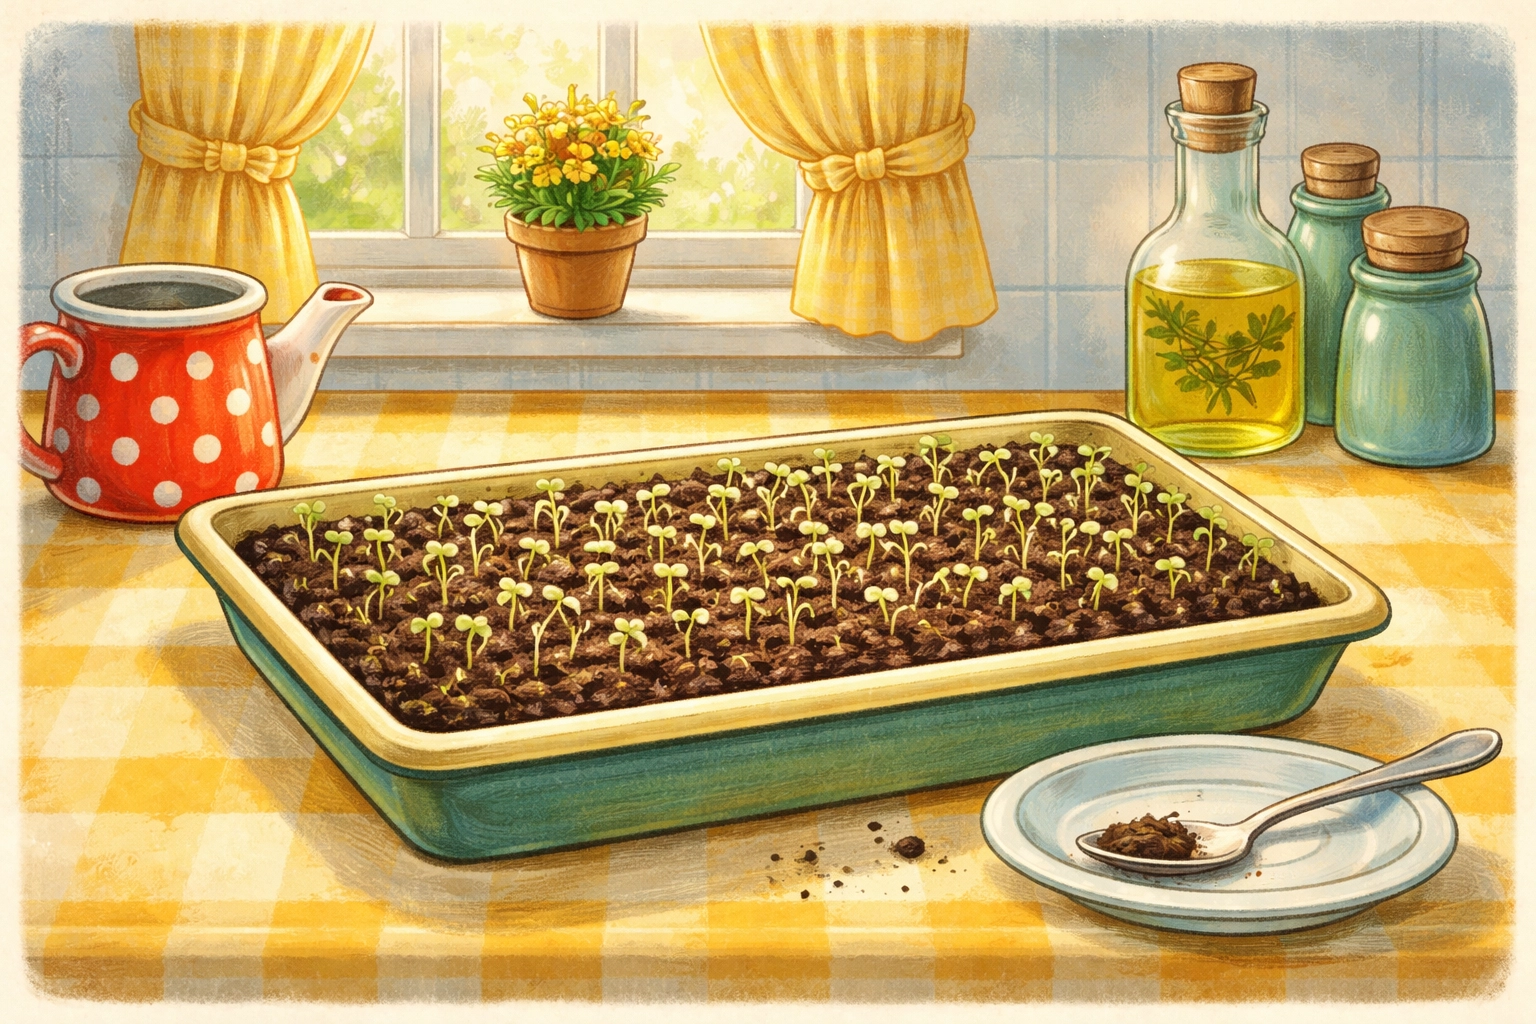
Days 5-7: The Growth Explosion
This is where the magic happens. Those tiny sprouts will stretch toward the light and unfurl their first leaves. The tray will transform from scattered sprouts to a dense green carpet.
Keep misting, keep watching, and prepare for harvest.
The Science Behind the Speed: Why Microgreens Grow So Fast
Here's where we put on our Junior Scientist hats.
Seeds Are Packed With Energy
Every seed is essentially a tiny survival kit. Inside that small shell is everything a baby plant needs to get started: stored starches, proteins, fats, and the genetic instructions for growth. When you add water, you wake up the seed's metabolism.
This stored energy is why microgreens don't need fertilizer. The seed itself provides all the fuel for those first critical days of growth.
Cotyledons: The First Leaves
The first leaves you see on your microgreens aren't "true" leaves: they're called cotyledons (cot-ih-LEE-duns). These seed leaves were actually formed inside the seed before it even sprouted. They're packed with nutrients and are the main thing we eat when we harvest microgreens.
Why They're So Nutritious
Because microgreens are harvested so young, all those concentrated seed nutrients are still packed into a tiny plant. The plant hasn't had time to spread that nutrition across a big root system, tall stems, and large leaves. You're eating the nutritional equivalent of a concentrate.
Kid Jobs: What Young Growers Can Do
Microgreens are perfect for involving kids of all ages:
Ages 3-4: Sprinkling seeds, misting with a spray bottle, watching and reporting on growth
Ages 5-7: All of the above, plus measuring growth with a ruler, drawing observations in a journal, helping with harvest using kid-safe scissors
Ages 8+: All of the above, plus comparing different varieties, tracking growth data, experimenting with different growing conditions
Harvest Time: From Tray to Table
When your microgreens are 1-2 inches tall with their first leaves fully open, they're ready to eat.
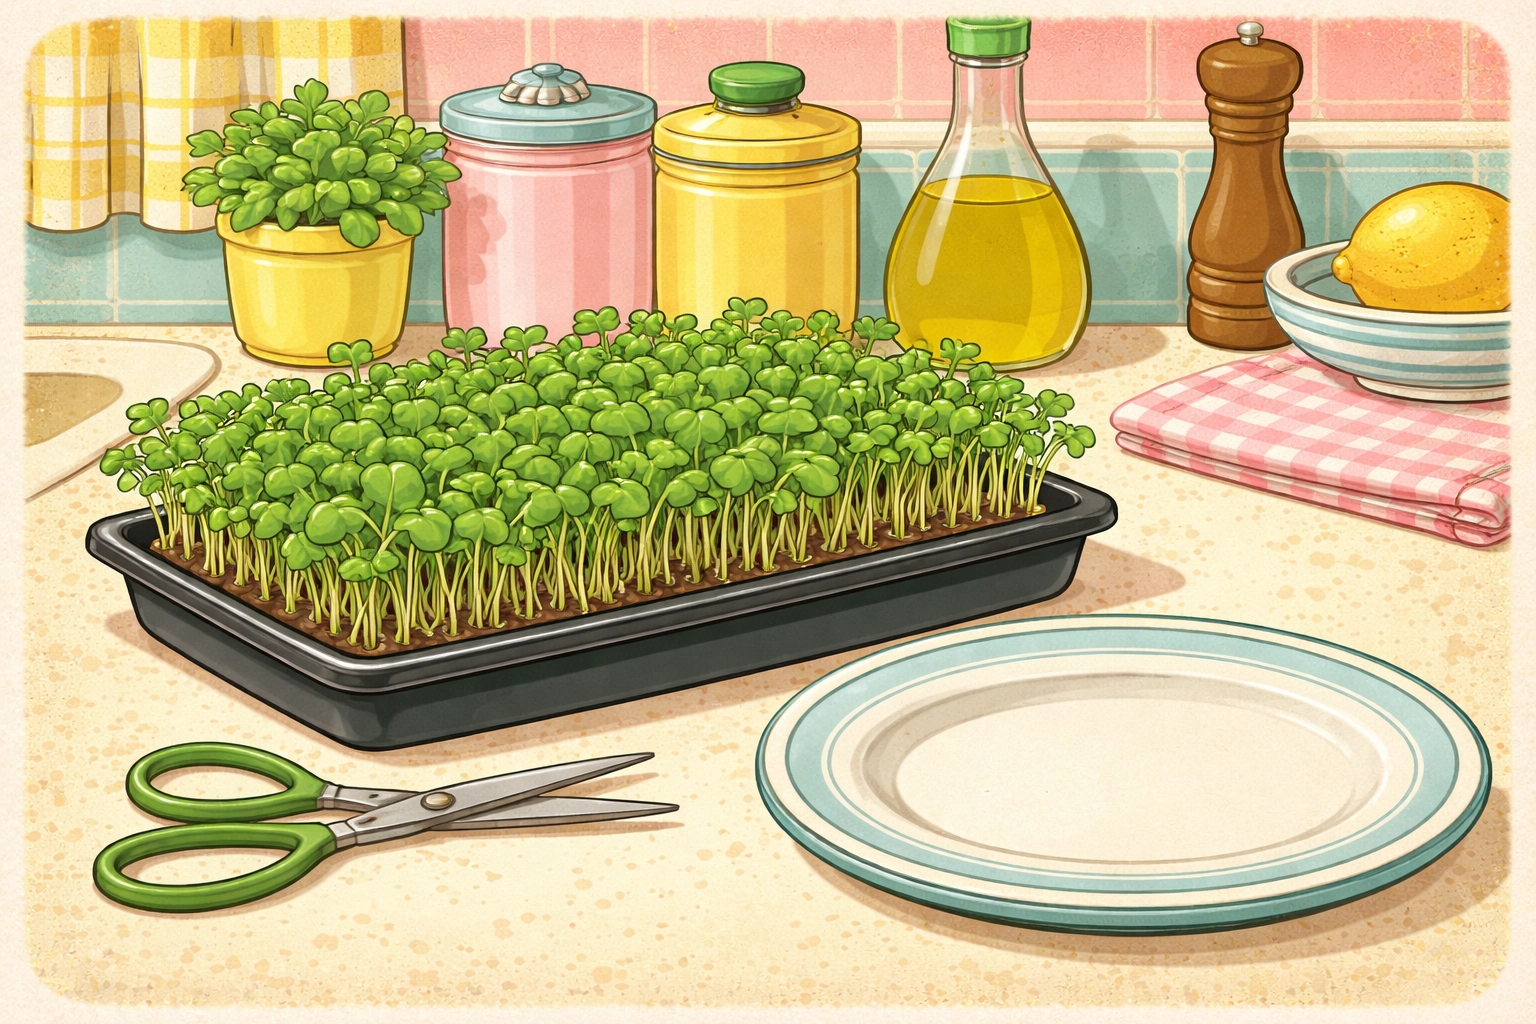
To harvest: Use clean scissors to snip the stems just above the soil line. Rinse gently, pat dry, and eat immediately or store in the refrigerator for a few days.
Serving ideas:
- Sprinkle on sandwiches or wraps
- Top scrambled eggs or omelets
- Add to smoothies
- Use as a salad base
- Let kids eat them straight as a snack (surprisingly popular)
Frequently Asked Questions
What's the cheapest indoor gardening project for families in winter?
Microgreens are one of the most budget-friendly options. A packet of seeds costs $2-4 and can grow multiple trays. Use recycled containers and regular potting soil, and your total investment is under $10.
What are easy indoor garden projects for kids under 10?
Microgreens top the list because of their speed and simplicity. Another great option is kitchen scrap regrow gardens.
Do microgreens need special lights?
Nope! A sunny windowsill provides enough light for most microgreens. If your home is very dark in winter, a basic desk lamp positioned a few inches above the tray can help.
Can we grow microgreens without soil?
Yes! Some varieties grow well on damp paper towels or specialized growing mats. Cress and broccoli microgreens work particularly well with this method.
Tierney Family Farms Disclaimer
A few important notes: Always wash your microgreens before eating, even though you grew them yourself. Make sure you're using seeds intended for growing and eating: some decorative seeds are treated with chemicals not meant for consumption. If anyone in your family has allergies to specific vegetables, they may also react to microgreens of that same plant. When in doubt, start with a tiny taste. This project is for learning and family fun: we're parents sharing what works for us, not agricultural scientists. Happy growing!
References
- Xiao, Z. et al. “Assessment of Vitamin and Carotenoid Concentrations of Emerging Food Products: Edible Microgreens.” Journal of Agricultural and Food Chemistry (2012). https://pubmed.ncbi.nlm.nih.gov/22812633/ (Full text/DOI page: https://pubs.acs.org/doi/full/10.1021/jf300459b)
- Kaya, S. “Microgreens: nutritional properties, health benefits, production techniques, and food safety risks.” PeerJ (2025). https://peerj.com/articles/17938/
- Rosental, L., Nonogaki, H., & Fait, A. “Activation and regulation of primary metabolism during seed germination.” Seed Science Research (2014). https://www.cambridge.org/core/journals/seed-science-research/article/abs/activation-and-regulation-of-primary-metabolism-during-seed-germination/842961A5F291BA33D377B2C48A7B382A


