


Quick Answer: Yes, you can absolutely create fun, imaginative paper plate masks using items you likely already have at home: paper plates, markers, scissors, and a bit of creativity. No craft store run required, even when the snow is piling up outside.
Snow days are magical for about the first hour. Then the "I'm bored" chorus begins. Before you start eyeing that front door (don't do it: the roads are terrible), take a breath. You've got everything you need for an afternoon of mask-making adventures right in your kitchen and junk drawer.
Paper plate masks have been keeping kids entertained for generations, and there's a good reason they've stuck around. They're simple, customizable, and tap into that wonderful imaginative play that helps kids develop creativity and problem-solving skills.
What Do You Need to Make Paper Plate Masks at Home?
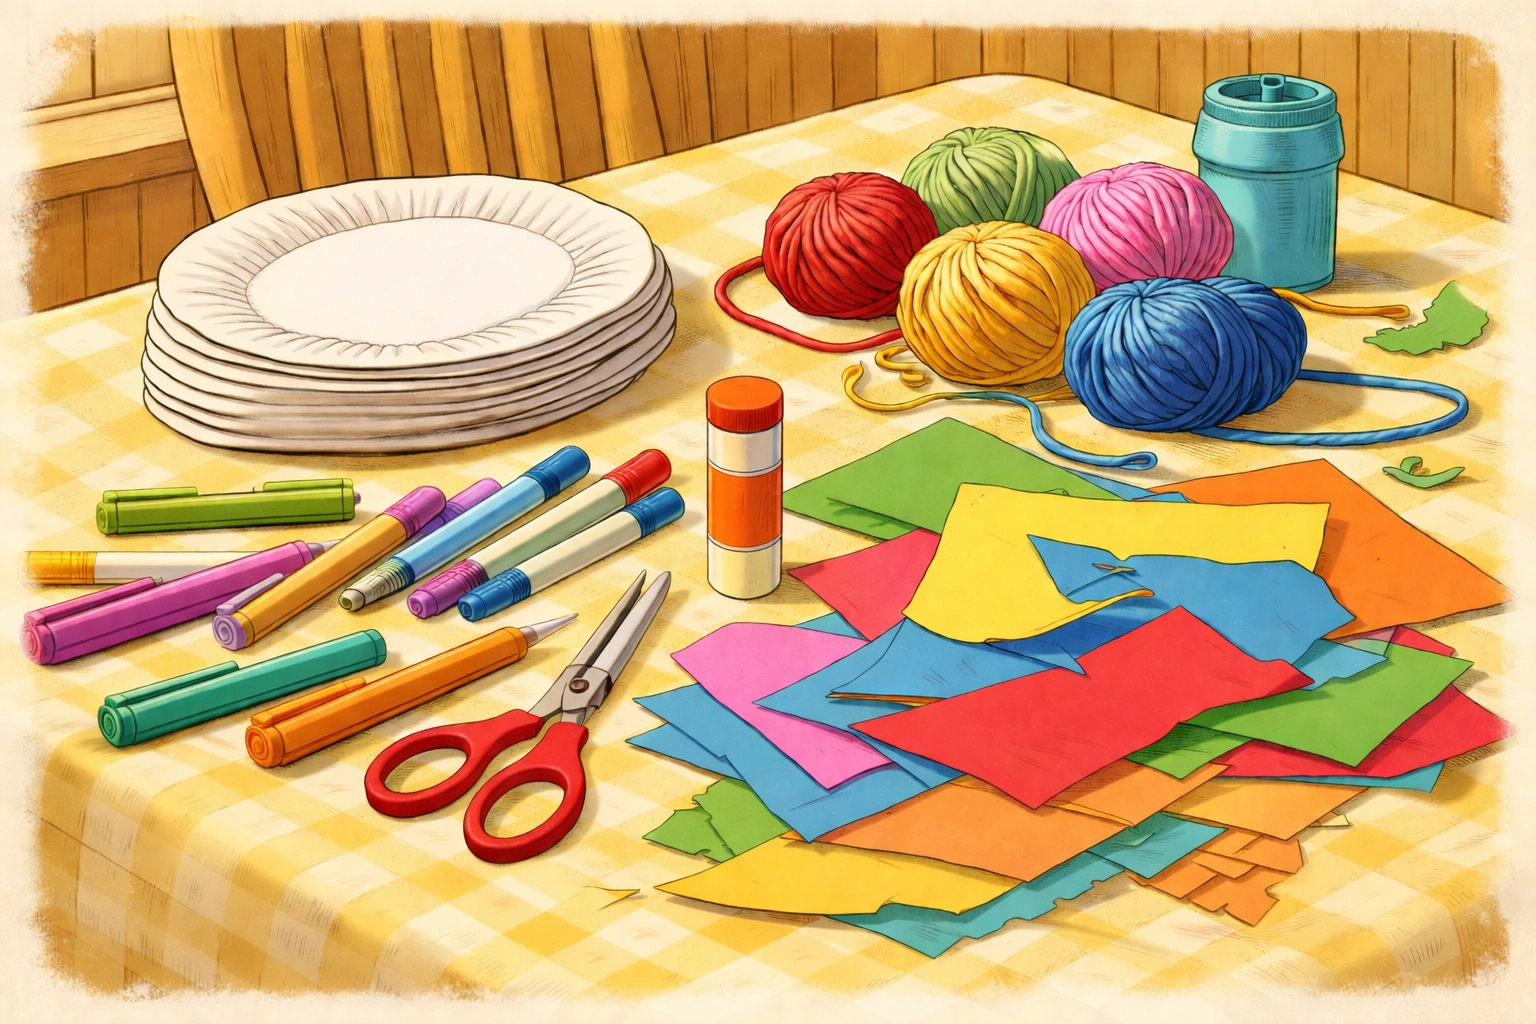
The beauty of this project is that it uses genuinely common household items. Here's your supply checklist:
| Material | Where to Find It | Substitution Ideas |
|---|---|---|
| Paper plates | Kitchen cabinet | Cardboard circles cut from cereal boxes |
| Scissors | Junk drawer | Safety scissors for younger kids |
| Markers or crayons | Kids' art supplies | Pens, pencils, or even coffee for a sepia look |
| Glue stick or tape | Office supplies or school bags | White glue works too (just messier) |
| Construction paper | Craft bin | Magazine pages, newspaper, or grocery bags |
| String or elastic | Sewing kit or hoodies with spare drawstrings | Ribbon, yarn, or cut-up old t-shirts |
| Hole punch | Office supplies | Carefully poke holes with a pencil |
Optional fun additions: Googly eyes (if you've got them), cotton balls, aluminum foil, fabric scraps, buttons, or pom poms from old crafts.
How Do You Make a Basic Paper Plate Mask Step by Step?
Let's start with the foundation. Once your kids master this basic technique, they can create any character their imagination dreams up.
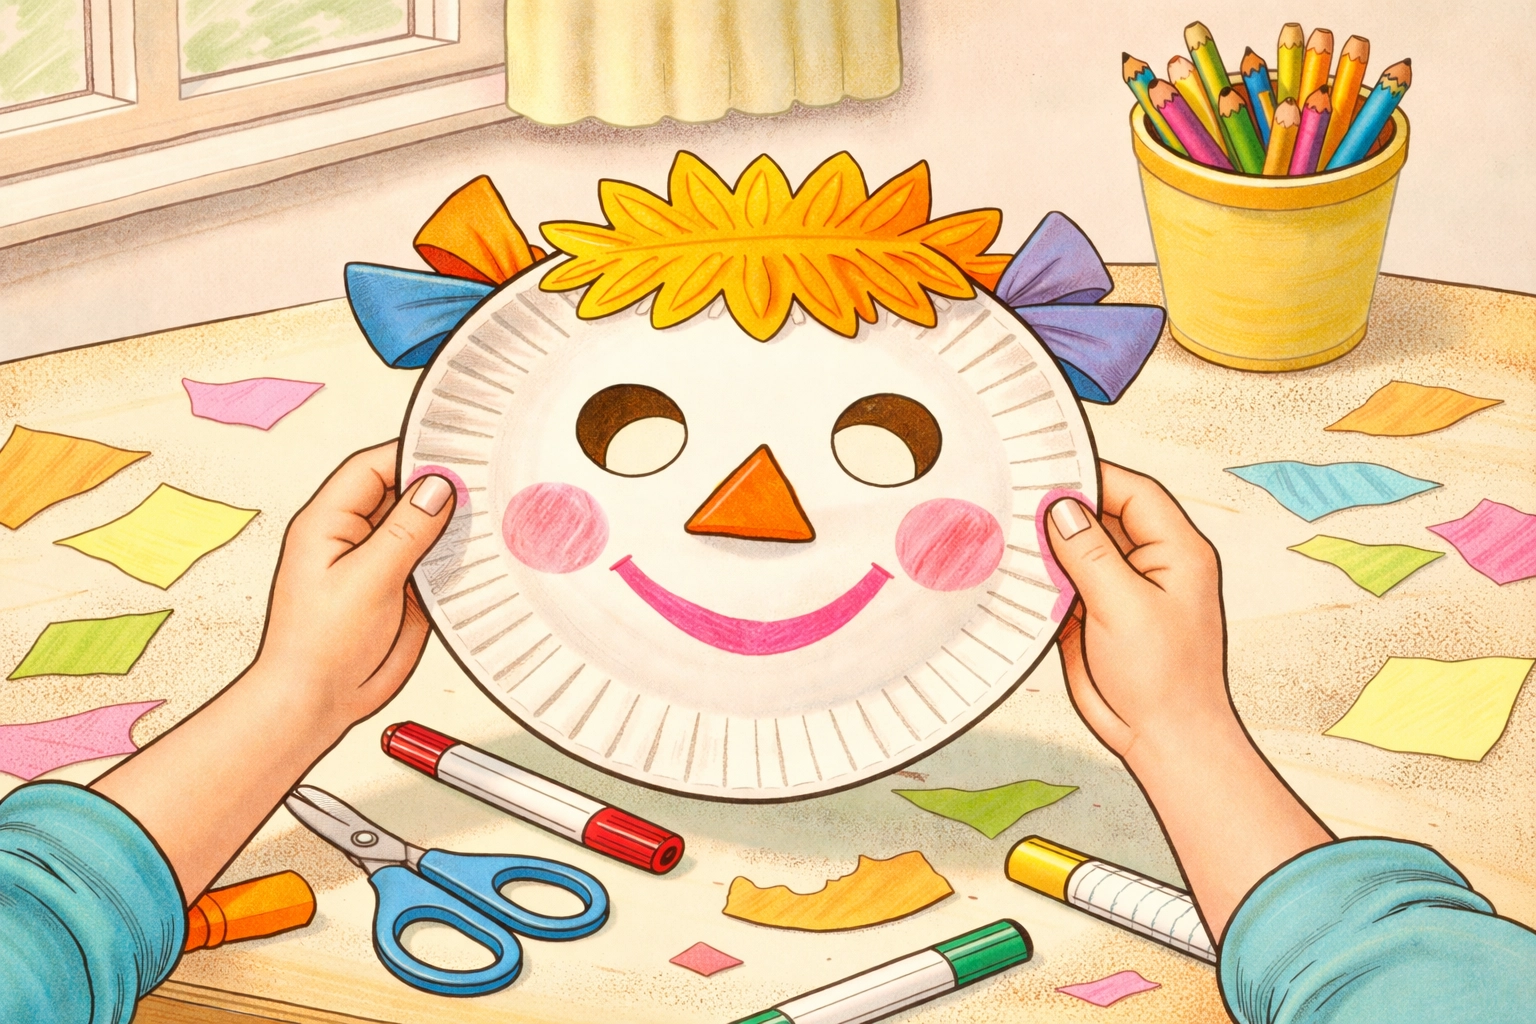
Step 1: Prep Your Plate
Flip your paper plate upside down so the eating surface faces away from the face. This creates a slight outward curve that fits more comfortably and gives the mask some dimension.
Step 2: Mark the Eye Holes
Hold the plate up to your child's face (gently!) and use a marker to dot where their eyes line up. Every kid's face is a little different, so this step helps ensure they can actually see through their creation.
Step 3: Cut Out the Eyes
This is a grown-up job for younger kids. Cut out circles, ovals, or even fun shapes like stars or hearts for the eye holes. Tip: Start by poking a small hole with your scissors in the center of where the eye will be, then cut outward in a spiral.
Step 4: Decorate the Base
Now the fun begins! Use markers, crayons, or paint (if you have it) to add a base color or design. Let it dry if you're using anything wet.
Step 5: Add Features
This is where construction paper scraps really shine. Cut out ears, noses, whiskers, hats, hair: whatever fits your mask theme. Glue or tape them in place.
Step 6: Attach the Strap
Punch holes on either side of the mask, roughly where the ears would be. Thread string, elastic, or ribbon through and tie knots to secure. Adjust the length so it fits comfortably around your child's head.
What Are Some Easy Paper Plate Mask Ideas for Snow Days?
Here's where you can really let creativity take the wheel. These ideas use items most families have lying around:
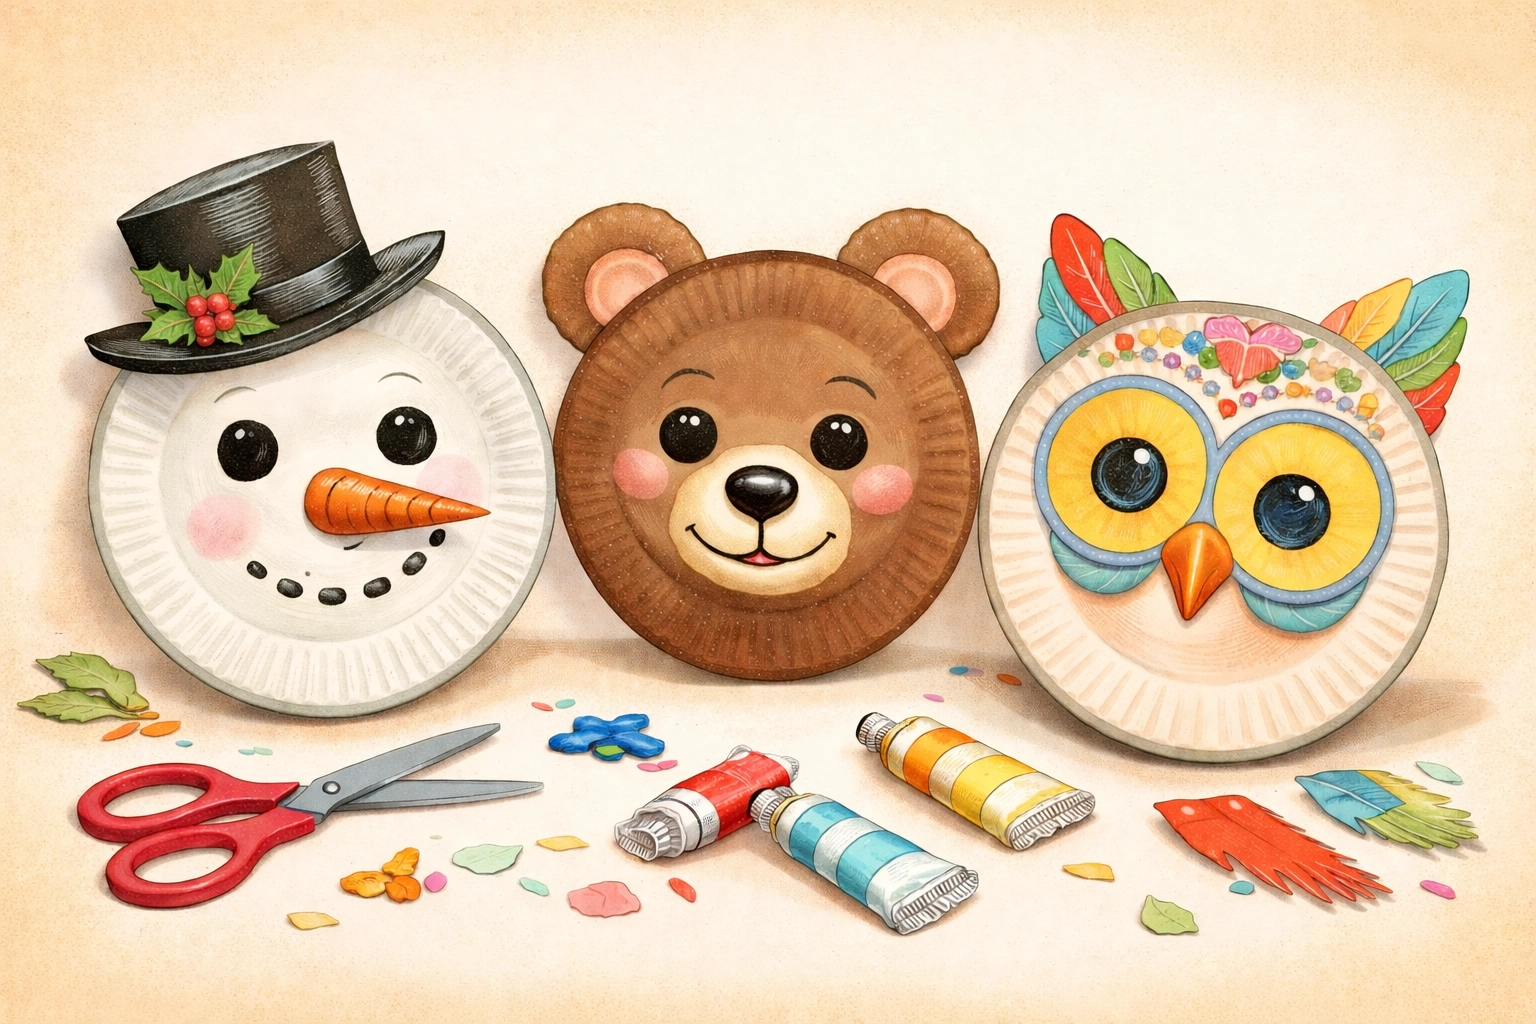
How Do You Make a Snowman Mask?
Perfect for a snow day theme! Keep the plate white (or color it with white crayon for texture). Cut an orange triangle from construction paper for the carrot nose. Add black circles for coal eyes and a smile. Top it off with a black construction paper hat: just a rectangle for the brim and a rounded square for the top.
How Do You Make an Animal Mask?
Cat: Add pointy triangle ears, draw whiskers with a marker, and glue on a pink triangle nose.
Bear: Round ears cut from brown paper bags, a tan muzzle area, and a black nose.
Owl: Large circular eyes (use the bottoms of cups to trace perfect circles), a small triangle beak, and feathery eyebrows made from torn paper strips.
How Do You Make a Superhero Mask?
Cut the plate in half horizontally and use just the top portion. This creates that classic superhero eye-mask shape. Decorate with bold colors and add a lightning bolt or star to the forehead area.
What If You Don't Have Construction Paper?
No problem! Here are some scrappy substitutes that work just as well:
- Newspaper: Great for papier-mâché-style textures or cutting out features
- Brown paper bags: Cut flat for a natural, earthy look
- Magazine pages: Find colorful sections and cut shapes from those
- Aluminum foil: Perfect for robot masks or adding shiny accents
- Old fabric scraps: Glue on for hair, scarves, or textured features
- Coffee filters: Can be colored with markers for a tie-dye effect
How Can You Make This Activity Last Longer?
Snow days can stretch on forever (especially for parents). Here are ways to extend the mask-making fun:
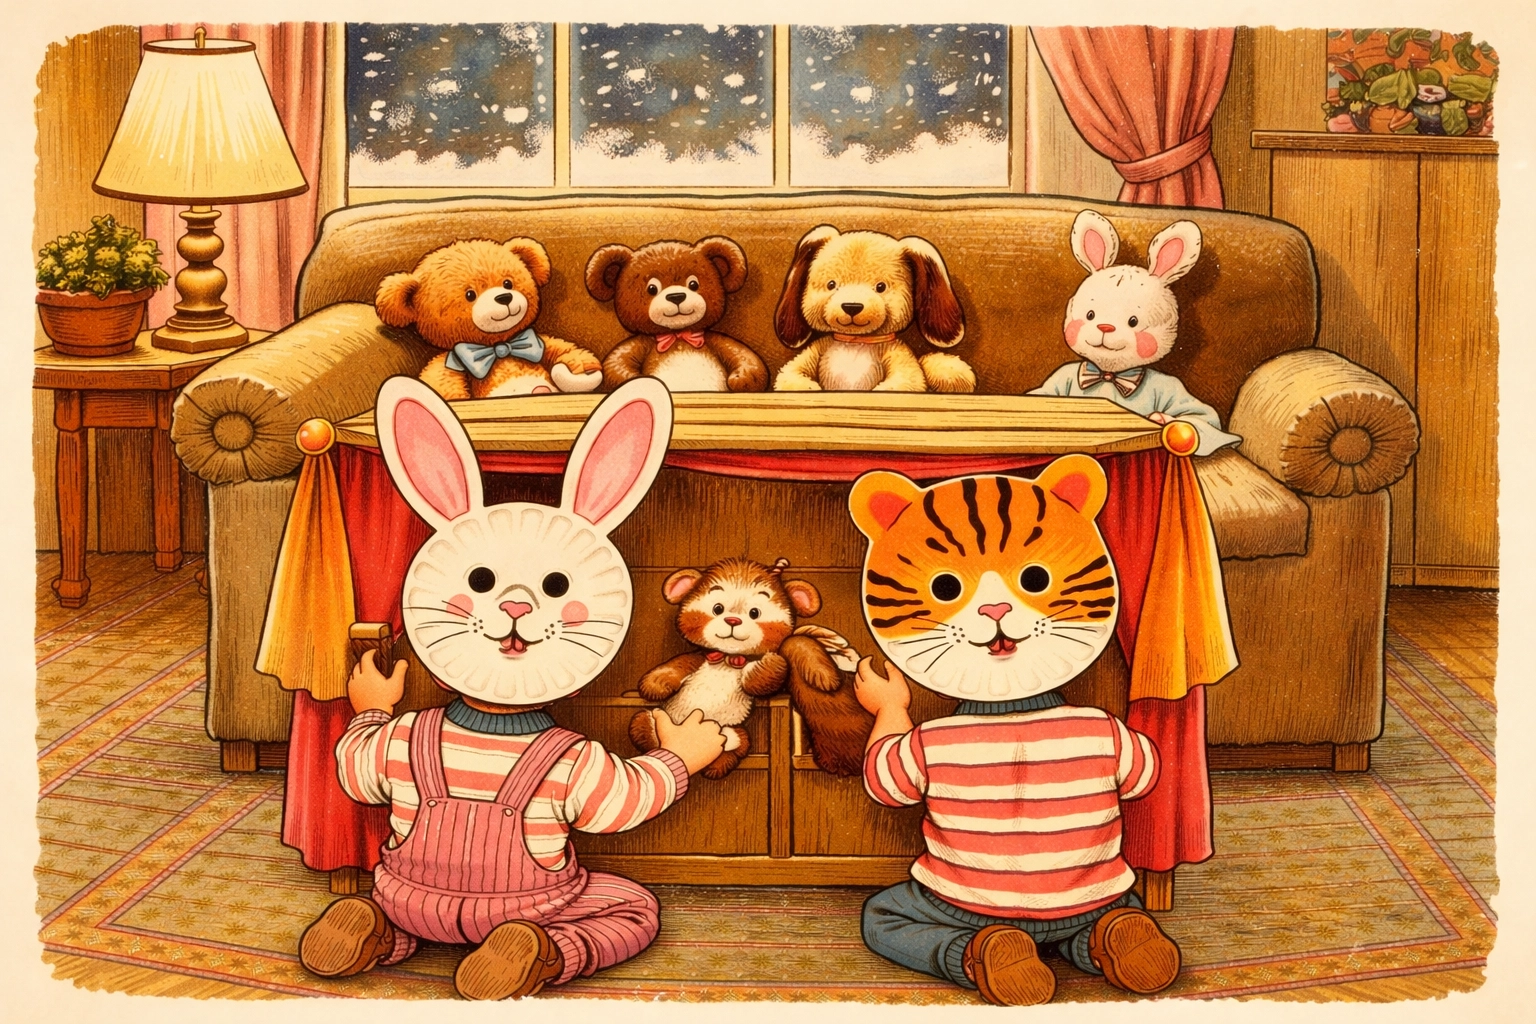
Create a whole cast of characters. Once one mask is done, challenge kids to make a friend, a sidekick, or a whole family of characters.
Put on a play. Those masks are begging for a story! Clear some space in the living room for an impromptu puppet show or play.
Start a mask parade. Put on some music and let kids strut their creations around the house.
Combine with other crafts. Pair mask-making with another snow day activity. If you've got the supplies, your kids might enjoy making a DIY mini greenhouse to keep those green thumbs busy too.
What Are the Benefits of Mask-Making for Kids?
Beyond just burning some snow day energy, paper plate masks actually offer solid developmental benefits:
- Fine motor skills: Cutting, gluing, and drawing all strengthen hand coordination
- Creative thinking: Designing a character from scratch exercises imagination
- Problem-solving: Figuring out how to create a specific look with limited materials builds resourcefulness
- Self-expression: Kids get to explore identity and storytelling through their creations
- Screen-free engagement: A solid chunk of time away from tablets and TVs
Frequently Asked Questions
What age is paper plate mask-making appropriate for?
Kids as young as 2-3 can participate with heavy adult help on cutting. By age 5-6, most children can handle safety scissors and do much of the work independently.
How long does it take to make a paper plate mask?
A basic mask takes about 15-20 minutes. More elaborate designs with lots of features can stretch to 30-45 minutes.
Can you use plastic plates instead of paper?
It's trickier since markers and glue don't adhere as well to plastic. Paper or foam plates work best.
What if we don't have a hole punch for the strap?
A sharp pencil or pen can poke holes carefully. Adults should handle this step for younger children.
How do you make the mask more durable?
Layer two plates together for extra stiffness, or reinforce the strap holes with small pieces of tape before punching.
Can kids wear glasses with paper plate masks?
You may need to cut the eye holes larger or create a half-mask (superhero style) that sits above the glasses.
What's the best way to store finished masks?
Hang them on hooks or lay them flat in a large box to prevent crushing the 3D features.
Are there ways to make this activity educational?
Absolutely! Have kids research an animal before making its mask, or tie it into a book you've read together.
References
- DLTK's Crafts for Kids. "Paper Plate Masks." https://www.dltk-kids.com
- PBS Kids for Parents. "The Benefits of Arts and Crafts." https://www.pbs.org/parents
- Scholastic Parents. "Creative Play and Child Development." https://www.scholastic.com/parents
Tierney Family Farms provides educational content for families. We are not liable for any crafting mishaps, glitter explosions, or declarations that "this is the best snow day ever." Adult supervision recommended for all activities involving scissors. Stay safe and warm out there!


