

5-Gallon Bucket Mushroom Tower: Indoor Winter Science Project for Kids
A 5-gallon bucket mushroom tower lets you grow oyster mushrooms indoors in about 2–3 weeks using a drilled bucket, damp pasteurized substrate (straw/cardboard/pellets), and mushroom spawn—no sunlight needed.
What Is a 5-Gallon Bucket Mushroom Tower (and how does it work)?
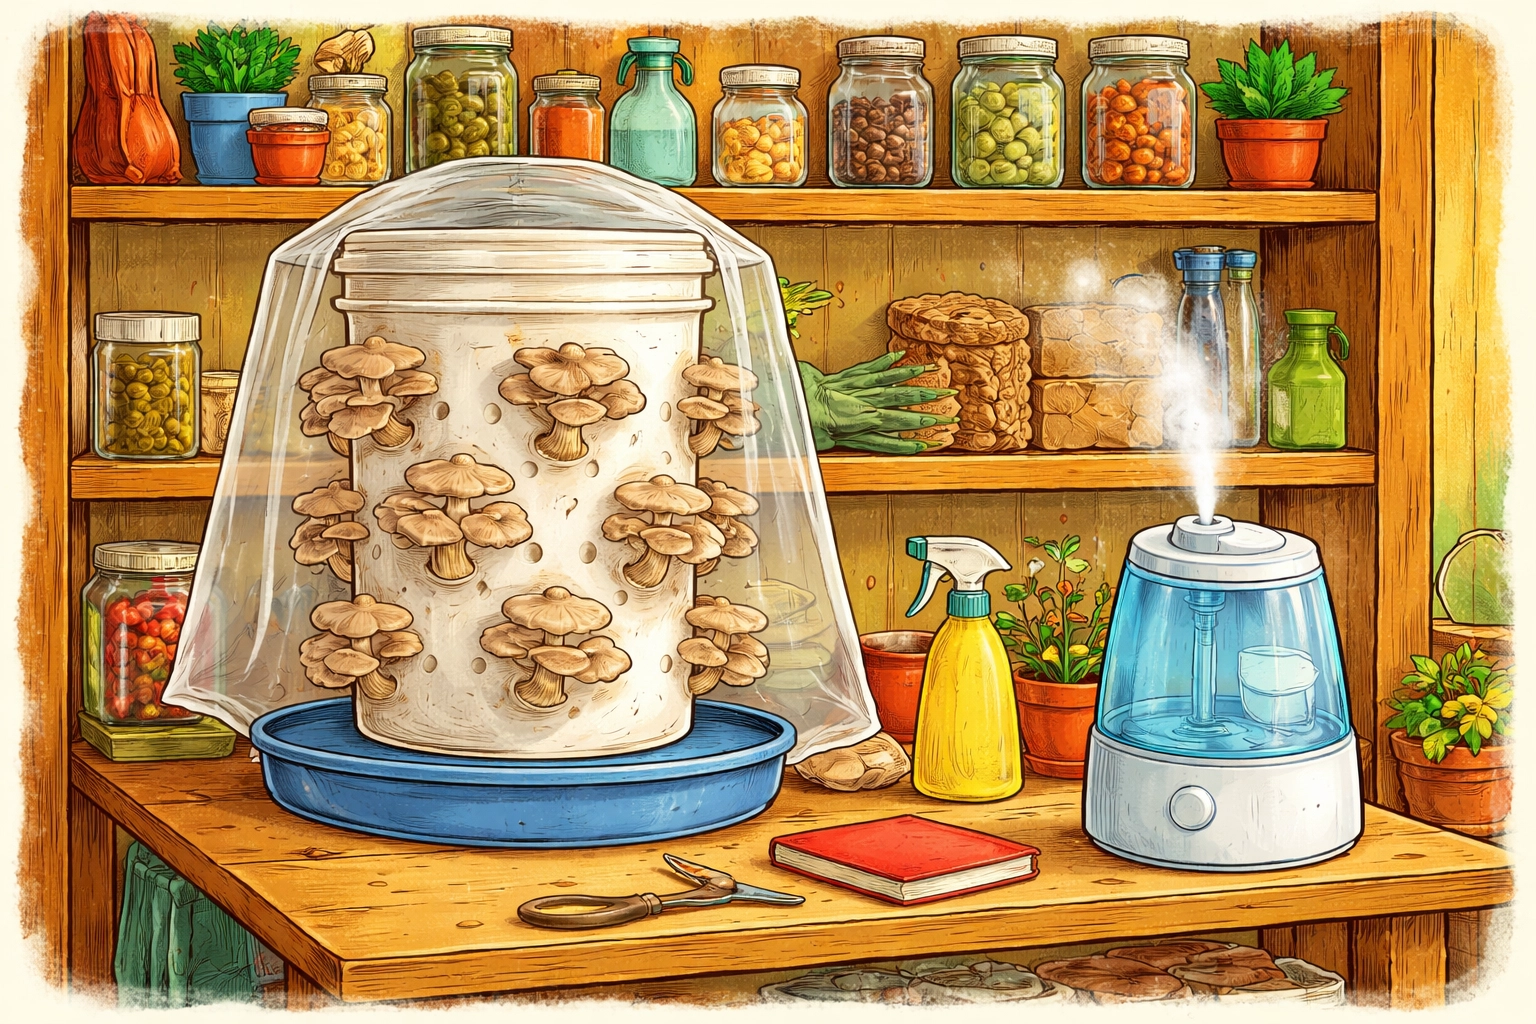
A 5-gallon bucket mushroom tower is a recycled, vertical growing system for cultivating oyster mushrooms indoors. It takes approximately 2-3 weeks from setup to your first harvest, making it one of the fastest and most rewarding winter science projects you can do with kids. The entire project costs under $10 if you already have a bucket lying around, and honestly, who doesn't have at least one forgotten bucket in the garage?
Here's why this project is perfect for families stuck indoors during cold Zone 6 winters: mushrooms don't need sunlight, they grow fast enough to keep young attention spans engaged, and watching fungi burst through holes in a bucket is genuinely magical. It's biology class, recycling lesson, and dinner prep rolled into one satisfying project.
Why should you grow mushrooms indoors during winter?
If you live in Zone 6 or colder, your outdoor garden is essentially hibernating from November through April. The ground is frozen, the days are short, and there's not much growing happening outside your windows.
But fungi? They couldn't care less about the snow.
Mushrooms thrive in the cool, humid conditions that winter naturally provides indoors. Your basement, garage, or even a spare closet creates the perfect environment, temperatures between 55-75°F and gentle humidity are exactly what oyster mushrooms crave.
This makes the bucket mushroom tower an ideal "Winter Farm Lab" project. While your tomato seeds are still months away from planting, your kids can watch an entirely different kingdom of life do its thing.
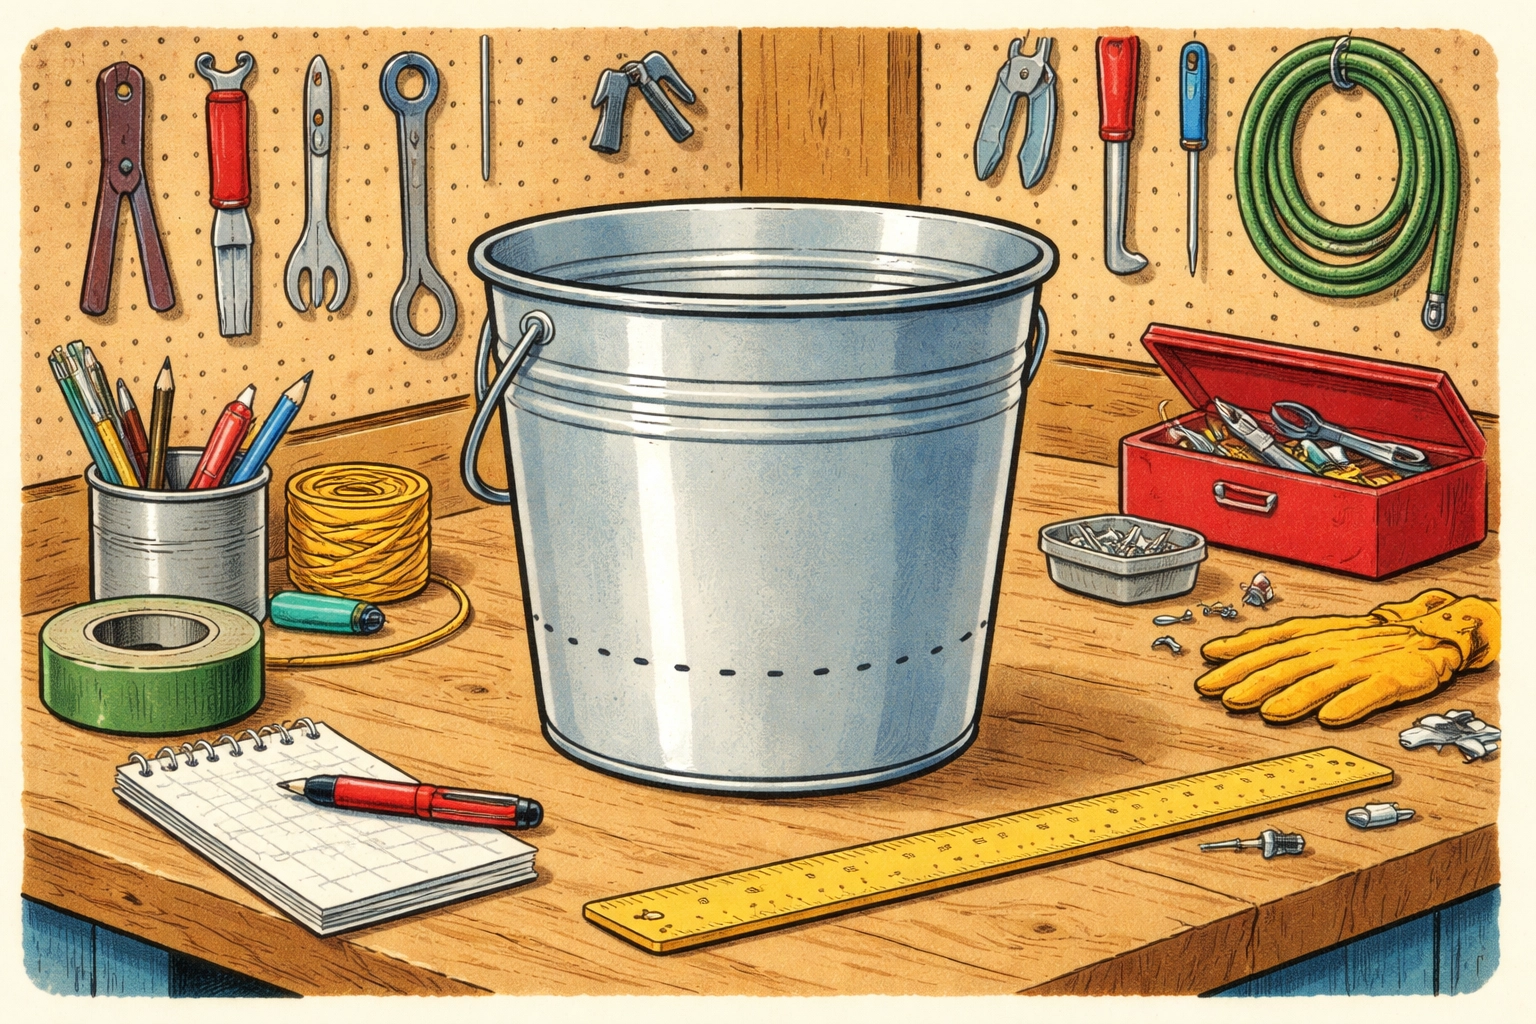
What materials do you need for a 5-gallon bucket mushroom tower (under $10)?
Here's your shopping list, broken down by what you probably already have and what you might need to buy:
Already in Your House (Free)
- One 5-gallon bucket with lid (food-grade preferred, but any clean bucket works)
- Spray bottle
- Large container or bathtub for soaking substrate
- Drill with ¼" or ½" bit
Might Need to Buy ($5-10)
- Oyster mushroom grain spawn – about 2-3 pounds (often $5-8 online or at garden centers)
- Substrate – chopped straw, shredded cardboard, or hardwood fuel pellets
Budget Tip: Cardboard is free! Save your Amazon boxes, tear them into small pieces, and you've got perfectly good mushroom food. Oyster mushrooms are the recyclers of the fungal world, they'll happily munch on stuff you were going to throw away anyway.
How do you build a 5-gallon bucket mushroom tower (step-by-step)?
Step 1: How do you drill holes in the bucket?
This is the fun part where kids get to make something look like Swiss cheese.
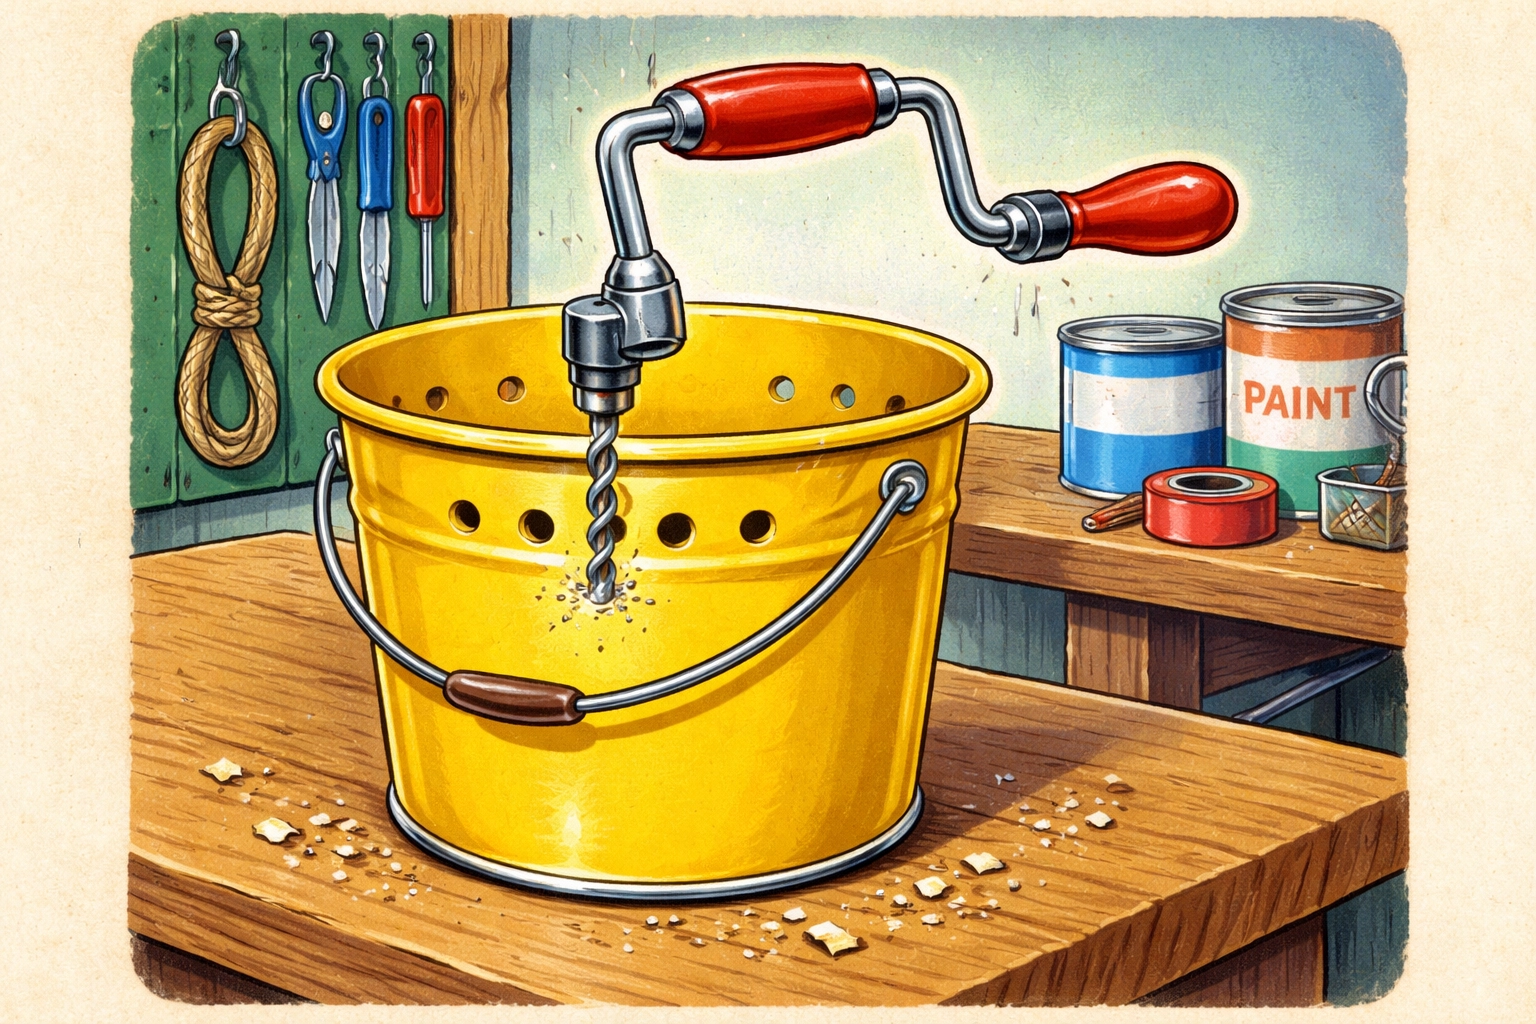
Using a ¼" or ½" drill bit, create 30-40 holes around the sides of your bucket in a diamond pattern. Space them about 3-4 inches apart. These holes serve two purposes:
- They allow fresh air to reach the growing mycelium
- They become the "doors" where mushrooms will eventually pop out
Also drill about 10 smaller holes in the bottom of the bucket for drainage. Mushrooms like moisture, but they don't want to sit in a swamp.
Safety Note: Adults should handle the drilling. Kids ages 5+ can help mark where the holes should go with a marker, this teaches planning and spatial reasoning while keeping little fingers away from power tools.
Step 2: How do you pasteurize the substrate?
Your substrate is the "food" that mushrooms will decompose and grow from. For oyster mushrooms, chopped straw or shredded cardboard works beautifully.
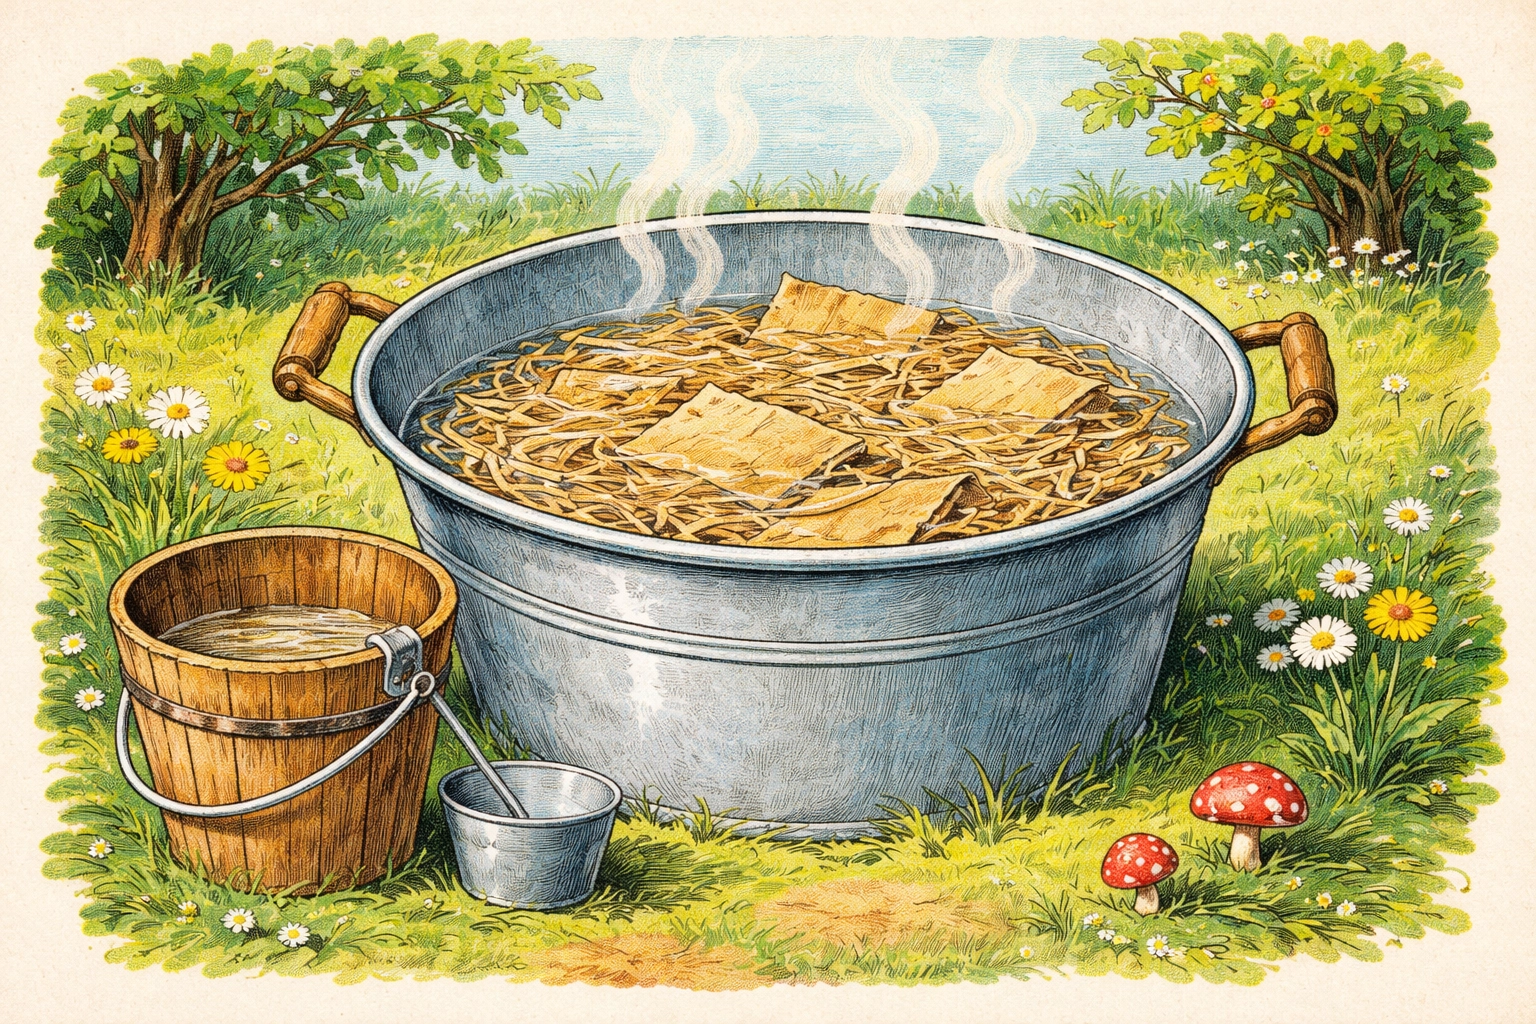
To pasteurize your substrate:
- Place your straw or cardboard in a large container
- Pour hot water (around 160-180°F) over it until fully submerged
- Let it soak for 1-2 hours, or overnight if using cold water
- Drain thoroughly, squeeze out excess water until it feels like a wrung-out sponge
This pasteurization step kills off competing molds and bacteria, giving your mushroom spawn a head start.
Step 3: How do you layer spawn and substrate (like lasagna)?
Now comes the assembly, and yes, it really is exactly like making lasagna.
- Add a 2-inch layer of damp substrate to the bottom of the bucket
- Sprinkle a handful of grain spawn over the substrate
- Press down firmly to eliminate air pockets
- Repeat: substrate layer, spawn layer, press down
- Continue until your bucket is full
- Top with a final layer of substrate
Pack everything tightly. The mycelium (the white, thread-like fungal network) will colonize the substrate faster when there's good contact between the spawn and its food source.
Step 4: How do you incubate (cover and wait) for colonization?
Place the lid loosely on top, you want some air exchange but also want to maintain humidity. Alternatively, drape a plastic bag over the top with a few holes poked in it.
Set your bucket in a spot that stays between 55-75°F. Basements work great. So do closets, garages, or any corner that doesn't get direct sunlight.
Now the hardest part: patience.
What’s the timeline for a bucket mushroom tower?
Here's a realistic schedule so you know what's happening inside that mysterious bucket:
| Week | What's Happening |
|---|---|
| Week 1 | White, fuzzy mycelium starts spreading through the substrate. It looks like cotton candy taking over. |
| Week 2 | Mycelium fully colonizes the bucket. The substrate turns white and smells earthy (in a good way). |
| Week 2-3 | Tiny "pins" (baby mushrooms) begin poking through the holes. This is the exciting part! |
| Week 3-4 | Pins grow into full-sized mushrooms ready for harvest. |
Your bucket can produce multiple "flushes" of mushrooms over several months. After each harvest, keep misting and wait, more mushrooms will come.
What can kids do at each age (safe “jobs” list)?
Ages 3-4
- Tearing cardboard into pieces
- Spraying the bucket with water daily
- Observing and reporting changes ("The white stuff is bigger today!")
Ages 5-7
- Measuring substrate and spawn amounts
- Layering the bucket with supervision
- Keeping a growth journal with drawings
- Marking hole locations before drilling
Ages 8+
- Managing the entire project with minimal help
- Researching mushroom biology
- Calculating harvest weights
- Planning what to cook with the mushrooms
Common questions about bucket mushroom towers
How Long Does It Take to Grow Oyster Mushrooms in a Bucket?
From setup to first harvest, expect 2-3 weeks. The colonization phase (when mycelium spreads through the substrate) takes 10-14 days. Once you see pins forming in the holes, mushrooms will be ready to pick within 5-7 days.
Is a 5-Gallon Mushroom Bucket Safe to Keep in a Bedroom or Basement?
Yes, with some considerations. Oyster mushrooms are safe to grow indoors, but they do release spores when mature. For family members with allergies or respiratory sensitivities, a basement or garage with decent ventilation is better than a bedroom. Harvesting mushrooms before they fully flatten out reduces spore release.
What's the Cheapest Indoor Gardening Project for Families in Winter?
The bucket mushroom tower ranks among the cheapest at under $10. Other budget-friendly options include kitchen scrap regrow gardens. Mushrooms offer the fastest visible results for the investment.
Can You Garden with Kids in Winter If You Live in Zone 6?
Absolutely! While outdoor soil stays frozen until May, indoor projects like mushroom towers, microgreens, and simple hydroponics let kids experience the full growing cycle. The bucket mushroom tower is specifically designed for winter because fungi prefer the cooler temperatures your home naturally provides.
Tierney Family Farms Disclaimer
Tierney Family Farms provides educational content for families, schools, and community groups. This post is for informational and educational purposes only and does not replace professional medical, legal, or food safety advice. Mushroom cultivation involves living organisms and environmental variables, so outcomes and safety risks can vary. Only use spawn from reputable suppliers, follow sanitation best practices, and eat only mushrooms you are 100% confident were cultivated from your purchased spawn. If anyone in your home has asthma, mold allergies, or respiratory sensitivity, grow in a well-ventilated area and harvest mushrooms before caps fully flatten to reduce spore load. Adults should supervise all tools (especially drills) and hot water pasteurization steps. When in doubt, ask a qualified local expert and do not consume.
References
- Sánchez, C. (2010). Cultivation of Pleurotus ostreatus and other edible mushrooms. Applied Microbiology and Biotechnology. https://doi.org/10.1007/s00253-009-2343-7
- Mussie, T., Berhe, S., Teklemichael, S., & Gebrezgiabhier, T. (2020). Evaluation of waste paper for cultivation of oyster mushroom (Pleurotus ostreatus) with some added supplementary materials. Heliyon (via PubMed Central). https://pmc.ncbi.nlm.nih.gov/articles/PMC6969873/
- Evaluation of different pasteurization and sterilization methods for oyster mushroom substrates. (2024). Journal of Microbiology, Biotechnology and Food Sciences. https://doi.org/10.55251/jmbfs.10428
- Islam, M. T., et al. (2017). The Management of Humidifying Treatment for Low Contamination Risks During Indoor Cultivation of Grey Oyster Mushroom (Pleurotus pulmonarius). MATEC Web of Conferences. https://www.matec-conferences.org/articles/matecconf/pdf/2017/11/matecconf_etic2017_01080.pdf