

Can I Start Seeds Outside in the Snow? (The Milk Jug & Winter Sowing Project)
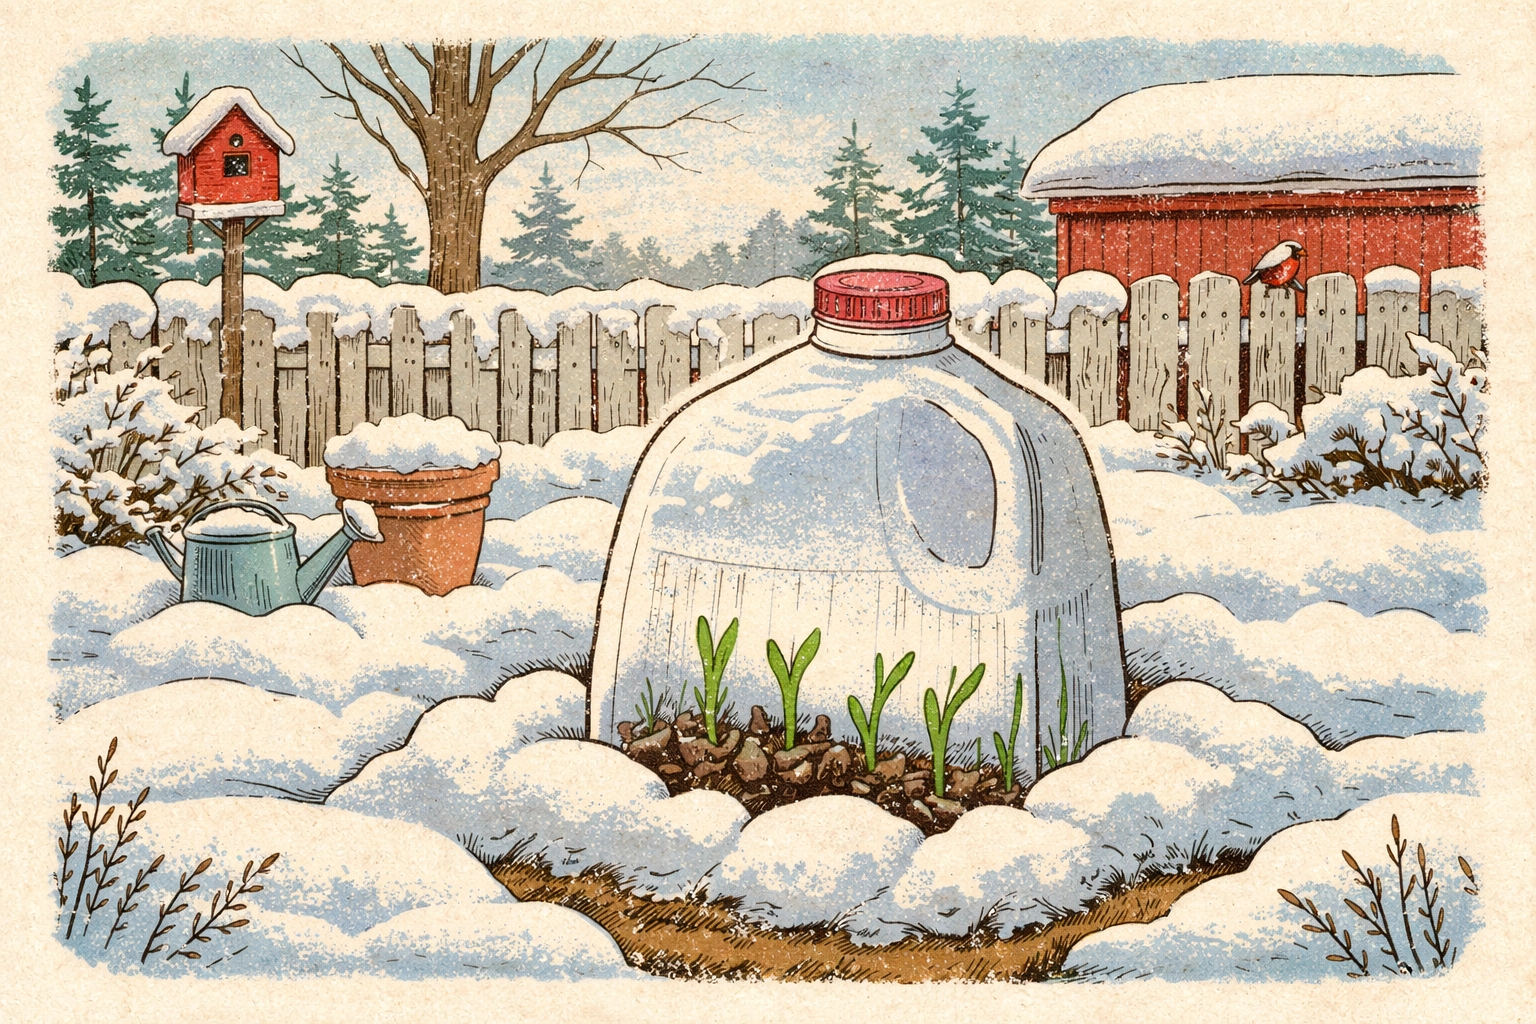
Yes, you absolutely can start seeds outside in the snow! It sounds a little wild, but it's actually one of the oldest tricks in the gardening book. The method is called "winter sowing," and all you need is an empty milk jug, some potting soil, seeds, and a snowy spot in your yard. The milk jug acts as a tiny greenhouse, protecting your seeds while letting nature do the hard work of watering and temperature regulation.
This is one of our favorite February projects for Zone 6 families because it costs almost nothing, requires zero indoor grow lights, and teaches kids something genuinely cool about how plants survive tough conditions.
Let's dig in.
What Is Winter Sowing (And Why Does It Work)?
Winter sowing is a method where you plant seeds in a protected container, like a milk jug, and leave it outside during the cold months. The seeds sit dormant through the freezing temperatures, then naturally wake up and germinate as the days get longer and warmer in early spring.
This mimics exactly what happens in nature. Think about it: wild plants drop their seeds in the fall, those seeds sit under snow all winter, and then sprout when conditions are right. No one is out there with a heat mat and a spray bottle. Nature handles it.
The milk jug works as a "mini-greenhouse" because:
- It traps heat from the sun during the day, even when it's cold outside.
- It protects seeds from wind, heavy rain, and hungry critters who might otherwise dig them up.
- The open cap lets moisture in from rain and melting snow, so you don't have to water.
- It provides cold stratification, which some seeds actually need to germinate properly.
For kids, this is a fantastic hands-on lesson in plant resilience. Seeds aren't fragile little things that need perfect conditions, they're tough, and they've been surviving winters for millions of years.
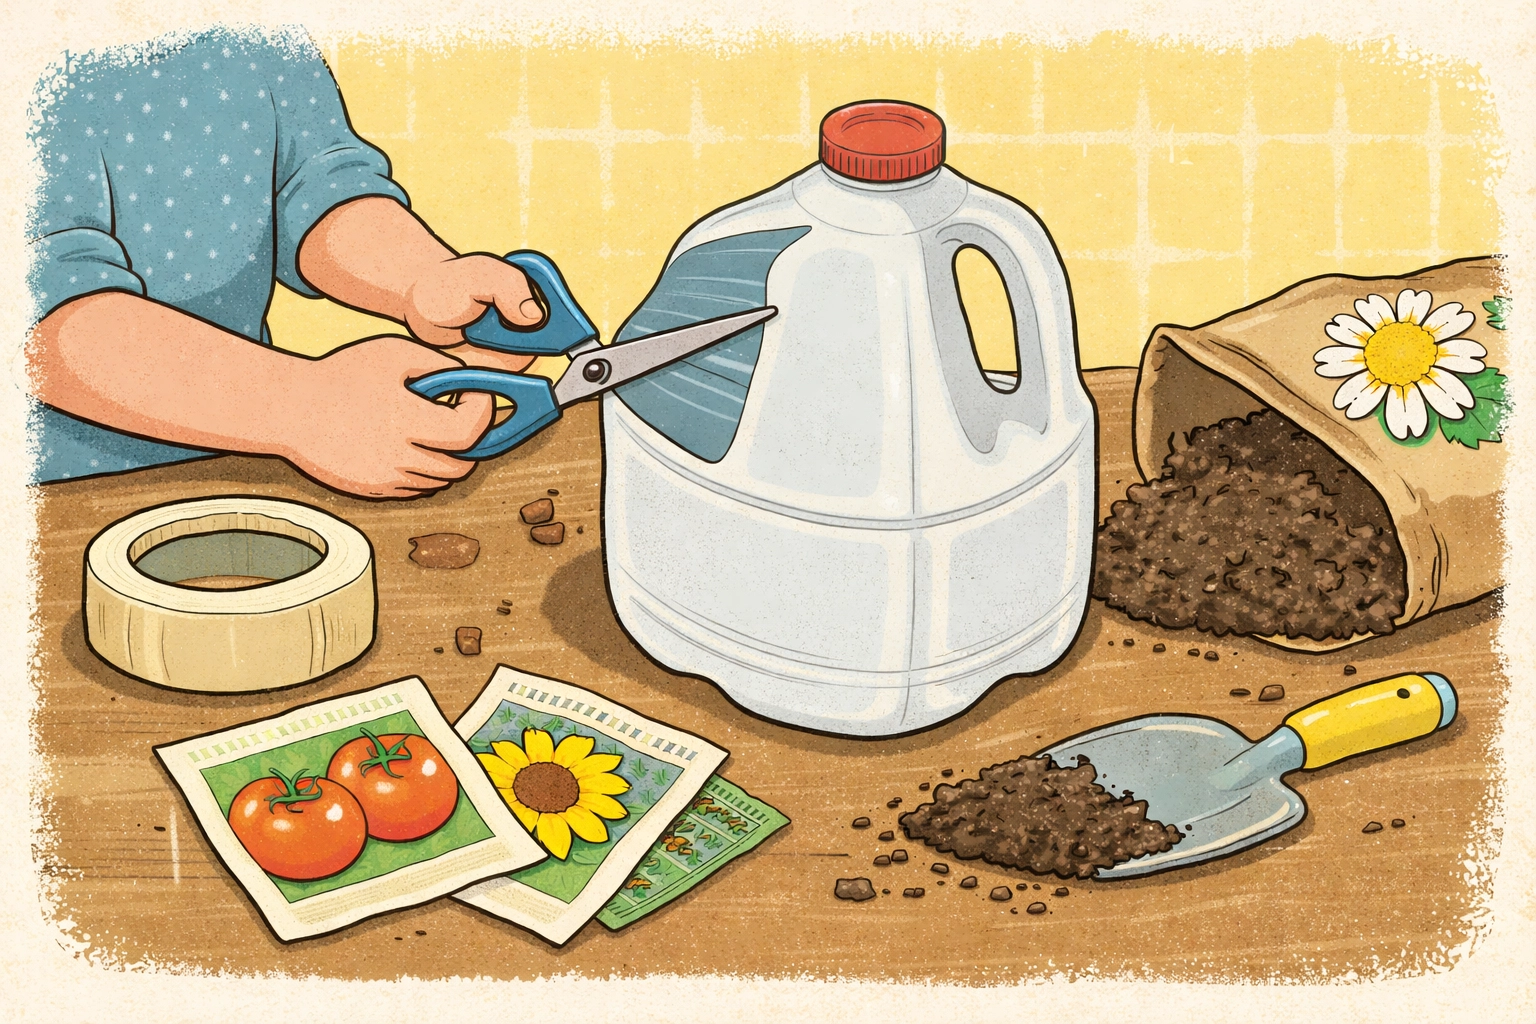
What You'll Need
Here's the good news: this project costs well under $10. You probably have most of it in your recycling bin right now.
Materials:
- 1 clean, empty gallon milk jug (clear or translucent works best)
- Potting soil (a small bag from the dollar store works fine)
- Seeds (we'll talk about which ones below)
- Duct tape or packing tape
- A marker or permanent pen
- A screwdriver, knife, or scissors (adult help needed here)
- A sunny-ish spot outside
Total cost: Around $3–$5 if you already have the jug and tape.
Step-by-Step: Building Your Milk Jug Mini-Greenhouse
This is a great project for kids ages 5 and up, with adult supervision for the cutting steps.
Step 1: Poke Drainage Holes
Flip your milk jug upside down. Using a screwdriver or the tip of a knife, poke 4–6 small holes in the bottom. These let excess water drain out so your seeds don't drown.
Tip for kids: Let them mark where the holes should go with a marker, then an adult can do the poking.
Step 2: Cut the Jug in Half (But Not All the Way)
About 4 inches up from the bottom, cut horizontally around the jug, but leave a 2-inch section attached near the handle. This creates a "hinge" so you can open and close your greenhouse like a clamshell.
Step 3: Add Soil
Fill the bottom half with about 3 inches of moistened potting soil. Don't pack it down too hard. You want it damp but not soggy, like a wrung-out sponge.
Step 4: Plant Your Seeds
Follow the seed packet directions for depth. For most small seeds, just press them lightly into the surface or cover with a thin layer of soil. Space them out a bit so they're not all piled on top of each other.
Label your jug! Write the seed type and date directly on the plastic with a permanent marker. Trust us, you will forget what you planted otherwise.
Step 5: Close It Up and Tape the Seam
Fold the top back down and seal the cut seam with duct tape. Make sure it's snug but not airtight. Leave the cap OFF. That open top lets rain and snow in, which waters your seeds naturally.
Step 6: Set It Outside and Wait
Put your jug in a spot that gets some morning sun. You don't need full blazing sunlight, in fact, a spot with morning sun and afternoon shade is ideal. The east side of your house or near a fence works great.
Then... leave it alone. Seriously. Walk away. Let winter do its thing.
What Seeds Work Best for Zone 6 Winter Sowing in February?
Not every seed is a good candidate for winter sowing, but a surprising number are. Here's what works well when you're starting in February in Zone 6:
Great choices for February:
- Onions and leeks – Slow growers that benefit from an early start
- Kale and Swiss chard – Cold-hardy greens that love this method
- Broccoli and cabbage – Cool-season crops that thrive with cold stratification
- Lettuce – Germinates easily and handles cold temps
- Pansies and violas – Hardy flowers that can take frost
- Perennial herbs like oregano, chives, and thyme – Many perennials need that cold period to germinate
Save these for March or later:
- Tomatoes, peppers, and basil (they hate cold and won't germinate until it warms up significantly)
- Squash and cucumbers (direct sow these after your last frost)
When in doubt, check your seed packet. If it says "cold stratification recommended" or "direct sow in early spring," it's probably a good winter sowing candidate.
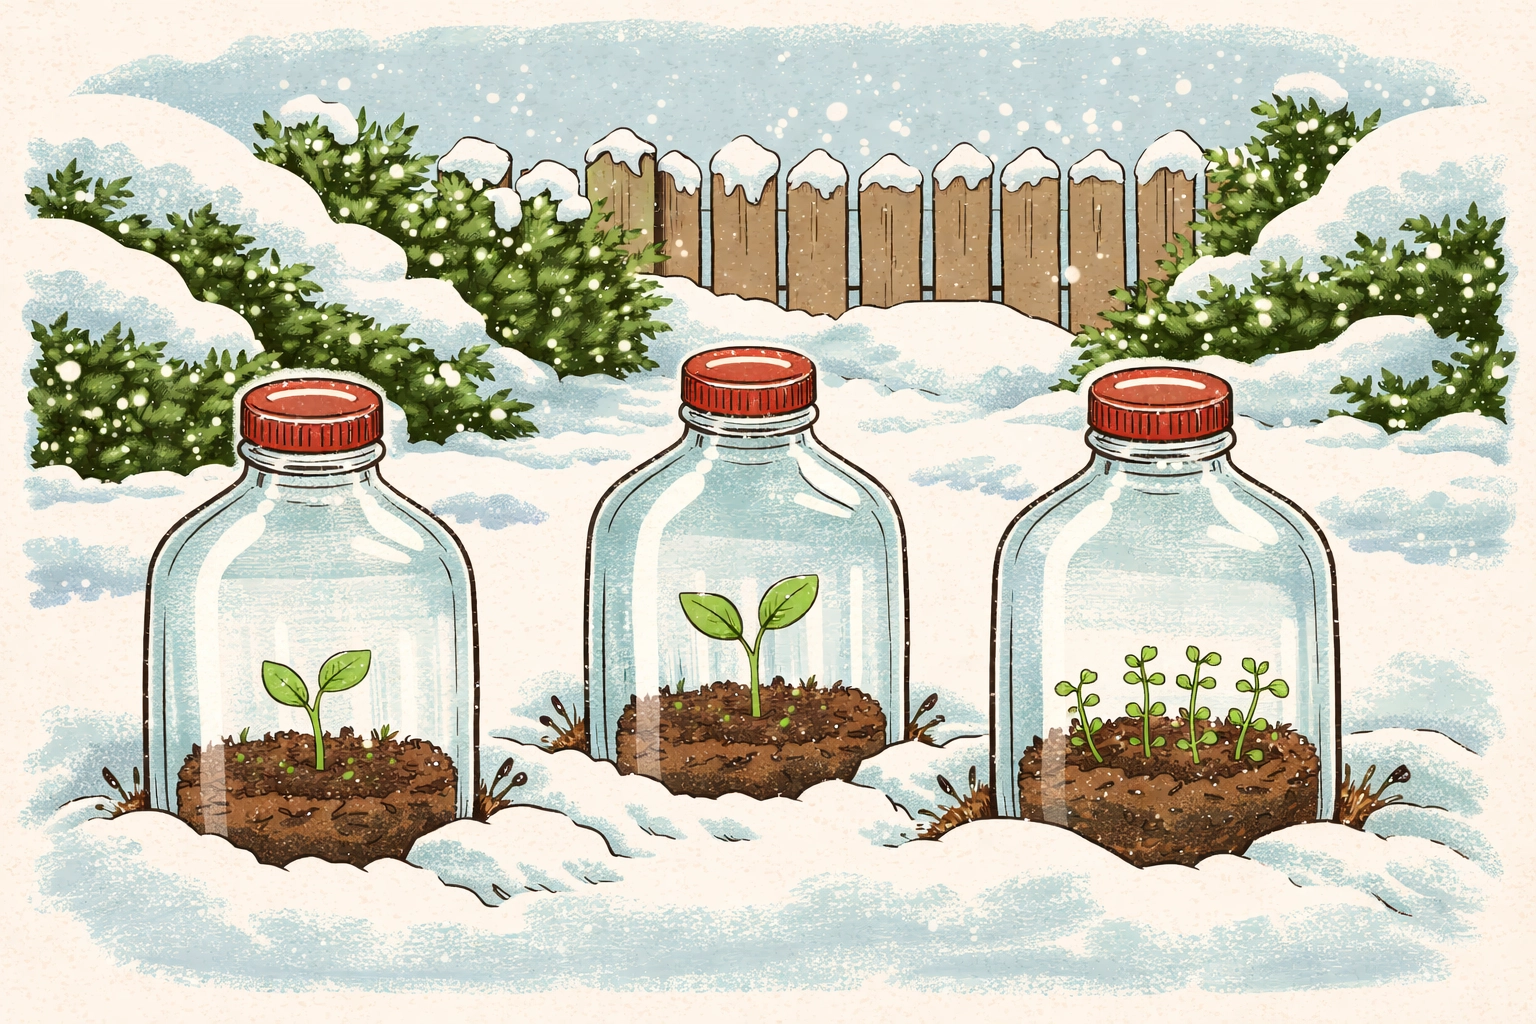
What to Expect (And When to Peek)
Here's the timeline for Zone 6:
- February–early March: Your jugs sit outside, collecting snow and rain. Nothing visible is happening yet. That's normal.
- Mid-March–April: As days get longer and temps creep up, you'll start seeing tiny green sprouts inside your jugs. This is exciting! Resist the urge to mess with them.
- Late April–May: Once seedlings have a few sets of true leaves and nighttime temps stay above freezing, you can transplant them into your garden.
Troubleshooting:
- Too wet inside? Poke a few more drainage holes or crack the tape open a bit for airflow.
- Nothing sprouting by late April? Some seeds are duds. It happens. Try again next year with fresh seeds.
- Leggy seedlings? They might need more sun. Move the jug to a brighter spot.
The Bigger Lesson: Plants Are Tougher Than We Think
Here's what we love most about this project: it teaches kids that resilience is built into nature.
We tend to baby our seedlings indoors, heat mats, grow lights, humidity domes, careful watering schedules. And that's fine for some plants. But winter sowing reminds us that seeds want to grow. They've evolved to handle freezing temperatures, wet conditions, and long periods of darkness.
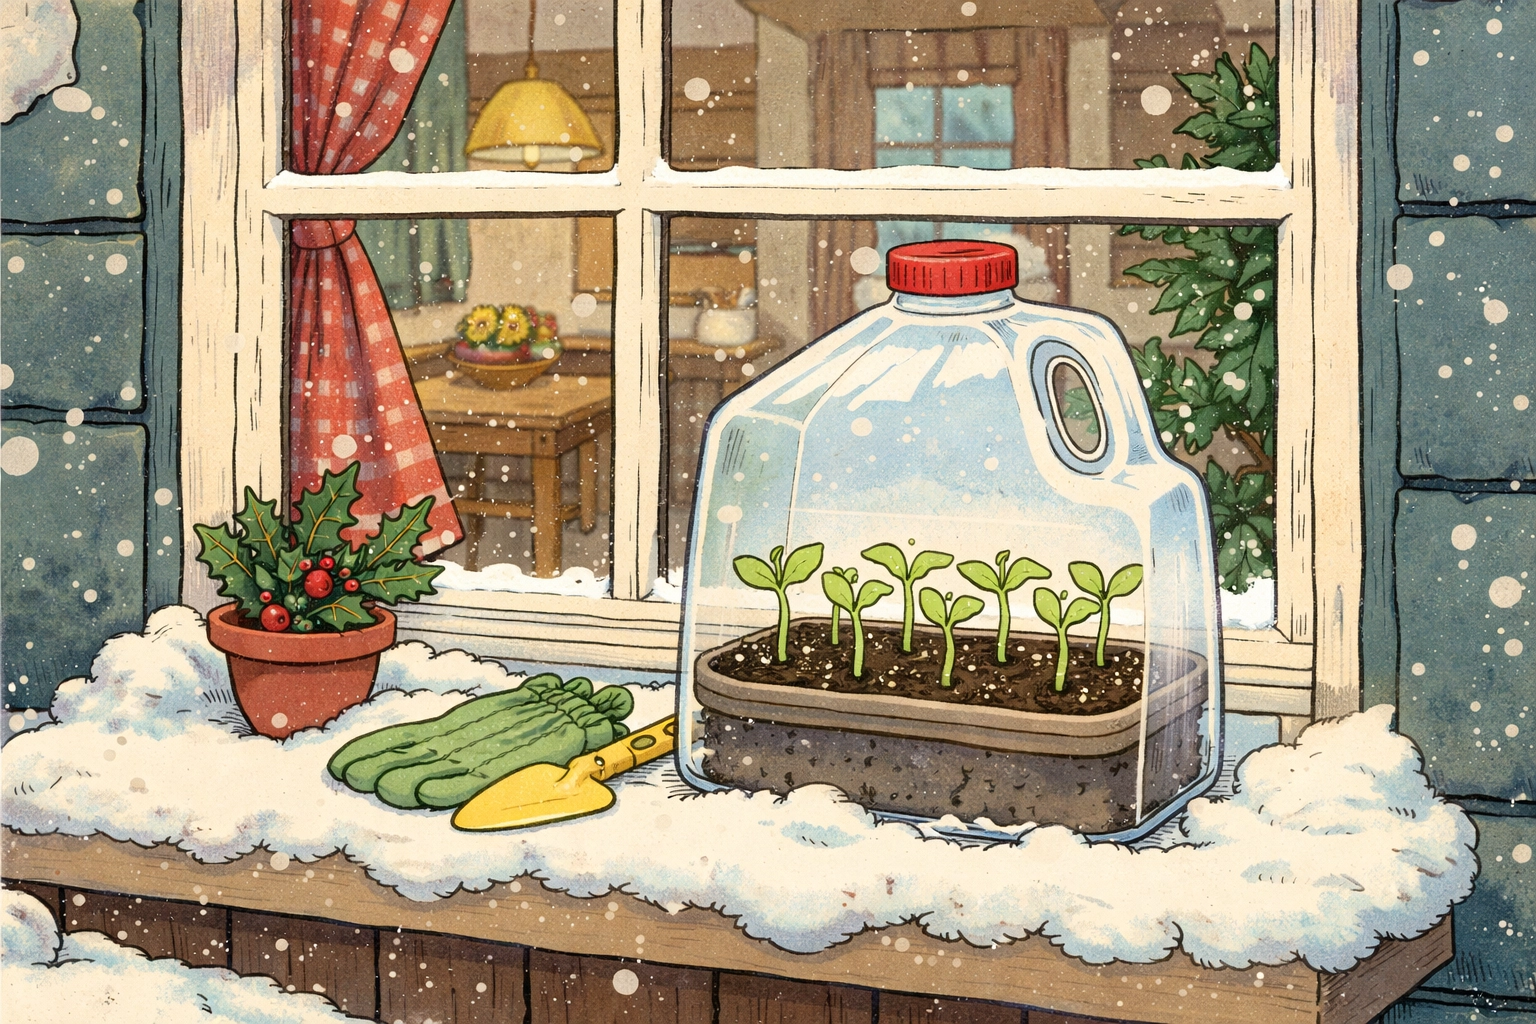
When your kid sees those first green sprouts poking up through the soil in a milk jug that's been sitting in the snow for two months? That's a lesson that sticks. Life finds a way. Tough conditions build strong plants.
And hey, maybe strong kids too.
Ready for More DIY Growing Projects?
If you liked this one, check out our guide to building a DIY mini-greenhouse out of plastic bottles for another budget-friendly project that pairs perfectly with winter sowing.
Happy planting: and enjoy watching those snow-covered milk jugs turn into something green.
References:
- University extension resources on winter sowing techniques
- Zone 6 planting calendars and seed stratification guides