

How Fast Do Microgreens Grow? (A $2 Kitchen Garden for Kids)
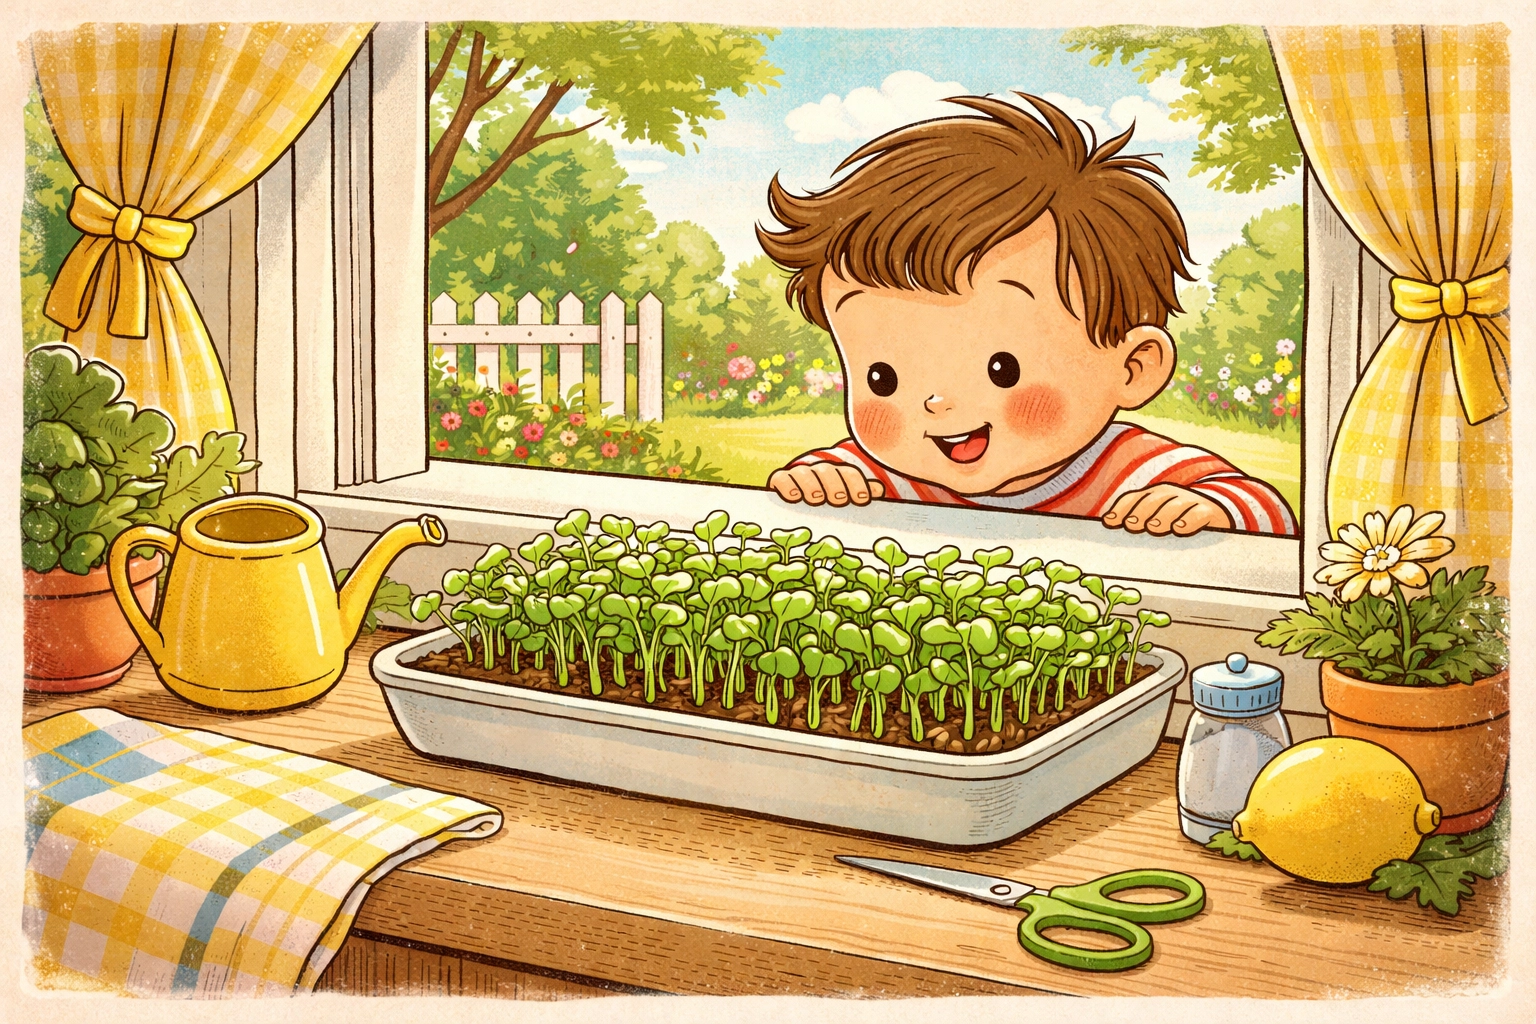
Most microgreens are ready to harvest in just 7 to 14 days. Some speedy varieties like radish and arugula can be snipped in as little as 5 to 7 days. That's less than two weeks from tiny seed to crunchy, nutritious greens on your plate.
For kids, this is a game-changer. Unlike traditional gardening, where you're waiting months to see results, microgreens deliver that "wow, I grew this!" moment before they lose interest. And the best part? You can set up a fully functional microgreen garden on your kitchen counter for around two bucks.
Let's walk through exactly how to do it.
Why Microgreens Are Perfect for Kids
Before we grab our supplies, let's talk about why microgreens are such a fantastic project for families.
They're fast. Kids get to see real, visible progress every single day. By day three, you'll have sprouts. By day seven, you might already be harvesting. That instant gratification keeps young gardeners engaged and excited.
They're forgiving. Unlike finicky seedlings that need perfect conditions, microgreens are surprisingly tough. No grow lights required. No fancy equipment. Just a sunny windowsill and a little attention.
They're nutritious. Here's a fun fact to share with your kids: microgreens can contain up to 40 times more nutrients than their fully-grown counterparts. That tiny sunflower sprout? It's packed with vitamins C, E, and K. Those little radish greens? Loaded with antioxidants. It's like growing a superfood right on your counter.
They're cheap. We're talking pocket change. This is genuinely a project you can do for the cost of a candy bar.
What You'll Need (The $2 Shopping List)
Here's where the magic happens. You probably already have most of this stuff at home.
The Container (Free to $1)
- A shallow plastic takeout container (the kind salads come in)
- An old pie tin or baking tray
- A cleaned-out butter tub
- Or grab a cheap aluminum baking pan from the dollar store
The container should be about 2-3 inches deep. Drainage holes are nice but not strictly necessary for microgreens since you're not watering heavily.
The Growing Medium ($0.50 to $1)
- A few paper towels (free if you have them)
- A thin layer of potting soil
- Or even a folded-up napkin works in a pinch
Paper towels are actually ideal for beginners because you can see exactly what's happening with the roots.
The Seeds ($1 to $1.50)
- Look for a packet of radish, lettuce, or sunflower seeds at the dollar store
- Check the spice aisle for whole mustard seeds or celery seeds
- Or order a small packet of microgreen mix online
One packet will give you multiple harvests. You only need about 1-2 tablespoons of seeds per tray.
Total cost: Around $2 (often less if you raid your recycling bin and pantry first)
Step-by-Step: Growing Microgreens with Kids
Alright, let's get growing. This project takes about 10 minutes to set up, and then it's just a few seconds of care each day.
Step 1: Prep Your Container
Grab your shallow container and give it a quick rinse. If you're using a takeout container with a clear lid, perfect: that lid becomes a humidity dome for the first few days.
Line the bottom with 3-4 layers of damp paper towels. They should be wet but not swimming in water. Think "wrung-out sponge" level of moisture.
If you're using soil instead, spread about an inch of potting mix and mist it until it's evenly damp.
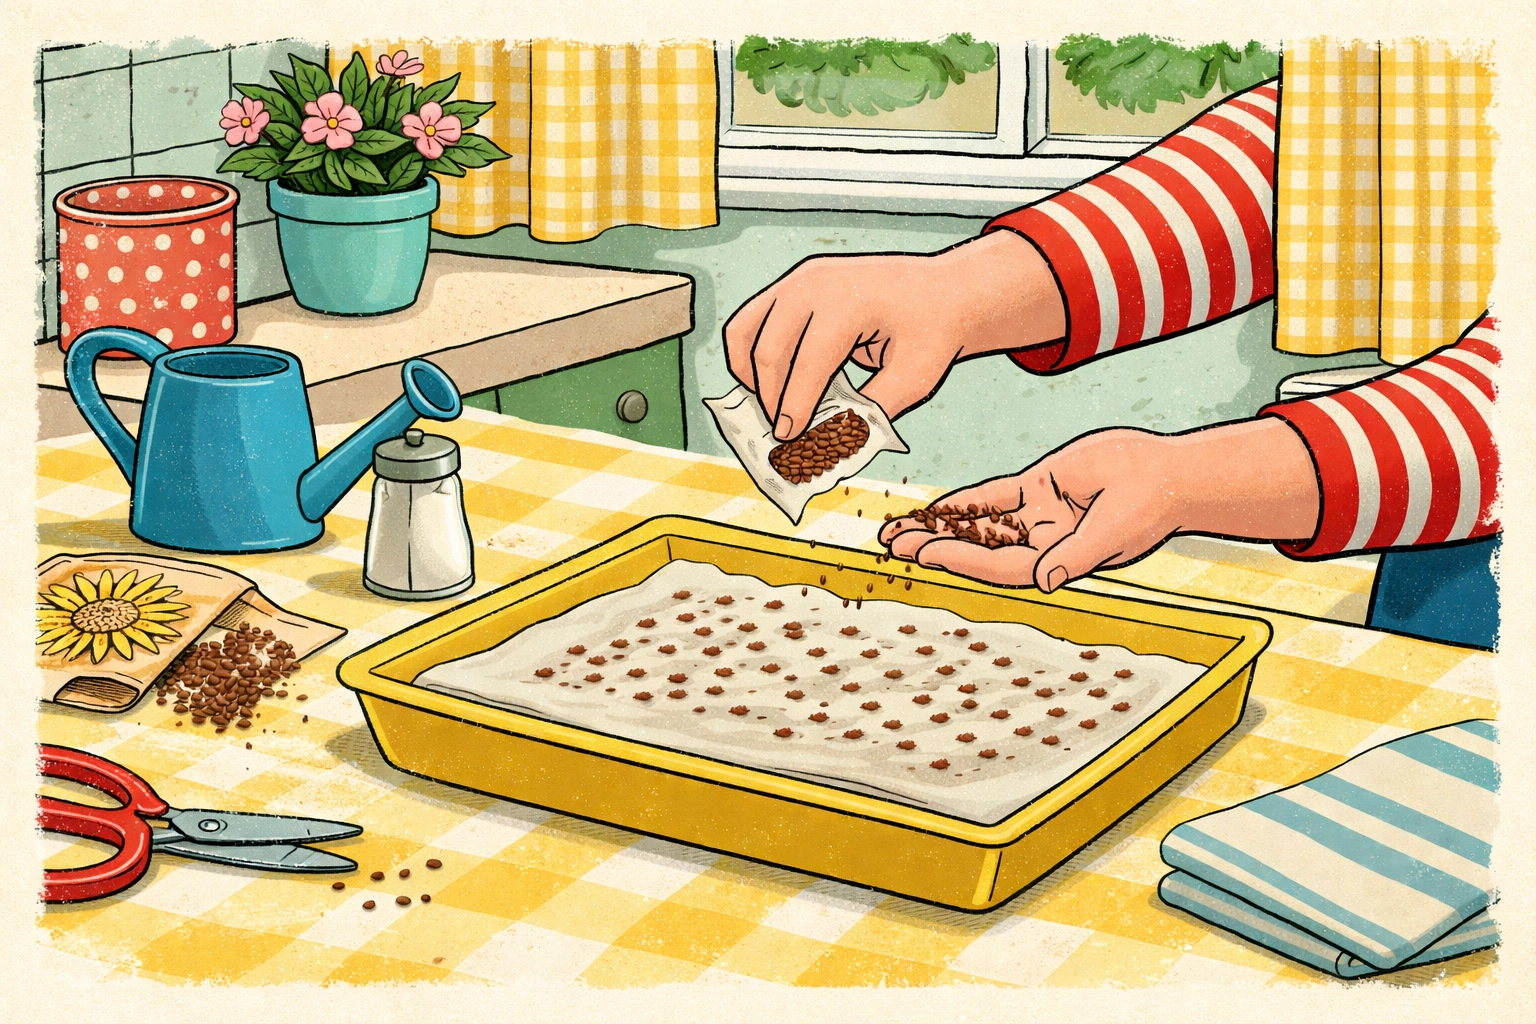
Step 2: Scatter Your Seeds
Here's where kids can take the lead. Sprinkle seeds evenly across the surface. You want them close together: microgreens like company: but not piled on top of each other.
A good rule of thumb: you should still be able to see a little bit of the paper towel or soil between seeds. Think of it like sprinkling parmesan on pasta. A nice even coating.
Pro tip: Let your child use a spoon to scatter seeds. It gives them more control and feels very "official."
Step 3: Cover and Wait (The Blackout Phase)
This part surprises most people: seeds germinate better in the dark.
Cover your container with its lid, a plate, or even a folded dish towel. Set it somewhere room temperature (the top of the fridge works great). For the next 2-4 days, your seeds are going to do their thing in cozy darkness.
Check once a day to make sure the paper towels are still damp. A quick spritz from a spray bottle is all you need.
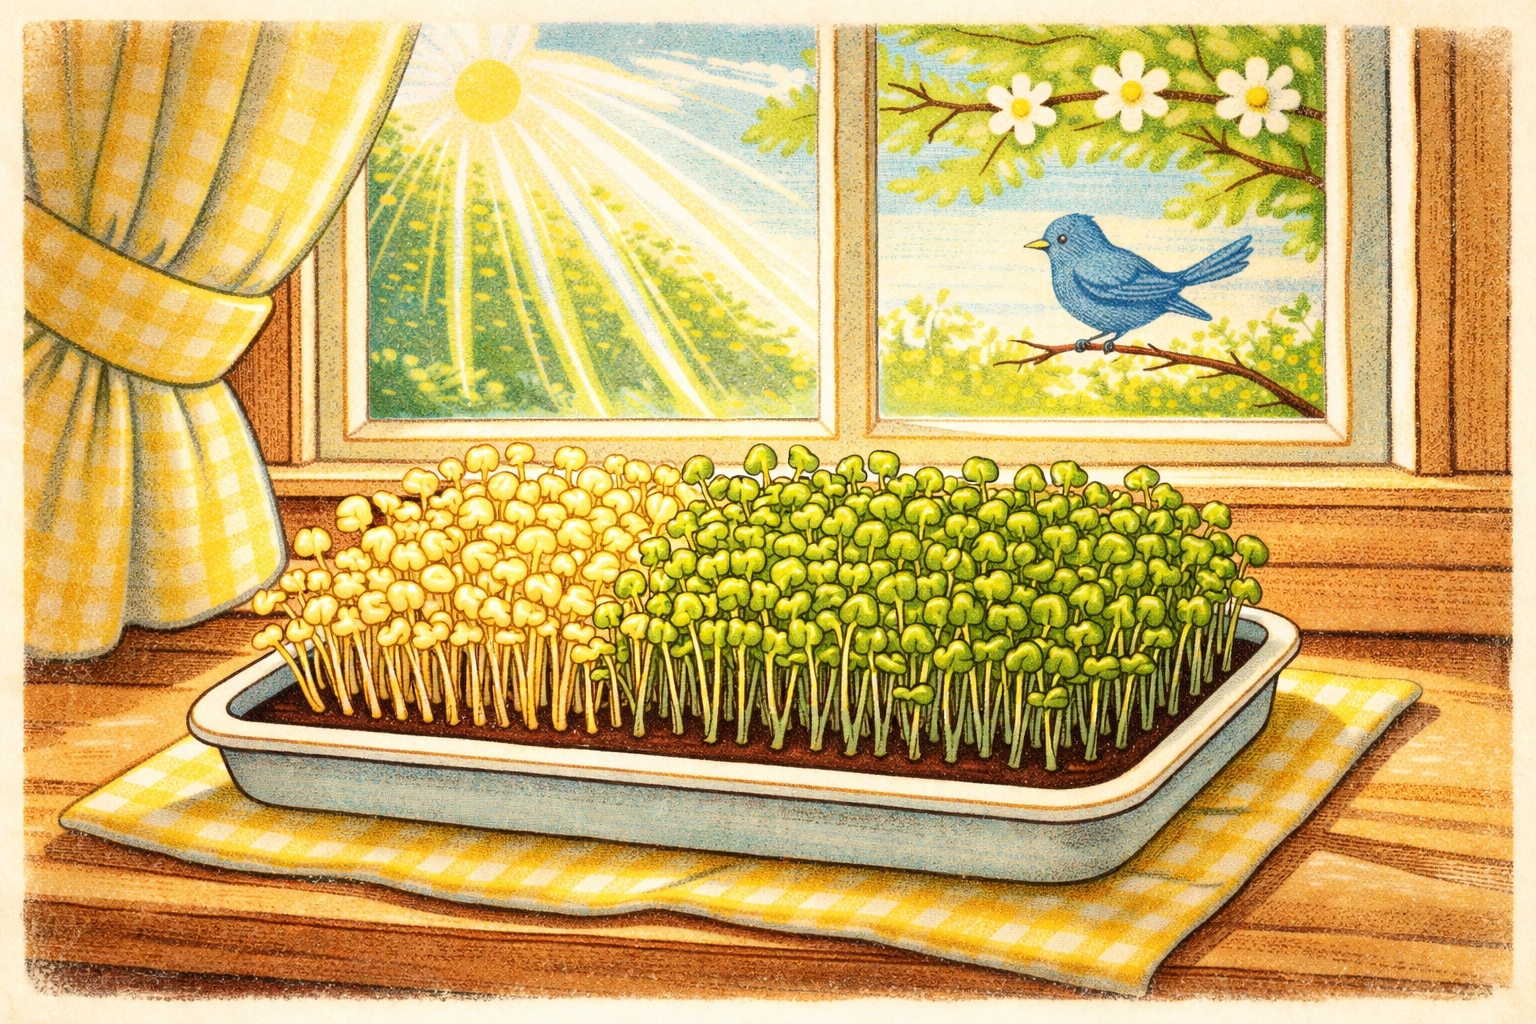
Step 4: Let There Be Light
After 2-4 days, peek under that cover. You should see pale little sprouts reaching upward. Some might even be pushing against the lid.
Now it's time to uncover them and move the tray to a sunny windowsill. A south-facing window is ideal, but any spot that gets a few hours of light will work.
Watch what happens next: this is the cool part. Those pale sprouts will start turning green within hours as they begin photosynthesizing. It's like watching a science experiment in real time.
Step 5: Daily Care (The Easy Part)
From here on out, your job is simple:
- Mist once or twice a day to keep the growing medium damp
- Rotate the tray if you notice the greens leaning toward the light
- Watch and wait
That's it. No fertilizer needed. No complicated watering schedule. Just a daily spritz and some sunshine.
The Growth Timeline: What to Expect
Here's a day-by-day breakdown so you and your kids know what's coming:
| Day | What You'll See |
|---|---|
| Day 1-2 | Not much! Seeds are absorbing water and waking up. |
| Day 3-4 | Tiny white roots appear. Some seeds crack open. |
| Day 5-6 | Sprouts emerge and start reaching upward. |
| Day 7-10 | Cotyledon leaves (the first baby leaves) unfold and turn green. |
| Day 10-14 | Microgreens reach 1-3 inches tall. Harvest time! |
Fastest varieties: Radish, arugula, and mustard (5-7 days)
Medium speed: Sunflower, broccoli, and kale (8-12 days)
Slower but worth it: Basil, cilantro, and beet (12-21 days)
For a first-time project with kids, I'd recommend radish or sunflower. Radish is lightning fast. Sunflower produces satisfyingly chunky greens that are fun to munch.
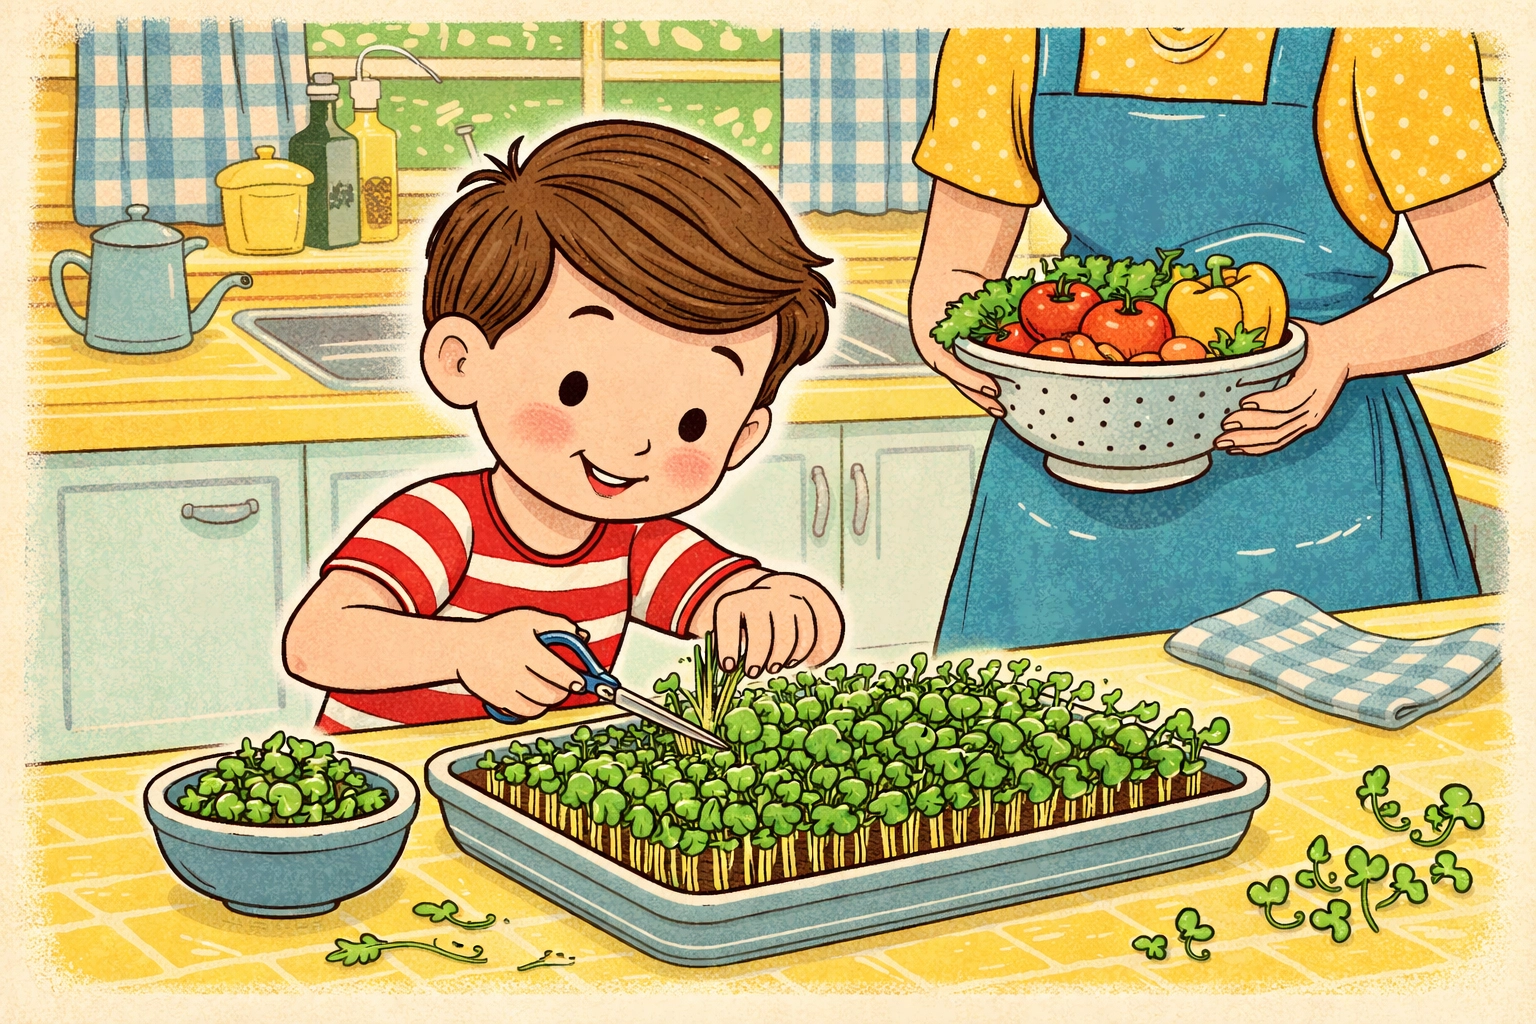
How to Harvest (and What to Do With Them)
Your microgreens are ready when the first set of leaves: called cotyledons: are fully open and the greens are about 1-3 inches tall. You'll know. They'll look like a tiny, adorable forest.
To harvest: Use clean scissors and snip the greens just above the soil or paper towel line. Let your kids do the cutting: it's incredibly satisfying.
What to do with them:
- Toss them on top of scrambled eggs
- Add a handful to a sandwich or wrap
- Sprinkle over pizza after it comes out of the oven
- Blend into a smoothie (they're so mild, kids won't even notice)
- Or just eat them straight as a crunchy snack
The Learning Connection: Nutrition and Plant Science
This project is sneakily educational. While your kids are misting and watching, you can casually drop some knowledge:
Photosynthesis in action: Ask them why the sprouts turned green after you moved them to the light. (Chlorophyll! The plant is making its own food now.)
Nutrition basics: Explain that these tiny greens are packed with vitamins that help their bodies grow strong: way more than the full-sized vegetables at the store.
Life cycles: Point out the different parts of the plant as they develop. Root, stem, cotyledon, true leaves. It's botany without the boring textbook.
Keep the Momentum Going
Once your first tray is harvested, start another one. With a rotation of 2-3 trays at different stages, you can have fresh microgreens every week: all for pennies.
Happy growing!
References:
- USDA Agricultural Research Service – Nutrient content of microgreens
- University of Maryland Extension – Growing microgreens at home
- Johnny's Selected Seeds – Microgreen growing guide