

How do you make Seed Bombs for a backyard butterfly garden?
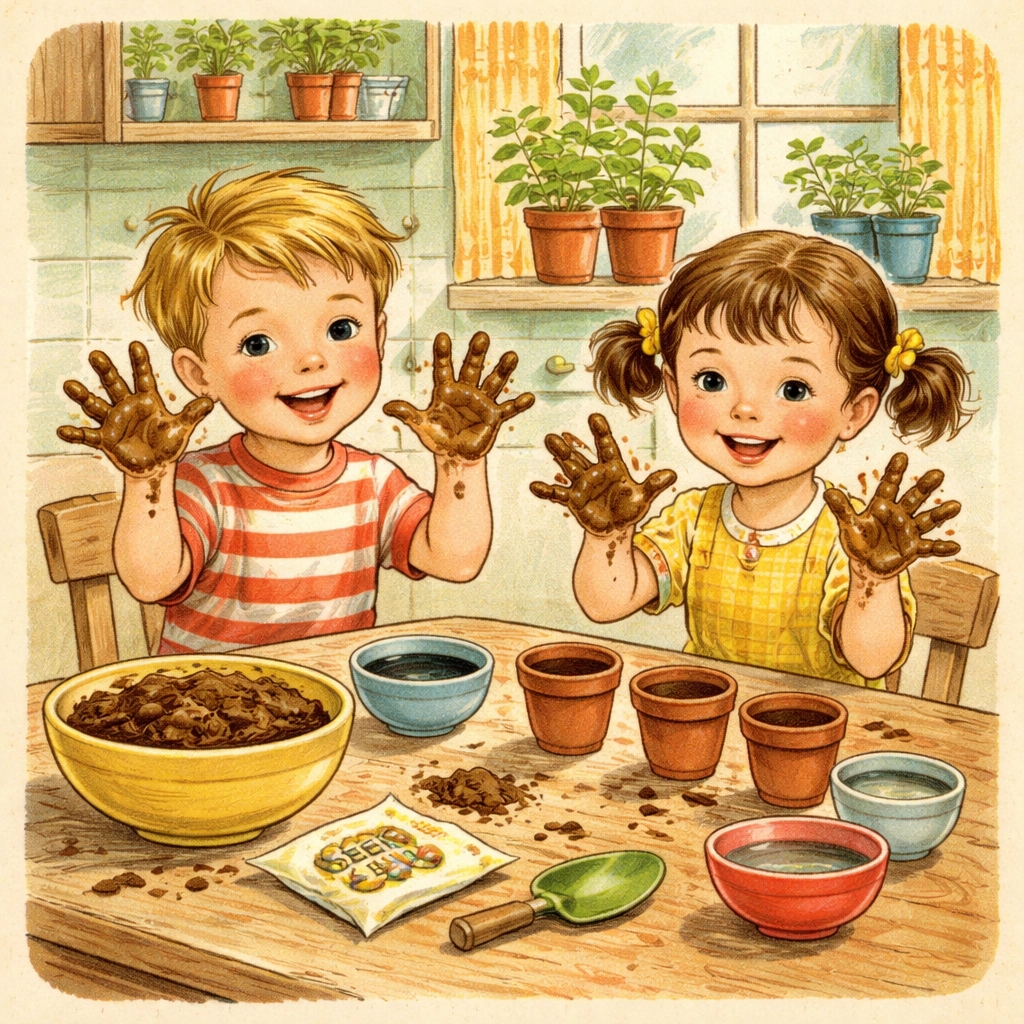
Seed bombs are small balls made from clay or paper pulp, compost, and wildflower seeds that you can toss into bare patches of your yard to grow a butterfly-friendly garden. They're one of the easiest, most budget-friendly projects you can do with kids, and they teach valuable lessons about seed dispersal, pollination, and the life cycle of butterflies, all while getting your hands gloriously messy.
The best part? You can make a whole batch for under $5 using materials you likely already have at home. No fancy equipment. No green thumb required. Just a little patience and a willingness to get a bit muddy.
Why Seed Bombs Are a Great STEAM Project for Kids
Seed bombs (sometimes called "seed balls") aren't just a fun craft, they're a hands-on science experiment wrapped in a gardening lesson. Here's what your little ones can learn:
- Biology: How seeds germinate and what conditions they need to sprout.
- Ecology: Why butterflies need native wildflowers for food and habitat.
- Earth Science: How soil composition affects plant growth.
- Art: Shaping and designing their own seed bombs.
Plus, there's something deeply satisfying about "bombing" your backyard with flowers. It feels a little rebellious, even when it's completely wholesome.
What You'll Need: The Budget Breakdown
One of our core goals at Tierney Family Farms is keeping projects affordable. Here's what this one will run you:
| Material | Estimated Cost | Notes |
|---|---|---|
| Clay (air-dry or natural potter's clay) | $0 – $3 | You can also use unscented clay cat litter (no additives!) |
| Compost or potting soil | $0 – $2 | A small bag works, or use your own compost pile |
| Wildflower seed mix (butterfly-friendly) | $2 – $4 | Look for native varieties at garden centers or dollar stores |
| Water | Free | From your tap! |
| Mixing bowl | Free | Use one from the kitchen |
| Parchment paper or old newspaper | Free | For drying |
Total Estimated Cost: $2 – $9
If you already have compost and a packet of seeds lying around, this project can cost you absolutely nothing. That's our kind of craft.
Method 1: The Classic Clay Seed Bomb
This is the traditional method that's been used for centuries in "guerrilla gardening." It's sturdy, easy to throw, and protects seeds from birds and wind until they're ready to sprout.
Materials:
- 1 cup natural clay (or clay-based cat litter with zero additives)
- 1 cup compost or potting soil
- 1 tablespoon wildflower seeds
- Water (just enough to bind)
Step-by-Step Instructions:
Step 1: Mix the Dry Ingredients
In a large bowl, combine the clay and compost. Break up any large chunks with your fingers. Kids love this part, it's basically playing in the dirt with permission.
Step 2: Add Your Seeds
Sprinkle in your wildflower seeds and mix them evenly throughout. You don't need many seeds per bomb, a small pinch in each one is plenty.
Step 3: Add Water Slowly
Drizzle in water a little at a time, mixing as you go. You want a dough-like consistency that holds together without being soggy. Think playdough, not soup.
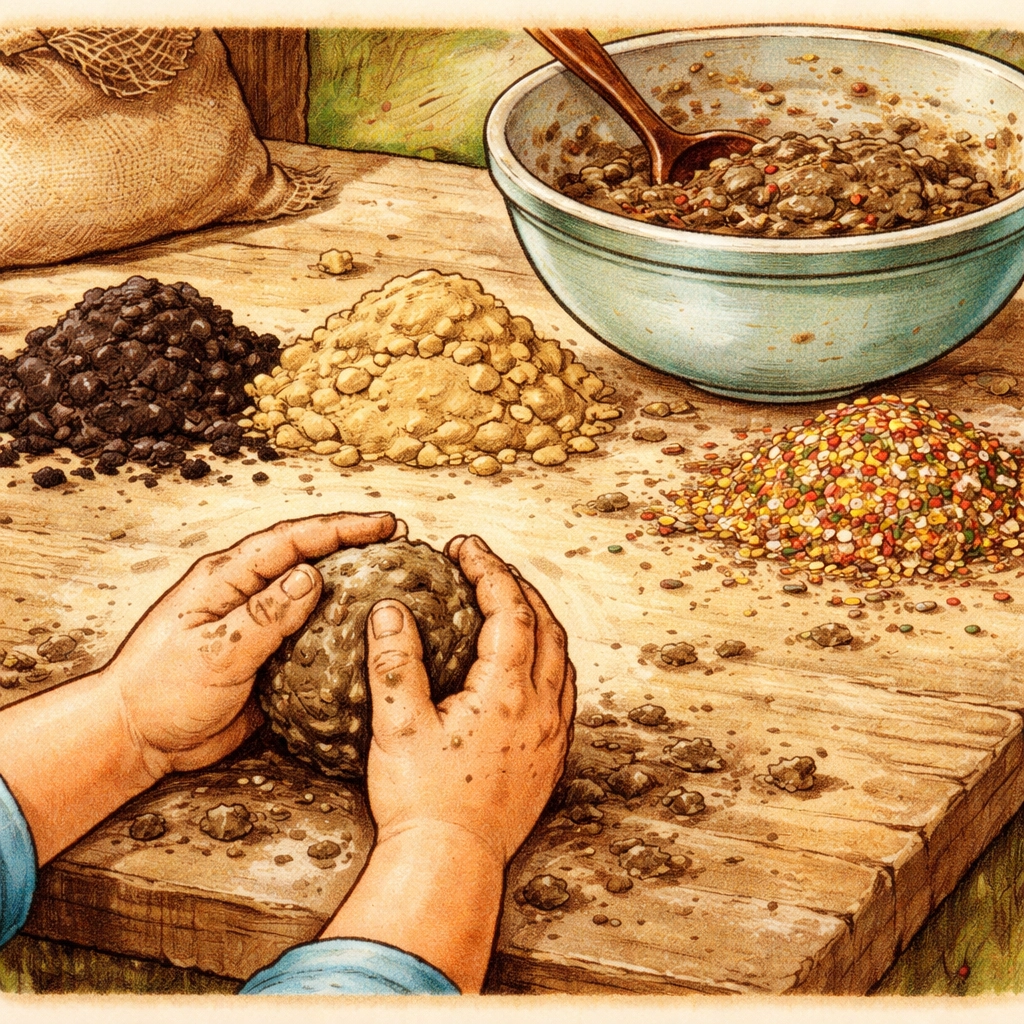
Step 4: Roll Into Balls
Pinch off small sections and roll them into balls about the size of a grape or golf ball. If you're using larger seeds (like sunflower seeds), make them a bit bigger.
Step 5: Let Them Firm Up
Place your seed bombs on parchment paper or newspaper and let them sit for 2–3 hours. You want them firm but not bone dry, they should still have a little moisture inside.
Step 6: Store or Deploy!
Use them right away, or store them in a paper bag in a cool, dry place for up to a month.
Method 2: The Paper Pulp Seed Bomb
Don't have clay? No problem. This method uses recycled paper and works just as well. It's also a fantastic way to teach kids about upcycling.
Materials:
- 1 cup shredded newspaper or tissue paper
- Water
- 1 tablespoon wildflower seeds
- Blender (with adult supervision)
- Paper towels or cheesecloth
Step-by-Step Instructions:
Step 1: Shred and Soak
Tear your paper into tiny pieces and soak them in water for about 10 minutes until they're completely saturated.
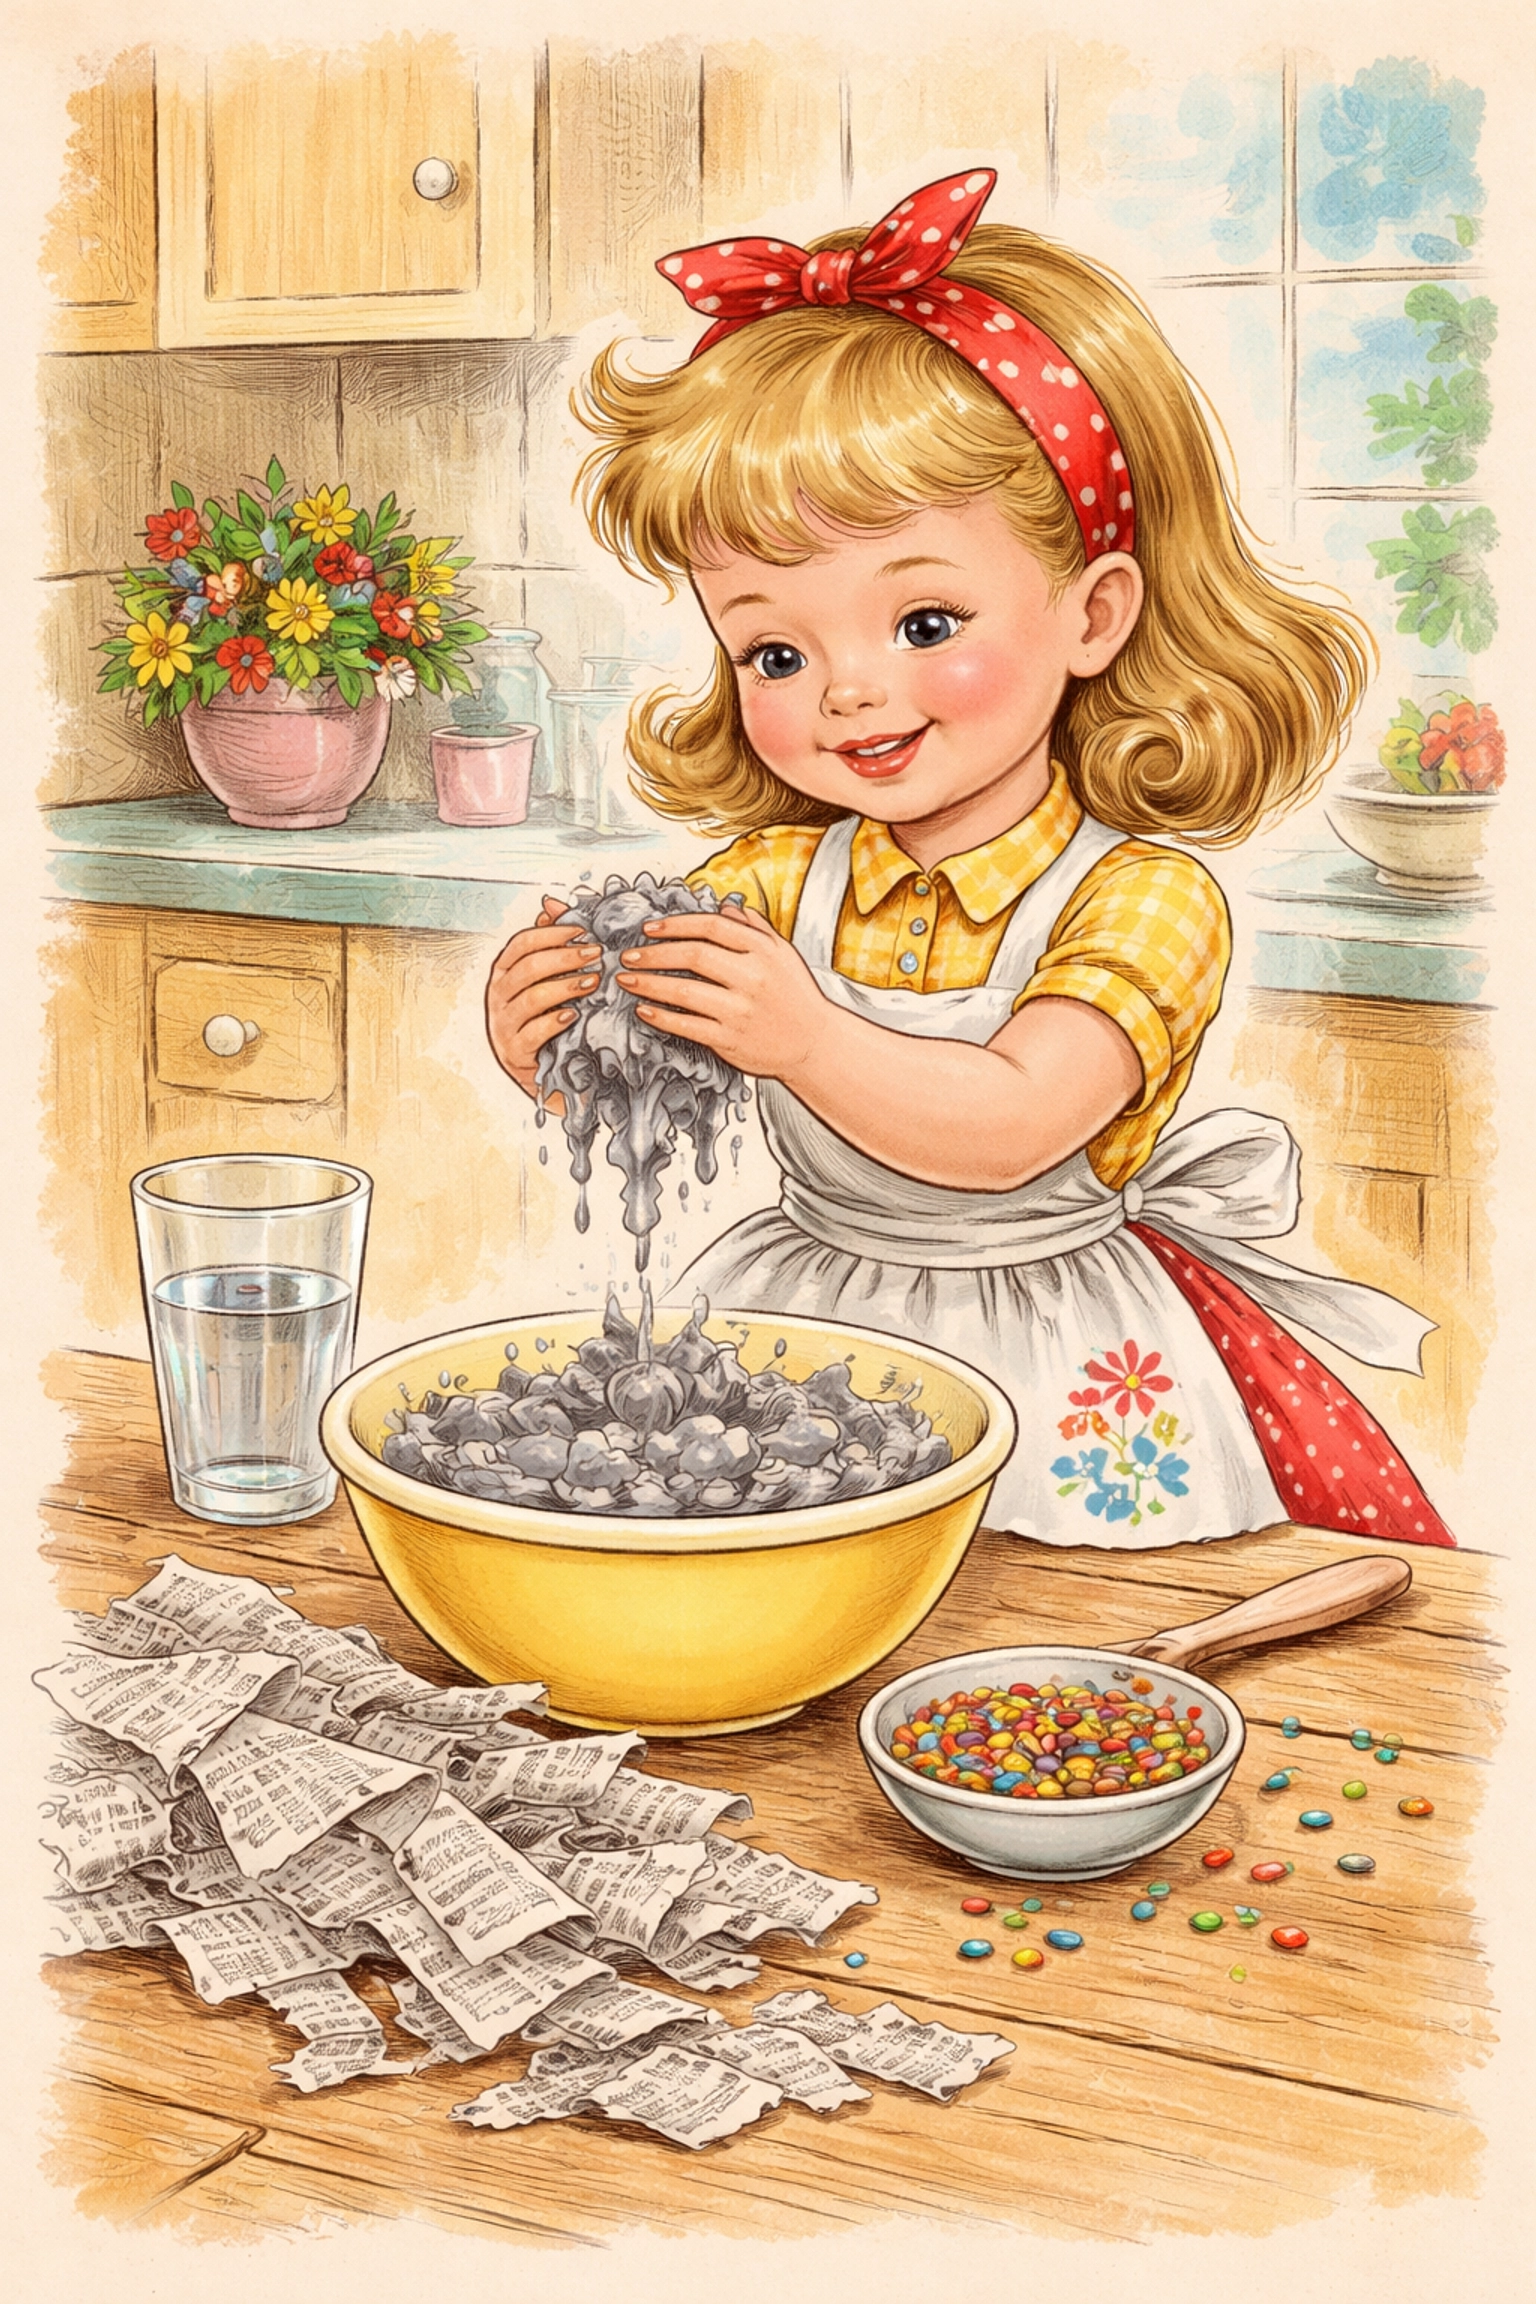
Step 2: Blend Into Pulp
With an adult's help, blend the wet paper until it becomes a thick, soupy pulp. It should look like oatmeal.
Step 3: Drain Excess Water
Pour the pulp into a cheesecloth or layer of paper towels and squeeze out as much water as possible.
Step 4: Mix in the Seeds
Add your seeds to the damp pulp and mix thoroughly with your hands.
Step 5: Shape and Squeeze
Form the mixture into small balls, squeezing out any remaining water as you go. These will be softer than clay bombs, so handle them gently.
Step 6: Dry Completely
Place on parchment paper and let them dry for a full 24 hours. They'll harden as they dry and become easier to handle.
Choosing the Best Seeds for Butterflies
Not all flowers are created equal when it comes to attracting butterflies. You'll want to choose native wildflowers that provide nectar for adult butterflies and food for caterpillars.
Here are some excellent choices:
- Black-Eyed Susan – A classic pollinator magnet
- Coneflower (Echinacea) – Butterflies love these purple beauties
- Milkweed – Essential for Monarch butterflies
- Cosmos – Easy to grow and long-blooming
- Marigold – Bright, cheerful, and butterfly-approved
- Zinnia – A favorite landing pad for painted ladies
Many garden centers sell pre-mixed "butterfly garden" seed packets, which take all the guesswork out of it.
How to Plant Your Seed Bombs
Here's the fun part, deployment!
Step 1: Choose Your Spot
Look for a bare patch of soil that gets at least 4 hours of direct sunlight per day. Butterflies love sunny meadows, so avoid shady corners.
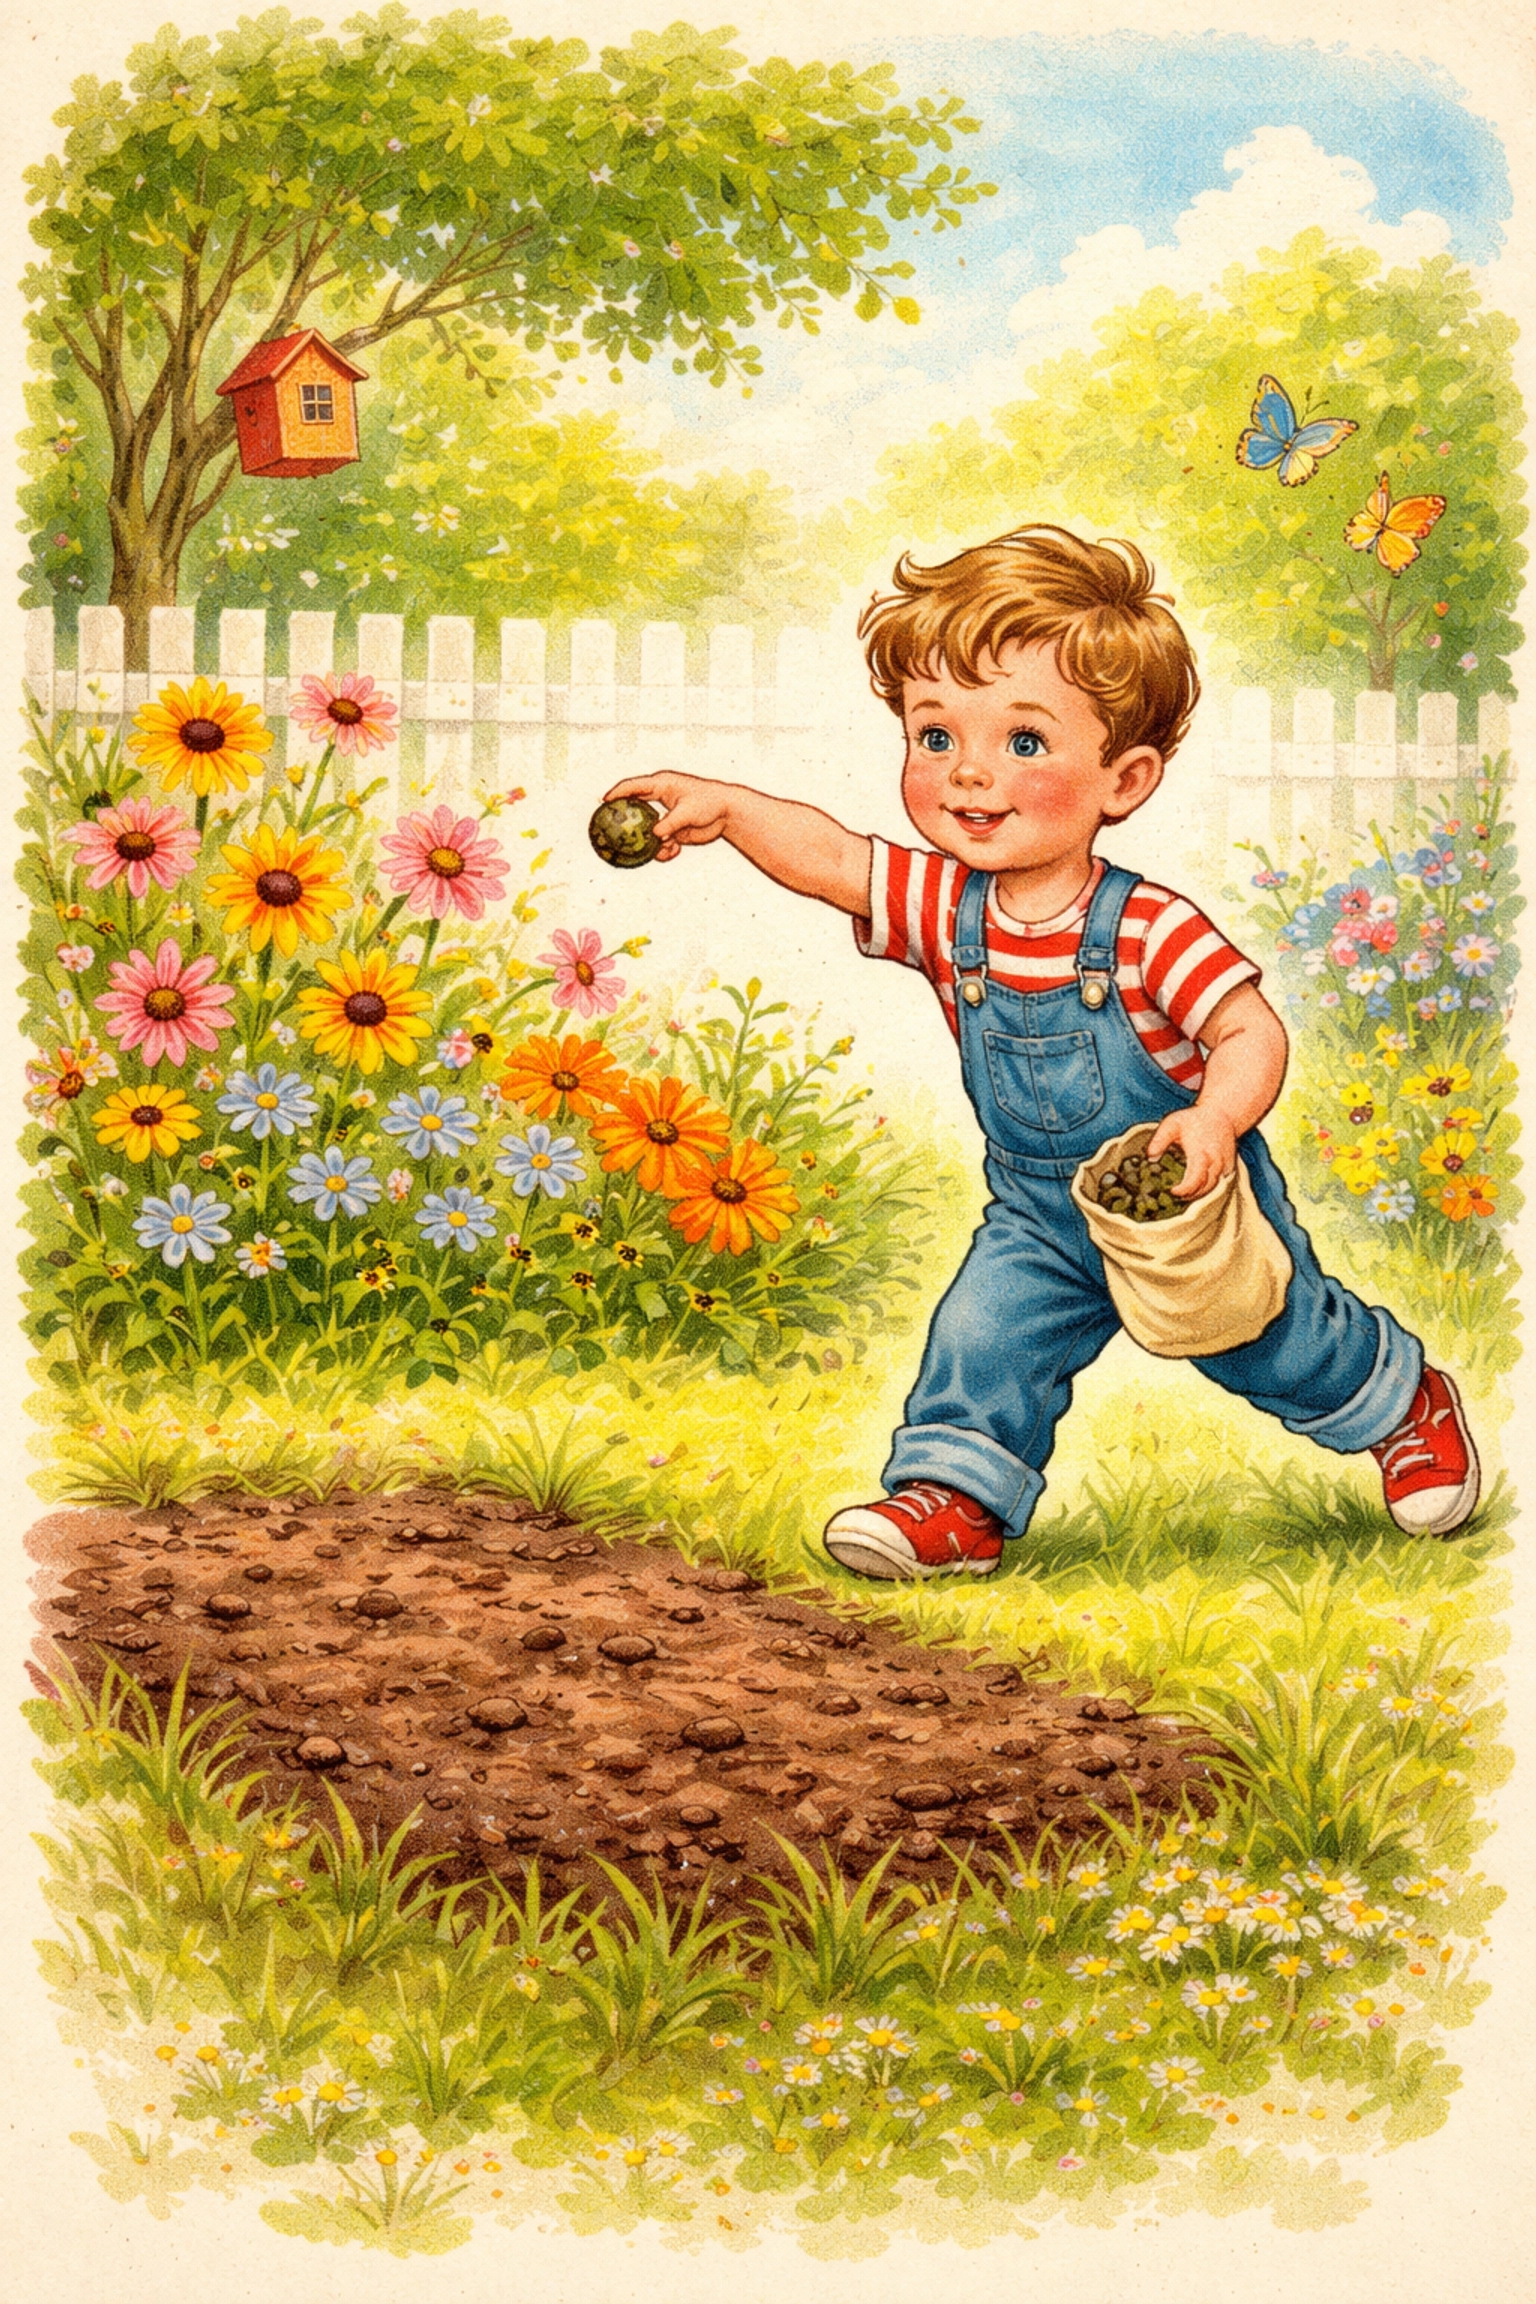
Step 2: Toss and Scatter
Simply toss your seed bombs onto the soil. No need to bury them, the clay or paper shell will break down naturally with rain and watering.
Step 3: Water Immediately
Give the area a good soak right after planting. Continue watering regularly (every few days) until you see sprouts emerge.
Step 4: Wait and Watch
Depending on your seeds and climate, you should see green sprouts within 2–4 weeks. Flowers typically bloom within 6–10 weeks.
Tips for Success
- Timing matters. Early spring or fall are the best times to plant seed bombs in most regions.
- Don't over-water. Soggy soil can rot seeds before they sprout.
- Be patient. Some wildflowers are slow starters but will reward you with blooms for years.
- Go native. Native plants are adapted to your local climate and require less maintenance.
Frequently Asked Questions
How long do seed bombs last before planting?
When stored in a cool, dry place in a paper bag, seed bombs can last up to one month. Avoid plastic bags, as they can trap moisture and cause mold.
Can I use any type of clay for seed bombs?
Natural potter's clay or air-dry clay works best. You can also use unscented clay cat litter as long as it contains no additives or fragrances.
What's the best time of year to throw seed bombs?
Early spring (after the last frost) or early fall are generally the best times. This gives seeds the cool, moist conditions they need to germinate.
Do seed bombs actually work?
Yes! Seed bombs have been used for decades in restoration projects and guerrilla gardening. The clay or paper protects seeds from birds and wind until conditions are right for sprouting.
Can I make seed bombs indoors?
Absolutely. This is a great rainy-day activity. Just make sure you have a surface that's easy to clean, and let the bombs dry completely before storing or using.
How many seeds should I put in each bomb?
A small pinch (5–10 seeds) per bomb is usually plenty. Too many seeds can lead to overcrowding when they sprout.
Are seed bombs safe for kids to handle?
Yes! All the materials are non-toxic and kid-friendly. Just supervise younger children around water and blenders.
Can I use vegetable seeds instead of wildflowers?
You can, but wildflowers are better suited to the "toss and forget" nature of seed bombs. Vegetables often need more controlled conditions to thrive.
Why aren't my seed bombs sprouting?
Common culprits include not enough sunlight, too much or too little water, or planting at the wrong time of year. Make sure your spot gets at least 4 hours of sun daily.
Can I give seed bombs as gifts?
They make wonderful gifts! Wrap them in tissue paper or place them in a small burlap sack with a tag explaining what they are.
References
- National Wildlife Federation. "How to Make Seed Bombs." NWF.org.
- The Old Farmer's Almanac. "Planting Wildflowers." Almanac.com.
- Royal Horticultural Society. "Seed Bombs for Wildlife." RHS.org.uk.
- Xerces Society. "Pollinator-Friendly Seed Mixes." Xerces.org.