

How to Set Up a Color Matching Bin for Kids
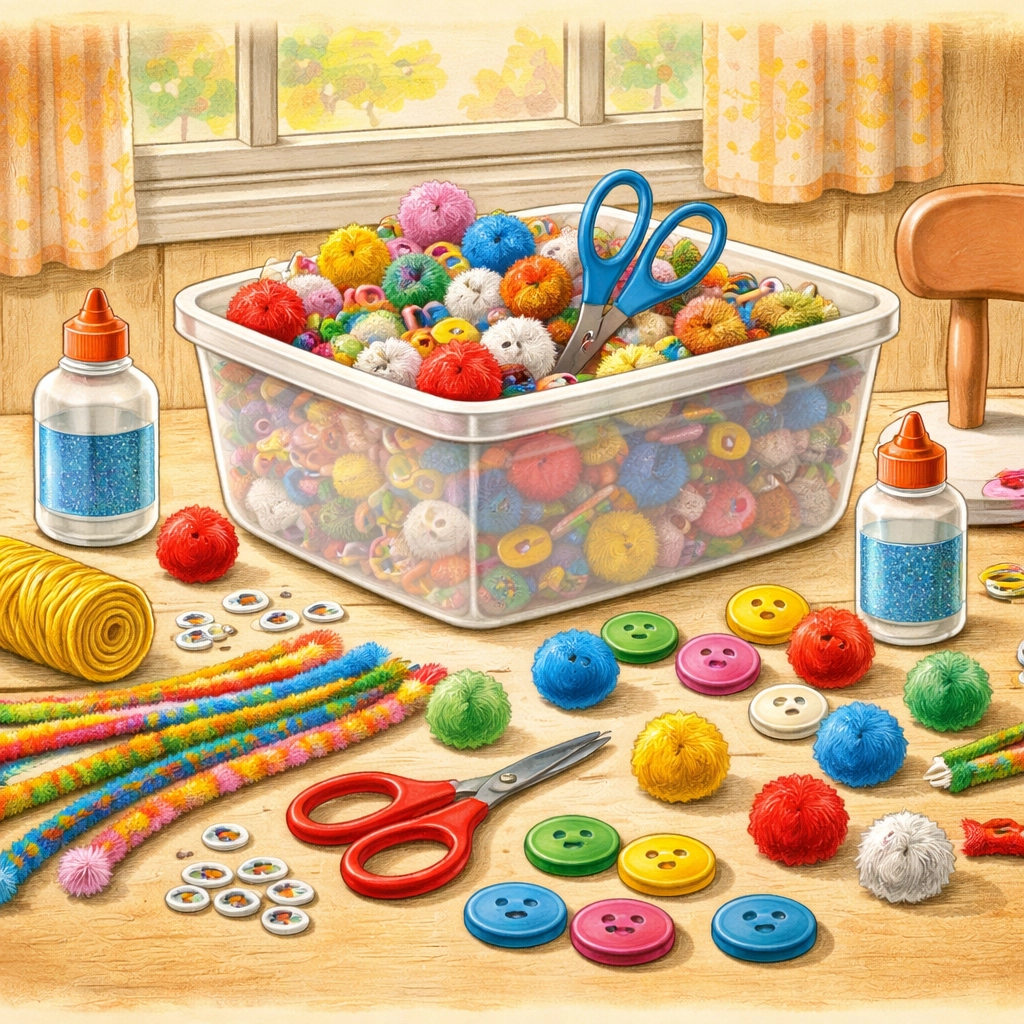
A color matching bin is a simple sensory activity where children sort colorful objects into matching containers, building color recognition and fine motor skills through hands-on play. You can set one up in about 10 minutes using everyday household items and a few inexpensive craft supplies. The best part? This activity typically costs less than $10 and can keep little ones engaged for extended stretches of independent play.
Color matching bins work well because they combine tactile exploration with a clear, achievable goal. Kids get to dig through a treasure trove of colorful items, use fun tools like tongs or scoops, and experience that satisfying feeling of putting things where they belong. It's learning disguised as play: which, let's be honest, is the best kind.
What You'll Need: Materials List (Under $10)
| Item | Estimated Cost | Where to Find It |
|---|---|---|
| Large plastic bin or container | $1–$3 | Dollar store, around the house |
| Colorful pom poms (variety pack) | $1–$2 | Dollar store, craft aisle |
| Colored bowls or cups (4–6) | $1–$2 | Dollar store, kitchen drawer |
| Plastic tongs or large tweezers | $1 | Dollar store, kitchen section |
| Additional colorful items (buttons, foam shapes, pipe cleaners) | $1–$2 | Craft aisle, junk drawer |
| Total | $5–$10 |
You likely already have several of these items around your home. Raid the craft drawer, check behind the couch cushions for stray pom poms, and repurpose those silicone muffin cups you bought with good intentions. This activity is forgiving and works with whatever colorful odds and ends you can gather.
Age Range: Who Will Enjoy This Activity?
Toddlers (18 months – 3 years): At this stage, kids are just beginning to recognize and name colors. They may sort by grabbing handfuls rather than using tools, and that's perfectly fine. Expect some colors to end up in the wrong bowls: and some pom poms to end up in mouths, so supervise closely and choose appropriately sized items.
Preschoolers (3–5 years): This is the sweet spot for color matching bins. Preschoolers can use tongs effectively, understand the sorting concept, and often create their own rules for the game. They might sort by size, texture, or shape once they've mastered colors.
Early Elementary (5–7 years): Older kids may find basic color sorting too simple, but you can increase complexity by adding color gradients (light blue vs. dark blue), timed challenges, or blindfolded sorting games.
Time Estimate
- Setup time: 5–10 minutes
- Play time: 15–45 minutes (varies widely by child and age)
- Cleanup time: 5 minutes (or make cleanup part of the game!)
Step-by-Step Setup Instructions
Step 1: Choose Your Main Bin
Select a container large enough for little hands to dig around in comfortably. A plastic storage bin, large mixing bowl, or even a clean cardboard box works well. Clear containers let kids see all the colors at once, which can be visually exciting.
Step 2: Gather Your Colorful Objects
Collect a variety of items in at least 4–6 distinct colors. Good options include:
- Pom poms (various sizes)
- Large buttons
- Foam shapes or letters
- Plastic easter eggs
- Pipe cleaners (cut into shorter pieces)
- Craft sticks
- Plastic bottle caps
Tip: Stick to items that are large enough to prevent choking hazards for younger children. When in doubt, if it fits through a toilet paper tube, it's probably too small for toddlers.
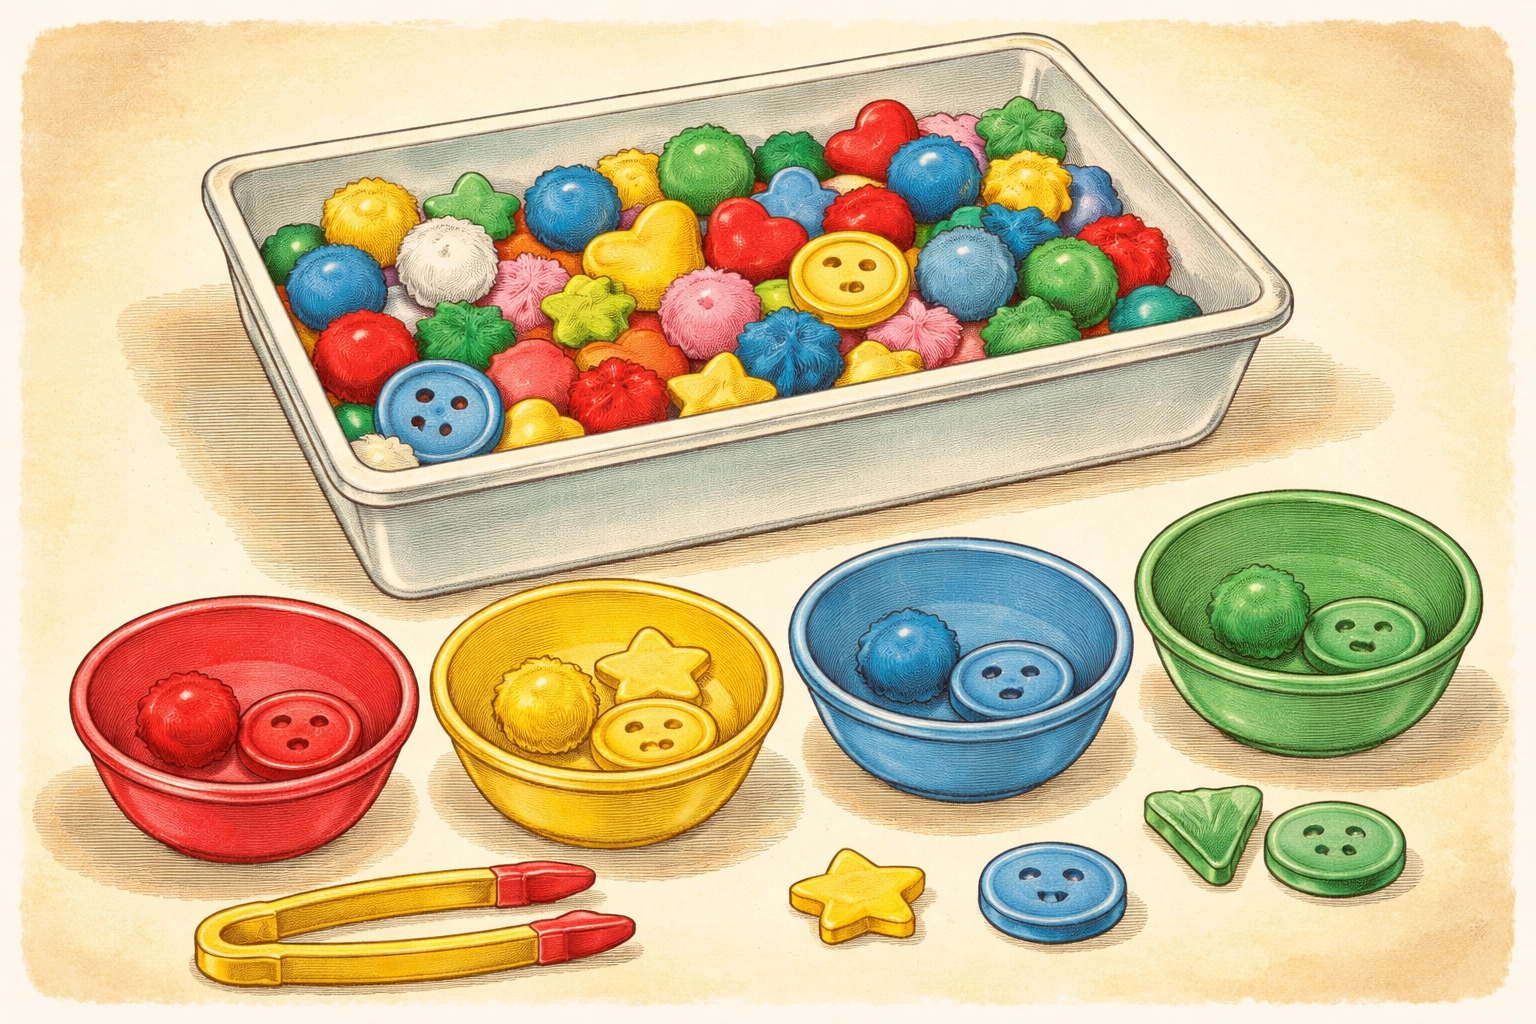
Step 3: Set Up Your Sorting Containers
Arrange colored bowls, cups, or containers next to your main bin. Each container should represent one color. Options include:
- Colored plastic bowls from the dollar store
- Silicone muffin cups
- Paper plates with colored circles drawn on them
- Small buckets or sand pails
If you don't have colored containers, you can tape construction paper to the inside of clear cups or simply place a sample object in each container to show which color goes where.
Step 4: Add Sorting Tools
This is where fine motor development comes in. Provide tools that make transferring items a fun challenge:
- Plastic tongs or salad tongs
- Large tweezers
- Slotted spoons
- Small scoops
- Clothespins (for picking up flat items)
For younger toddlers, fingers work just fine. The tools add an extra layer of difficulty that's better suited for kids who have developed some hand strength and coordination.
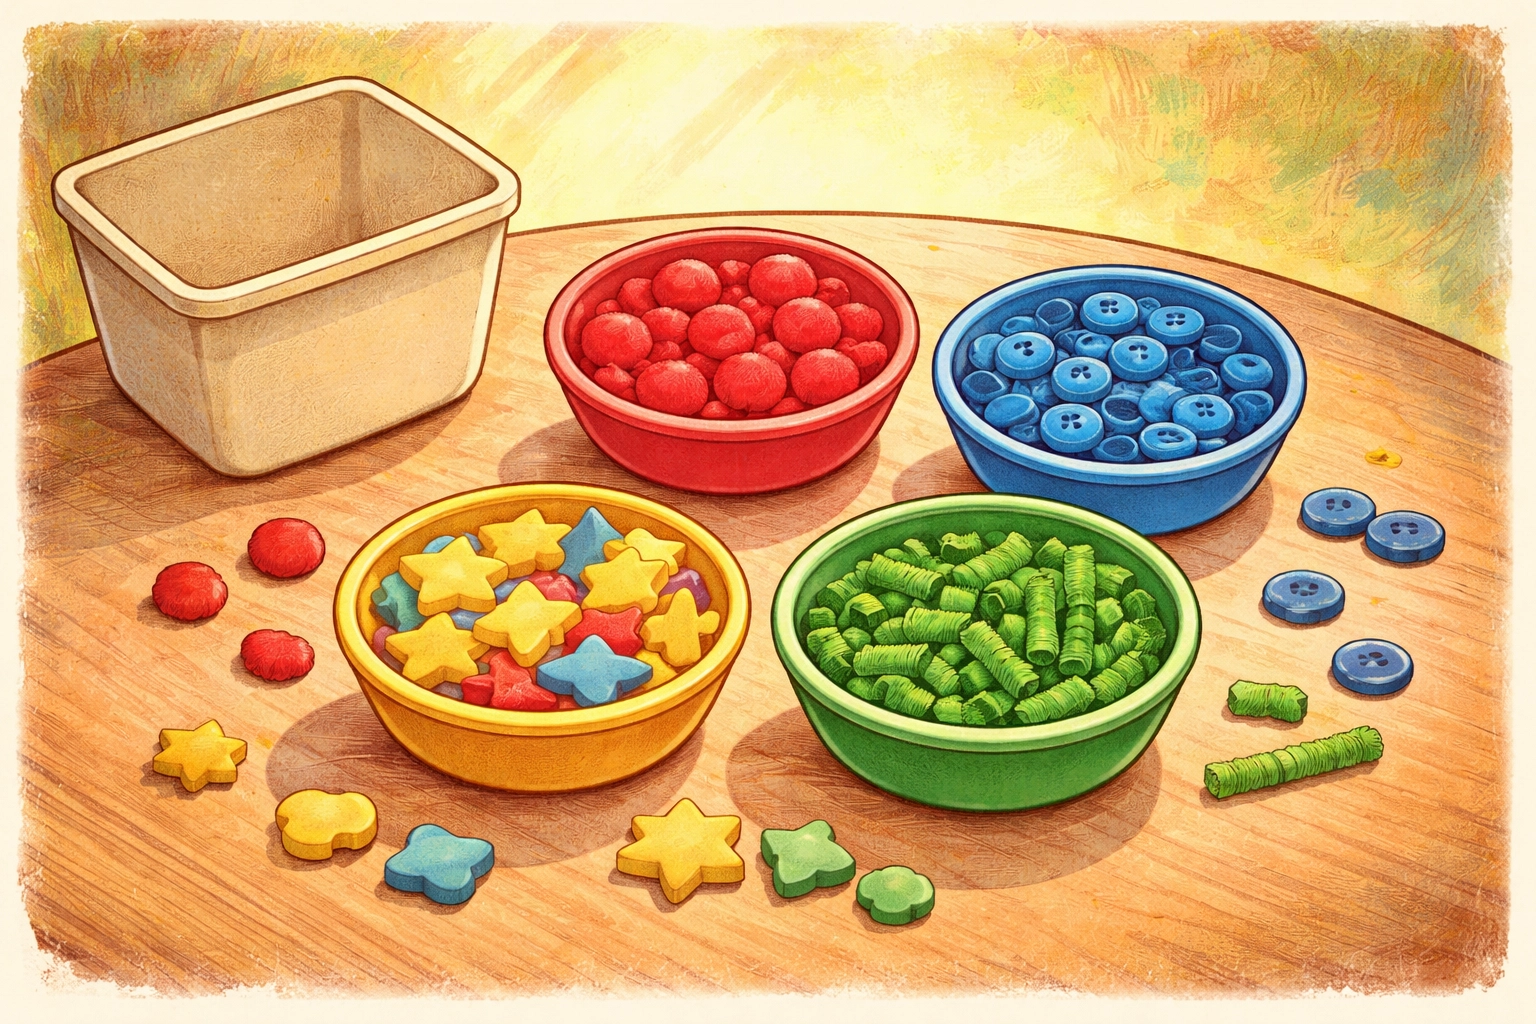
Step 5: Mix Everything Together
Dump all your colorful items into the main bin and give them a good stir. You want colors thoroughly mixed so kids have to hunt for what they need. This treasure-hunt element keeps the activity engaging longer than if items were pre-sorted in sections.
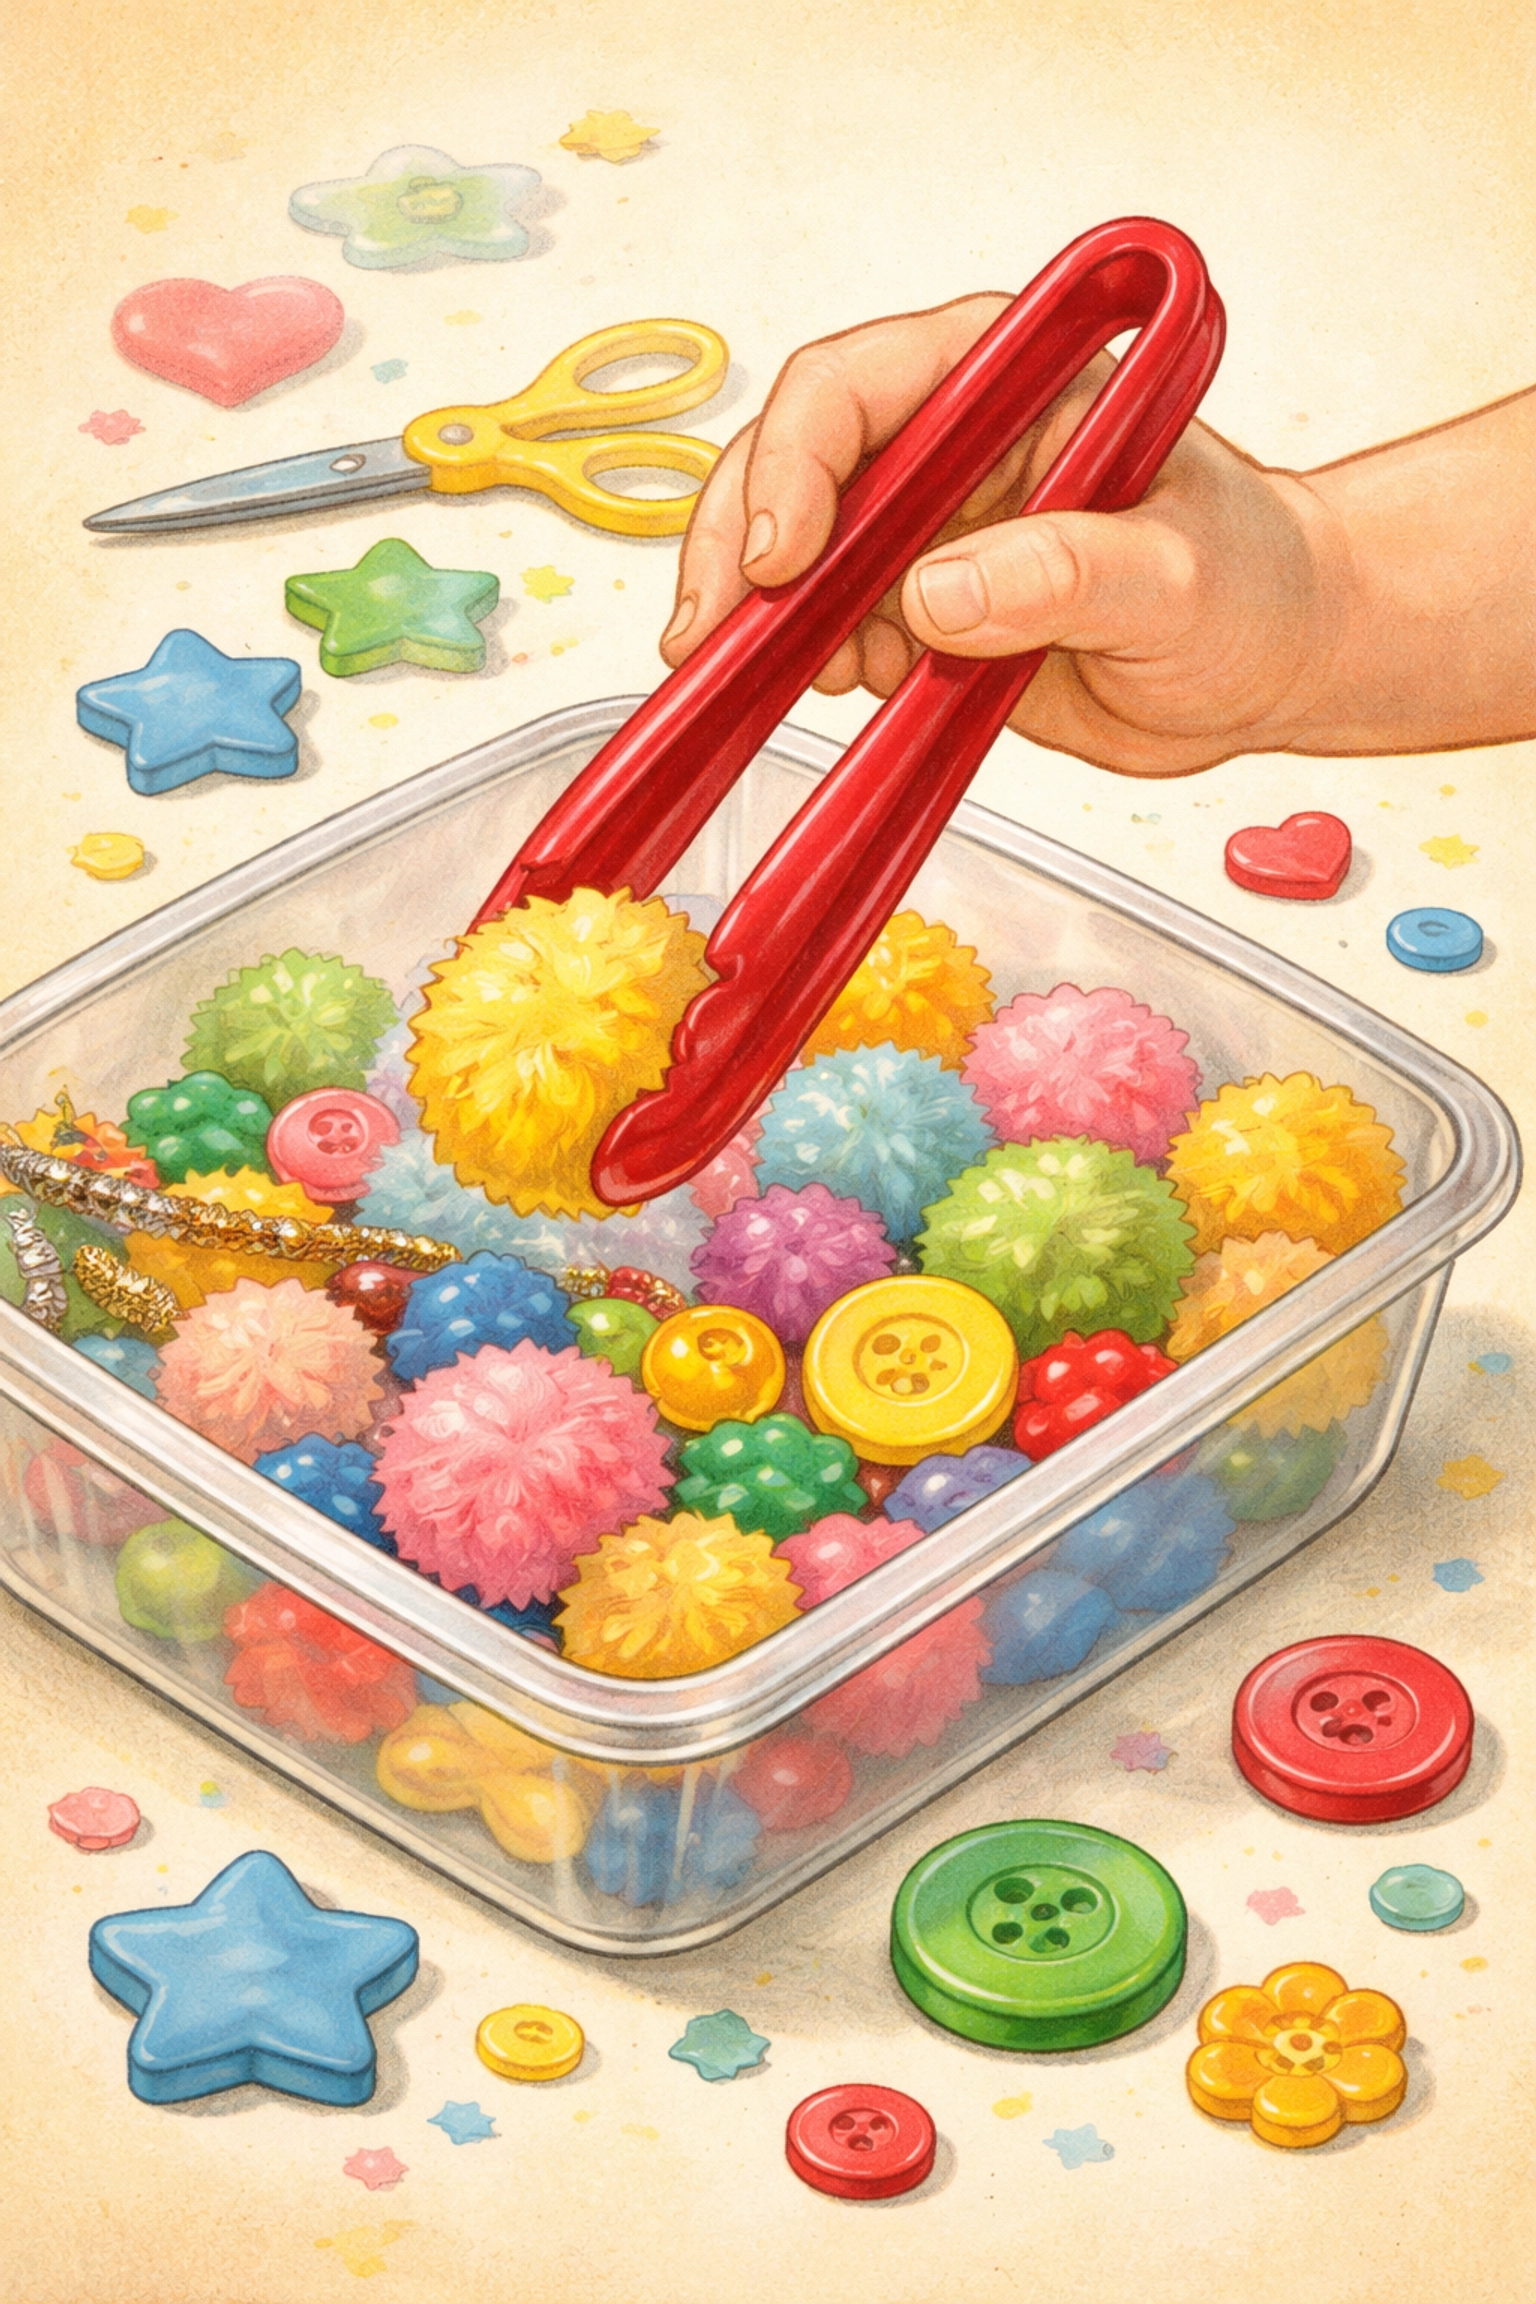
Step 6: Demonstrate and Play
Show your child how the activity works by picking up one item and placing it in the matching container. Then step back and let them take over. Resist the urge to correct every mistake: the process matters more than perfection, and many kids self-correct once they get rolling.
Variations and Extended Play Ideas
Once your child has sorted everything (or gotten bored with basic sorting), try these extensions:
- Pattern making: Use sorted items to create patterns or simple pictures
- Counting practice: Count how many items ended up in each container
- Color mixing discussion: Talk about what happens when you mix red and blue (great for older preschoolers)
- Scavenger hunt addition: Send kids around the house to find more items of each color to add to their containers
- Sensory base: Add dried rice, dried pasta, or water beads to the main bin for extra sensory input
If you enjoy hands-on learning activities like this one, you might also like our guide on how to create a DIY worm composting bin with children: another great way to combine play with practical skills.
Tips for Success
Start simple. Begin with just 3–4 colors for younger children and add more as they master the basics.
Embrace the mess. Items will roll away. Pom poms will escape. This is normal and part of the experience.
Rotate items. Keep the activity fresh by swapping out objects every few weeks. New items feel like a brand new game.
Make cleanup part of play. Challenge kids to sort everything back into a storage container by color before putting it away.
Store it ready-to-go. Keep your color matching bin assembled and accessible so kids can pull it out independently when they want to play.
Frequently Asked Questions
What age is best for color matching activities?
Most children begin recognizing and naming colors between 18 months and 3 years, making this the ideal window to introduce color matching bins. However, kids as young as 12 months may enjoy the sensory exploration even if they're not actively sorting yet.
How do I make this activity harder for older kids?
Add more color variations (include pink, orange, and purple alongside primary colors), introduce gradients (light vs. dark shades), use blindfolds, set time limits, or have kids sort with their non-dominant hand.
What if my child just wants to dump everything out?
That's developmentally appropriate, especially for toddlers. Dumping and filling is a valuable learning experience on its own. You can gently redirect toward sorting, but don't stress if they prefer the dumping phase for a while.
Are there any items I should avoid putting in the bin?
Avoid small items that pose choking hazards for children under 3, anything sharp, items that could stain if mouthed, and anything breakable. When in doubt, supervise closely and remove questionable items.
Can I use food items for color sorting?
You can use items like dried pasta (dyed with food coloring), fruit loops, or colored goldfish crackers, but be prepared for snacking to interrupt sorting. Edible versions work best as a one-time activity rather than a reusable bin.
How do I store the color matching bin between uses?
Keep all items in the main bin with a lid, or use a large ziplock bag. Store sorting containers nested inside each other. Having everything contained makes it easy for kids to access independently.
What if my child gets frustrated?
Simplify the task. Reduce the number of colors, remove the tools and let them use hands, or sort alongside them. Frustration often means the challenge level needs adjusting.
How often should I change out the items?
Every 2–4 weeks is a good rhythm, or whenever you notice interest fading. You don't need to replace everything: swapping out even a few items can renew excitement.
Color matching bins are one of those rare activities that require minimal prep, cost almost nothing, and actually deliver on the promise of extended independent play. Set one up this week and watch your little one dive in: you might even get to finish a cup of coffee while it's still warm.
For more hands-on kids' activities, explore our kids crafts collection for additional inspiration.