

The $10 Lesson: DIY Herb Garden for Kids
Can you really build a kid-friendly herb garden for under ten bucks? Absolutely: and it's one of the most rewarding projects you can do with children. A simple herb garden teaches patience, responsibility, and basic science concepts, all while producing something your family can actually eat. No fancy equipment required. Just a few inexpensive supplies, some seeds, and a sunny windowsill.
This guide walks you through everything you need to get started, from a budget-friendly shopping list to troubleshooting tips when things don't go as planned. Let's dig in.
Why Herb Gardens Are Perfect for Kids
Herbs are forgiving. Unlike finicky vegetables that need precise conditions, most culinary herbs are pretty laid-back. They grow quickly (kids get to see results fast), they're hard to kill (which builds confidence), and they smell amazing (instant sensory reward).
Plus, there's something magical about watching a tiny seed become something you can sprinkle on pizza or stir into pasta sauce. That connection between "I grew this" and "I'm eating this" is powerful for young learners.
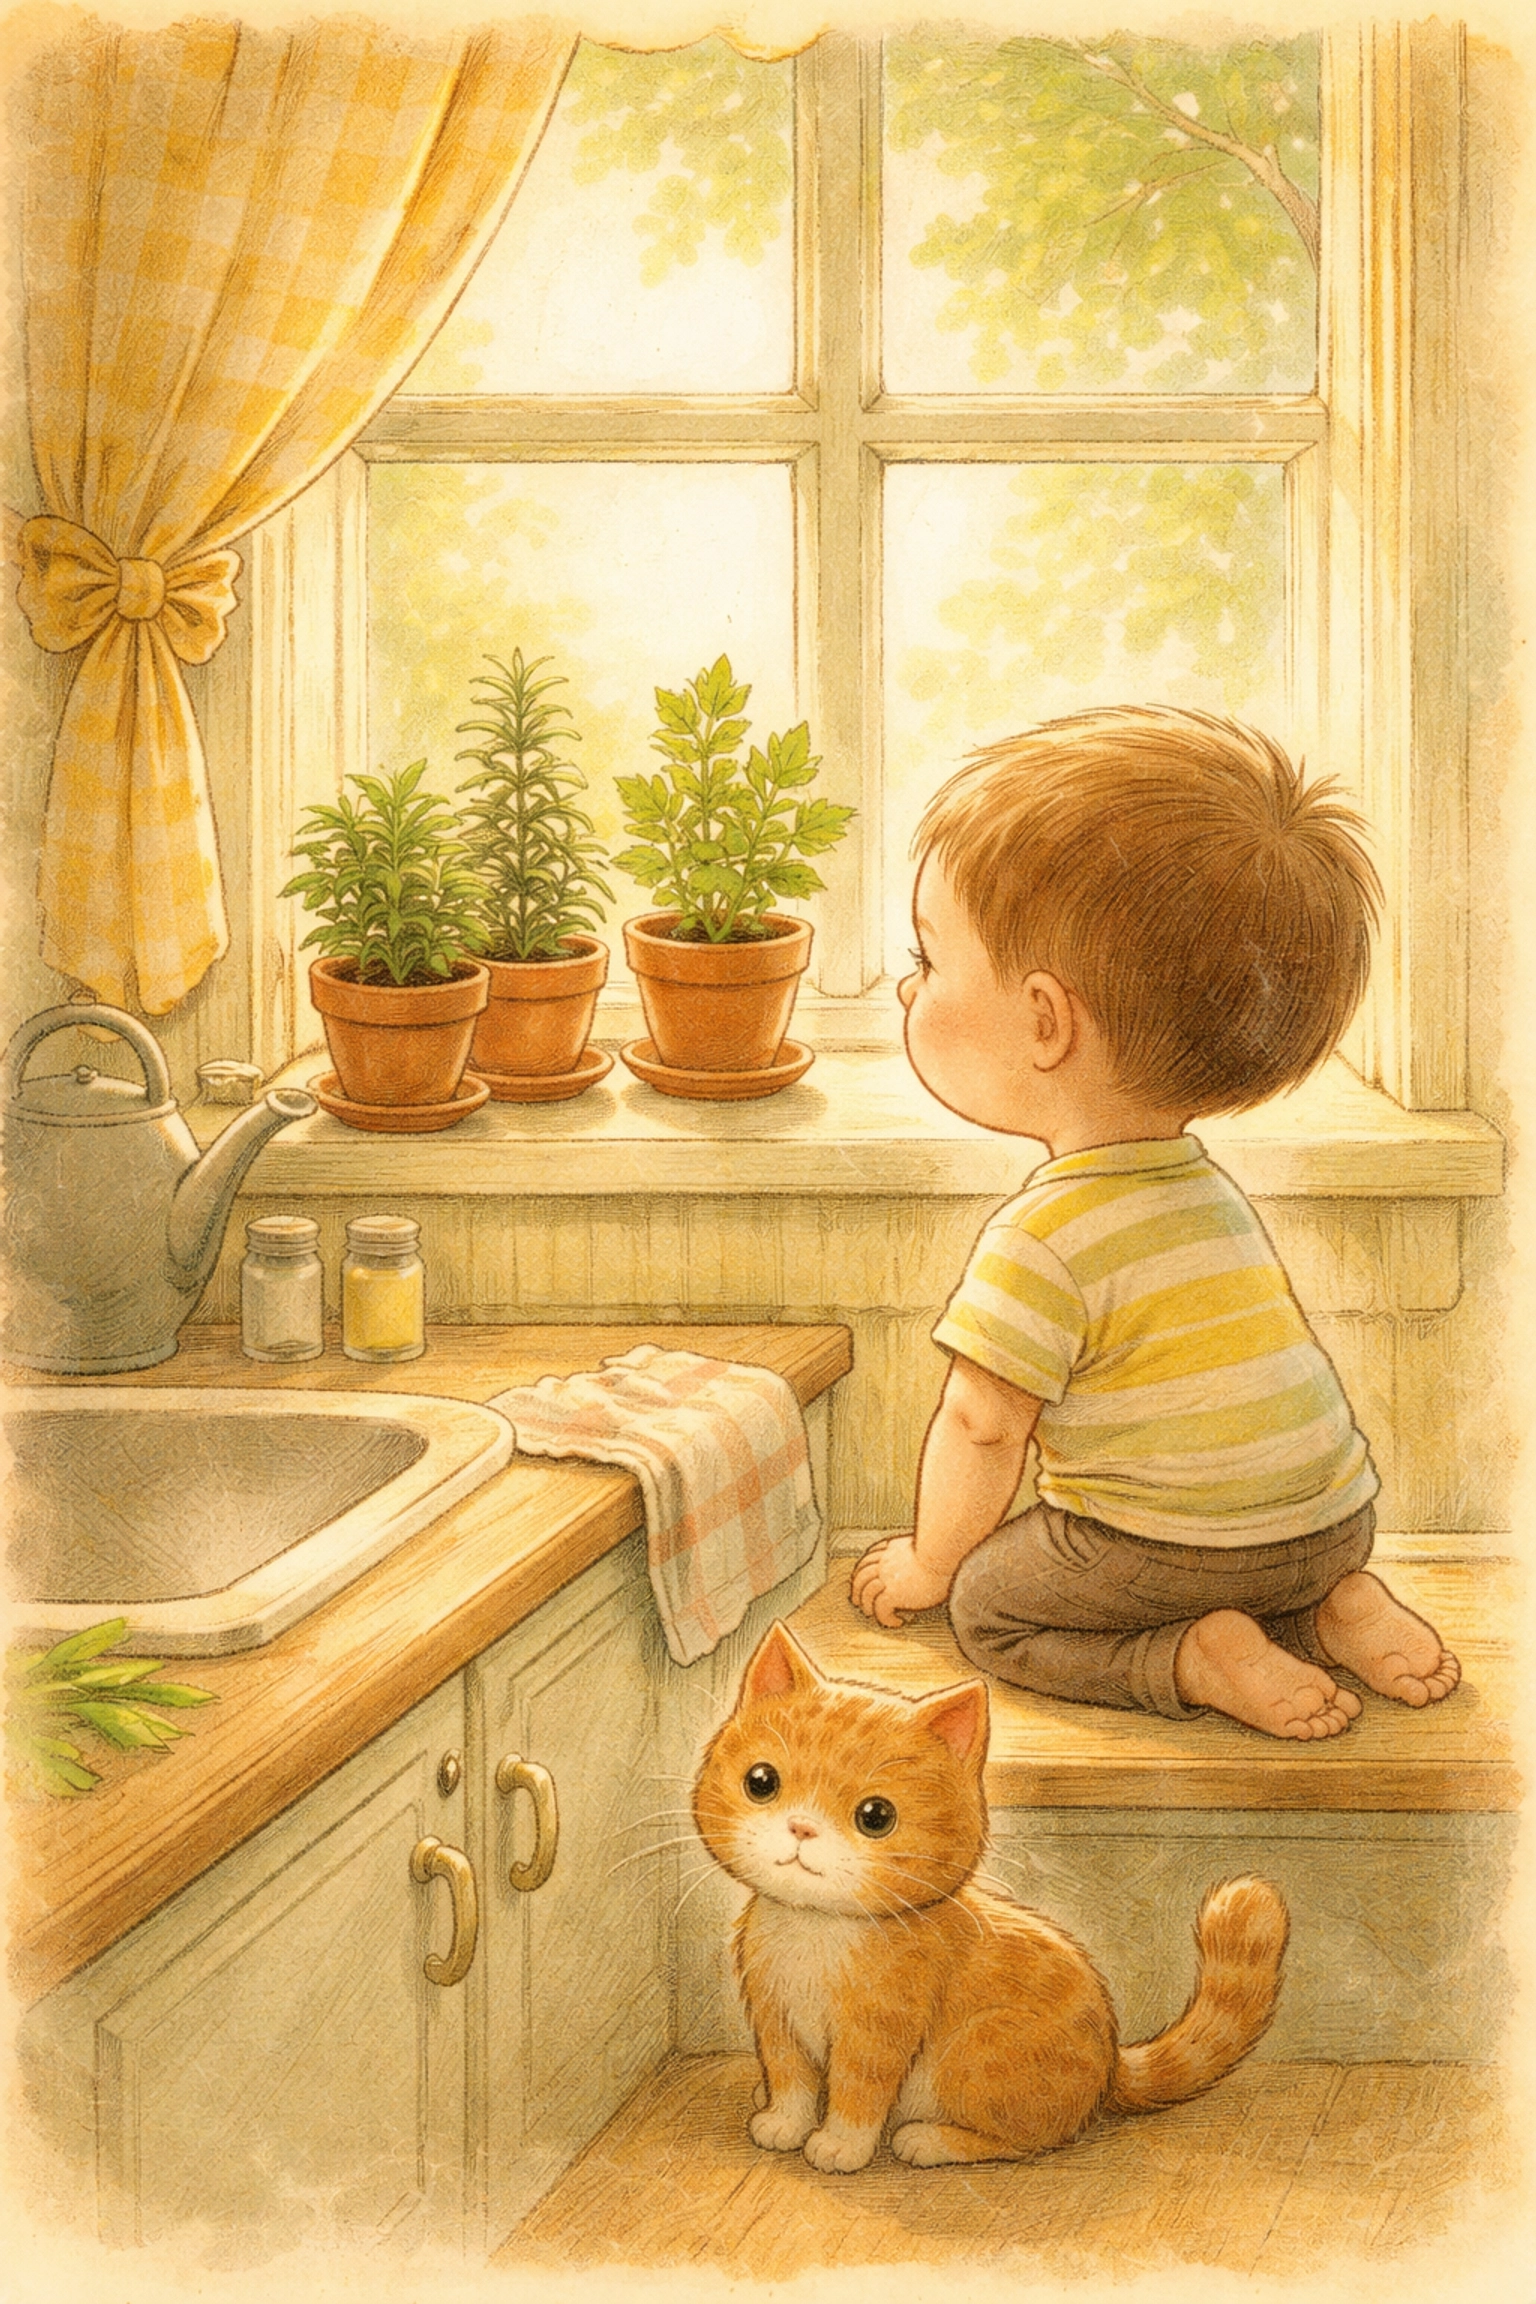
Herb gardens also fit anywhere. No backyard? No problem. A sunny kitchen window works great. Limited space in a classroom? A single container with three herbs takes up less room than a textbook.
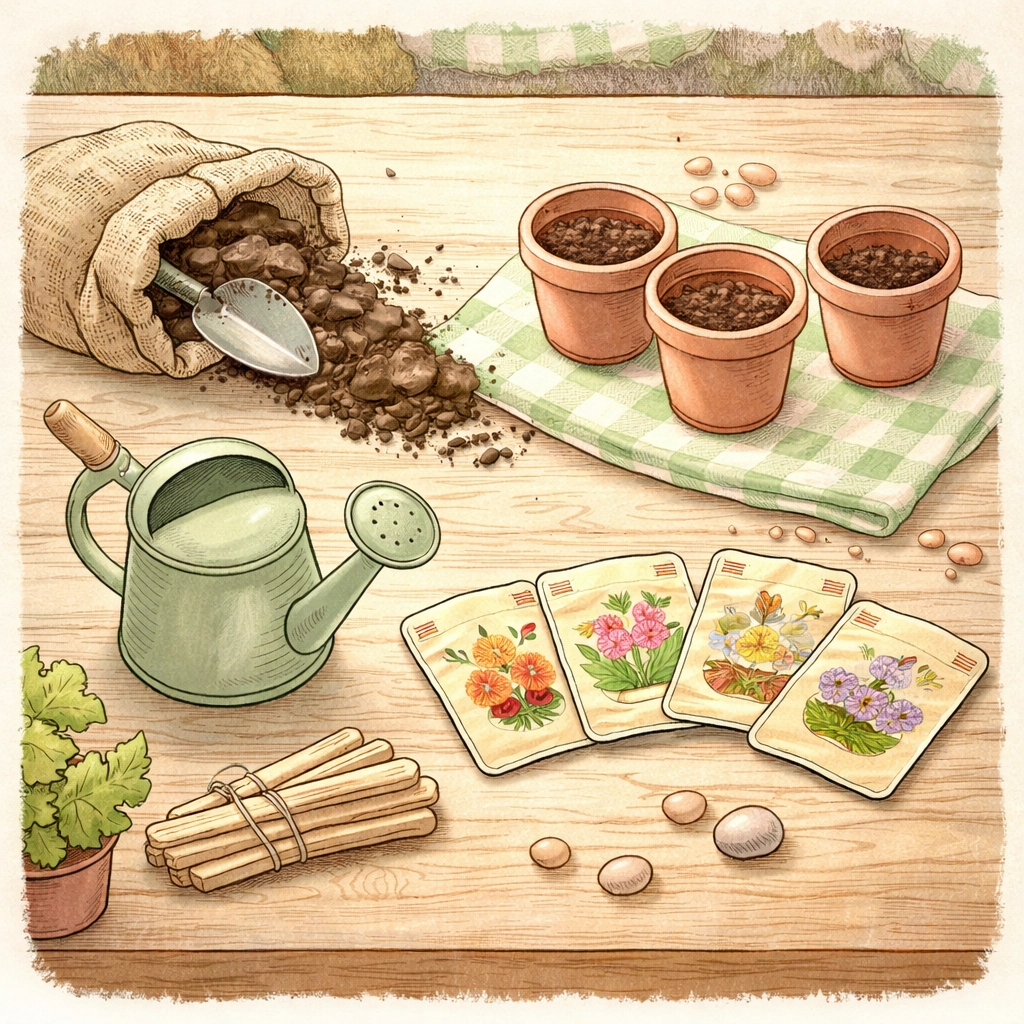
What You'll Need (The Under-$10 Shopping List)
Here's the breakdown. Prices vary slightly by location, but this list consistently comes in under ten dollars at most dollar stores, hardware stores, or garden centers.
Containers (approximately $1–3)
- Three small pots, recycled tin cans, or plastic cups
- Make sure they have drainage holes (poke some in the bottom if needed)
Potting Mix (approximately $3–4)
- One small bag of seed-starting mix or general potting soil
- Avoid garden soil from outside: it compacts too much in containers
Seeds (approximately $1–2)
- Three seed packets of kid-friendly herbs
- Best choices: basil, parsley, chives, mint, or oregano
Optional but helpful (usually under $1)
- Popsicle sticks or plastic spoons for plant markers
- Small stones or pebbles for drainage
- A spray bottle for gentle watering
Total estimated cost: $6–9
That leaves room in your budget for a celebratory popsicle when you're done.
Step-by-Step: Building Your Herb Garden
Step 1: Prepare Your Containers
If you're using recycled tin cans (soup cans work great), make sure they're clean and dry. Use a hammer and nail to punch 3–4 small drainage holes in the bottom. No holes = soggy roots = sad plants.
For plastic cups, a thumbtack or small scissors can poke through the bottom easily. Just be careful: this is a good spot for adult help.
Pro tip: Drop a few small pebbles or broken bits of an old terracotta pot into the bottom before adding soil. This helps water drain and keeps roots from sitting in moisture.
Step 2: Add Your Soil
Fill each container about three-quarters full with potting mix. Don't pack it down: roots need air pockets to breathe. The soil should be fluffy, not dense like a brick.
Give the soil a light spray of water so it's damp but not soaking wet. Think "wrung-out sponge," not "puddle."
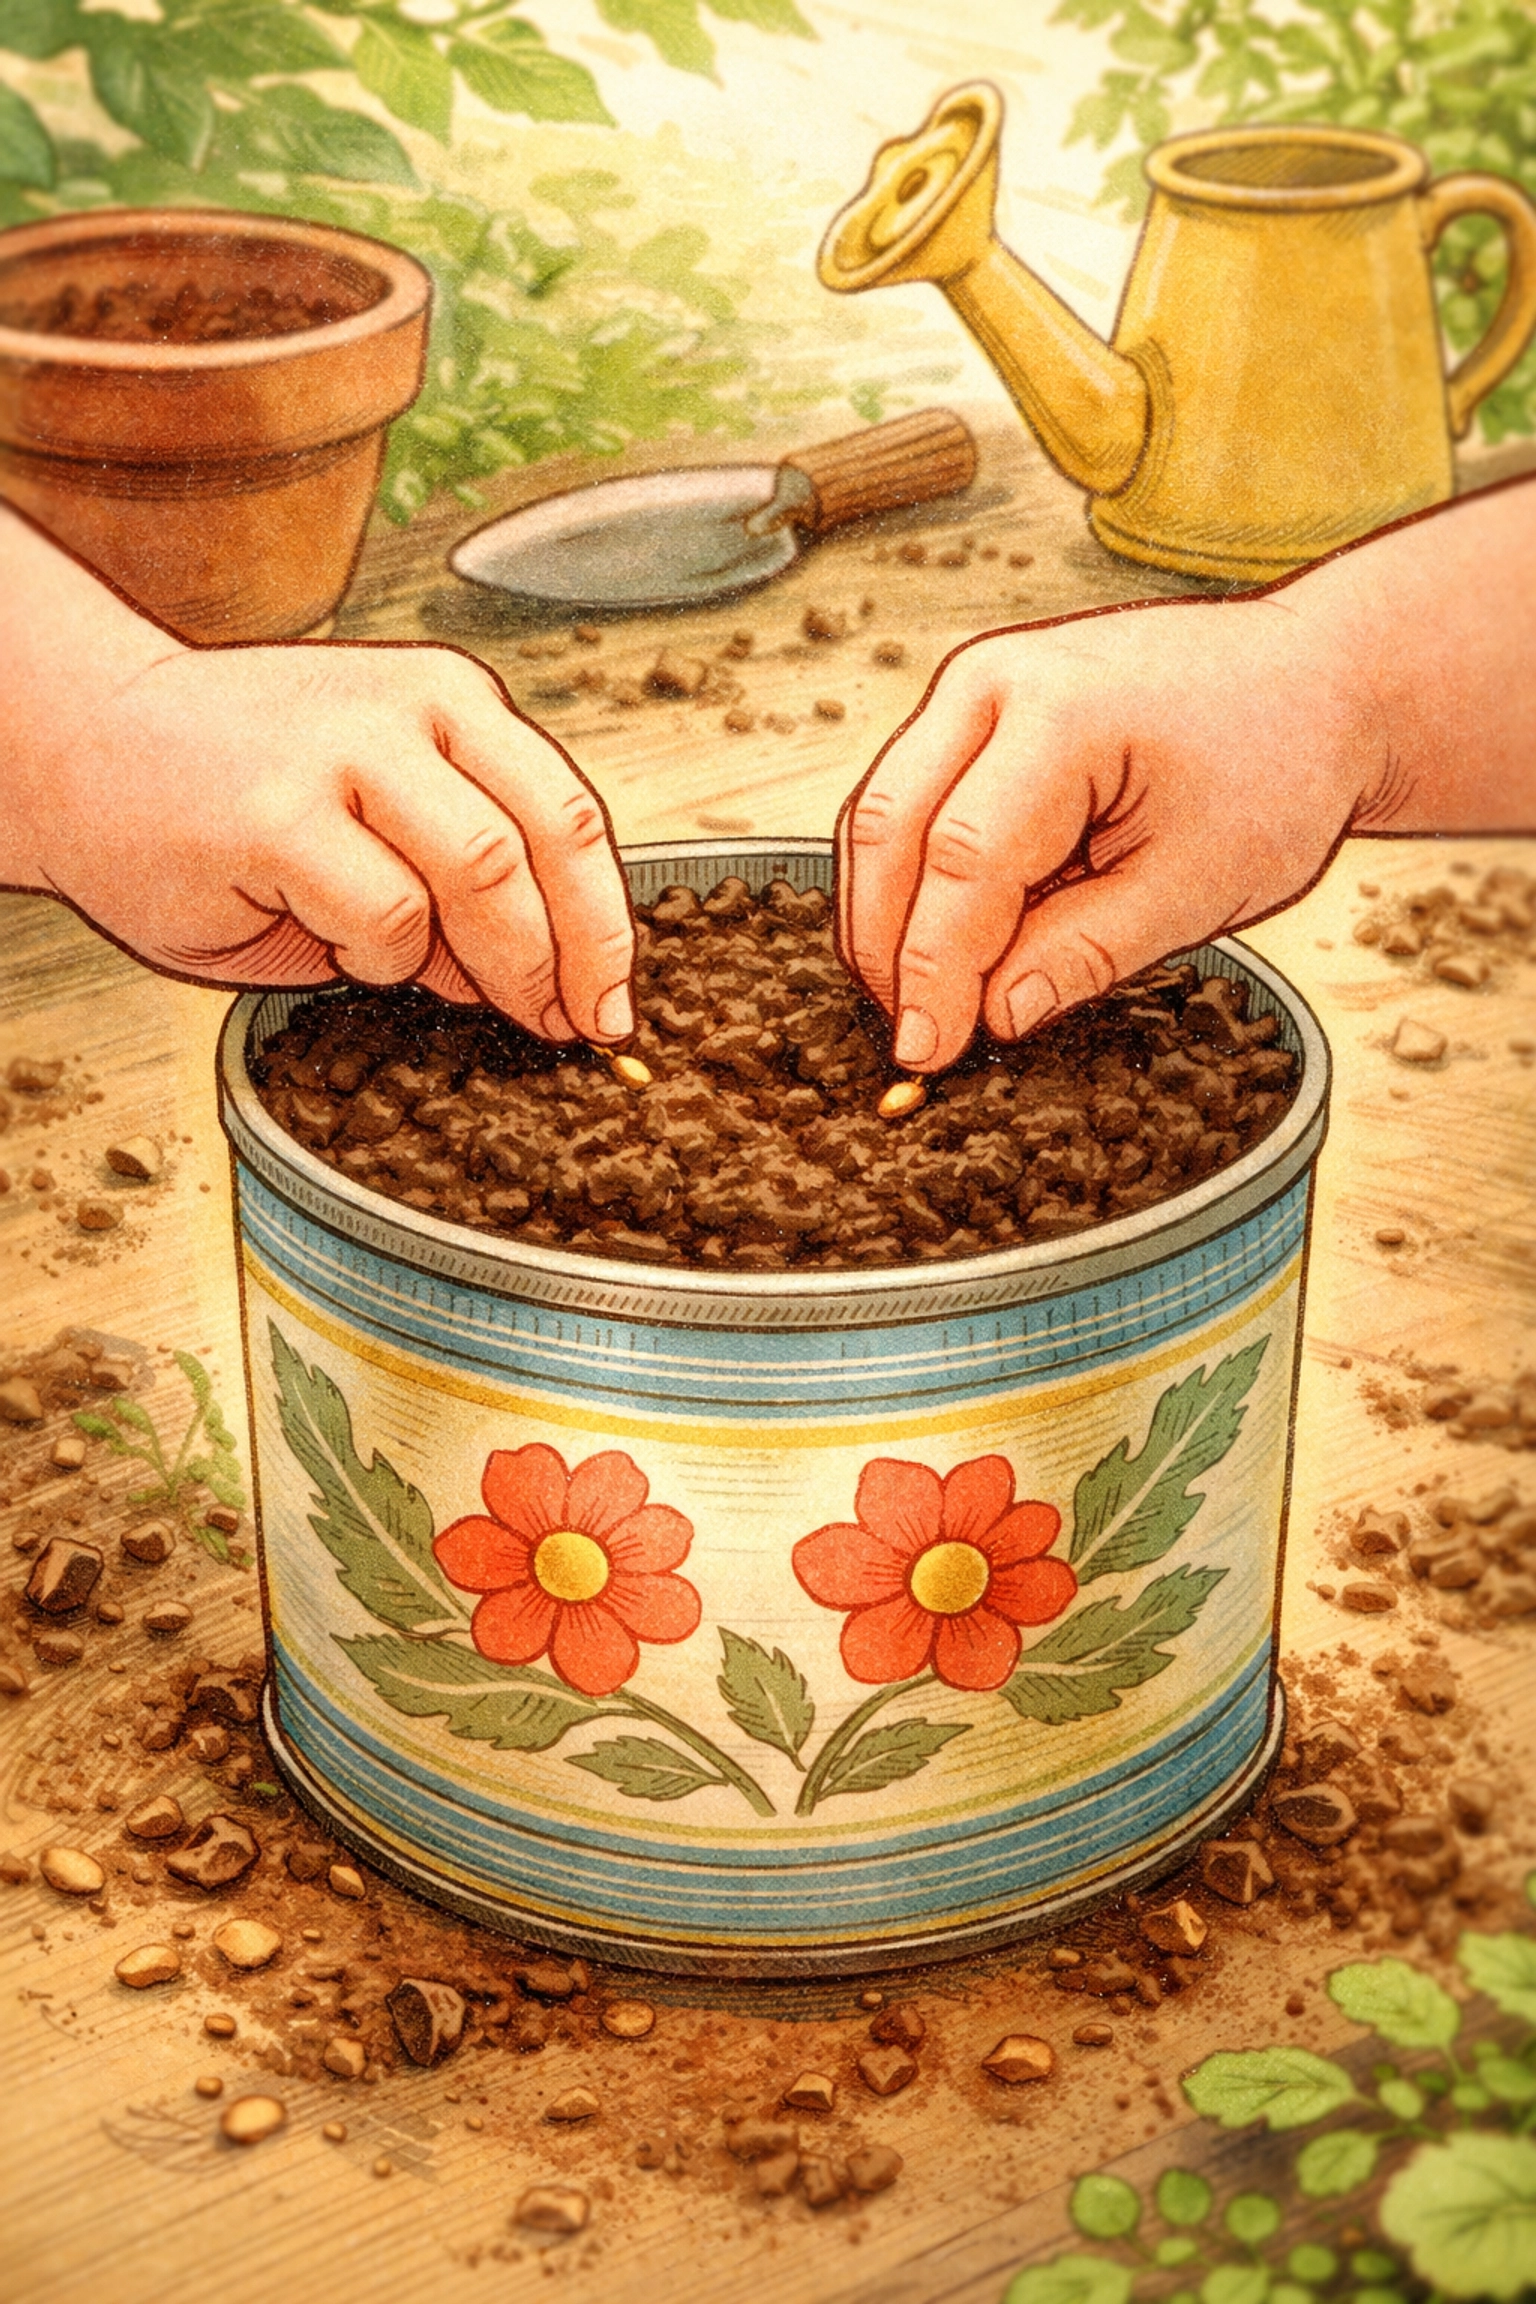
Step 3: Plant Your Seeds
Check the seed packet for specific instructions, but here's the general rule:
- Make a shallow indent in the soil (about ¼ inch deep)
- Drop 2–3 seeds into the indent
- Gently cover with a thin layer of soil
- Pat down lightly: don't smoosh
Why multiple seeds? Not every seed germinates. Planting a few gives you backup. If they all sprout, you can thin to the strongest seedling later.
Step 4: Label Your Pots
This sounds silly until three identical green sprouts pop up and nobody remembers which is basil and which is parsley.
Popsicle sticks work perfectly. Write the herb name and the date planted. Bonus points for letting kids decorate them.
Step 5: Find the Right Spot
Herbs need 6+ hours of sunlight daily. A south-facing window is ideal. East or west-facing windows can work too, but growth might be slower.
No sunny windows? A basic desk lamp with a daylight bulb (positioned a few inches above the plants) can supplement.
Step 6: Water Carefully
Overwatering kills more herb gardens than underwatering. Seriously.
Check the soil every day or two. Stick your finger about an inch into the soil. If it feels dry, water gently. If it still feels moist, leave it alone.
A spray bottle gives kids control without the risk of flooding. Aim for the soil, not the leaves.
Safety Notes for Parents and Teachers
This project is low-risk, but a few quick reminders:
- Sharp edges: Tin cans can have sharp rims. Run a piece of tape around the edge or use a can opener that creates smooth edges.
- Drainage holes: Hammers and nails require adult supervision (or adult-only handling for younger kids).
- Soil isn't food: Remind little ones that potting mix isn't for tasting, even though we're growing something edible.
- Allergies: Mint family plants can occasionally trigger reactions in sensitive individuals. Know your group before planting.
The Learning Tie-Ins: STEM + Life Skills
This isn't just a cute craft. There's real educational value baked in.
Science
- Observe germination and plant life cycles
- Discuss what plants need to survive (water, light, air, nutrients)
- Experiment: What happens if one pot gets no sunlight?
Technology
- Use a phone or tablet to research each herb
- Track growth with photos over time
Engineering
- Problem-solve drainage solutions
- Design and build plant markers
Math
- Measure soil depth and seed spacing
- Count days to germination
- Compare growth rates between different herbs
Responsibility
Here's the big one. A living plant depends on consistent care. Kids learn that skipping watering for a week has consequences: and that showing up daily (even when it's not exciting) matters.
This is character building disguised as gardening.
What to Do When Things Go Wrong (Troubleshooting)
Nothing sprouted after two weeks.
Seeds might be old, planted too deep, or kept too cold. Try again with fresh seeds, plant shallower, and keep soil consistently warm (65–75°F is ideal).
Seedlings are tall, pale, and floppy.
They're "leggy": stretching toward light they can't find. Move them to a brighter spot or add a supplemental light source.
Leaves are turning yellow.
Usually overwatering. Let the soil dry out more between waterings. Also check that drainage holes aren't clogged.
White fuzzy stuff on the soil.
That's mold, often from too much moisture and not enough airflow. Scrape off the top layer of soil, reduce watering, and move to a spot with better ventilation.
Something's eating the leaves.
Indoors, this is rare. Check for tiny insects like aphids. A gentle spray of water usually knocks them off. Outdoors, consider a mesh cover.
Harvest Time: Now What?
Most herbs are ready for their first harvest about 4–6 weeks after sprouting. Don't strip the whole plant: just snip what you need, taking leaves from the top to encourage bushier growth.
Use your harvest for:
- Homemade pizza sauce (basil + oregano)
- Scrambled eggs (chives)
- Lemonade or iced tea (mint)
- Pasta dishes (parsley)
Cooking with something you grew yourself? That's the payoff. And for kids, it turns an abstract "eat your vegetables" lecture into a hands-on experience they actually remember.
Keep Growing
The best part about starting small? It proves to kids (and adults) that growing food isn't complicated or expensive. Ten dollars, a little patience, and some sunshine: that's all it takes.
Happy planting.
References:
- University extension resources on seed starting and herb care
- Budget gardening guides for families and educators