

The Beginner's Guide to Teaching Hydroponics at Home Without Expensive Equipment
You can teach hydroponics at home without expensive equipment by building a simple Deep Water Culture system using a plastic container, an air pump, net pots, and basic nutrients. This setup costs under $30 total and works perfectly for teaching kids how plants grow in water instead of soil. The simplest version uses just a jar, water, and lettuce seeds for under $5.
What Is Hydroponics and Why Should Kids Learn It?
Hydroponics is a way to grow plants without soil. Instead, plants get their nutrients directly from water. Think of it like feeding plants a special vitamin drink instead of having them search for food in dirt.
Teaching hydroponics at home gives kids a front row seat to plant science. They see roots growing, watch leaves unfold, and understand how plants drink and eat. Unlike traditional gardening, hydroponic systems grow faster, which means kids see results in days instead of weeks.
You don't need a fancy greenhouse or hundreds of dollars in equipment. A simple setup using containers you already have works great for learning the basics.

Why Hydroponics Beats Dirt for Teaching Kids
Hydroponics offers some clear advantages when teaching children about plant growth:
Faster results mean kids stay interested. Lettuce can grow from seed to salad in just three weeks with hydroponics, compared to six weeks in soil.
Visible roots let children see exactly what's happening underground. Clear containers turn root growth into a daily science show.
Less mess makes parents happy. No dirt tracked through the house or spilled potting mix on the kitchen table.
Year round growing means the learning never stops. Winter? No problem. Set up your system near a sunny window and keep growing.
Better yields show kids that smart farming techniques work. Plants in water often grow 30 to 50 percent faster than plants in soil because they get perfect nutrition every time.
Understanding the Three Simplest Hydroponic Methods
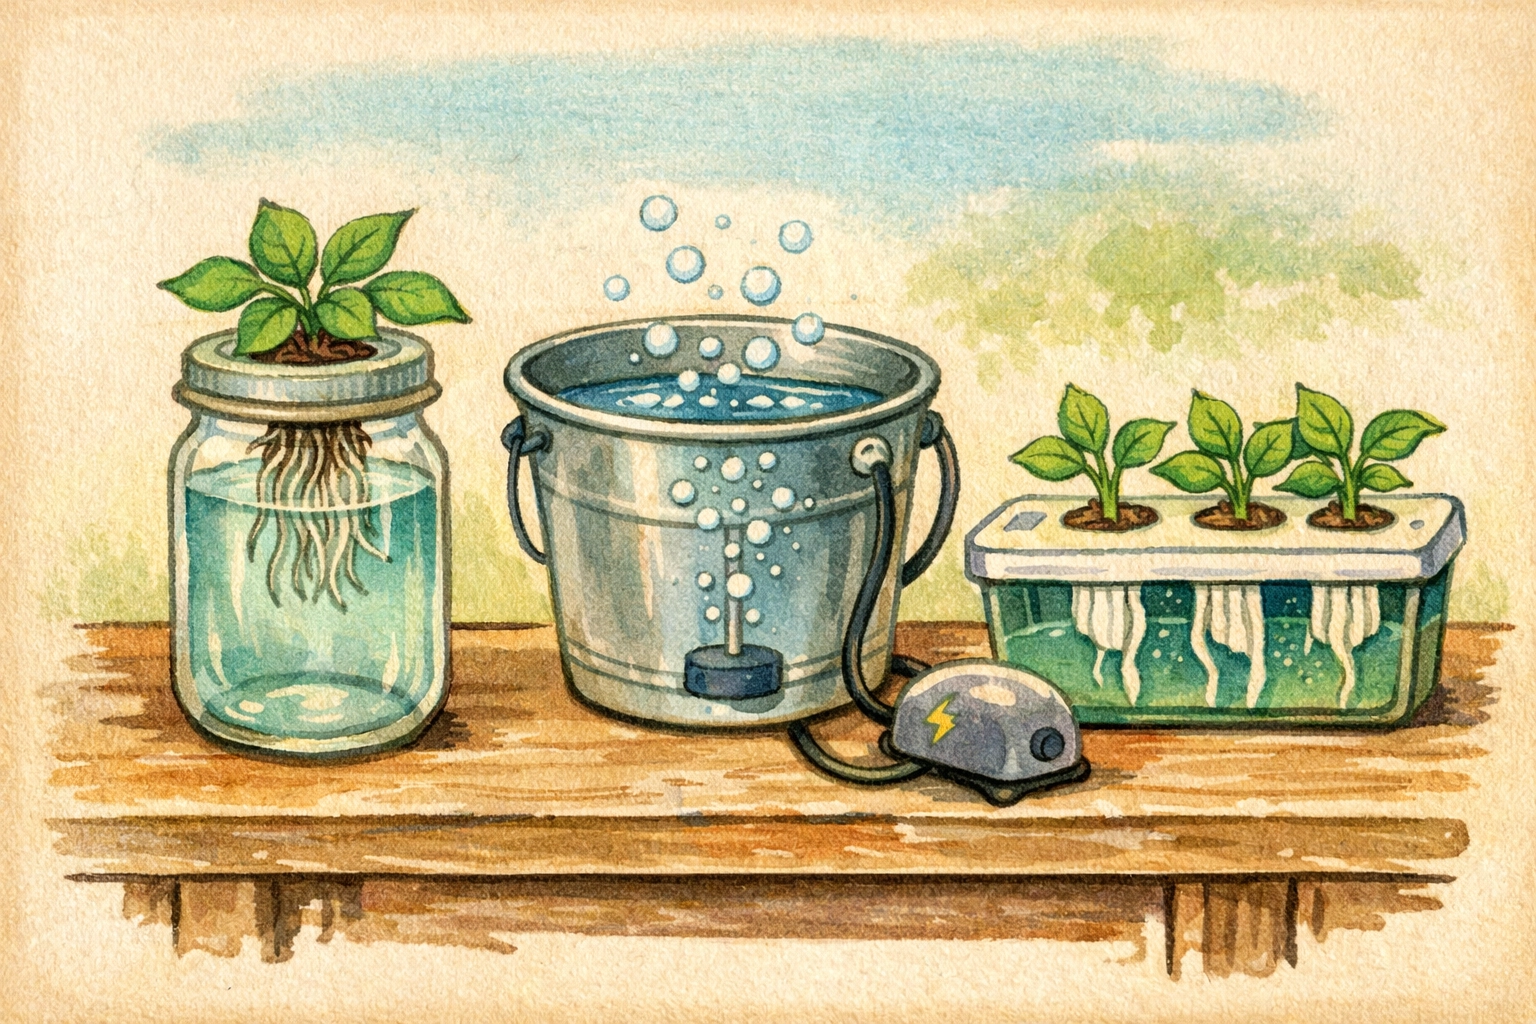
When teaching hydroponics to beginners, stick with these three easy systems:
Deep Water Culture (DWC)
Plants sit in net pots above a container of nutrient water. An air pump bubbles oxygen through the water so roots can breathe. This is the easiest system to build and maintain.
Kratky Method
This is DWC without the air pump. Plants start in water, then as they drink and the water level drops, an air gap forms naturally. Roots in the air get oxygen, roots in water get nutrients. Perfect for passive learning projects.
Wick System
Cotton strings (wicks) pull nutrient water up from a reservoir to the growing medium. Gravity and capillary action do the work. No pumps, no electricity needed.
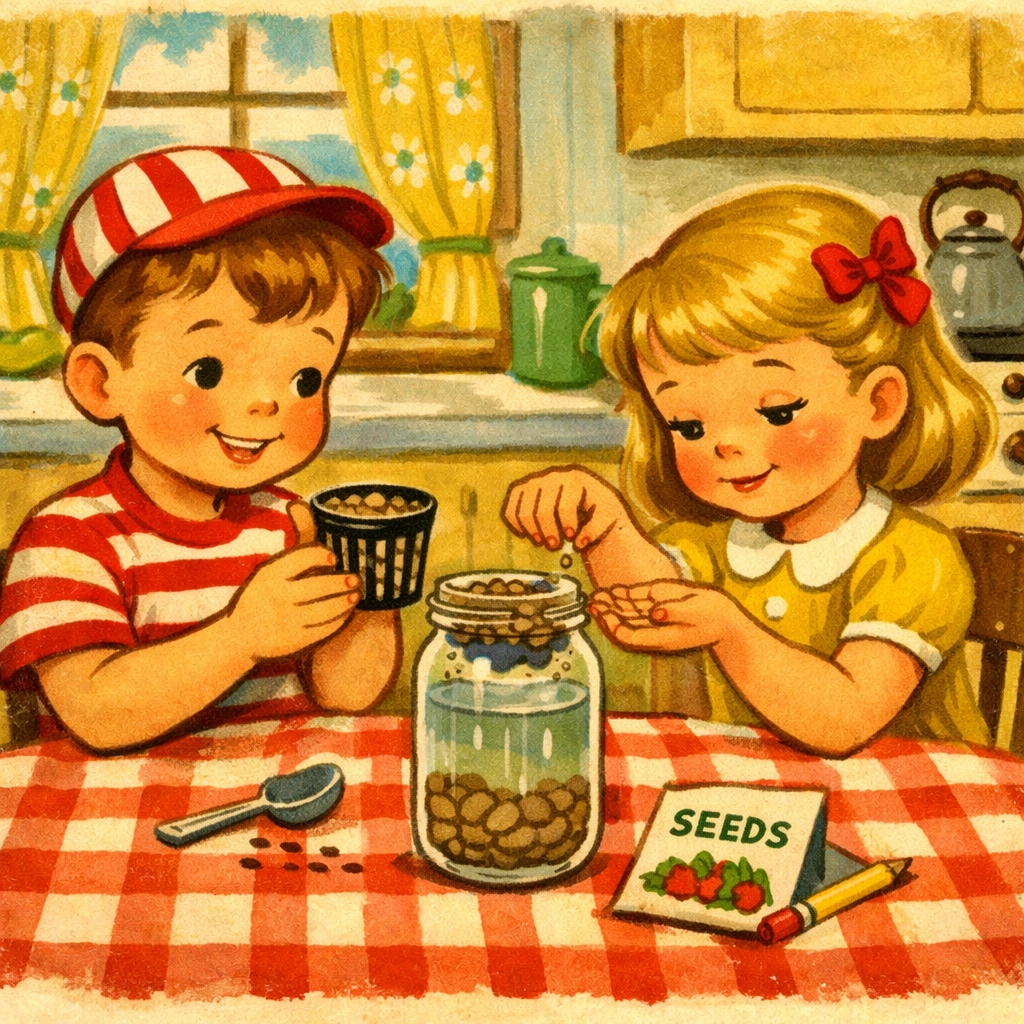
The $8 Starter Project: Mason Jar Lettuce Garden
This basic project teaches hydroponic principles using items you probably have at home.
Materials Needed
| Item | Cost | Where to Find |
|---|---|---|
| Wide mouth mason jar | $1.50 | Dollar store or kitchen cabinet |
| Net cup (2 inch) | $0.50 | Garden center or online |
| Hydroponic nutrients | $3.00 | Garden store (small bottle) |
| Lettuce seeds | $2.00 | Any garden center |
| Growing medium (clay pebbles or coconut coir) | $1.00 | Garden center (small bag) |
| Total | $8.00 |
Time Breakdown
| Task | Time Required |
|---|---|
| Gathering materials | 15 minutes |
| Setting up jar | 5 minutes |
| Planting seeds | 10 minutes |
| Daily monitoring | 2 minutes per day |
| Weekly water changes | 10 minutes per week |
| Total setup time | 30 minutes |
Step by Step Instructions
Step 1: Prepare Your Jar
Fill the mason jar with water to about one inch from the top. Add hydroponic nutrients following the package directions. Usually this means about one teaspoon per quart of water.
Step 2: Set Up the Net Cup
Fill the net cup halfway with your growing medium. Sprinkle 5 to 7 lettuce seeds on top. Cover lightly with more growing medium.
Step 3: Place Cup in Jar
Set the net cup in the mouth of the jar. The bottom should just touch the water surface. As seeds sprout and roots grow, you can lower the water level slightly.
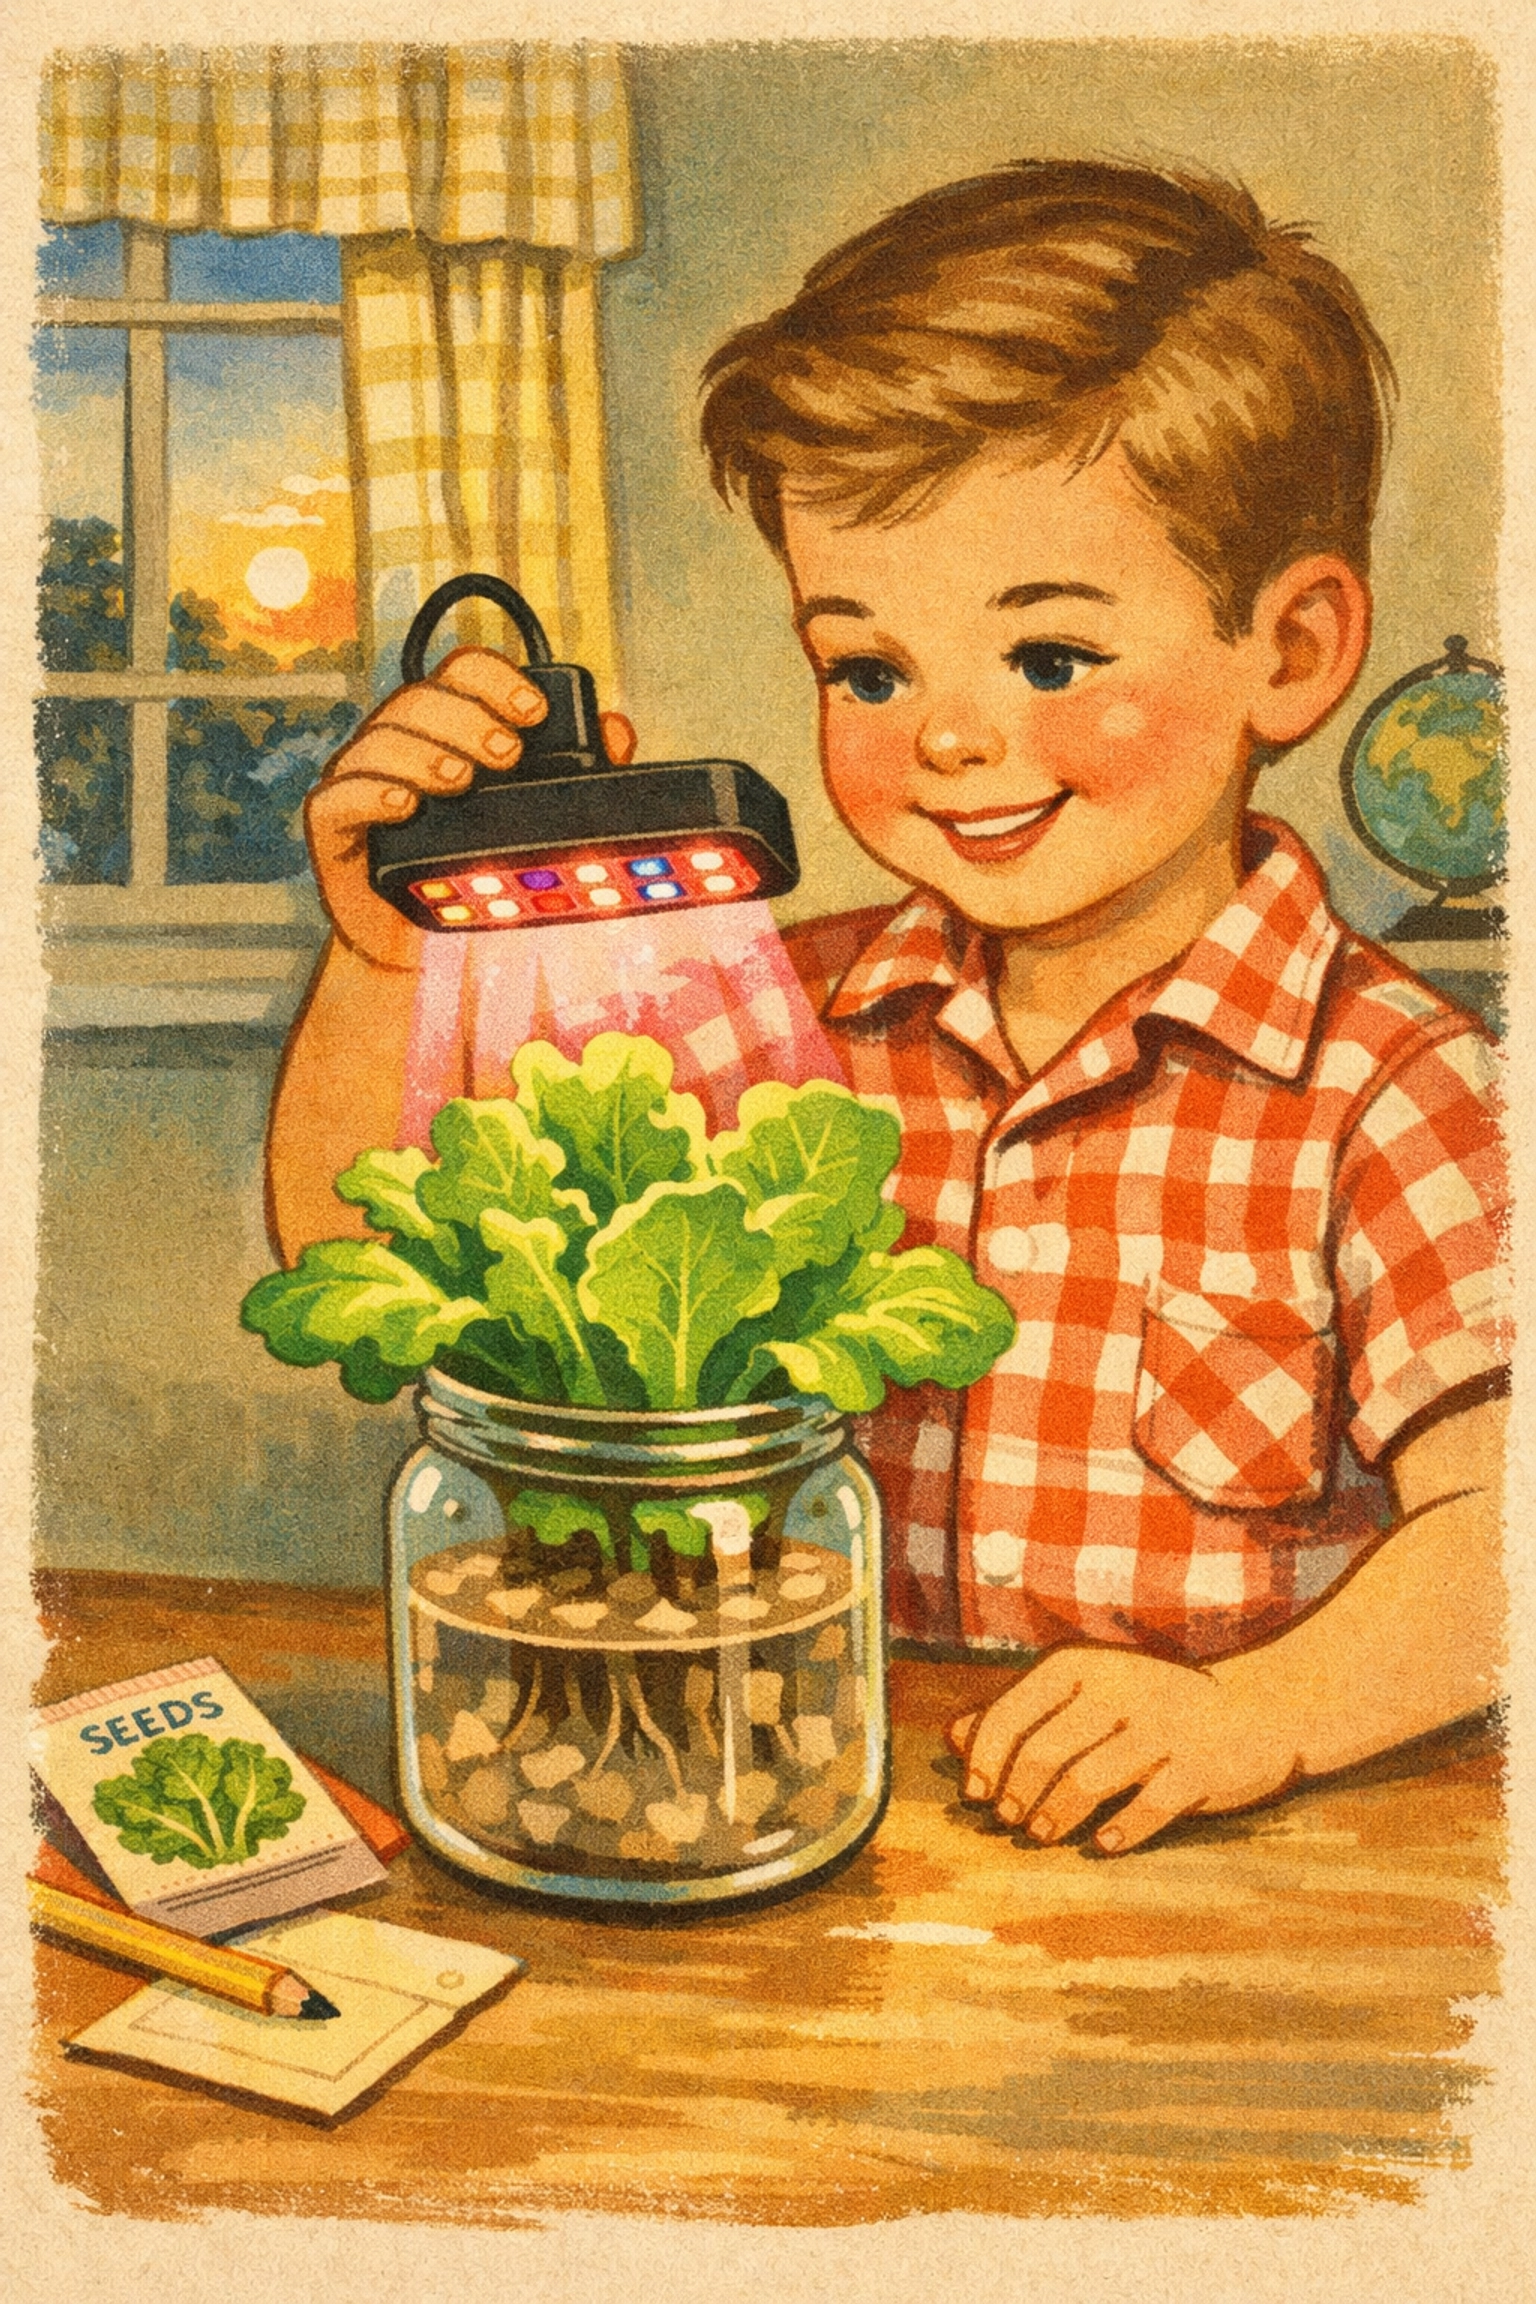
Step 4: Find the Right Spot
Place your jar near a sunny window that gets at least 6 hours of light daily. A south facing window works best. If you don't have enough natural light, a small LED grow bulb helps.
Step 5: Monitor Daily
Check the water level each day. Add plain water as needed to keep the bottom of the net cup touching the liquid. Within 3 to 5 days, you should see sprouts.
Step 6: Thin Seedlings
When sprouts have two leaves, keep only the strongest 2 to 3 plants. Gently pull out the others.
Step 7: Maintain and Watch
Change the nutrient water completely once per week. Watch roots grow through the net cup and into the jar. In 18 to 25 days, your lettuce will be ready to harvest.
Hydroponic Systems Comparison Chart
| System Type | Cost | Difficulty | Best For | Maintenance |
|---|---|---|---|---|
| Mason Jar Kratky | $5 to $10 | Very Easy | Single plants, herbs, lettuce | Minimal (weekly water change) |
| Bucket DWC | $15 to $25 | Easy | Larger plants, tomatoes, peppers | Low (check air pump daily) |
| Wick System | $10 to $20 | Very Easy | Small plants, learning basics | Very Low (refill reservoir weekly) |
| NFT (Nutrient Film) | $50+ | Moderate | Multiple plants, continuous harvest | Moderate (daily checks) |
| Aeroponics | $100+ | Hard | Advanced growers | High (misting system maintenance) |
What Plants Grow Best for Beginners?
Start with plants that forgive mistakes and grow quickly. These options work perfectly for teaching kids:
Lettuce tops the list. It sprouts fast, grows in any hydroponic system, and kids can eat their experiments in salads.
Basil grows like a weed in water. Pinch leaves for pizza and pasta, and the plant just keeps producing more.
Spinach handles cooler temperatures and lower light conditions than other plants. Great for winter growing.
Mint is nearly impossible to kill. It grows so enthusiastically that you'll be giving it away to neighbors.
Cherry tomatoes take longer but offer bigger rewards. Kids love watching tiny green balls turn red and sweet.
Avoid starting with peppers, cucumbers, or melons. These need more advanced setups and take months to produce.
Common Beginner Mistakes and How to Avoid Them
Mistake 1: Using Tap Water Without Testing
Tap water often contains chlorine and has the wrong pH level. Let tap water sit overnight in an open container to let chlorine evaporate. Test pH with simple strips from a pet store (they're cheaper than garden store pH kits).
Mistake 2: Adding Too Much Fertilizer
More nutrients don't mean faster growth. They mean dead plants. Start with half the recommended amount and increase slowly if plants look pale or grow slowly.
Mistake 3: Forgetting About Light
Even near a window, plants might not get enough light in winter. Watch for tall, skinny, pale plants. That means they're stretching toward light they can't reach. Add a simple grow bulb.
Mistake 4: Ignoring Water Temperature
Water above 75°F doesn't hold enough oxygen. Roots suffocate and rot. Keep your system in a cool spot, away from heaters and sunny windowsills.
Mistake 5: Not Keeping Records
Write down what you do and what happens. This turns your project into real science. Note the date you planted, when sprouts appeared, how often you changed water, and when you harvested.
[IMAGE_ALL]
Nutrient Solution Basics for Kids
Hydroponic nutrients come in liquid or powder form. They contain the same things plants find in soil: nitrogen for leaves, phosphorus for roots and flowers, and potassium for strong stems and disease resistance.
General purpose nutrients work for most plants. Look for bottles labeled for vegetables or hydroponics.
Organic options cost more but teach kids about natural growing. These use fish emulsion, seaweed, and other plant based ingredients.
How much to use depends on the product. Start with half strength for seedlings. Increase to full strength as plants grow bigger.
pH matters because it controls how well plants absorb nutrients. Most vegetables like pH between 5.5 and 6.5. Pet store pH test strips work fine for beginners.
Growing Medium Options Under $5
The growing medium supports plants and holds moisture. You have several cheap options:
Clay pebbles look like tiny round rocks. They're reusable, which means you can rinse and use them again. A small bag costs about $5 and lasts for years.
Coconut coir comes from coconut husks. It's natural, holds water well, and breaks down slowly. One compressed brick costs $3 and expands to fill several containers.
Perlite is made from heated volcanic glass. It's super light and drains perfectly. A bag costs $4 at garden centers.
Rockwool cubes are made from spun rock fibers. They're great for starting seeds. A sheet of 50 cubes costs about $5.
Avoid using regular potting soil in hydroponics. It clumps, blocks water flow, and makes a muddy mess.
Setting Up Your Teaching Space
Location makes a difference in hydroponic success. Consider these factors:
Light requirements vary by plant. Leafy greens need 12 to 14 hours of light daily. Fruiting plants like tomatoes want 14 to 16 hours.
Temperature control matters more than you think. Most vegetables grow best between 65°F and 75°F. Avoid spots near heating vents or drafty windows.
Easy access keeps kids engaged. Put systems where children can check them daily without climbing or moving furniture.
Protected surfaces save cleanup time. Put plastic sheeting or old towels under containers in case of spills.
Electrical access helps if you use air pumps or grow lights. Keep cords organized and safe from water splashes.
Advanced Learning: Adding Measurements and Data
Turn your hydroponic system into a science lab:
Track growth rates by measuring plant height every three days. Graph the results to show exponential growth.
Compare variables by growing the same plant in different conditions. Try one with nutrients and one with plain water. Try different light levels or temperatures.
Test pH changes over time. Does pH go up or down as plants grow? How does this affect growth speed?
Measure water consumption by marking the container with tape. How much water does a plant drink per day?
Calculate costs by tracking seed prices, nutrient use, and electricity for pumps or lights. Compare this to store bought lettuce.
These activities teach scientific method, data collection, and critical thinking while growing food.
Troubleshooting Common Problems
Yellow leaves usually mean nitrogen deficiency. Add a bit more nutrient solution or use a nitrogen heavy fertilizer for a few waterings.
Brown leaf tips suggest salt buildup from too much fertilizer. Flush the system with plain water, then refill with weaker nutrient solution.
Slimy roots indicate root rot from low oxygen or high water temperature. Add an air stone or move to a cooler location.
Slow growth might mean low light, wrong temperature, or weak nutrients. Check each factor and adjust.
Algae in the container shows that light is reaching the water. Cover clear containers with tape or fabric to block light.
White crusty deposits on containers or net pots come from mineral buildup. Rinse parts with vinegar water during weekly cleanings.
Frequently Asked Questions
Q1: How often should we change the nutrient water?
Change water completely once per week for small systems like mason jars. Larger buckets can go 10 to 14 days. If water looks cloudy or smells bad, change it immediately.
Q2: Can we use regular plant fertilizer instead of hydroponic nutrients?
Regular fertilizers designed for soil often lack micronutrients that hydroponics need. They also might not dissolve completely in water. Stick with hydroponic specific nutrients for best results.
Q3: Do we need to buy expensive pH testing equipment?
Simple pH test strips from pet stores work fine for beginners. They cost $5 to $8 and provide good enough accuracy for learning projects. Digital pH meters are nice but not necessary.
Q4: What should we do with plants when we go on vacation?
Kratky method systems handle a week away fine since they're passive. For active systems with pumps, ask a neighbor to check water levels every few days. Top off with plain water if needed.
Q5: Can we grow fruit like strawberries or blueberries?
Strawberries work great in hydroponics and produce faster than in soil. Blueberries need acidic conditions and take years to fruit, making them too difficult for beginner projects.
Q6: How do we know when to harvest lettuce?
Harvest lettuce when leaves are 4 to 6 inches tall. Cut the outer leaves and let the center keep growing for continuous harvest, or pull the entire plant.
Q7: Is hydroponic food as nutritious as soil grown food?
Studies show hydroponic vegetables have the same or higher nutrient levels compared to soil grown produce. The key is using complete nutrient solutions with proper ratios.
Q8: What causes white fuzzy growth on stems near the water?
That's usually beneficial fungi or mineral deposits, not mold. True mold appears gray or black and has a musty smell. White fuzz near the water line is typically harmless.
Q9: Can we reuse the nutrient water for multiple growing cycles?
No. Used nutrient solution has imbalanced minerals because plants absorb nutrients at different rates. Always start fresh for each planting cycle.
Q10: How do we prevent mosquitoes from laying eggs in the water?
Keep containers covered so mosquitoes can't access the water. Net pots in jar openings work as barriers. Moving water from air pumps also discourages mosquito breeding.
References
-
National Agricultural Library, USDA. (2024). "Hydroponic Systems and Growing Media." Special Collections: Alternative Farming Systems Information Center. https://www.nal.usda.gov/farms-and-agricultural-production-systems/hydroponics
-
Cornell University Controlled Environment Agriculture. (2025). "Hydroponic Lettuce Handbook." Cornell CEA Program Publications. https://cea.cals.cornell.edu/nutrients/hydroponic-lettuce/
-
University of Florida IFAS Extension. (2024). "Introduction to Hydroponics for Home Gardeners." Publication #HS1316. https://edis.ifas.ufl.edu/publication/HS1316
-
NASA Spinoff Technology. (2023). "Growing Plants in Space: Hydroponic Systems." Technology Transfer Program. https://spinoff.nasa.gov/Spinoff2023/cg_6.html
Safety Disclaimer
Adult supervision is required when children work with hydroponic systems. Electrical components like air pumps and grow lights create shock hazards near water. Keep cords organized, use GFCI protected outlets, and teach children never to touch electrical items with wet hands. Hydroponic nutrients can irritate skin and eyes; store them out of reach and teach proper handling. Some growing media like rockwool contain fibers that can irritate lungs; avoid breathing dust and wash hands after handling. Monitor water quality to prevent harmful bacteria growth; change water regularly and keep systems clean. Ensure adequate ventilation when using grow lights to prevent overheating. Teach children to wash hands before and after handling plants or nutrient solutions. Never consume plants grown in non food safe containers or with non approved nutrients. Supervise young children around water containers to prevent drowning hazards. If skin irritation, respiratory issues, or other health concerns develop, discontinue use and consult a healthcare provider. AI was used to assist in making this blog, please double check content, as AI and humans make mistakes.