

What is a Vertical Farm? (Build a 2-Story Tower Garden for $5)
Short answer: A vertical farm is any setup where plants grow upward in stacked layers instead of spreading out across flat ground. Commercial vertical farms are high-tech indoor operations, but the same "grow up, not out" principle works perfectly in your kitchen window: using nothing but a couple of plastic bottles and some potting soil.
Today, we're building a simple 2-story tower garden with your kids for under five bucks. It's a hands-on way to teach sustainability, space-saving design, and basic plant science without needing a backyard, a budget, or any fancy equipment.
Let's get into it.
Why Grow Up Instead of Out?
Here's the problem: most of us don't have unlimited space. Apartments, small yards, classroom windowsills: real estate is tight.
Vertical farming solves that by stacking plants on top of each other. Instead of one plant per square foot, you get two, three, or more. Commercial vertical farms take this to the extreme with warehouse-sized operations that grow lettuce and herbs in climate-controlled towers under LED lights.
But here's what matters for families: the same idea scales down beautifully.
A two-liter soda bottle stacked on top of another two-liter soda bottle gives you two planting zones in the footprint of one. Put three bottles together and you've got a mini skyscraper. It's the same principle NASA uses when they talk about growing food in space: just with recycling bin materials instead of million-dollar equipment.
For kids, this project hits a few important lessons:
- Sustainability: You're keeping plastic out of the landfill and turning it into something useful.
- Space efficiency: They'll see firsthand how "vertical" multiplies growing area.
- Plant biology: Watching roots grow through a clear bottle is way more interesting than staring at a dirt-filled pot.
Plus, it costs almost nothing. Let's build one.
What You'll Need (Under $5 Total)
Raid your recycling bin and you might already have everything.
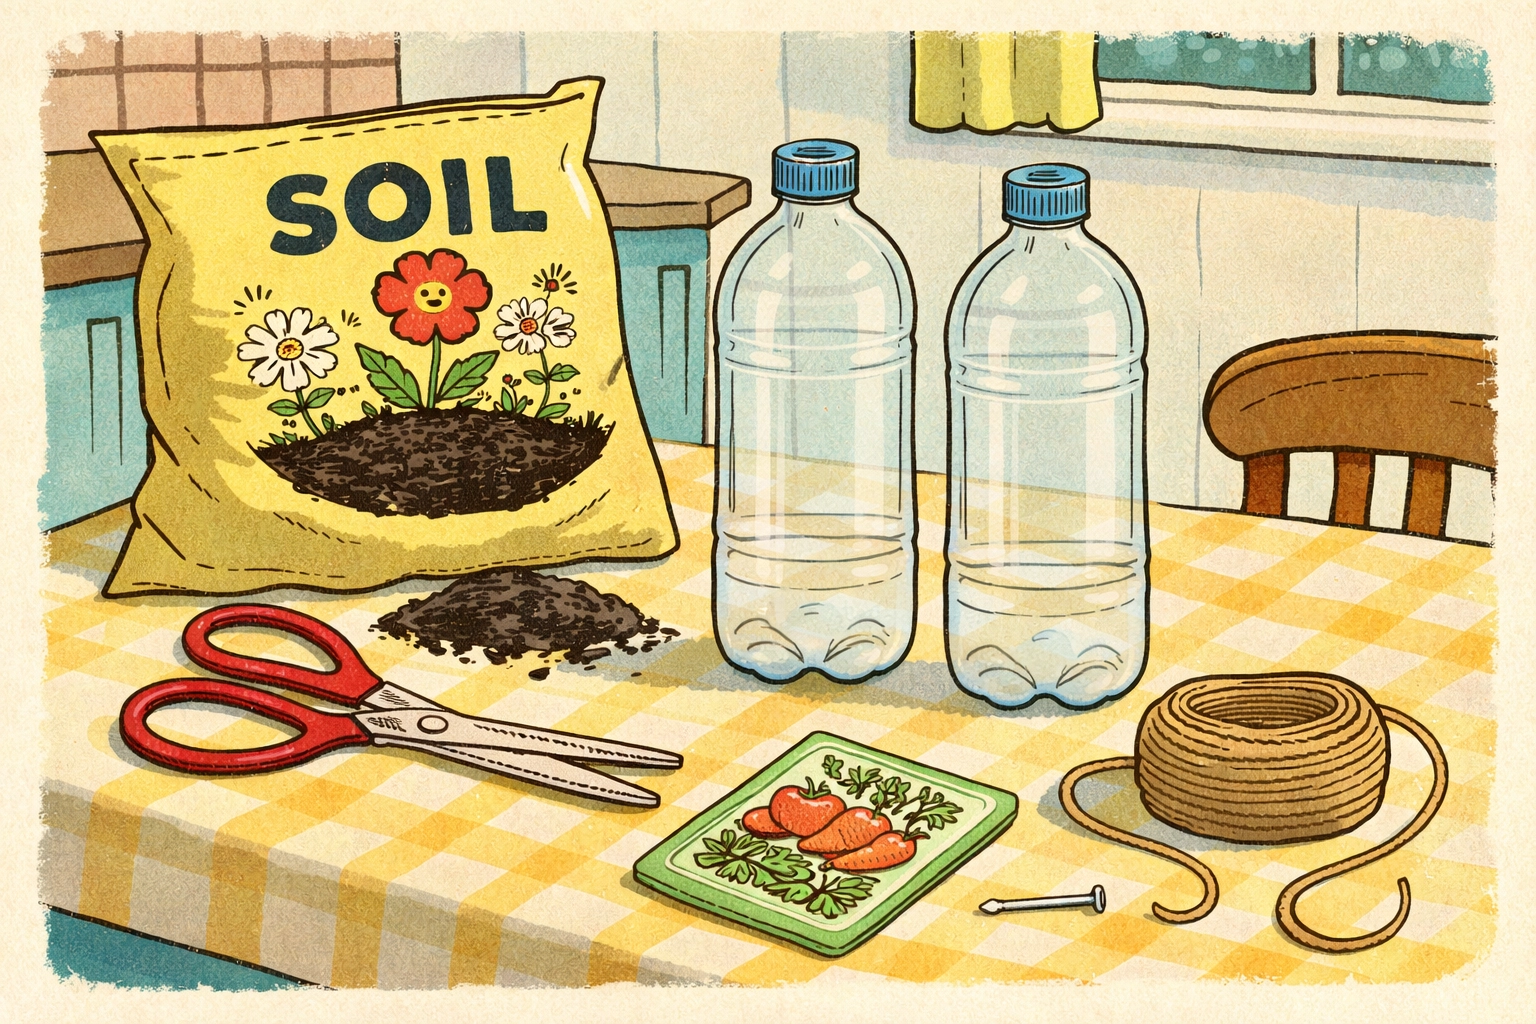
Materials:
- 2 clear plastic bottles (2-liter soda bottles or gallon milk jugs work great)
- Scissors or a utility knife (adult job)
- A screwdriver or nail for poking drainage holes
- Potting soil (a small bag runs about $3–4 at any garden center)
- Seeds or small starter plants (lettuce, herbs, or spinach are perfect)
- Optional: a piece of string or twine for a simple wick system
Cost breakdown:
| Item | Approximate Cost |
|---|---|
| 2 plastic bottles | Free (recycling bin) |
| Small bag potting soil | $3.50 |
| Seed packet | $1.00–$1.50 |
| Total | Under $5 |
If you already have potting soil and seeds from another project, this one's basically free.
Step-by-Step: Build Your 2-Story Tower Garden
This project takes about 20 minutes. Younger kids can handle the planting and watering; adults should manage the cutting.
Step 1: Prep Your Bottles
Rinse out both bottles and remove any labels. For soda bottles, you'll cut each one roughly in half. Keep both the top (funnel-shaped) and bottom (cup-shaped) pieces: you'll use all of them.
For milk jugs, cut a large rectangular "window" in one side, leaving the handle intact. This gives you a planting pocket while keeping the structure sturdy.
Pro tip: If the plastic is tough to cut, run warm water over it first. It softens just enough to make cutting easier.
Step 2: Poke Drainage Holes
Use a screwdriver or nail (heated slightly if needed) to poke 4–5 small holes in the bottom of each planting section. Drainage is critical: without it, roots sit in water and rot.
If you're stacking soda bottle tops as funnels, the neck opening is your built-in drainage hole. Perfect.
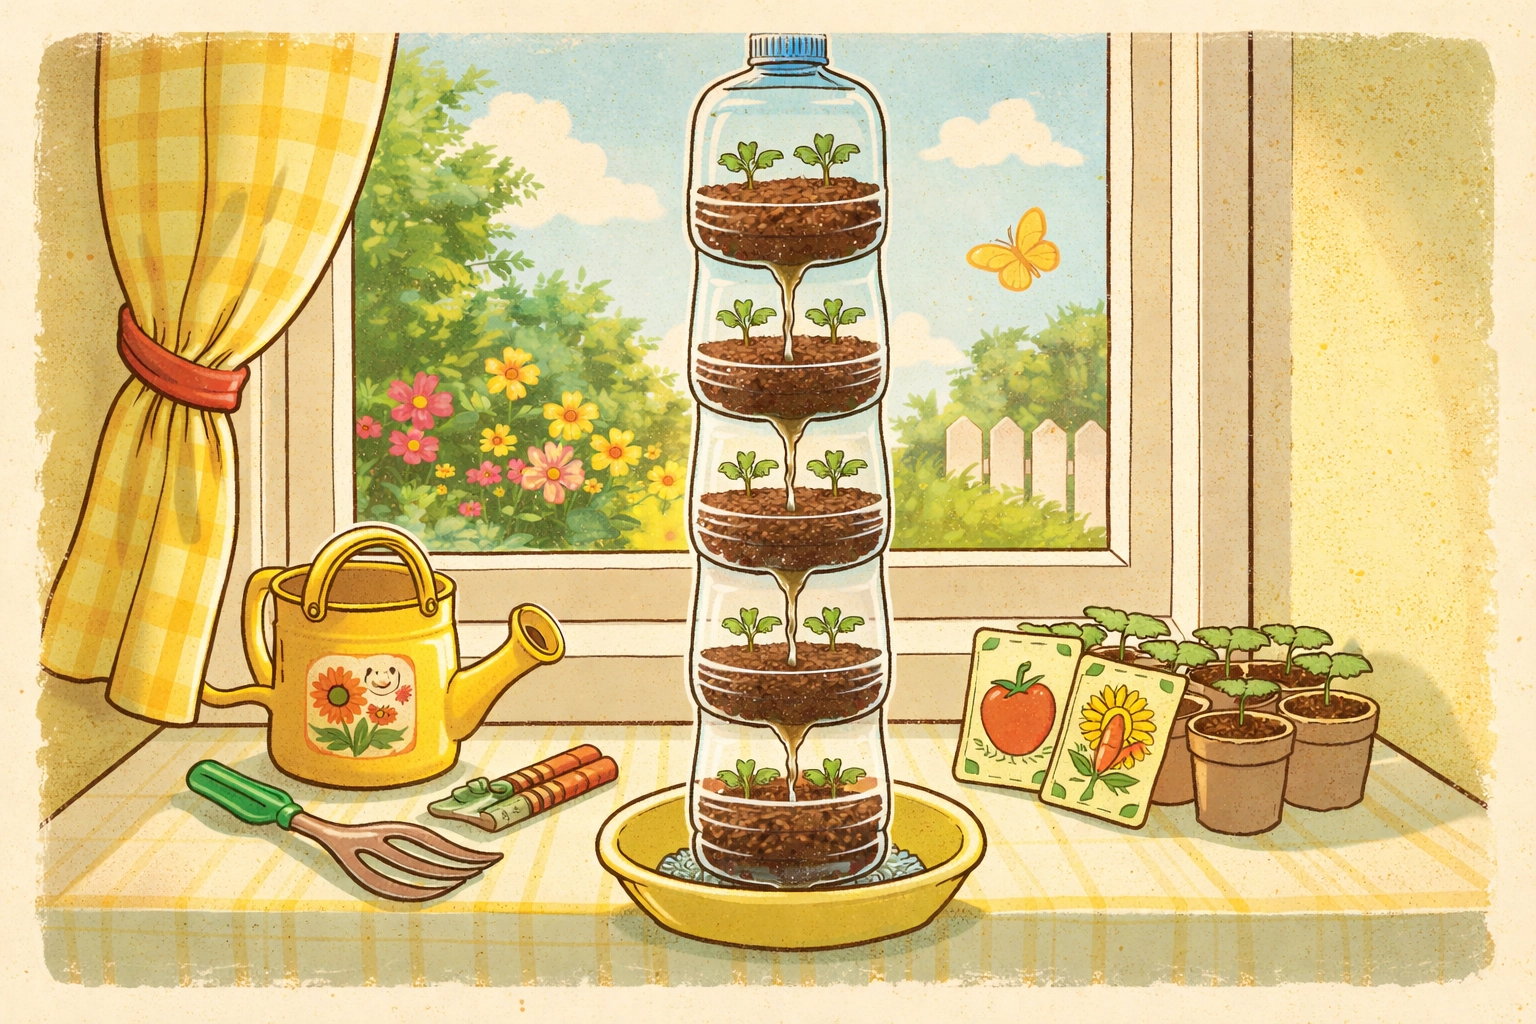
Step 3: Stack Your Tower
Here's where the "vertical" part comes in.
Soda bottle method:
- Place one bottle bottom (cup-side up) as your base. Fill it partway with water: this becomes your reservoir.
- Flip a bottle top (funnel-side down) and nestle it into the base so the neck dips into the water.
- Repeat with the second bottle on top.
The funnel shape lets water drain from the upper level down to the lower level, and eventually into the reservoir. Gravity does all the work.
Milk jug method:
- Cut your window openings on the same side of each jug.
- Stack one jug on top of the other, securing with a bit of duct tape if needed.
- The handles make it easy to hang the whole tower from a hook near a sunny window.
Either way, you end up with two separate planting zones in one narrow footprint.
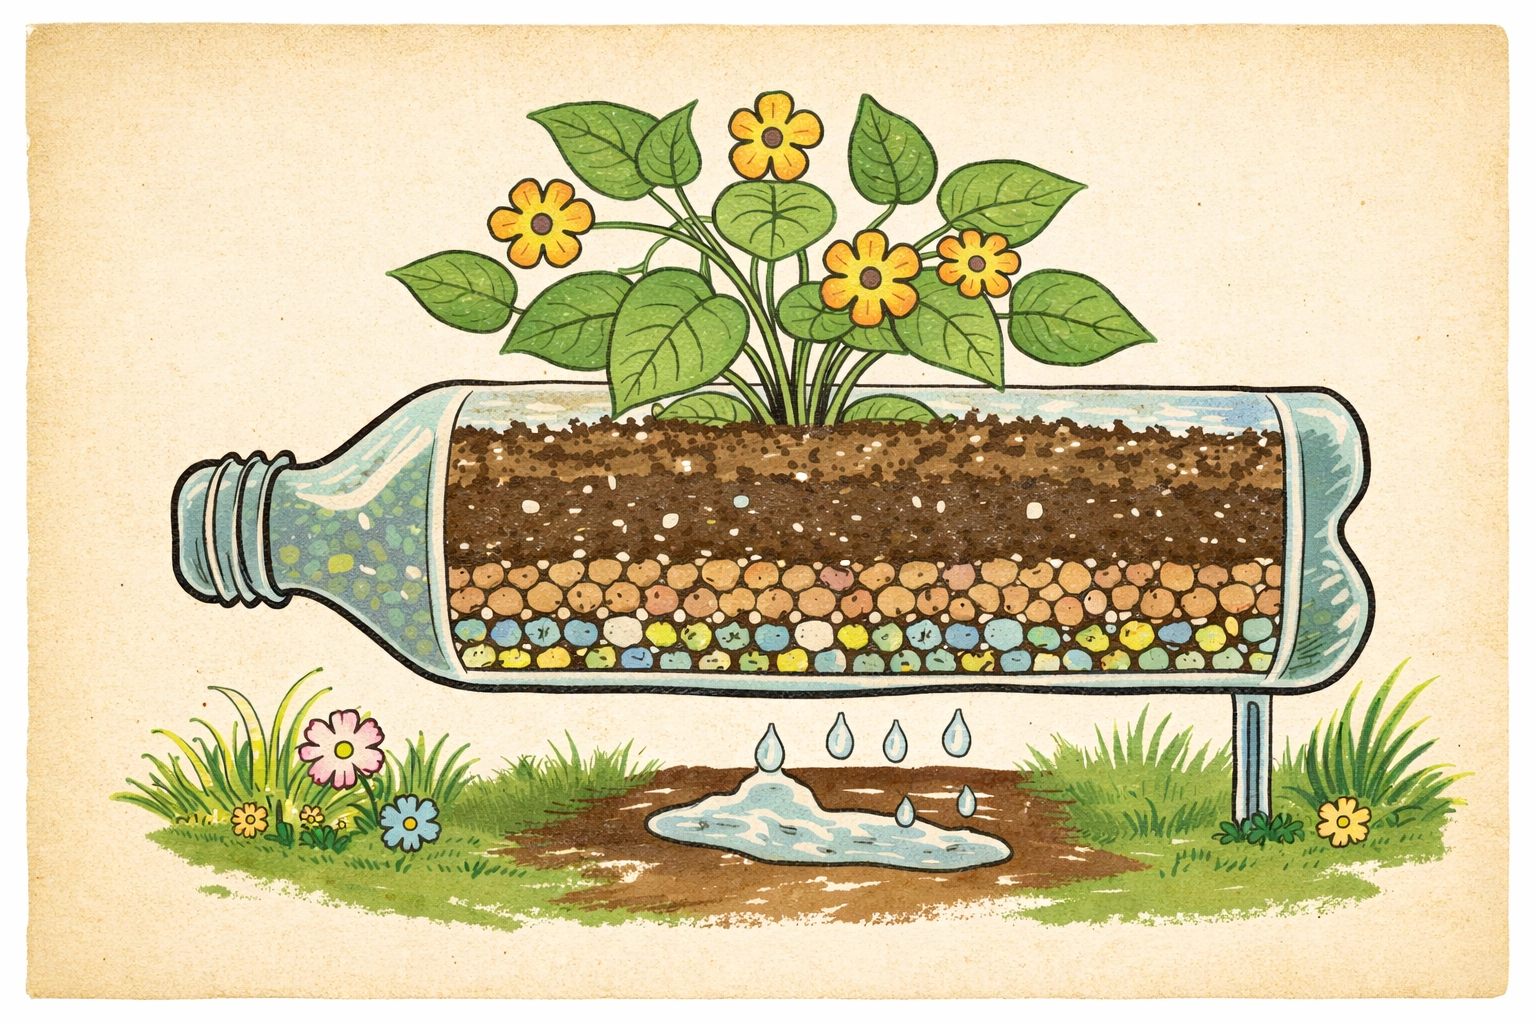
Step 4: Add Soil and Plant
Fill each planting section about two-thirds full with potting soil. Don't pack it down too tightly: roots need air pockets.
For seeds, plant 2–3 per section about a quarter-inch deep. For starter plants, dig a small hole, tuck in the root ball, and gently firm the soil around it.
Best plants for bottle towers:
- Lettuce (any variety)
- Spinach
- Herbs like basil, cilantro, or parsley
- Green onions (just stick the white root ends in soil: they'll regrow)
These are all shallow-rooted, fast-growing, and happy in the limited soil depth of a bottle planter.
Step 5: Water and Place in Sunlight
Give everything a good drink until water drains through to the reservoir below. Then find a sunny spot: a south-facing window is ideal, but any window with 4–6 hours of light will work.
Check the soil every couple of days. The top inch should dry out slightly between waterings, but don't let it go bone dry.
What Kids Learn From This Project
This isn't just a cute craft. There's real science happening here.
Gravity and water flow: Kids can watch water move from the top tier down through the system. Ask them to predict where the water will end up before you pour.
Root development: Clear bottles let you see roots growing. After a week or two, you'll notice white roots pressing against the plastic, reaching toward moisture.
Space math: Have them measure the footprint of the tower (maybe 6 inches across) and then measure how much horizontal space two separate pots would need. The vertical setup wins every time.
Sustainability conversation: Talk about where plastic bottles usually end up (landfills, oceans) versus what you just did with them. This is upcycling in action.
Troubleshooting Tips
Plants are leggy and leaning: Not enough light. Move the tower closer to the window or supplement with a simple desk lamp for a few hours each evening.
Soil stays soggy: Your drainage holes might be clogged, or you're overwatering. Let things dry out and check that water can flow freely through the system.
Nothing's sprouting: Old seeds, soil that's too cold, or planting too deep. Try again with fresh seeds, keep soil moist (not soaked), and plant shallowly.
Bottles keep tipping over: Add a few small rocks or marbles to the bottom reservoir for weight. Or place the whole tower inside a heavier container.
Scale It Up
Once your 2-story tower is thriving, there's no reason to stop there.
Add a third tier. Build a second tower. Line up a whole row of them along a windowsill. You can create a surprisingly productive indoor garden using nothing but stuff that was headed for the recycling bin anyway.
That's the whole point of vertical farming at any scale: do more with less space, less water, and less waste.
And when your kids harvest their first handful of homegrown lettuce from a tower they built themselves? That's a lesson that sticks.
References
- Wikipedia contributors. "Vertical farming." Wikipedia, The Free Encyclopedia.
- USDA National Institute of Food and Agriculture. "Vertical Farming Fact Sheet."
- Columbia University Earth Institute. "Vertical Farms: From Vision to Reality."
- Association for Vertical Farming. "Benefits of Vertical Farming."
- National Geographic. "The Rise of Vertical Farms."